Country As A Turnip Green

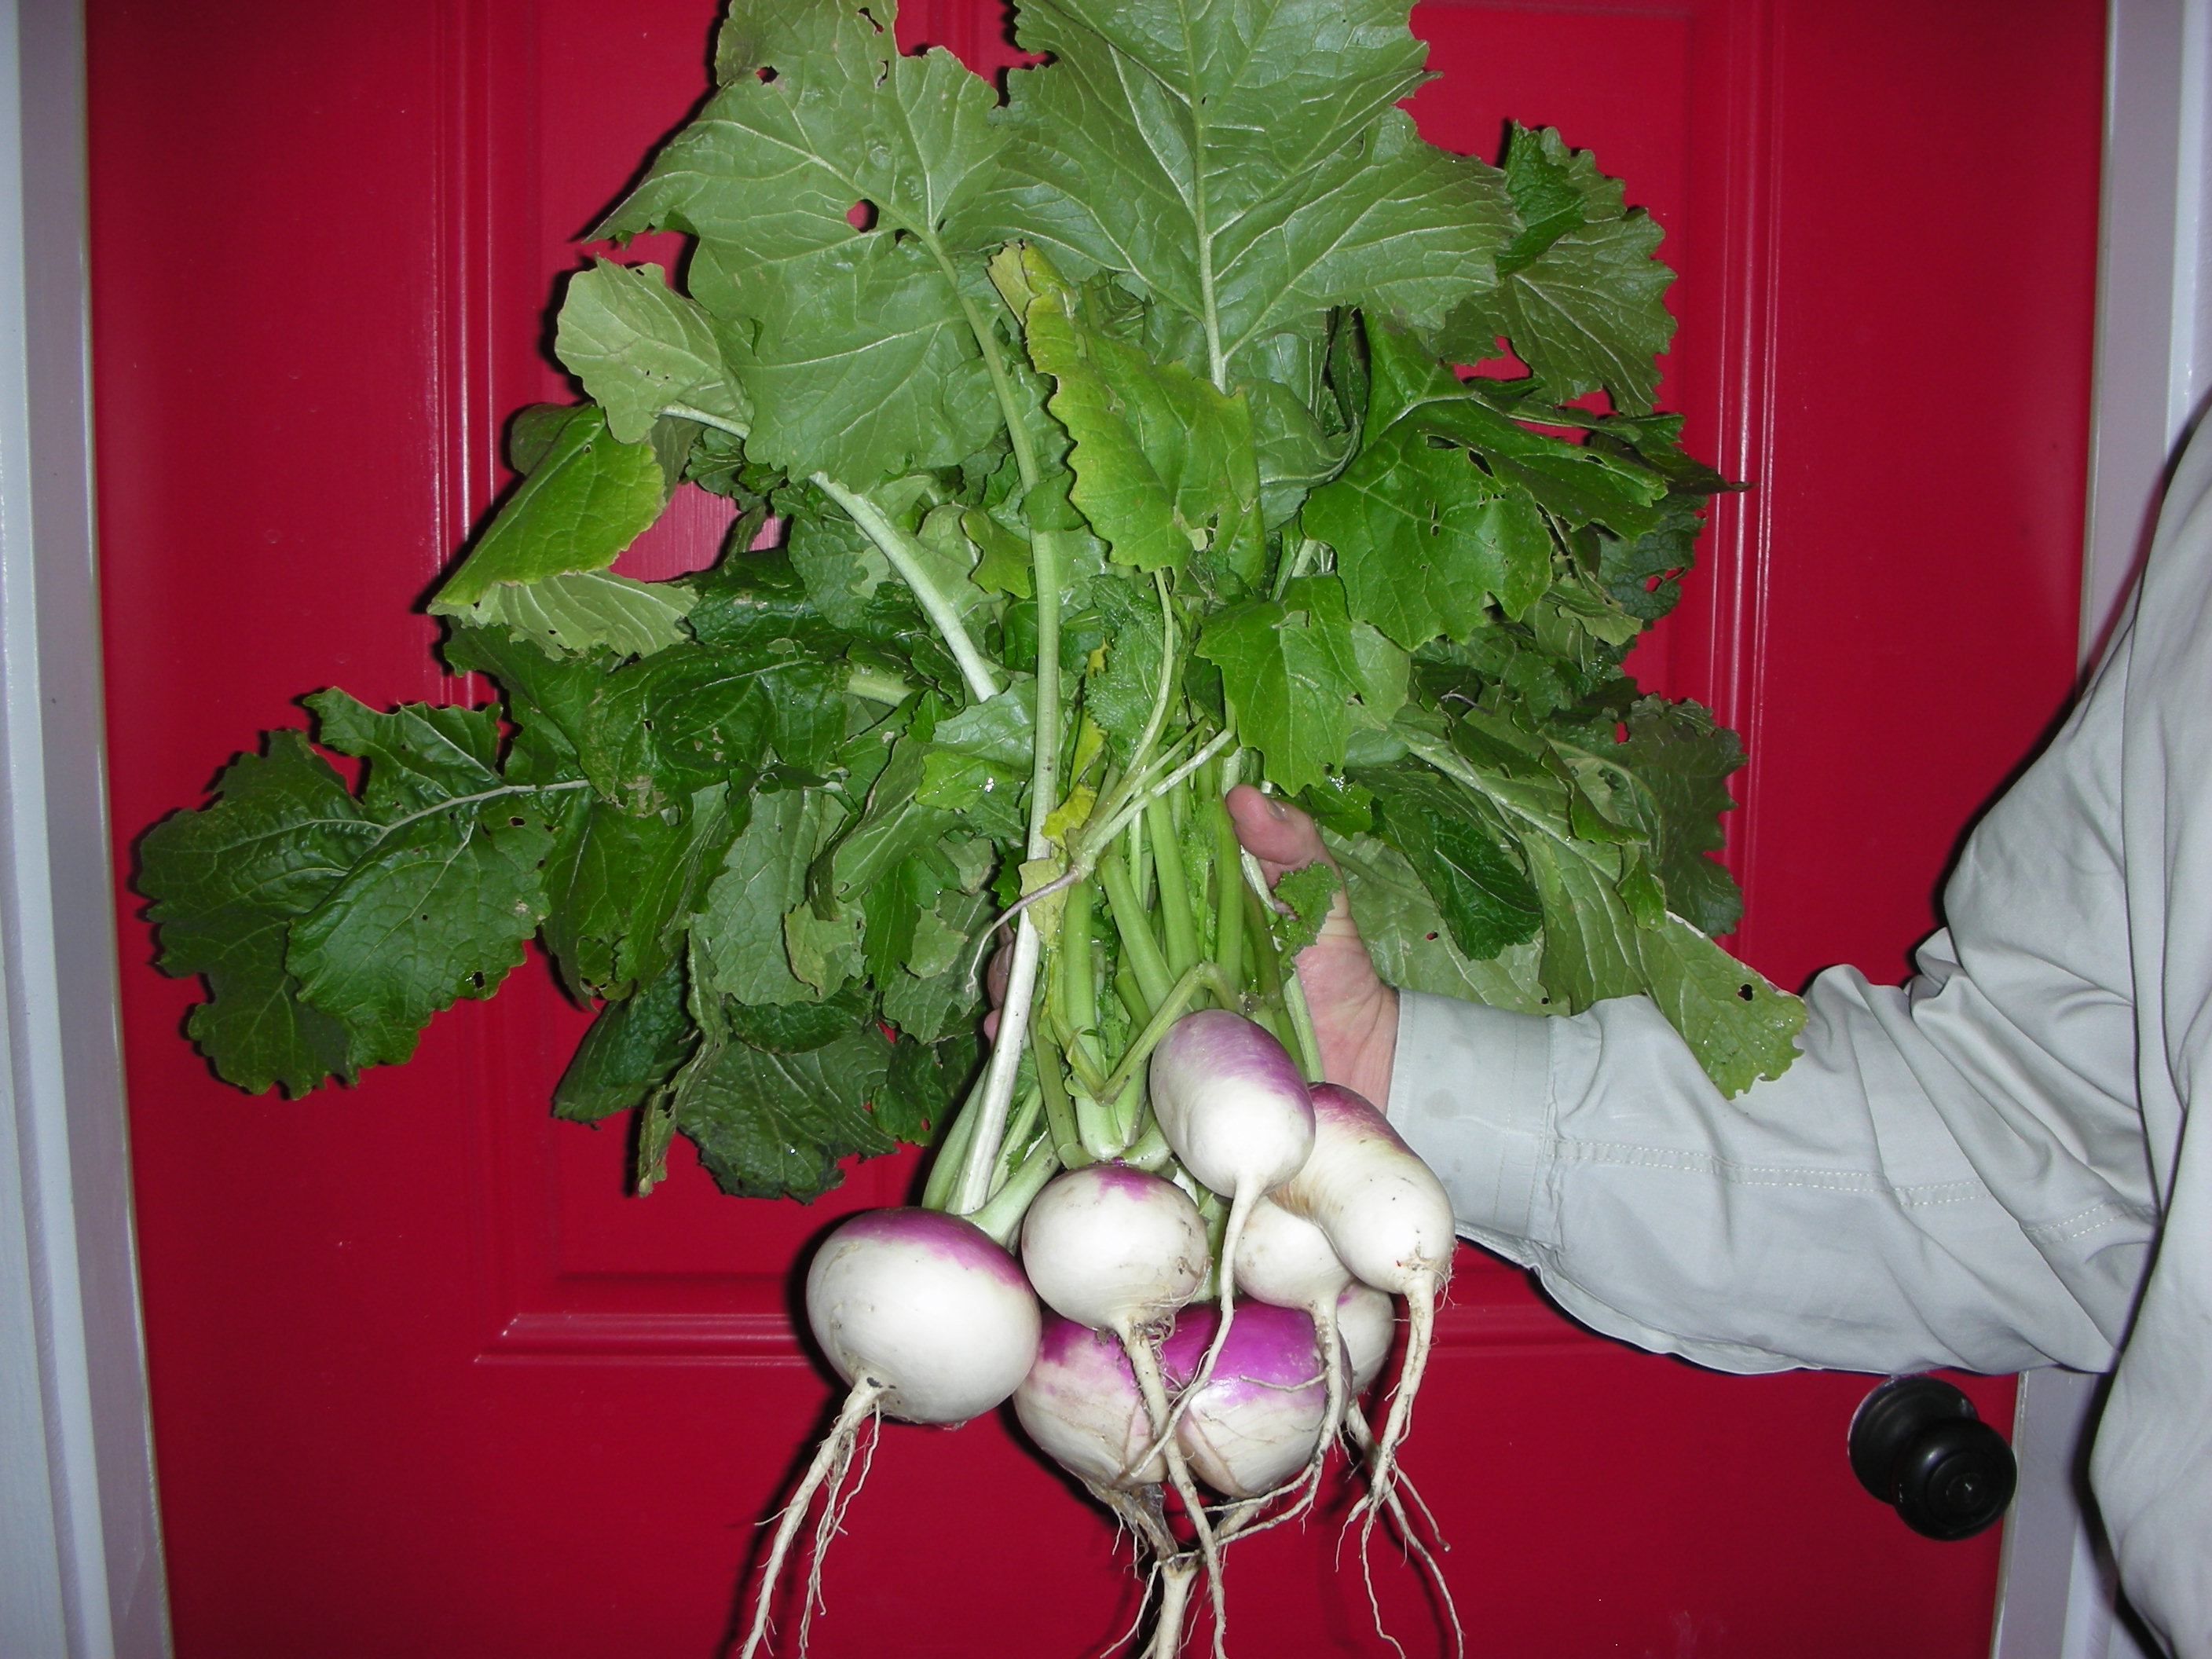
Turnips from my potager

If you listen to Mark Chestnut’s song “Daddy’s Money” you will discover that his girlfriend is “country as a turnip green”.  Well, if liking turnip greens makes you country then I am definitely “country”.  I love turnips and I love their greens (fresh and cooked).  They taste great and they are good for you.  The root is high in vitamin C and the greens are loaded with vitamins A, C, K and calcium.  How many other vegetables do you know that can provide you with two sides for a single meal?   

People (and not just country people) have been enjoying turnips (Brassica rappa) for a very long time.  The Romans loved them.  Since they were a staple of the Roman diet, we can surmise that they have been in cultivation for well over 2000 years.  They were also staples in the Irish diet long before the potato arrived.  The tradition of the “jack-o-lantern” started with the turnip.  Legend says that an Irish thief named Jack tricked the devil out of taking his soul.  When Jack died, he was too sinful to go to heaven but, because of his deal with the devil, he couldn’t go to hell either.  So, he was cursed to wander in darkness forever.  On All Hallow’s Eve, the Irish would carve out a turnip and place a small candle or ember inside to help this crafty folk hero find his way to the after life.

Turnips are very easy to grow.  Around September, I plant my first row of turnips.  I add

A two course meal

another row in October and still another in November.  This will keep me in turnips and greens right up until March.  To plant, I dig a shallow furrow with a long screw driver, scatter the seeds, cover and water.  Within a few days, they sprout.  In fact, so many little plants pop up that I am convinced they have about a 110% germination rate!  Once the true leave form, I start thinning them to about 4” apart.  Their thick, green, leafy tops make a very attractive border in my potager. 

You can eat every part of the turnip.  The young greens add a sharp taste to fall salads.  The more mature greens are wonderful cooked (if you like greens) and the root tastes an awful lot like a potato (with a little extra zip).  Because of our nation’s new found interest in healthy living, turnips and turnip greens are enjoying renewed popularity.  Many top restaurants (not just Southern restaurants either) now regularly serve greens to their well healed customers.  I have even seen bunches of turnips and their greens for sale at Whole Foods.  At this rate, greens won’t be just for country folk much longer!

If you would like to see how I prepare my greens, be sure to read the next post.

Green Strawberries (or fun with ethylene)

Have you ever purchased a green strawberry? We buy green bananas all the time.  Sometimes we even buy green tomatoes.  But why haven’t you ever bought a green strawberry?

All fruits (and many vegetables and nuts) fall into two categories based on their ripening characteristics: climacteric or non-climacteric.  Climacteric fruits will continue to ripen after the fruit has left the plant.  Non-climacteric fruits stop the ripening process the minute they leave the plant.  That is why you have never bought a green strawberry.  A green strawberry will always be a green strawberry.  It will never turn red, it will never get juicy and it will never taste good.  Strawberries are the quintessential non-climacteric fruit.

Bananas, on the other hand are the quintessential climacteric fruit.  Bananas are the most consumed fruit in America.  According to a 2006 report by the USDA, each American eats a whooping 25.14 pounds of bananas per year.  This is amazing when you think about how perishable bananas are and the distances they have to travel to get here (the top producer and exporter of bananas is India).  An understanding of the science behind this climacteric/non-climacteric thing is what allows us Americans to eat so many things that come from so far away.

Ripening is controlled by several variables.  One of these is ethylene.  When fruits start to ripen they produce ethylene.  Knowing this, we can hasten ripening by exposing the fruit to ethylene or we can slow down the ripening process by chilling the fruit (which suppresses ethylene production and is how they keep bananas fresh for so long).

The last of the yupneck’s 2010 tomatoes

O.K. I know you are thinking “This is a pretty cool horticultural fact and all, but what can I do with it?”  Well, it can help you save your fall tomato crop, that’s what.  Tonight, it is supposed to get down to 28 degrees at my house.  I am fairly certain this is going to finish off my fall tomatoes.  I have nursed them through two light freezes already.  Each time a little more of the foliage got burned and I had to cut it back.  Not much protecion left for the tomatoes that are still on the vine. So, tonight I am going home and picking what is left of my green tomatoes.  I will then take them in the house and put them in a brown paper bag with two or three ripe bananas.  I will fold the bag shut and leave it for three or four days.  When I open it up this weekend, I should have a bag full of red tomatoes!  The ethylene that is being released by the bananas will save my fall tomato crop!

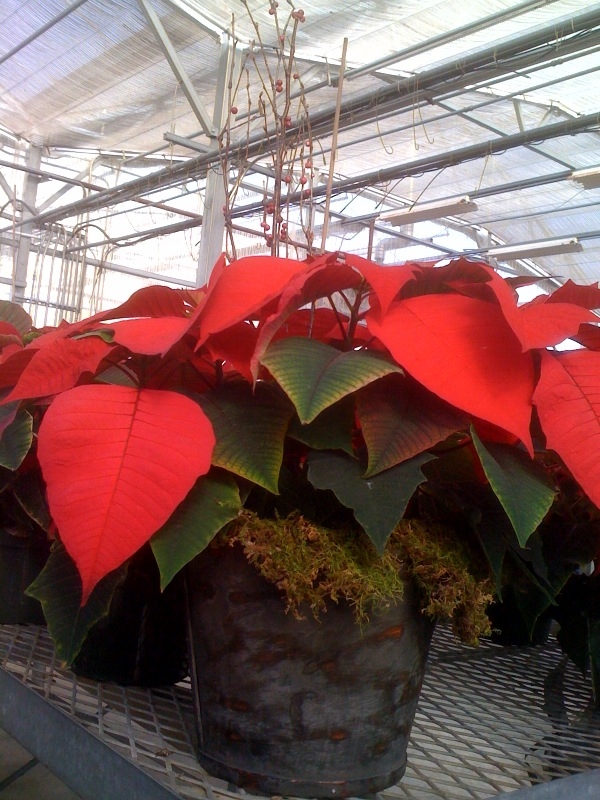
Poinsettia grown by me in my Greenhouse Management course taught by a real Master of Horticulture, Dr. Terri Starman. Our poinsettia’s were wrapped in brown paper sleeves for shipment.

Here is another useful ethylene tip.  If you bring home flowers or potted plants this holiday season that are wrapped in plastic or paper  (this is common with poinsettias), un-wrap them ASAP.  You see, those plants are producing ethylene as well.  The wrappings will trap the ethylene and your flowers/plants will drop their leaves/petals pretty quickly if you do not get them out of their protective coverings.

Now that you have the facts about ethylene you can use the handy chart below to determine which fruits you can buy while they are still “green” and which fruits will never get ripe for you once they leave the plant.

Climacteric Non-Climacteric
Apples Bell Pepper
Apricots Blackberries
Avocados Blue Berries
Bananas Lemons
Cantaloupes Limes
Figs Oranges
Nectarines Grapefruits
Peaches Raspberries
Pears Summer Squash
Persimmons Egg Plant
Plums Pumpkin
Tomatoes Strawberries
Watermelon  Grapes

Picket Fence – Phase 2

Hanging the stringers

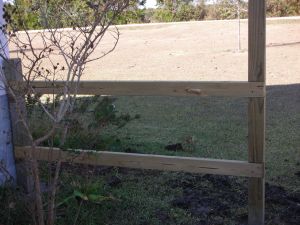
My wife and I made real progress on the picket fence this week end.  In fact, we were rather surprised at how much progress we made.  After a good breakfast and a few errands, we got busy.  Before we could really get going we had to “notch the posts” to hold the stringers.  For our fence design, we wanted the posts to show.  The posts would then have 2 1/2″ pickets with 2 1/2″ gaps that hang on stringers that are flush mounted in the back of the post.  After the top and bottom stringers were set, we trimmed the posts to their final height.  The post tops were cut to be 6″ taller than the top stringer. 

Next, we set up the cutting center.  This was basically a sheet of plywood on two saw horses.  I reinforced the plywood by placing three 4X4 posts under it and screwing them down.  Next, I set up a cutting jig for the posts.  This was done by screwing a piece of a 4X4 to the end of the plywood to serve as a stop for cutting the pickets.  I then moved my chop saw until the blade was the proper distance from the stop.  I then squared the saw and screwed it down to the plywood.  Once this was a secure, I set up my portable table saw behind the cutting jig.  I set the saw to rip pickets 2 1/2″ wide.

A good shot of how the sringers are set into the posts

Now that the stretchers were in place and the cutting center was ready, my wife and I set about making the pickets.  We did this by cutting 5/4″ boards that were 5 1/2 inches wide into 42″ long sections.  We then ran these sections through the the table saw to create two 2 1/2″ wide pickets from one 42″ section.  When the wheel barrow was full of pickets, we would go and hang them. 

Hanging pickets is pretty easy if you have the right tools.  In our case, the right tool was another jig.  Since we had hung our stringers perfectly level, we used them to hold the jig that I built for this purpose.  This jig was very simple.  I took a 4′ 2X4 and screwed a 4′ 1X4 at a 90 on the top and another 1X4 to the back that hung past the bottom edge of the 2X4.  This created a lip that I could use to screw the jig down to the stringer.  This jig ensured that all of the pickets would be perfectly level across the top. 

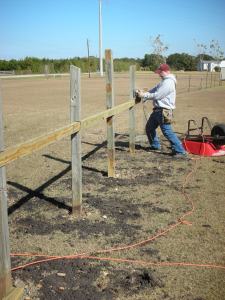
The yupneck at work hanging pickets

With the help of this jig, my wife and I set about hanging the pickets.  Working together, she would hold and space the picket (using another picket), and I would screw them down.  I used galvanized screws for this entire project so I do not have to worry about rusty screws staining my posts in the future.  As you can see from the pic, we made very good progress.  We got about two thirds of the front of the fence built in about four hours.  Now that we have the jigs and “a system” we expect to finish the rest of this side of the fence by the end of next weekend.  Check back to see how it goes.

Spider Lilies in Heaven

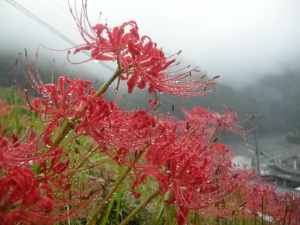
Spider lilies outside the home of the Graceless Gaijin in Totsukawa this past October

A young friend of ours is currently doing one of the coolest things that I can imagine a tall, blonde, 22-year-old American ever doing after graduating from college.  She is teaching English to Japanese elementary students in remote, rural Japanese village named Totsukawa.  While she is away, she is keeping a blog so all of us who are stuck in our mundane, state side lives can live vicariously through her.  She is an excellent writer.  When I was reading her latest post, I came upon a little gem that really caught my eye: “Spider lilies are called “higanbana” in Japanese.  According to Buddhist beliefs there is a river that separates the world of the living and the world of the dead, and higanbana grow on the opposite bank to guide the spirits across the river.”   Now how cool is that?  Spider lilies leading the way to Buddhist heaven.  This pleases me greatly since spider lilies are probably my favorite bulb.  I don’t know if I will go to Buddhist heaven (or Christian heaven for that matter), but if I do get to go I really like the thought of spider lilies leading the way!

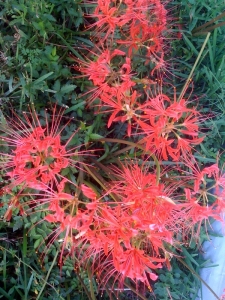
My spider lilies (Lycoris radiata) were a gift from the previous homeowner.  The first fall that we were there, we noticed these odd, single stems beginning to shot up in our front yard.  We had no idea what they were but we decided to mow around them and see what they would become.  Well we were pleasantly surprised when the flowers burst open!  I instantly fell in love with these bright red, exotic looking beauties.  When I found out that one of their common names is “Naked Ladies”, I decided I loved them even more!

Until I read her post, I did not realize that spider lilies are native to Japan.  These rather unique looking bulbs rise up out of the ground on a single stalk and produce a single, red flower.  They usually bloom here in late September or early October.  Thanks to the graceless gaijin, I now know that they bloom at the same time in their native Japan. 

The spider lilies that surprised me again this October

Spider lilies have a relatively short bloom time, generally two weeks or less.  When they are in bloom you can extend their life by providing adequate water.  Once the flower dies, the foliage appears a couple of weeks later.  The foliage is a dark green clump that is reminiscent of lariope.  This clump will last until spring.

Luckily for us, these bulbs naturalize very readily in Texas.  If you buy bulbs (The Southern Bulb Co. is a great place to look: http://www.southernbulbs.com/catalog/index.php), you can plant them in full sun or partial shade.  The bulbs should be buried to a depth of three or four inches in good soil that has been amended with lots of organic material.  Provide normal water through the spring and summer and then wait for the fall show.  Since they naturalize so readily, you can also divide the bulbs you already have.  It is best to do this in the spring after foliage has died back.

Since the blooms and the foliage of the spider lilies eventually all die and disappear, I always seem to forget they are there.  Each fall, the appearance of those single “naked” stalks always lifts my spirits and informs me that once again, it is time to slow down and pay attention to what nature is about to share with me.  I don’t know if Spider lilies will line the path to my heaven, but I certainly hope they do!

Felder Rushing at the Antique Rose Emporium

The yupneck meets Felder Rushing at the Antique Rose Emporium

This weekend I got to meet one of my gardening heroes.  The Antique Rose Emporium  was holding its annual Fall Festival and the featured speaker was FELDER RUSHING!!!  (http://www.felderrushing.net/)  Now, if you are not familiar with Felder you are missing a treat.  Felder Rushing is a highly educated, highly respected and highly unusual MASTER of HORTICULTURE!  Felder is a very accomplished horticulturist and a very enlightening and entertaining speaker.  When he is not on the road extoling the virtues of gardening, he lives in the Fondren neighborhood of Jackson, Mississippi in a very interesting and cutting edge house (horticulturally speaking).  He is also the host of the “Gestalt Gardener” on Mississippi Public Broadcasting (http://www.mpbonline.org/radio/programs/GestaltGardener/index.htm).  In addition to his radio gig, he writes gardening books and travels the country evangelizing the masses on the virtues of “Slow Gardening” in his “truck garden” (I am not kidding here.  He really drives all around the country in an old truck that has a garden growing in the back of it!)

The yupneck and Felders truck garden

Felder is as much philosopher as he is horticulturist.  His talks and books are full of his Southern hertitage, humor, charm and wisdom.  If you like stuffy talks about how to properly prune your hybrid tea roses, then Felder is probably not going to be to your liking.  But if you enjoy listening to and learning from someone that admires a man that wore shoes spray painted silver with yellow lightening bolts on them while doing “wheelies” on his tractor through the middle of town, then Felder is all the gardening resource you will ever need.

Building the Picket Fence

The yupneck leveling a post for the picket fence

I started this blog as a way to share some of the things I am learning as I pursue my Master’s degree in Horticulture at Texas A&M (Whoop!) with my fellow gardeners.  What started out as fun is slowly turning into a new side line for me; garden writing.  So far, four of the articles that are contained on this site have been published.  This has been a very exciting and fun diversion for me.  Once I stated getting published, it kind of changed the way I look at just about everything I do in the garden and around the house.  Now, instead of just taking cuttings from my coleus like I always have, I have to stop whatever I am doing and go find a camera so I can document it for an article!

This post is a classic example.  I am in the process of building a picket fence around my house.  In my “pre-writer” days, I would have just built the fence, taken a picture or two to show my friends and family, and then moved on to my next project.  Not anymore.  Now, each project has to be “documented”.  So, this post will document the “beginnings” of the picket fence project.  All of this picture taking is driving my wife a little nuts but she is going along with it for now.

I don’t know if I have mentioned it or not, but my wife and I are remodeling an old farmhouse.  One of the projects that we planned to do was build a picket fence around the place.  This was pretty low on the priority list (way behind getting central heat and air, a new kitchen and a new bathroom) until two weeks ago. 

Who would throw this out?

Two weeks ago, the fence took on a whole new level of importance when we picked up a beautiful Australian Shepherd out of the middle of the road.  Someone had “dumped her” in our neck of the woods.  At first, we figure she was lost.  She was so pretty and wearing a collar.  Who would dump such a fine animal?  So, thinking she was lost, we took her in and set out to find her owner.  Well, no owner came forward and we slowly began to accept the fact that we had inherited a dog.  Now normal people that do not have the means to keep a dog would simply not keep her.  However, I am proud to say my wife and I are not normal.  Instead of taking her to the pound, we decided to build a fence!

As luck would have it, my neighbor had just taken down a lovely two board fence that ran across the front of his property.  Since the yupneck is too cheap to buy new, I bought the used 4X4 posts and the runners from him.  He also owns a bobcat set up as a post hole digger.  So, for a very few dollars, I got most of the materials for the fence and someone to save my back from the hours of manual post hole digging. 

My neighbor's post hole digging machine

Alan showed up at 7:15 last Sunday and drilled all of my post holes.  It took him 20 minutes to drill 17 holes.  It would have taken me 20 minutes to dig a single hole.  Over the past week, Sally and I have cleaned out the holes, filled the bottoms with brick bats and started cementing the posts in.  We finished this Sunday right after church.  If you notice in the pictures, we are still wearing our church clothes (like I said before, we are not completely normal)!

I am very excited that this project is under way.  I have wanted a picket fence for quite some time.  No, let me restate that.  I have NEEDED the fence for quite some.  You see, as this blog is supposed to highlight, I am a gardener.  Because of this, I have completely filled up all of the beds around my house.  This fence will allow me to create literally hundreds of more feet of beds!  Also, who has ever closed their eyes and envisioned an antique farmhouse in the country that didn’t have a picket fence?  No one, that’s who!  Old farmhouses are required to have picket fences covered in old roses (one of which we bought at the Antique Rose Emporium this weekend) and surrounded by beds full of things your grand mother grew.  That is what this fence will do for me.  It will complete the dream!

Setting posts in our church clothes

I hope to have the first section of fence completed by Thanksgiving.  My birthday is pretty close to Thanksgiving this year and I have asked all five kids to come celebrate by throwing me a painting party.  If all goes well, we will have the fence and the garage painted by the end of next weekend.  Check back to see how it goes.

P.S.  If you would like detailed instructions on how I build a picket fence, email me or leave a comment and I will post everything you need to know.

Fall Asters

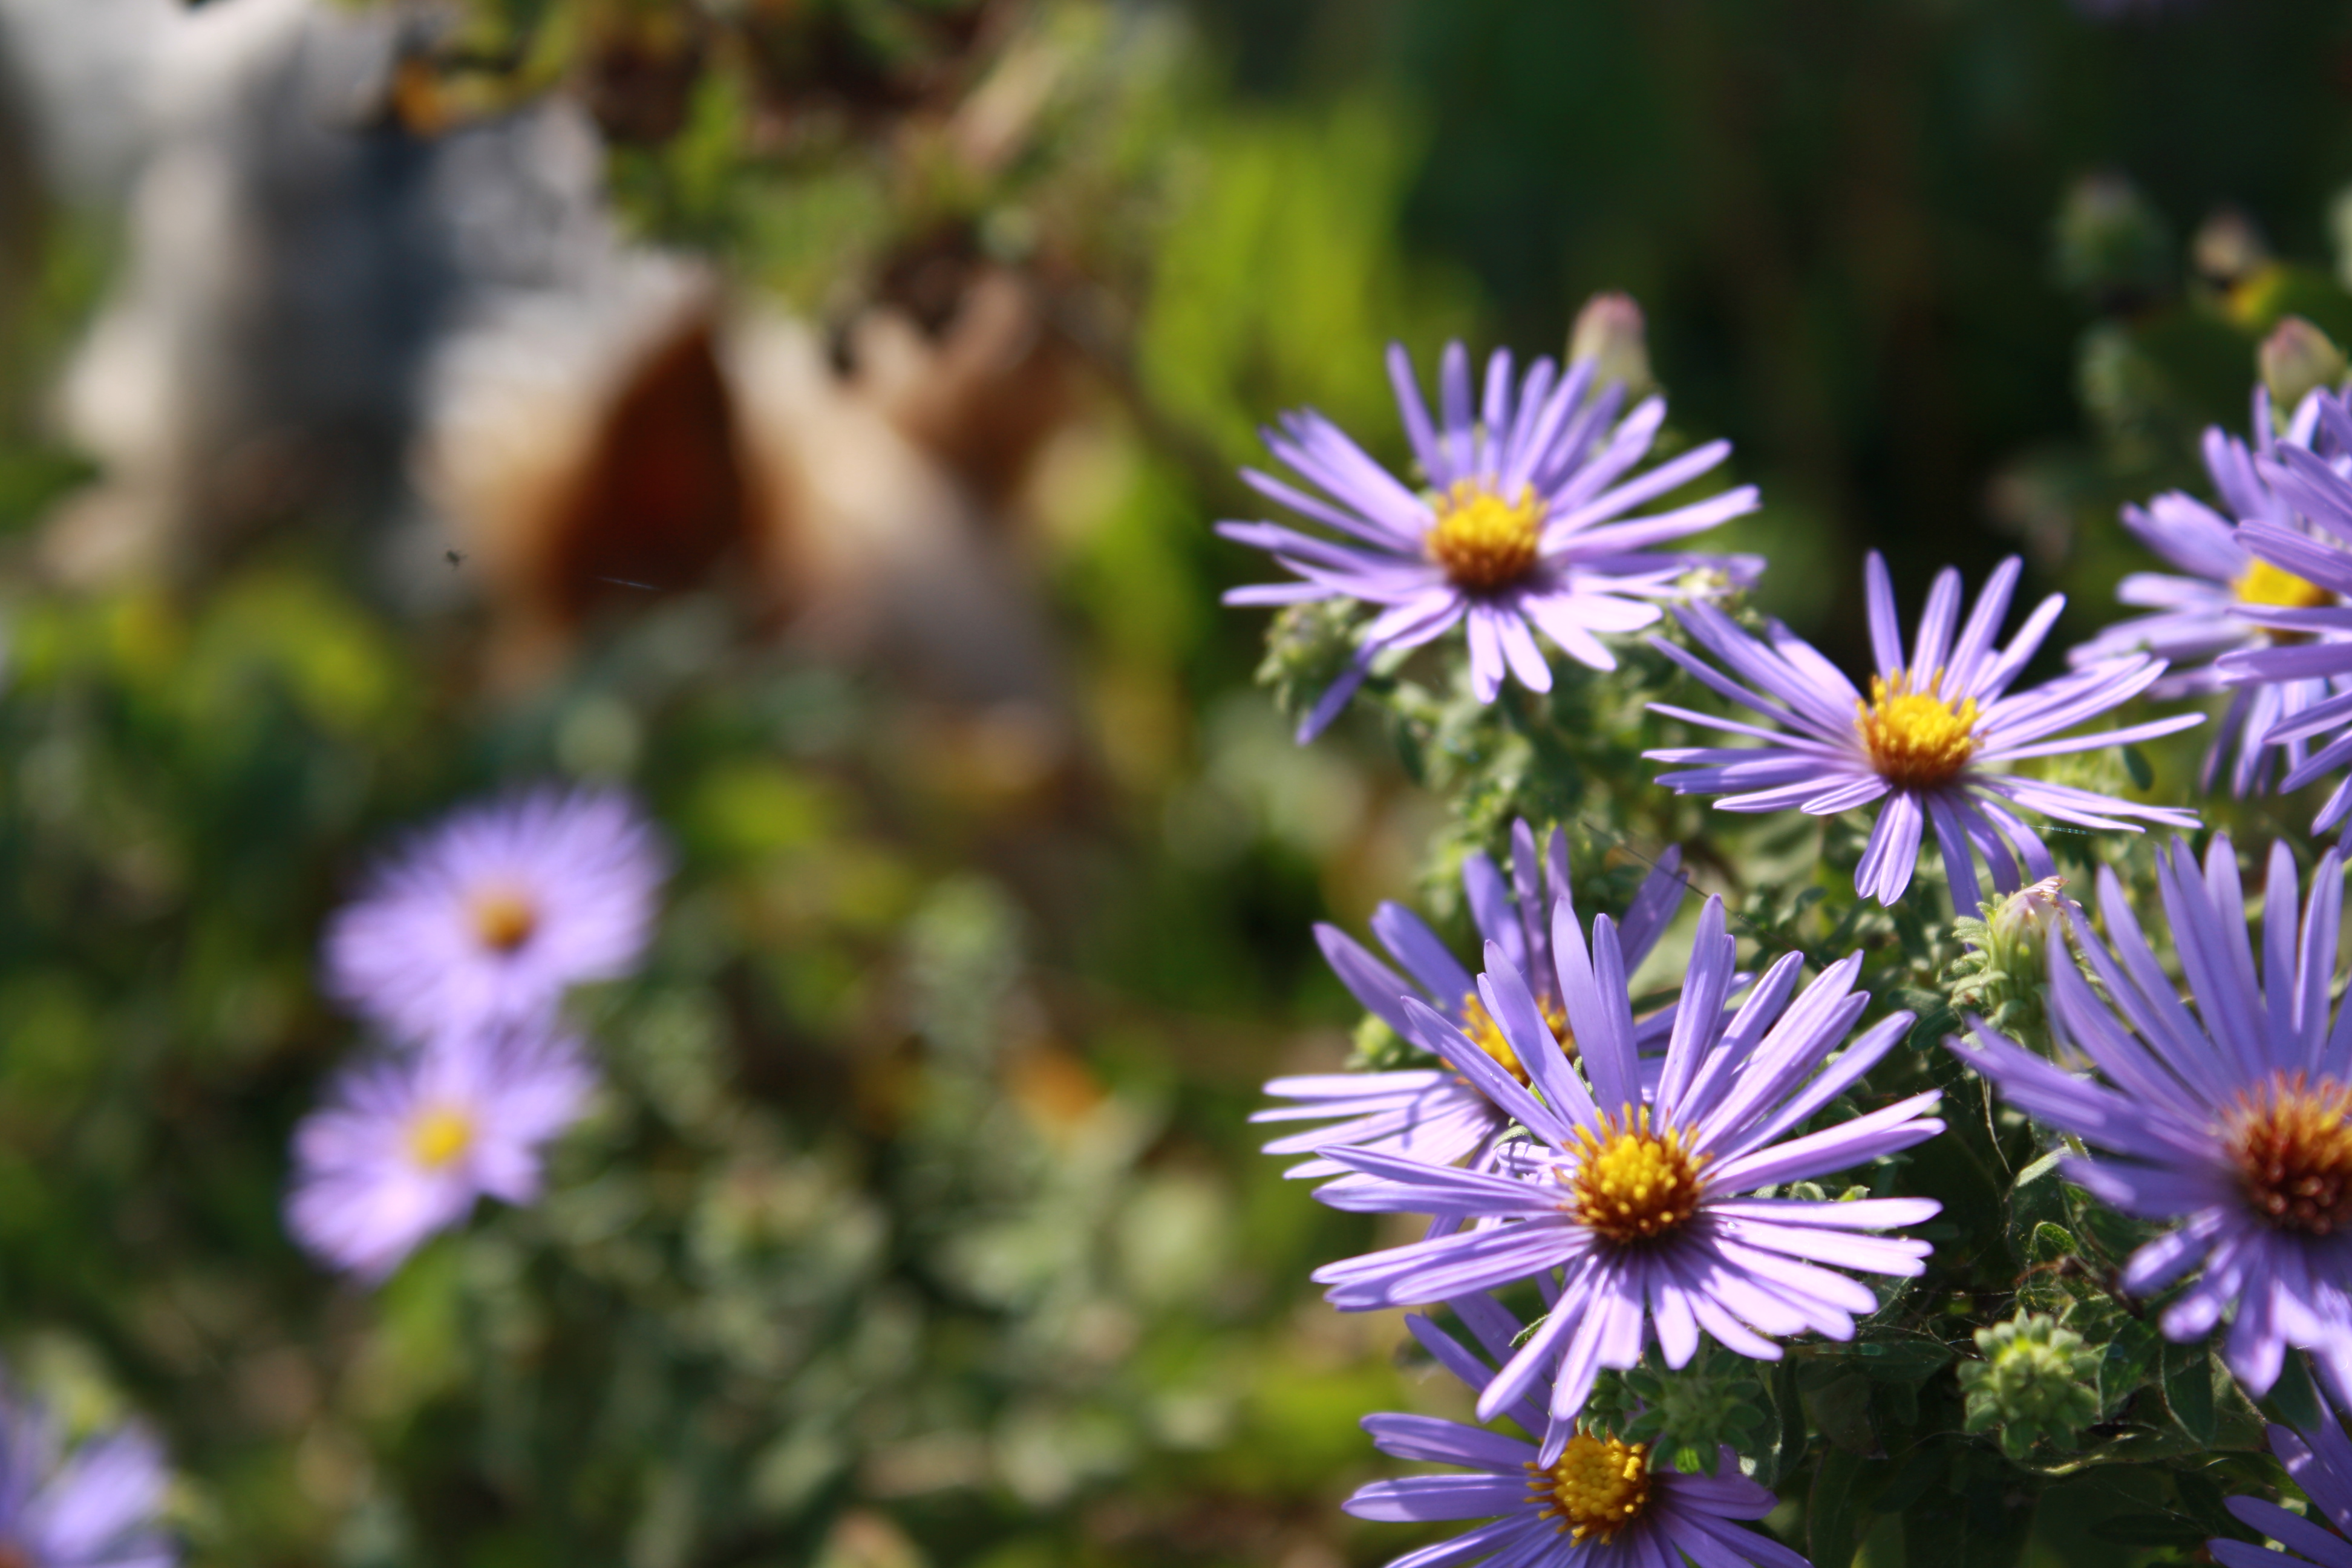
Aster oblongifolius. Photograph by Ramez Antoun

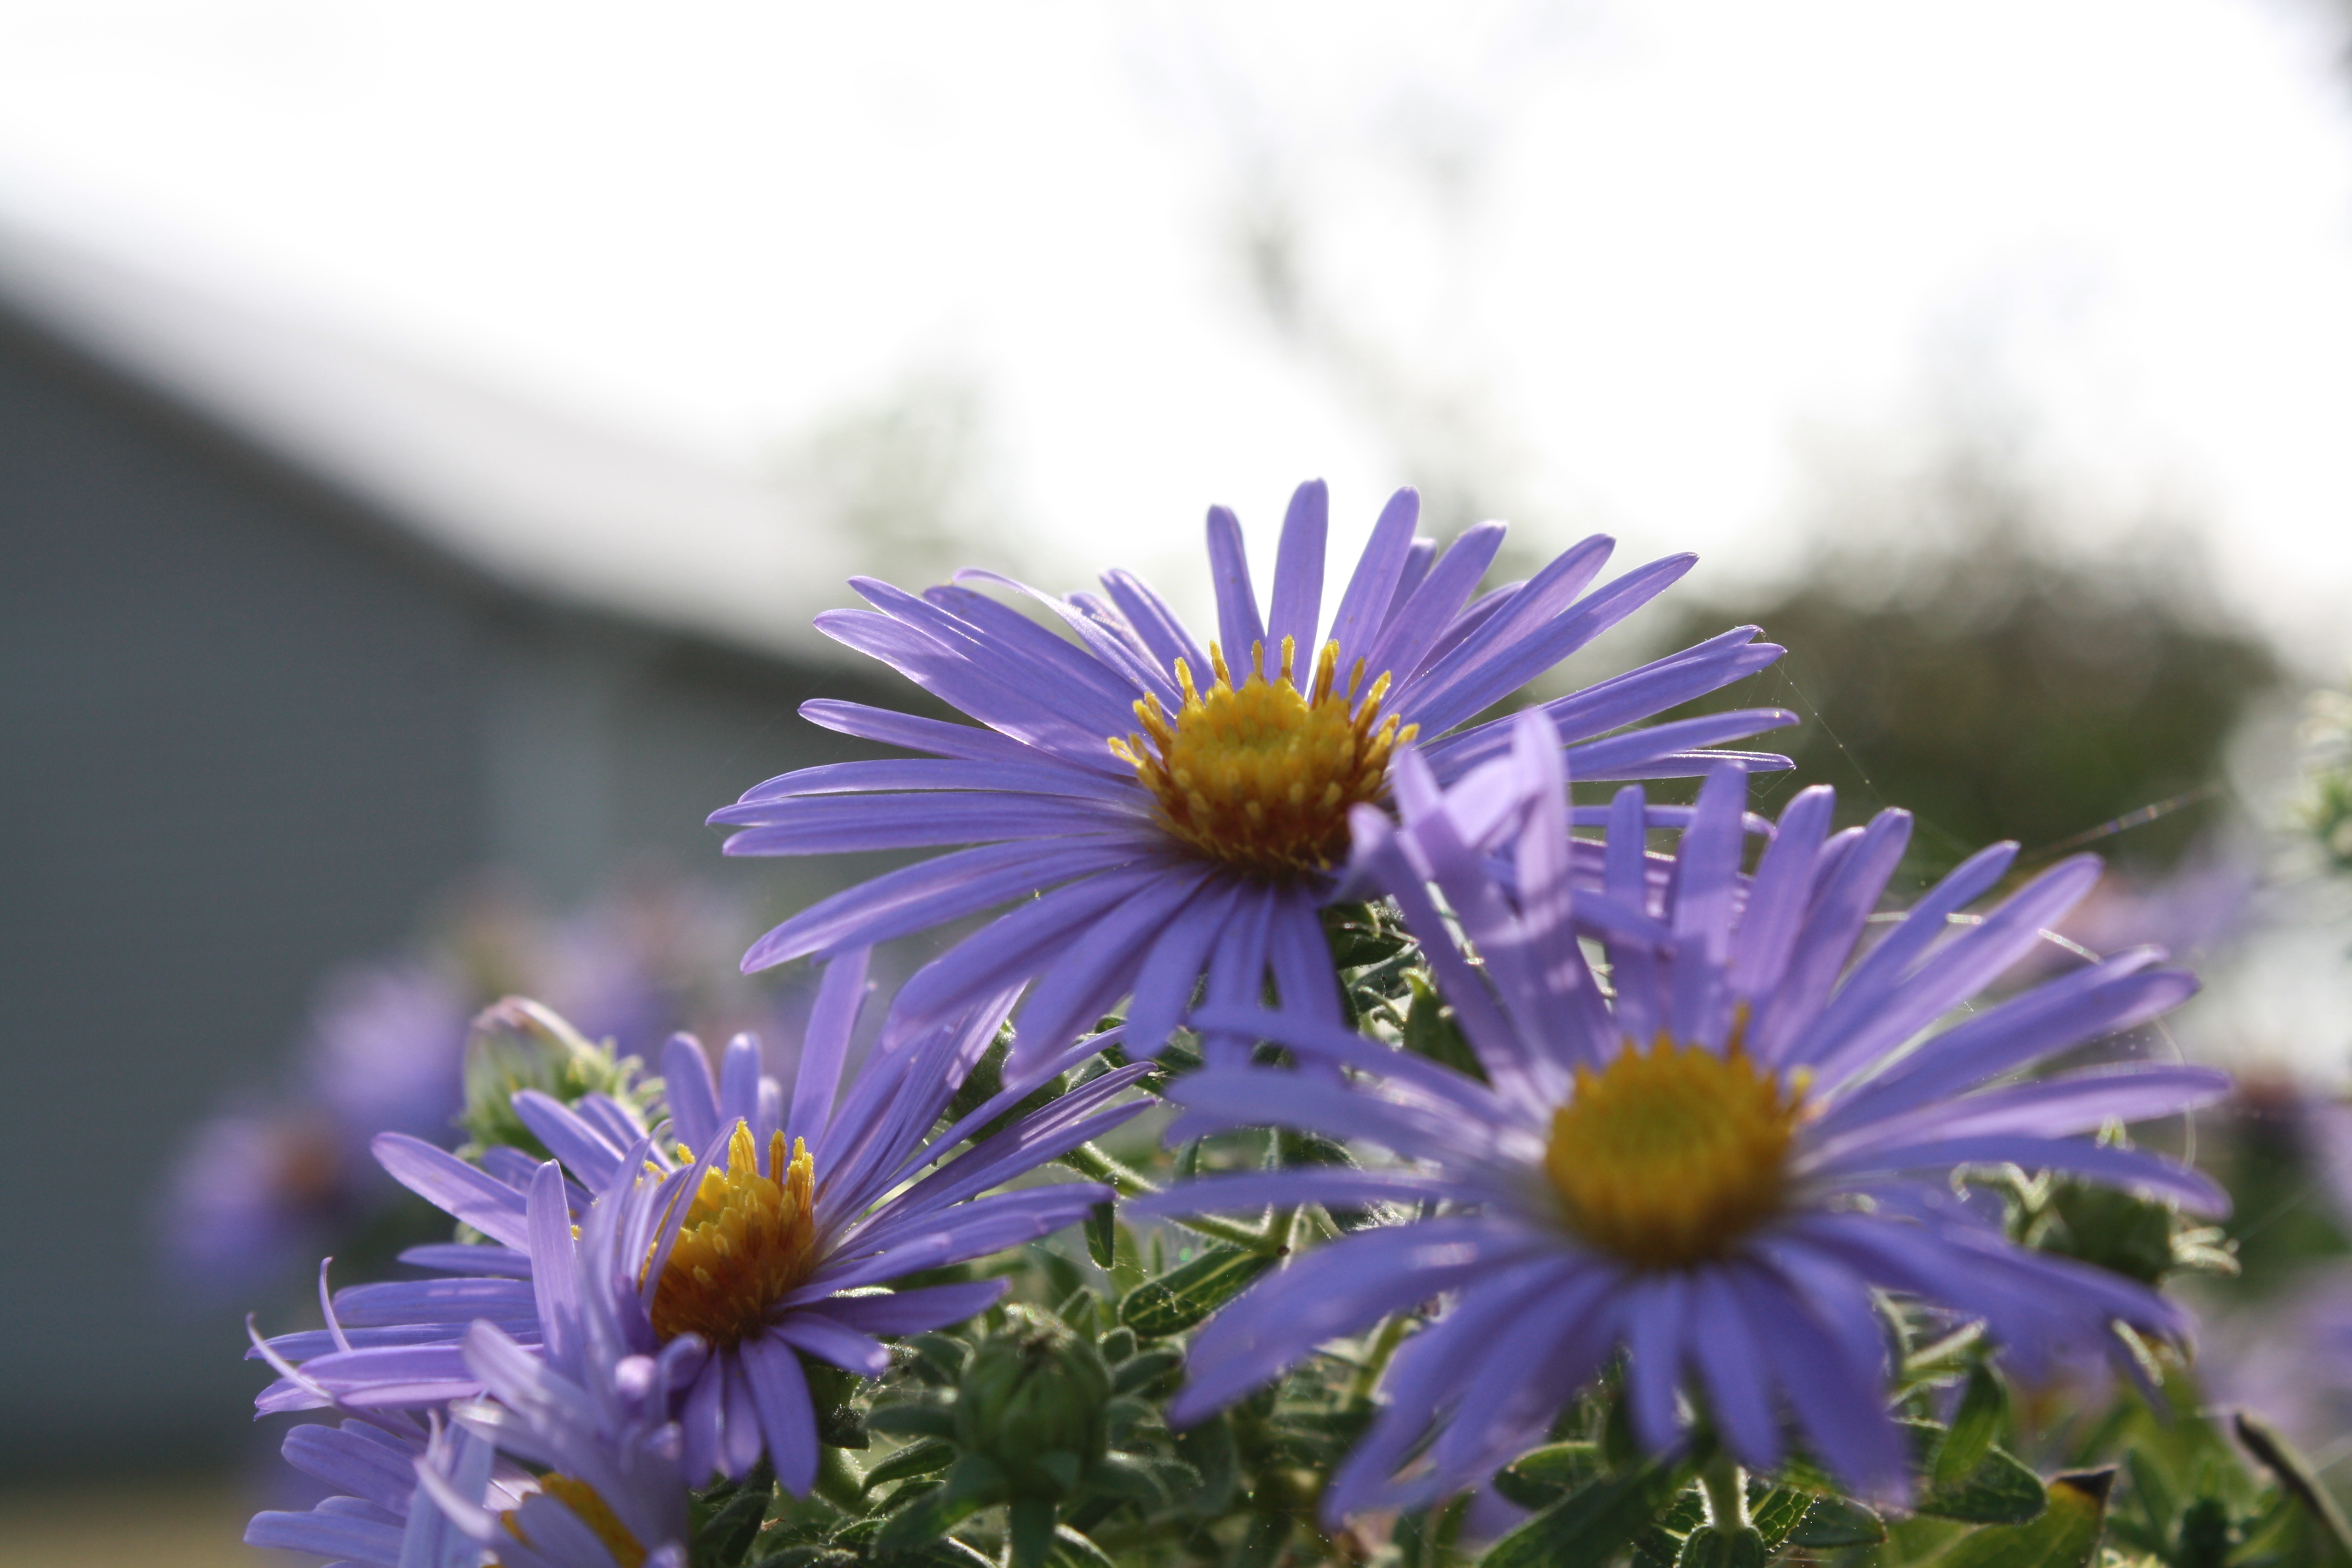
This past weekend, my daughter and son-in-law came to visit.  I love when they come because my son-in-law shares my affinity for growing things.  Each time he comes we spend most of the weekend outside.  Besides being a fine gardener, Ramez is also an excellent photographer.  He has the skill, the eye and the equipment that I don’t.  So each time he comes I ask him to take a few pictures.  This trip, he focused on my fall asters.  As you can see in these pictures, they are beautiful this time of year.

The aster I grow is a Texas native (Aster oblongifolius).  One of its common names is Fall Aster.  It is one of the last plants to bloom in the fall.  Fall aster is a clumping perennial that spreads to about 36” and can reach 24”in height.  It is almost an evergreen plant and often keeps its leaves for 10 or 11 months.  Because of this, it works well in the perennial border.  Even though fall asters are relatively unremarkable most of the year, they really redeem themselves in the fall.  Starting in early October this plant literally explodes with color.  Small star shaped purple flowers with yellow centers literally cover the foliage.  A mass of these plants is stunning.  Even though they are beautiful on their own, you can pair it with several Golden Rod varieties and create a very attractive fall border in a complimentary color scheme.

Fall aster is a very hearty plant and it can be grown in just about any soil the great state of Texas has to offer.  Mine is growing in black clay and it is thriving.  Asters are easy to grow from seed and you can also divide existing clumps to get more plants.  They are relatively disease and pest free.  The only negative that I am aware of with this plant is the fact that the stems seem to loose their lower leaves as they age.  This can be helped by cutting back about a third of the plant in the summer.

More Texas Fall Asters. Photo by Ramez Antoun

Asters have been grown all over the world for a very long time.  The English love them.  Our native version is just as pretty as any of their foreign cousins.  Plant this hearty and beautiful plant now and you will be rewarded with stunning borders for many Octobers to come.

Fall Transplanting

*This post was published on 10/27/2010 in “Texas Gardener’s Seeds”

Fall is my favorite time of the year for gardening.  While I appreciate the milder temps the season brings, I really love fall gardening because it is the best time of the year for me to correct my landscaping errors!  This is very important to me because even though I want a beautifully landscaped yard, I have no discernible talent in the area of landscape design.  So, since I love landscaping and I do not have many skills, I make a lot of landscaping mistakes!  Fall is the perfect time to “do over” those “mistakes” in my beds that just didn’t turn out as well as I had hoped. 

All of the attractive beds at my house are the product of much trial and error.  Each winter I sit down and make a list of the new plants that I want to plant.  Then I get out the graph paper and lay out a plan.  For some reason, the resulting beds never look as good in my yard as they did on the paper.  So, every fall, I move the things that I think would look better somewhere else.  Very few of the plants at our house are currently located in place they were originally planted.  This drives my wife crazy, she jokingly calls me “The Mover”.  That’s o.k.  I would rather take her teasing than leave a plant in a place that I don’t enjoy.

A lot of people seem to think that plants will die if they move them.  I have not experienced this in any great measure.  I have moved a few things that did die, but most of the things that I have moved have done alright.  In fact, many plants need to be dug up periodically and “moved” in order to thrive.  Bulbs and irises are classic examples.  Most horticulturists recommend that bulbs and corms that readily divide should be divided every three years.  If you leave irises alone long enough, the clump will start to die in the center as it spreads outward.  This leaves a fairly unattractive iris “ring” that can only be fixed by digging them up and moving them around. 

Bulbs are not the only thing that can be transplanted relatively easy.  I have learned that just about anything can be moved (as long as it doesn’t have a deep tap-root).  Using the method described below I have successfully moved red buds, crape myrtles, roses, small oaks, and a mature sage.  I have even successfully moved half-grown tomatoes, peppers, and many annuals in full bloom.  So far this year, I have moved the afore-mentioned sage, some flame acanthus, lots of ruellia, lots of yarrow and two clumps of coreopsis.  Here is how I do it. 

First, I dig the hole where the plant is going.  This is important.  The new hole should be as deep and wide as the root ball of the plant you are moving.  Once a plant is pulled up from its original location, the roots start to dry out.  Having the new hole ready will allow you to decrease the shock of transplanting by quickly getting the roots back in the ground as fast as possible. 

Next, dig up the plant to be relocated.  I dig in a manner that keeps the root ball intact.  I do this by using my shovel to cut a complete circle into the ground around the plant.  As I dig, I push the shovel into the ground at an angle toward the plant.  This will cut the plants roots and allow you to pull up a section of soil that is roughly the shape of a bowl.  Again, try to keep this soil intact as it protects the roots from exposure.

Finally, use your shovel to transport the plant and root ball to the new hole.  Make sure the plant is replanted at the same depth as it was in the original location.  Now back fill, tamp the soil and water.  Proper watering is critical to the success of this operation.  I always water very deeply immediately after replanting and then I give it a good deep watering every day for at least a week.

I know in the ideal world, we would design a bed, plant it and then enjoy it for all eternity.  Most of us don’t live in that ideal world though.  If you are not happy with a plant in its current location, wait until fall arrives and then move it.  The milder fall temperatures put less stress on the plant and provide ample time for the plant to re-root before the cold temperatures of winter kick in.  If you take a little care while relocating them, most plants will hardly even realize that they have been moved!

P.S. Here is a link to a YouTube video from Bob Villa Productions that shows a guy doing pretty much what I describe in this article.  http://www.youtube.com/watch?v=zHjXv5j3yxo

MiMi's flowers

An arrangement from our fall garden

Right now the weather is so nice that I want to be outside all of the time.  So far this fall I have planted the potager and the row garden.  I have divided and moved perennials and I have also divided and moved my spring bulbs.  I have started stem cuttings of my coleus, begonias and geraniums.  I have been so busy preparing things that I almost failed to step back and enjoy what was already there.  This Saturday, my wife asked me to go outside and pick a few roses for her mother.  As I went out to cut the roses I noticed all of the really lovely things that were still growing in our garden.  I decided that MiMi would get more than just a few roses.  The arrangement you see is composed of a spider lilly, salvia, turk’s cap, zinnias, roses, rosemary and okra.  I am so glad that I took the time to look around and enjoy what was right under my nose.  I really enjoyed putting this together and sharing a little of what we love with someone we dearly love.

Cypress Vine – The hummingbird magnet!

Hummingbird migration season is upon us.  Because of this, we have so many ruby throated and black chinned hummers in our yard that my wife is filling our two feeders everyday.  While the hummers seem to appreciate the sugar syrup that she makes for them, they always head first to the only thing that is still really blooming in my garden; cypress vine.


Cypress vine flowers on my potager fence. Photo by Ramez Antoun

Cypress vine (Ipomoea quamoclit) is a member of the morning glory family and as such grows very well in our hot Texas summers.  It is a tropical plant that is native to Mexico and Central America.  It is a lovely vining plant that can grow 20 feet or more in a single season.  Cypress Vine has loose, feathery foliage that is covered with hundreds of tiny, tubular flowers.  The star shaped flowers can range in color from deep red to almost white and they are irresistible to butterflies and hummingbirds.  Other common names for this plant include Hummingbird Flower, Star Glory, and Cardinal Plant.

 Cypress vine is very easy to grow.  Start seeds when the soil has warmed up to around 70 degrees. It prefers full sun but can tolerate light shade.  Cypress Vine likes to be kept in moist, rich, well drained soils but it will grow in just about any type of soil and will tolerate some dry periods.  Cypress Vine is a quick grower and can produce blooms in as little as 45 days.  You can fertilize with a high phosphorus fertilizer right before the first bloom to enhance its flowering.   Cypress vine readily reseeds itself so once established you will be able to enjoy this plant year after year. 

Cypress Vine on the arbor

Because of its vining habit, Cypress Vine needs support.  I planted mine against the western fence of my potager.  This fence has an arbor over the gate and I wanted it to spread over both of these structures.    All of the growth you see in these pictures came from two vines.

Unmanaged, Cypress vine will grow in and over anything that is in its way.  Since mine is on a fence, I trained it to grow up and out toward the arbor.  This kept most of the runners in check.  Some runners did grow down into my daylilies but I simply pulled them off.  The plant did not seem to mind one bit.  Cypress vine is also an aggressive self seeding annual.  All of those lovely flowers produce tons of little black seeds. So, if you plant Cypress Vine, be prepared to have lots of it in years two and three.

All of this from two vines in the first season!

Cypress Vine is a very lovely and very hearty plant that thrives in our climate.  It is easy to grow and looks great on a fence, trellis or arbor.  This self seeding annual is relatively disease and pest free and will provide you with a flush of blooms from May through late fall. If you can tolerate its aggressive growth habit it will reward you with a beautiful late summer garden full of butterflies and hummingbirds.

*This article was published in the September issue of “Hort Update” (http://aggie-horticulture.tamu.edu/newsletters/hortupdate/2010/sep/)