This weekend Sally and I did a little Christmas shopping. This is not a part of the holiday season that I enjoy. To be perfectly honest, I hate it. So as “we” were shopping I wandered around looking for diversions. After a couple of stores I found it; paperwhites! I was truly amazed at how many stores had paperwhites for sale. I did a little count and discovered that all but one (a sporting goods store) of the shops we went in had little boxes of paperwhite bulbs for sale. I guess this shouldn’t have surprised me. Each Christmas season Sally and I grow (and give away) a whole lot of paperwhite narcissus bulbs. I guess we are not the only ones. And why not? Paperwhites are cheap, easy to grow, smell great (in my opinion) and make the house look great for months. They really are the perfect gift for anyone that has even the most remote interest in horticulture.
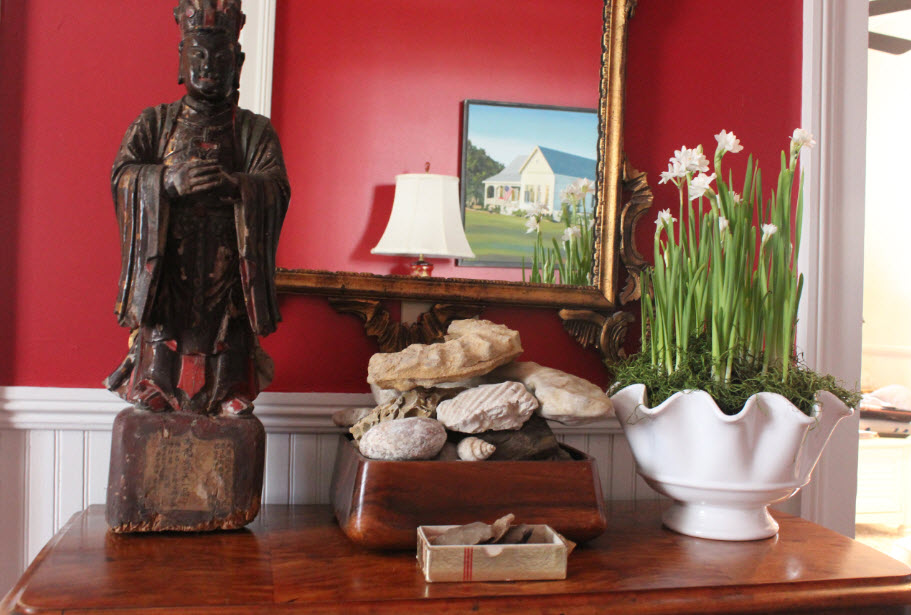
This year I am growing my paperwhites in a lovely fluted bowl. I cover the soil with sphagnum moss.
Paperwhites are a type of narcissus that originated, and are still produced in, the areas around the Mediterranean. There are many different bulbs that are generically called paperwhites. While the paperwhites you and I grow may be different species or varieties they all have one thing in common – they are a type of narcissus that does not require chilling. Most of the flowers in the Narcissus genus ( narcissus, daffodils, and jonquils) require some period of cold weather before they flower, Not paperwhites. This trait allows them to be shipped all over the world and be forced into bloom for several of our cooler months.
Growing Paperwhites in Soil
In my opinion, forcing paperwhites in soil is the easiest and most reliable way to produce a large fragrant clump of white flowers. You don’t need a lot of soil to successfully grow your paperwhites. Because of this you can plant paperwhites in a lot of things you might not normally use as a planter. While I am currently using a large fluted serving bowl I have used gravy boats and a sterling silver fish server in the past. Regardless of the container you use , you want to use a high quality and well draining potting mix, Fill your container part of the way and add your bulbs. Once the bulbs are arranged add enough soil to just cover the bulbs. Once your bulbs are planted soak the soil and drain it well (if the container does not have a drain hole water the soil before placing it in the container). Place the bulbs in a cool place (55 to 65 degrees) for a week to ten days. Once the leaves begin to show, move your paperwhites to a warm (70 to 75) area of the house that gets plenty of sunlight. Keep your soil moist and in about three weeks your first buds will begin to form. Once the buds open move your flowers out of direct sunlight to extend their life.
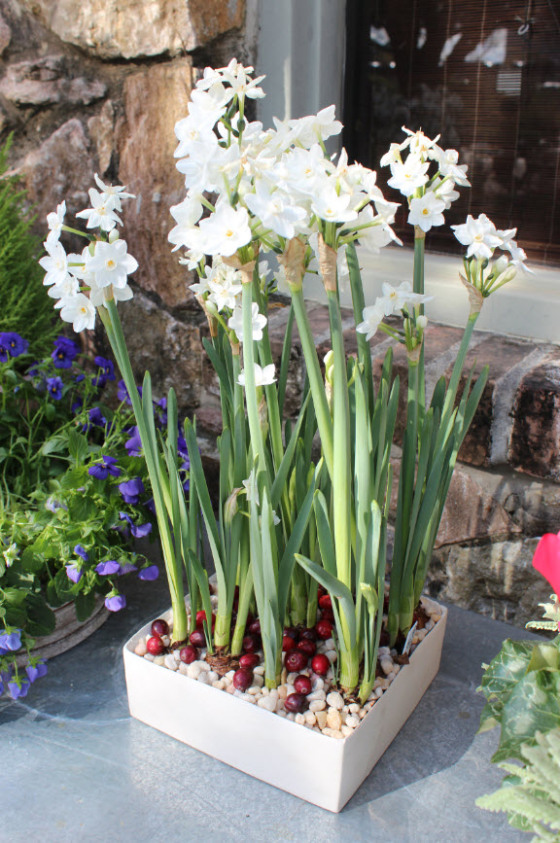
I love the white gravel and cranberries!
Growing Paperwhites in Pebbles
Paperwhite bulbs are almost as pretty as the flowers they produce. You can highlight the attractive bulbs by growing them in dishes filled with gravel or pebbles. I love this method and I have seen some creative people create very attractive displays in containers ranging from teacups to vintage coffee tins. If growing your bulbs in this manner simply place enough gravel or pebbles around the bulbs to support them. Then fill your container with just enough water to come in contact with the bottom of the bulbs. Keep the water at this level throughout the plants life and follow the steps mentioned above to extend their bloom.
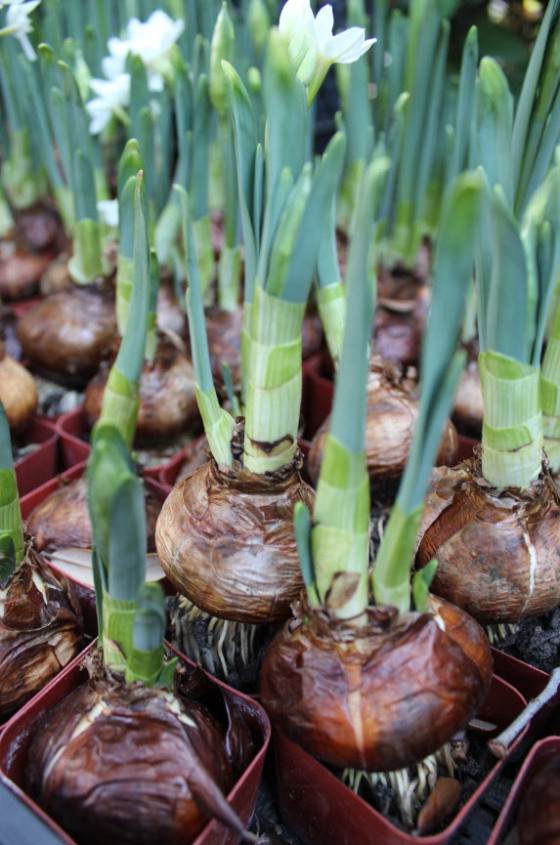
I think paperwhite bulbs are almost as pretty as their blooms
Droopy Foliage
About the only drawback these flowers have is their tendency to produce droopy leaves. While this doesn’t hurt the plant, it can make your arrangement look a little messy. These droopy leaves are partially caused when your plants do not get enough direct sunlight. If you have a bright, sunny spot try and grow them there and rotate them every few days. If not there are many cute and decorative ways to control the droop. One of the easiest is to glue an attractive ribbon midway up the foliage. There are also several ways to “stake” your foliage. Check out this cute “stake” that my friend C.L. Fornari at “Coffee for Roses” made from native vines that grow around her yard.
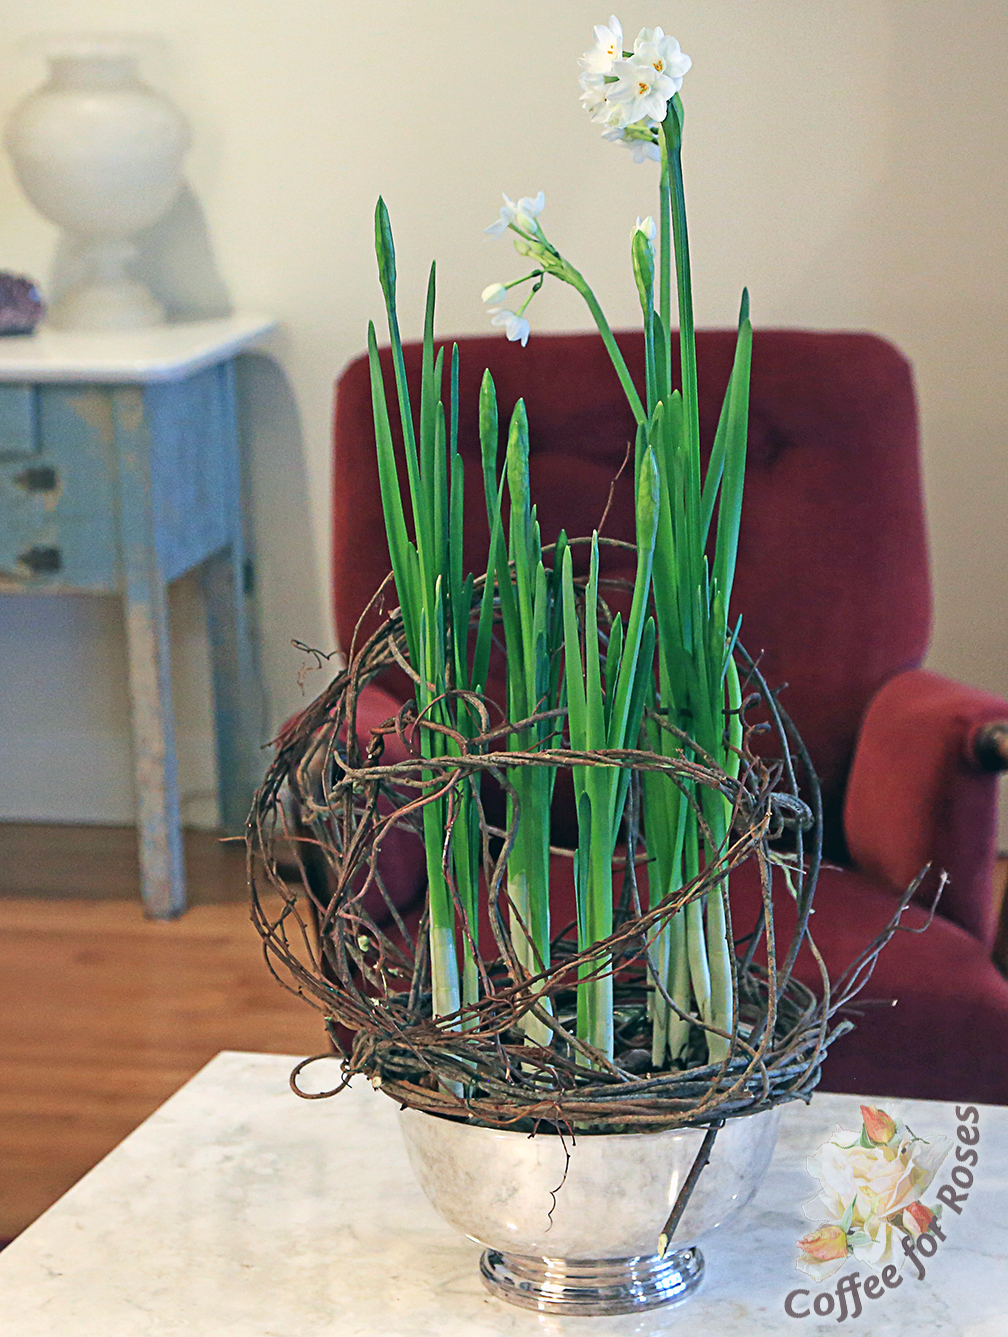
Lovely homemade support made from wild vines. Great and decorative way to support your foliage from C. L. Fornari at the “Coffee for Roses” blog. Check it out at the link above.
Growing Paperwhites Outside
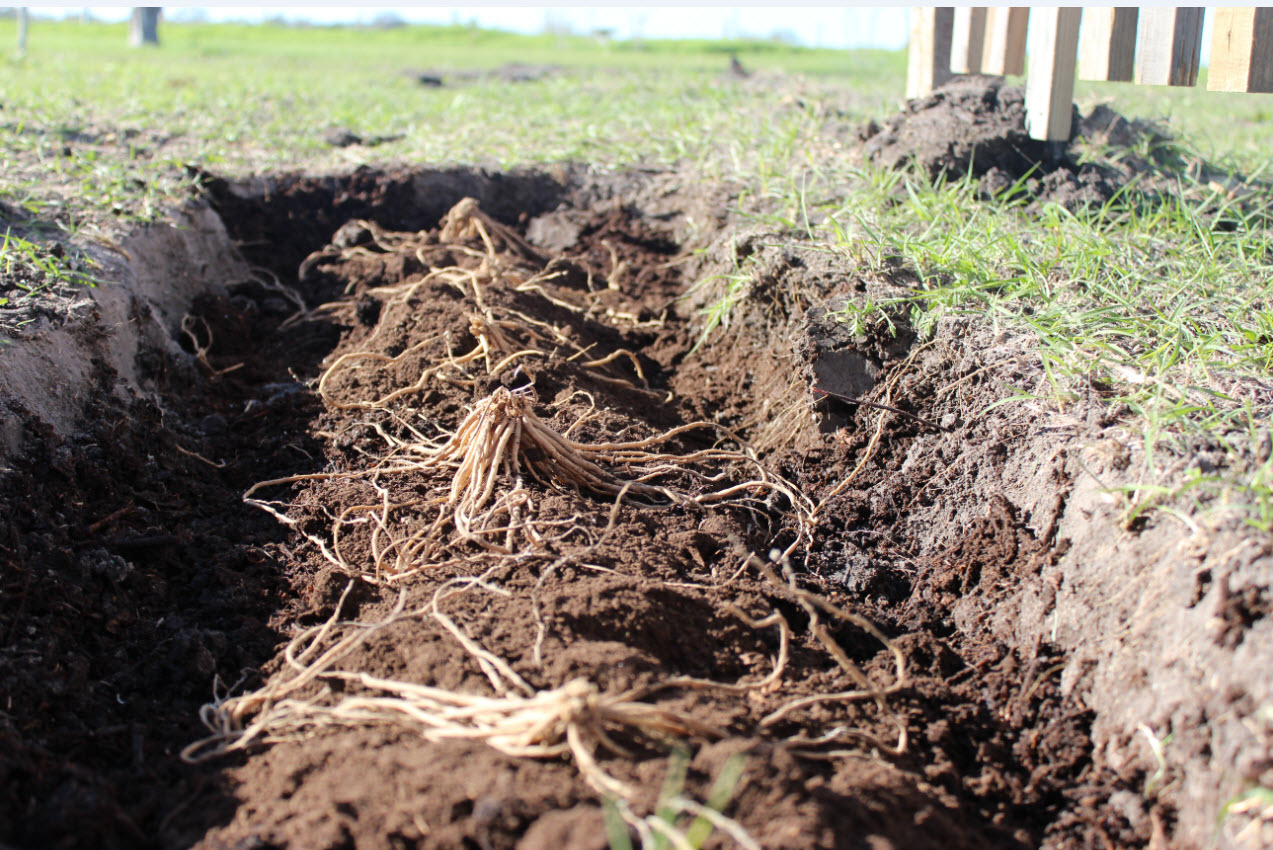
If you live in the south, you don’t have to throw your bulbs away after the blooms fade. Paperwhites do great outdoors and they will be the first winter bulbs to bloom in your beds. Simply plant them about one bulb’s length deep in full sun and well-draining soil. Because of their Mediterranean heritage they do well here on normal rainfall so you can plant them in places that are hard to reach with the hose. Since they bloom so early (November) there is a good chance that an early freeze will nip their buds before they flower. No worries. While you may not get flowers every year you will get a lovely clump of green foliage in your bed that will do the photosynthesis needed to replenish the bulb for next year’s bloom.
This post has been shared on The Homeacre Hop. This week’s hop has a ton of great holiday ideas. Check it out!

Paperwhites growing around the perimeter of an abandoned homesite on a friends property.