Lettuce is a very interesting crop to me. Most people I know eat a ton of it. However, I have never had anyone tell me that lettuce is their favorite vegetable of all time. In fact, if you asked ten people to name their favorite vegetables, I am willing to bet that lettuce would not make anyone’s list. At its best, lettuce is a just an exceptional supporting character. While you won’t find many recipes that feature lettuce, we all know that our salads and sandwiches are much better when lettuce is a part of them.
Lettuce may not be your favorite food but it sure makes a lot of your favorite foods better!
People have been eating lettuce for a very long time. Scientists believe that lettuce was domesticated about 5000 years ago in ancient Egypt. Sometime around that time period, the Egyptians started turning a weed whose seeds they used for oils and medicines into a leafy food source. The Egyptians eventually shared lettuce with the Greeks and the Greeks eventually shared it with the Romans. In fact, the term “lettuce” came from the Roman name for the plant “lactuca”.
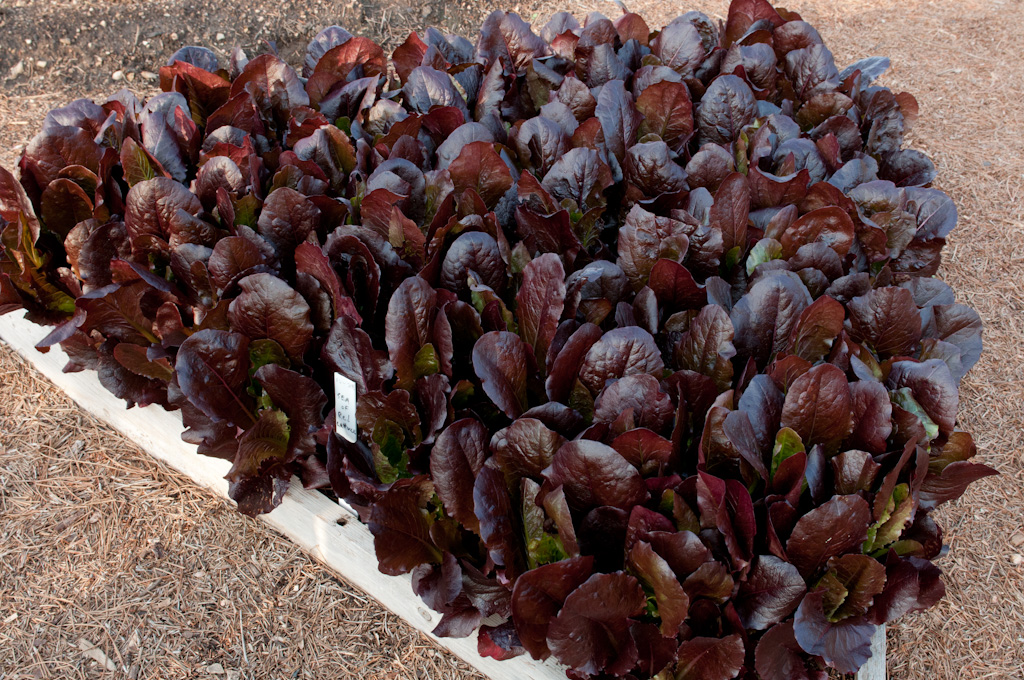
Since lettuce readily cross pollinates, breeders have built a wide array of varieties
Since lettuce cross pollenates easily, breeders have produced a wide array of plant types and colorations. Lettuce types range from loose, frilly leaved varieties to the tight balls of leaves you see in iceberg lettuce. Lettuce coloration can vary from pale green to deep burgundy with some varigations that have both colors. Because of this range of colors and forms I use lettuce as an ornamental as much as I do for its nutritive qualities. Lettuce is generally broken up into seven categories based on leaf structure and use. These categories are leaf, romaine, crisphead, butterhead, summercrisp, stem and oilseed. Seeds of the first five are readily available to the home gardener.
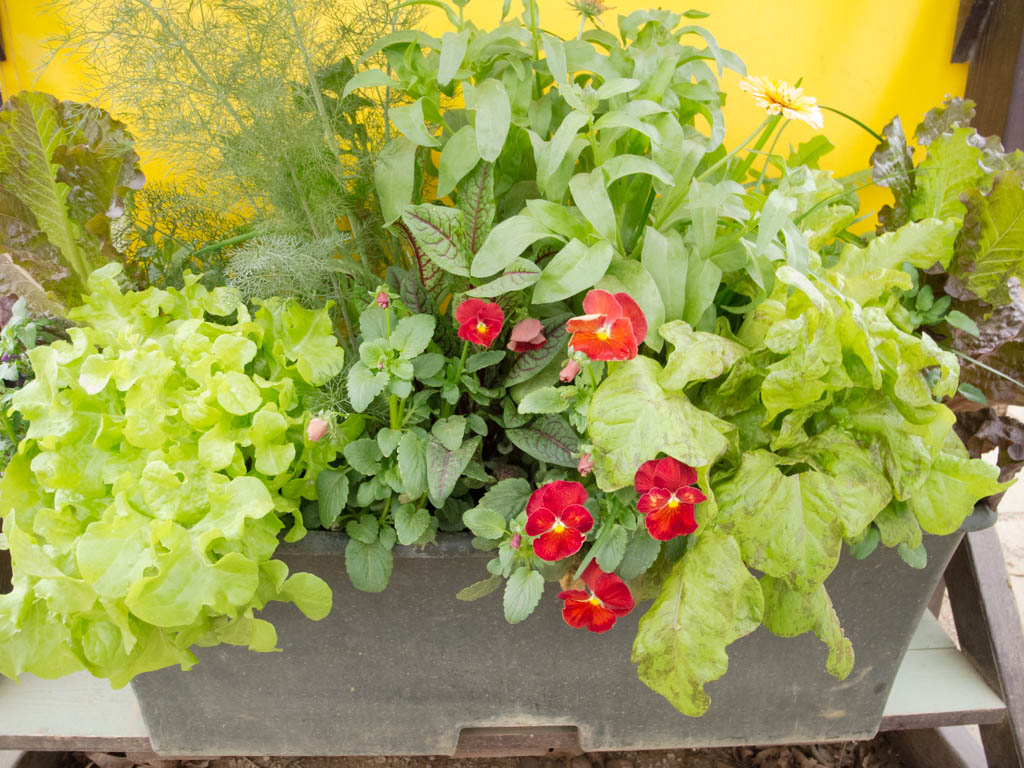
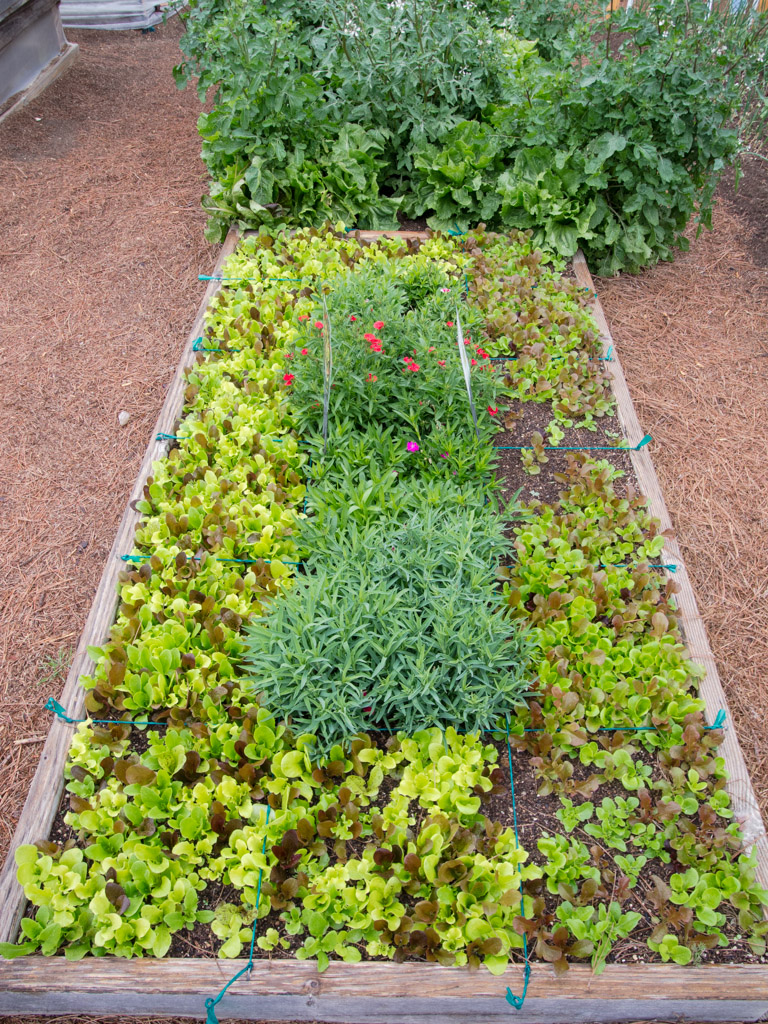
Lettuce’s many colors and textures make it as useful in the flower bed as it is in the kitchen garden. Photo by Patty Leander
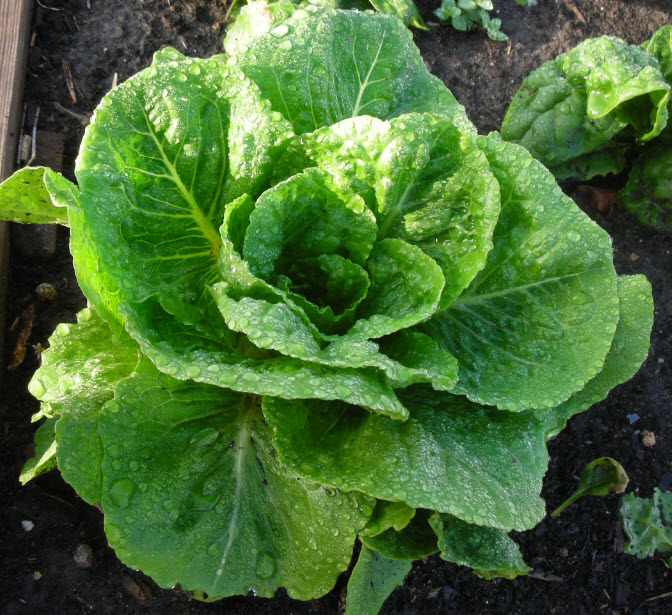
Growing Lettuce – Lettuce is a great crop for the beginning gardener. It is fairly easy to grow and it is quick to harvest. However, lettuce does have a couple of problems you need to be aware of before you plant. First, lettuce of all types hates high heat. Sustained temperatures over 75 degrees will make lettuce “bolt”. Bolting is a term that is used to describe the process where some trigger (heat or stress like drought, weed competition or pests) makes the leafy, edible plant we eat produce a tall stalk that flowers and seeds. Once this happens lettuce leaves become tough and bitter. Second, just about every pest known to the gardener likes lettuce as much as we do. Be aware that if you grow lettuce for many seasons you will eventually have problems with mammals, bugs, bacteria and viruses.
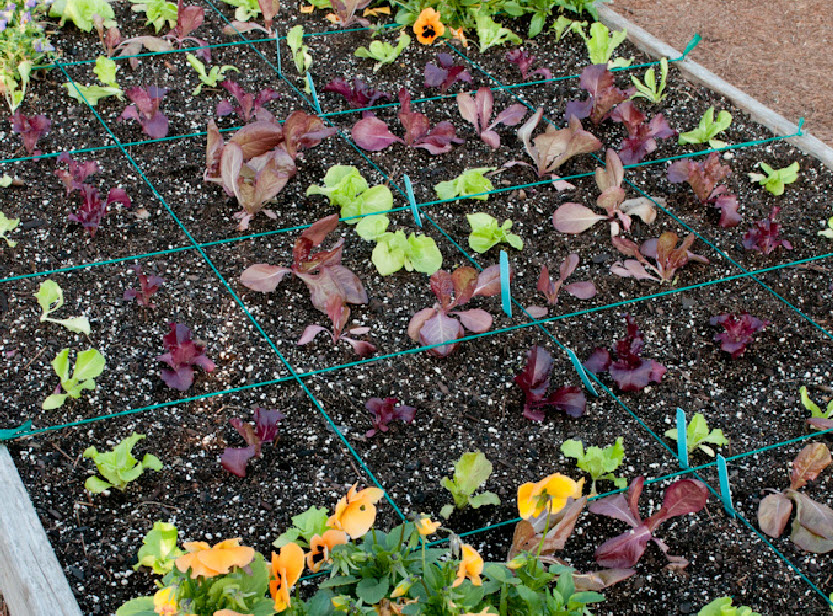
Baby lettuce in a square foot garden. Photo by Bruce Leander
Here are some basics for growing lettuce. In addition to cool temperatures (45 to 75 F are preferred by most varieties), most lettuce prefers a soil that is slightly acidic. Most lettuce varieties do best in soils with a pH of 6.5 to 6.8. With so much crossbreeding going on with lettuce you can find varieties that will tolerate more alkaline soils. Lettuce also likes loose, nitrogen rich soil. Since the plants have a relatively small root system they need ample water and nutrition in the soil to help them thrive. Also, even though many varieties will tolerate some shade, most prefer at least 6 hours of sunlight a day.
When it comes time to plant remember that lettuce seeds actually need light to germinate. Because of this, cover them lightly with soil when you plant. If you plant the seeds too deeply they will never germinate. When I grow romaine or heading type lettuces I start my plants indoors in coir pellets around the first week of September. I then transplant them in late September or early October. I place my transplants about a foot apart for head types and six inches apart for upright types. Lettuce that is planted too close together deprives the plants of sunlight they need to thrive and also invites in a large number of pests.
I use lettuce to line the beds of my potager
When planting leaf type lettuce I direct sow the seeds in my garden beds. I dig a shallow furrow with my Cobrahead Hand Hoe and then sprinkle the little seeds down the row. Once the seeds germinate I thin to allow at least 6” between plants. Lettuce needs sunlight to develop color and nutrients. Lettuce that is planted too closely together will be stunted, pale and low in nutrients.
When trying to establish seeds it is important to keep your seed bed consistently moist. Since these little seeds were basically planted on top of the ground, their first roots are often exposed to air. If your seed beds are too dry, these little roots will dry out and die.
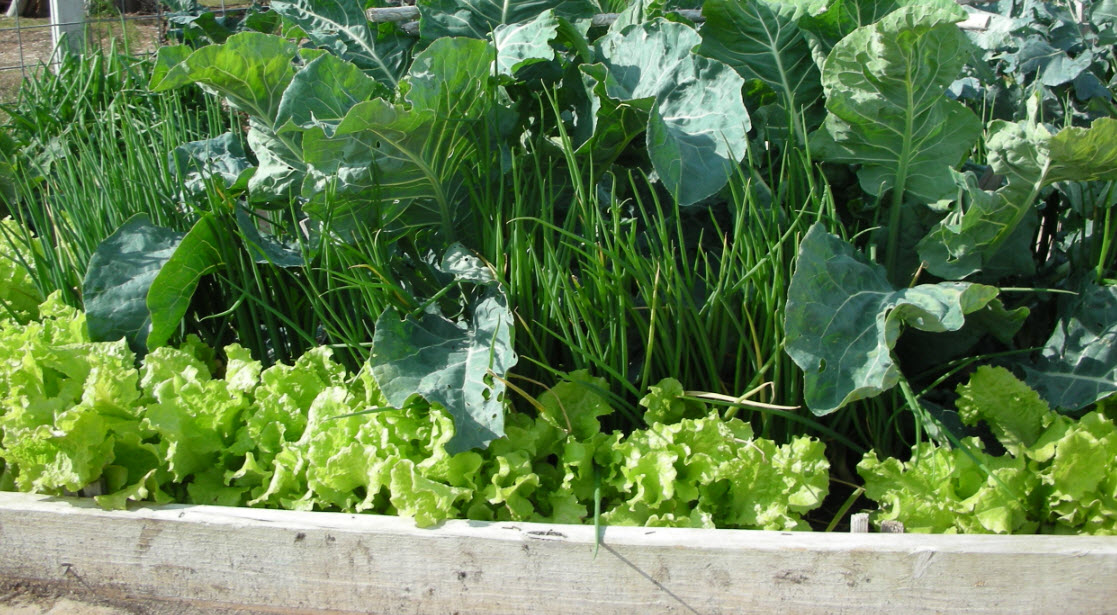
Lettuce does not compete well with weeds. Keep your beds weed free to ensure the best quality lettuce. Photo by Bruce Leander
Once your little plants are established you want to keep the area around them weed free. Lettuce has a small root system. Most plants only have some type of small taproot and then a few lateral roots. Weeds can easily suck up the moisture that these plants need to thrive. Also, if lettuce feels stress from weeds it will begin to bolt.
Since most varieties of lettuce are ready to harvest in about 45 days you should not need to fertilize if you plant in a bed that has been well worked with organic material. However, if you want the biggest and greenest leaves possible you can provide a weekly supplement of compost tea or other liquid organic product. If using a commercial product (like Miracle grow), mix the solution at half the recommended rate and apply weekly.
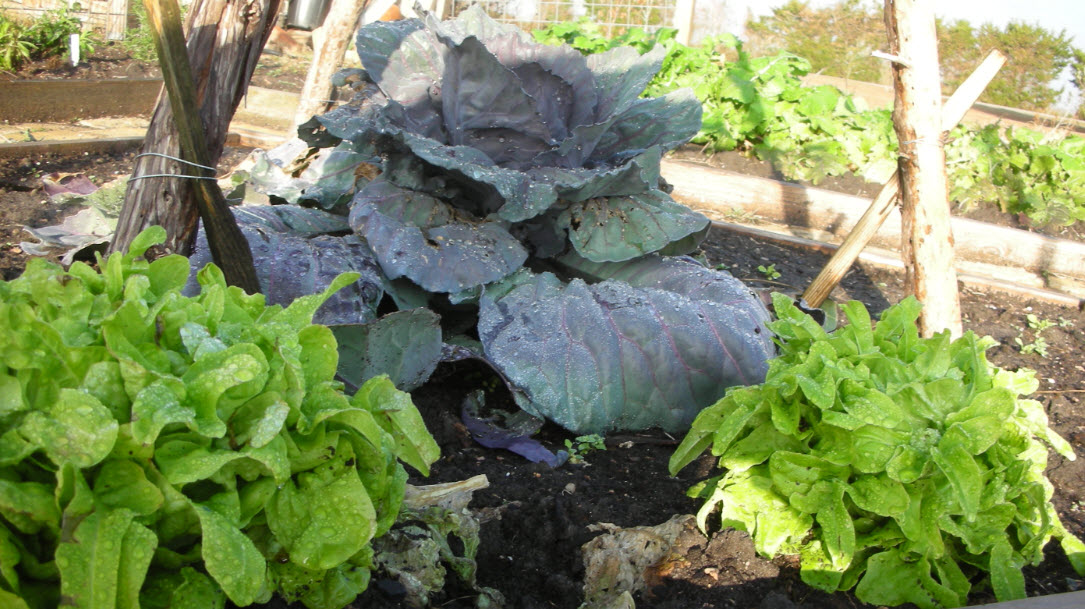
Lettuce is plagued by a variety of pests. Once your plants are established begin to watch for bug damage or signs of disease
Once your plants become established begin to watch for problems. Bunnies love lettuce and so do many different caterpillars and bugs. If bugs become a problem you can apply a translucent row cover to help keep them away. Diseases are a different matter. There are several bacterial and viral agents that can attack your lettuce crop. These agents can cause leaf wilt, leaf spot, curled leaves, rot and even death. If you believe you have a virus or bacterial infection you need to remove the plants as soon as possible.
Since lettuce is a cool season plant you always have to be prepared to manage unexpected freezing temperatures. Luckily, even though lettuce is about 96% water, it is a fairly hardy plant. Most varities can survive temperatures as low as 28 without much damage. If it is going to get colder than that you will need to cover them. While some varieties can take a freeze down to 24 degrees, temps this cold will burn the leaves of almost all varieties. To extended their life as long as possible in cold weather, mulch heavily and set up hoops so you can easily apply row cover.
 One more thing, lettuce is a great container plant. I love growing lettuce in containers because I can keep them close to my house for easy harvest and so I can easily bring them inside when temperatures plummet. With so many textures and colors it is easy to make lovely and edible potted arrangements to keep by the back door. Plus, if you plant the leafy or romaine types, you can snip off the outer leaves for smaller harvests and keep the same plants producing for months.
This post has been shared on the Homestead Barn Hop. Hops are great way for you to connect with and learn from some of the best bloggers on the web. Be sure to check them out!