A Monday Holiday

Surprise Easter Lilies

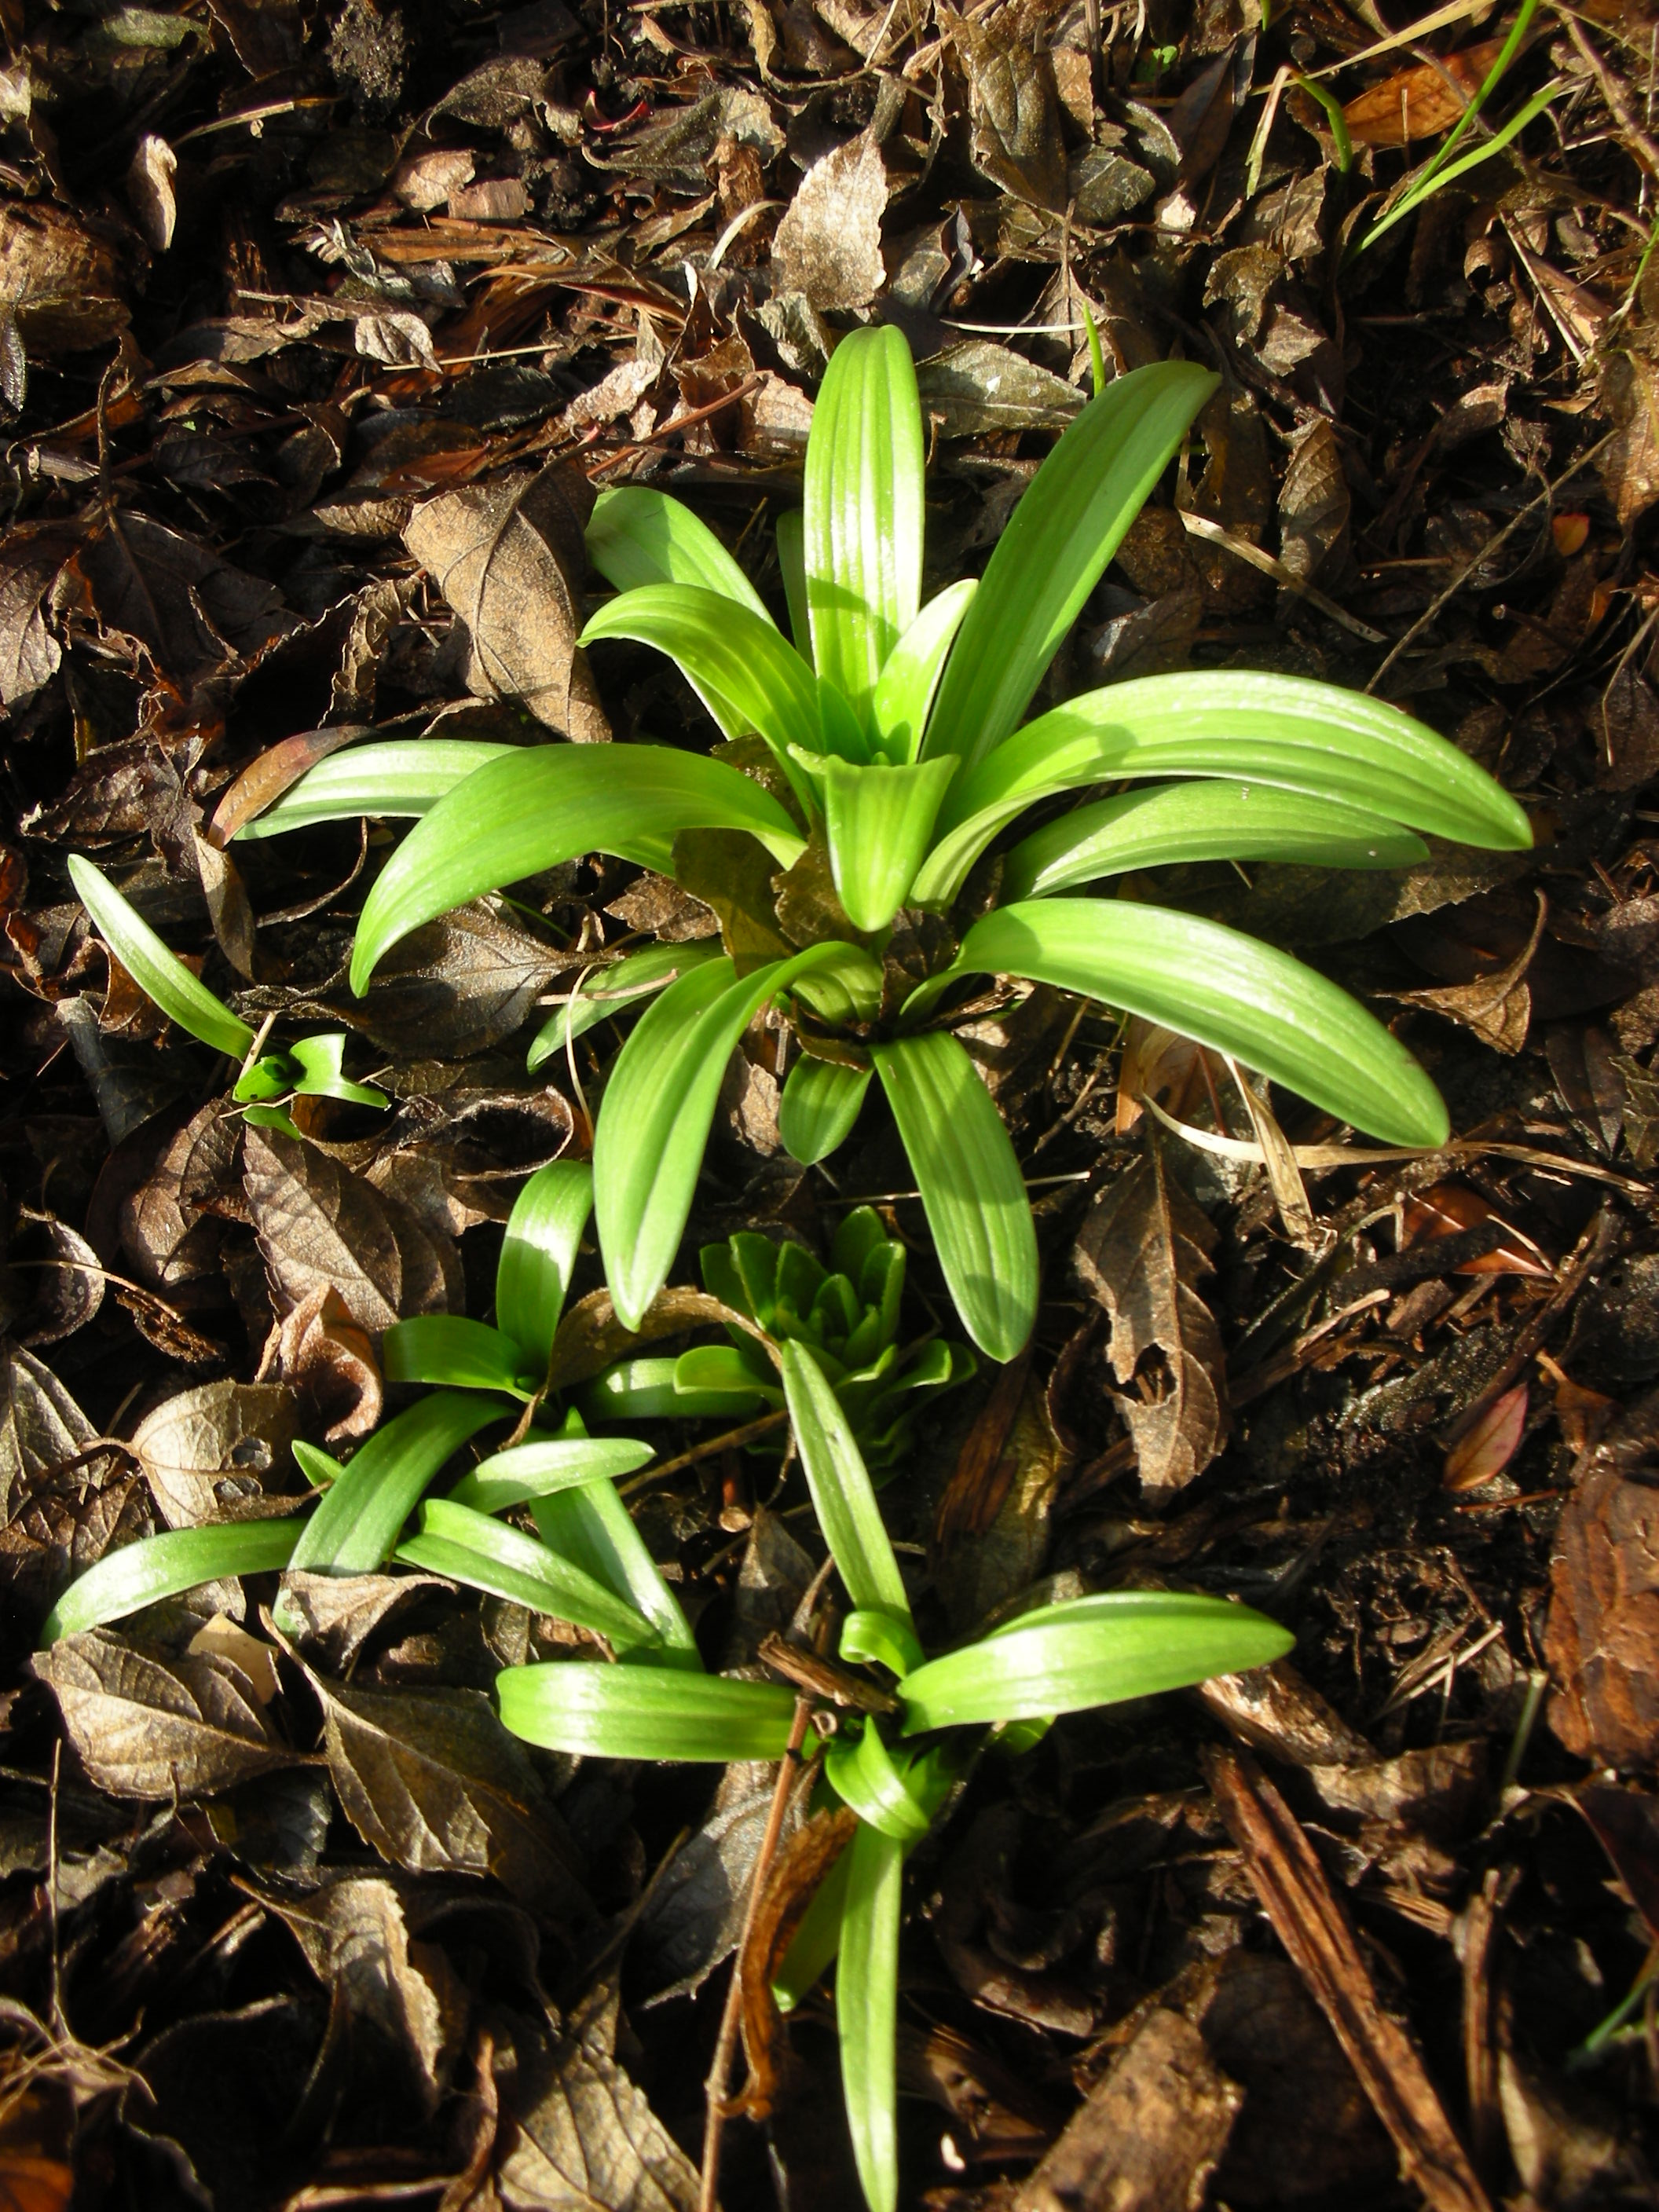
We have been so busy with the holidays and the remodel that our beds have suffered.  All of them need weeding and trimming.  This past Monday was so lovely that my wife and I decided to do some of that much need yard work. We started the morning by cutting back the Lantana that grows by our back deck.  While we were pruning I got one of those little surprises that I just love in the garden.  Tucked under the leaves and the bare branches of last year’s lantana was this year’s Easter Lilies!  Truth be told, I had forgotten they were there.  I won a single stem at our church picnic last summer and I just stuck it in the ground.  Well, that was a good decision.  That one plant has now divided and given me five new plants for the price of one.  I have never grown Easter Lilies before so I am not sure if this much division is common, but I am excited about it.

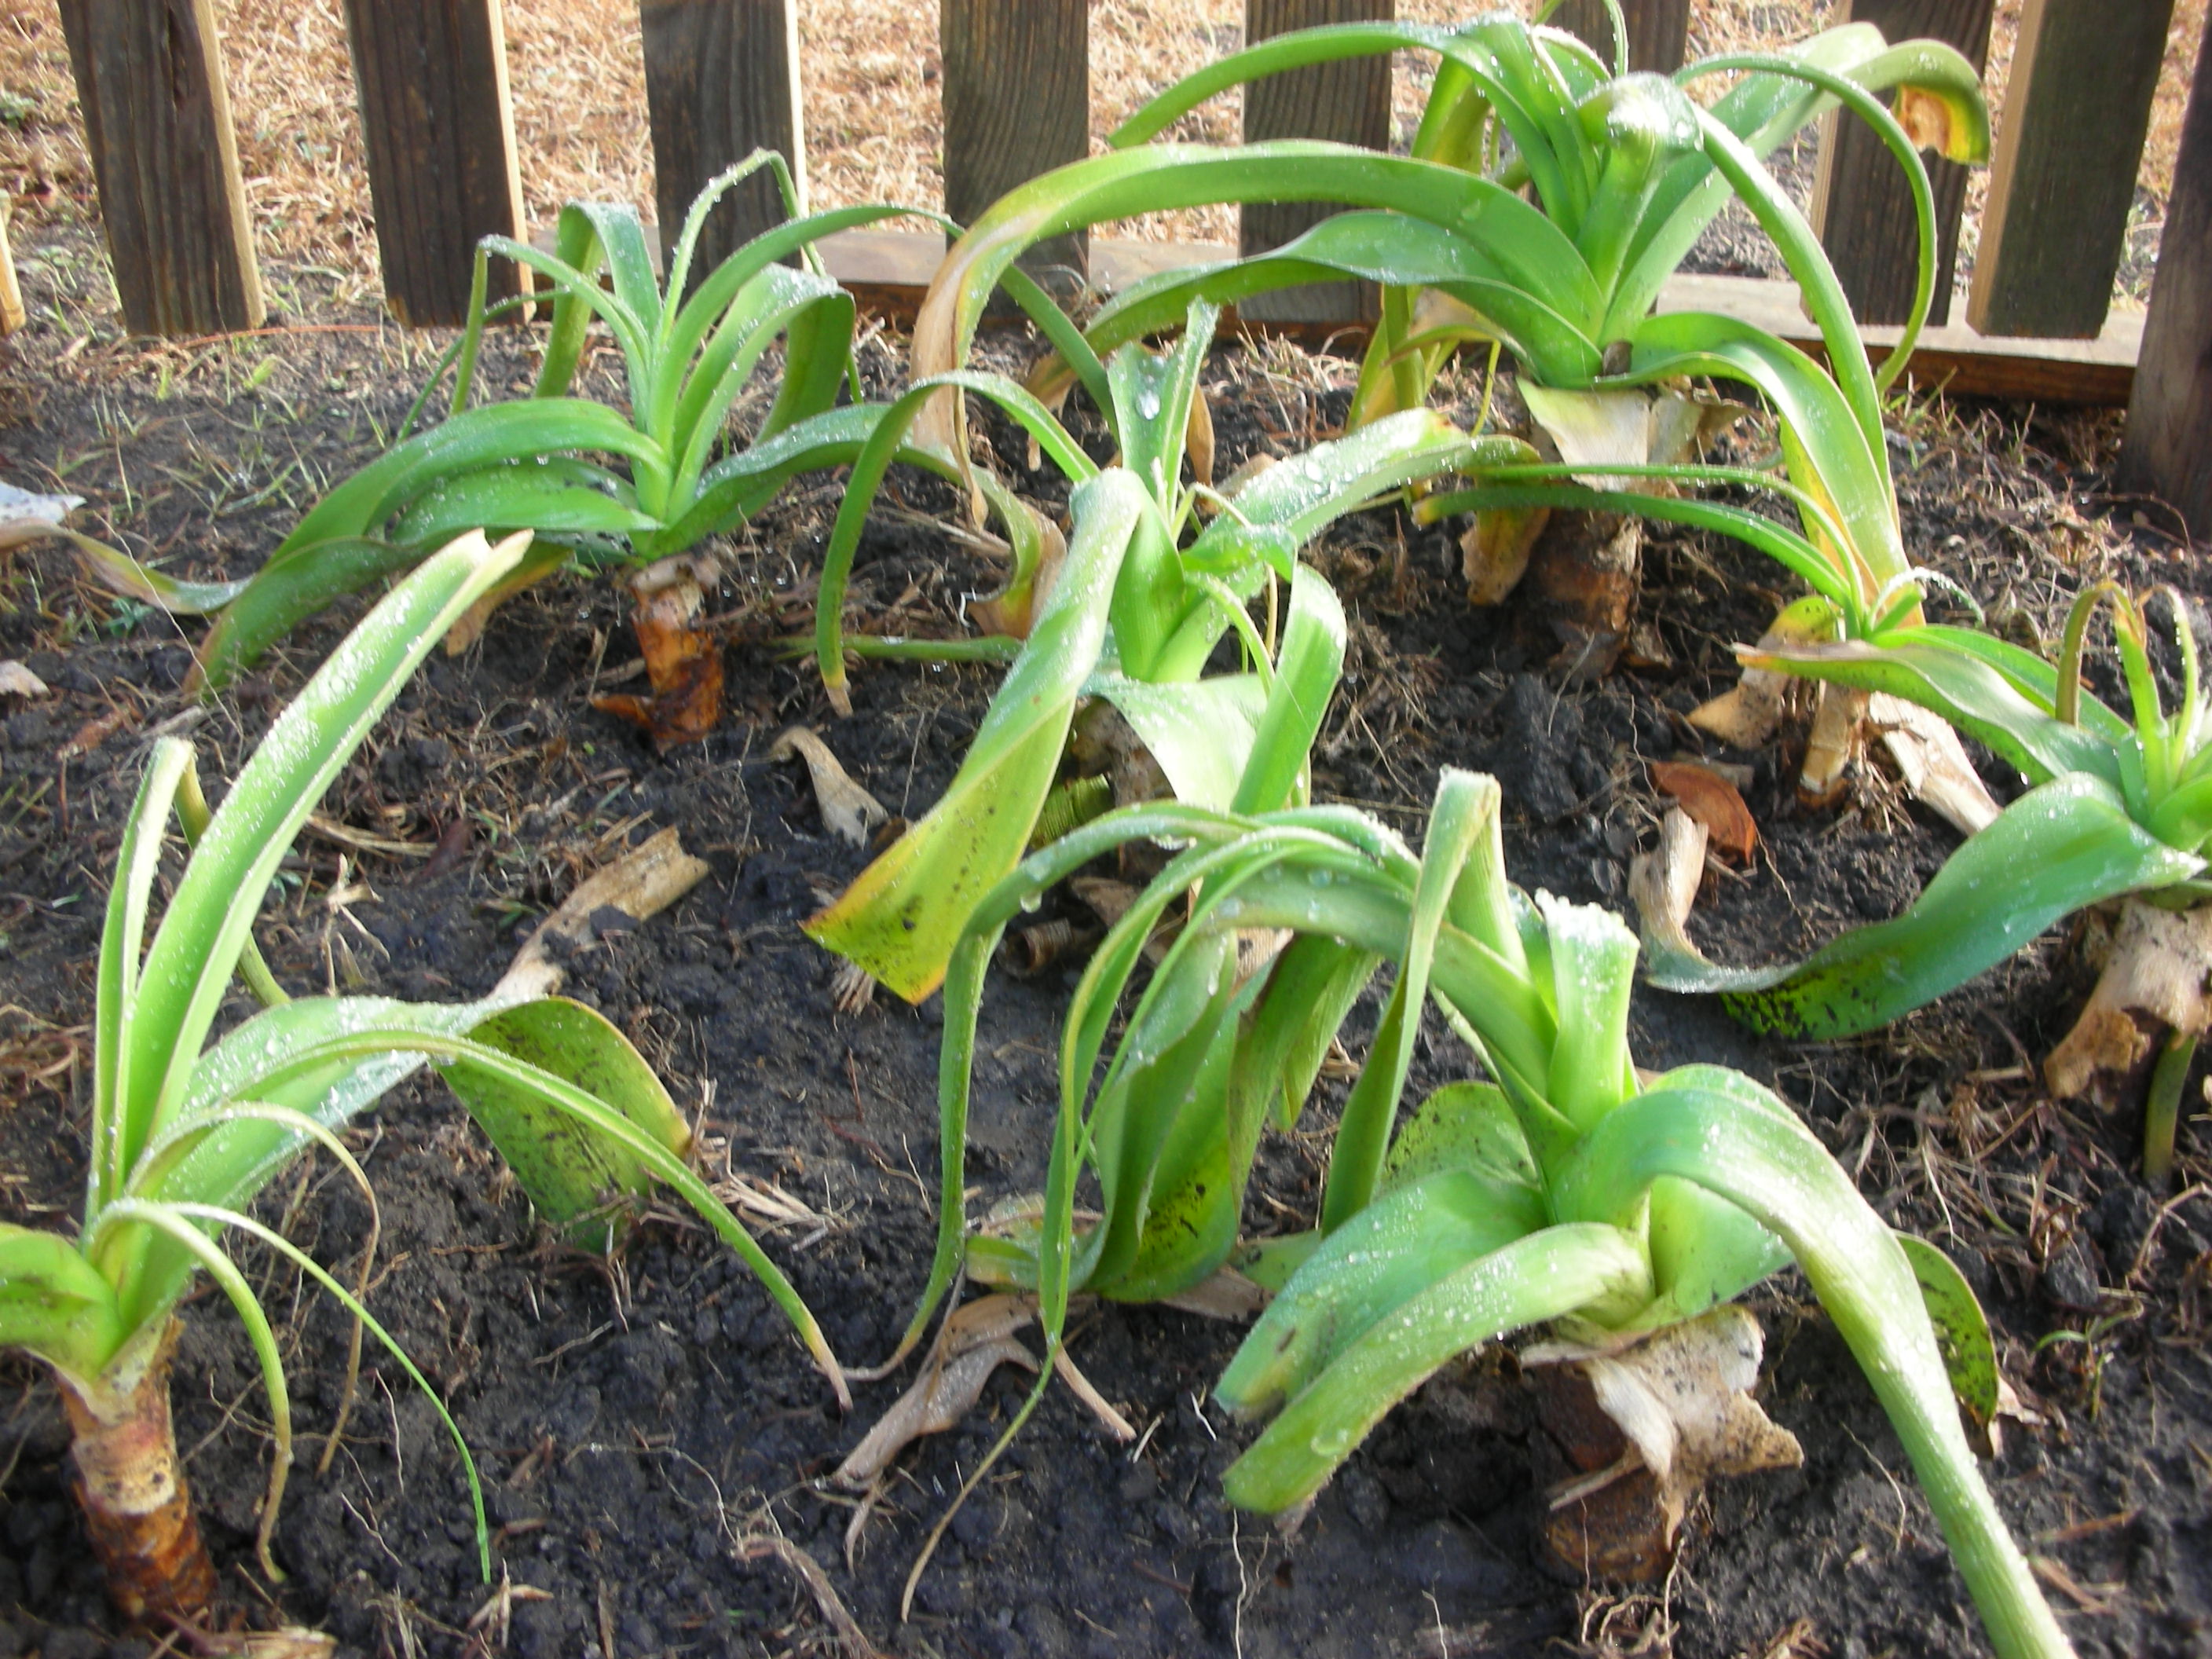
The Milk and Wine Crinums that I moved

After we cleaned up our mess I decided to do my absolute favorite garden chore – move things!  Fall is the best time for this, but, with a little care, you can move plants anytime of the year.  My friend and garden mentor Cynthia Mueller says that if you move a plant correctly, it won’t even know its been moved.  I have fully embraced her advice.  The first thing that I moved was a bunch of milk and wine crinums (Crinum x herbertii).  I got my crinums from a friend.  I think that is how most people get them.  I had several small clumps scattered around the yard so I decided to dig them up and make two masses on either side of my propane tank.  I am hoping that their lush spring and summer foliage will help camouflage my ugly propane tank.  Next, I moved a few clumps of daffodils and narcissus that were left by the previous homeowner.  He had planted them willy nilly all over the place.  I am slowly trying to sort them out and plant them in masses.

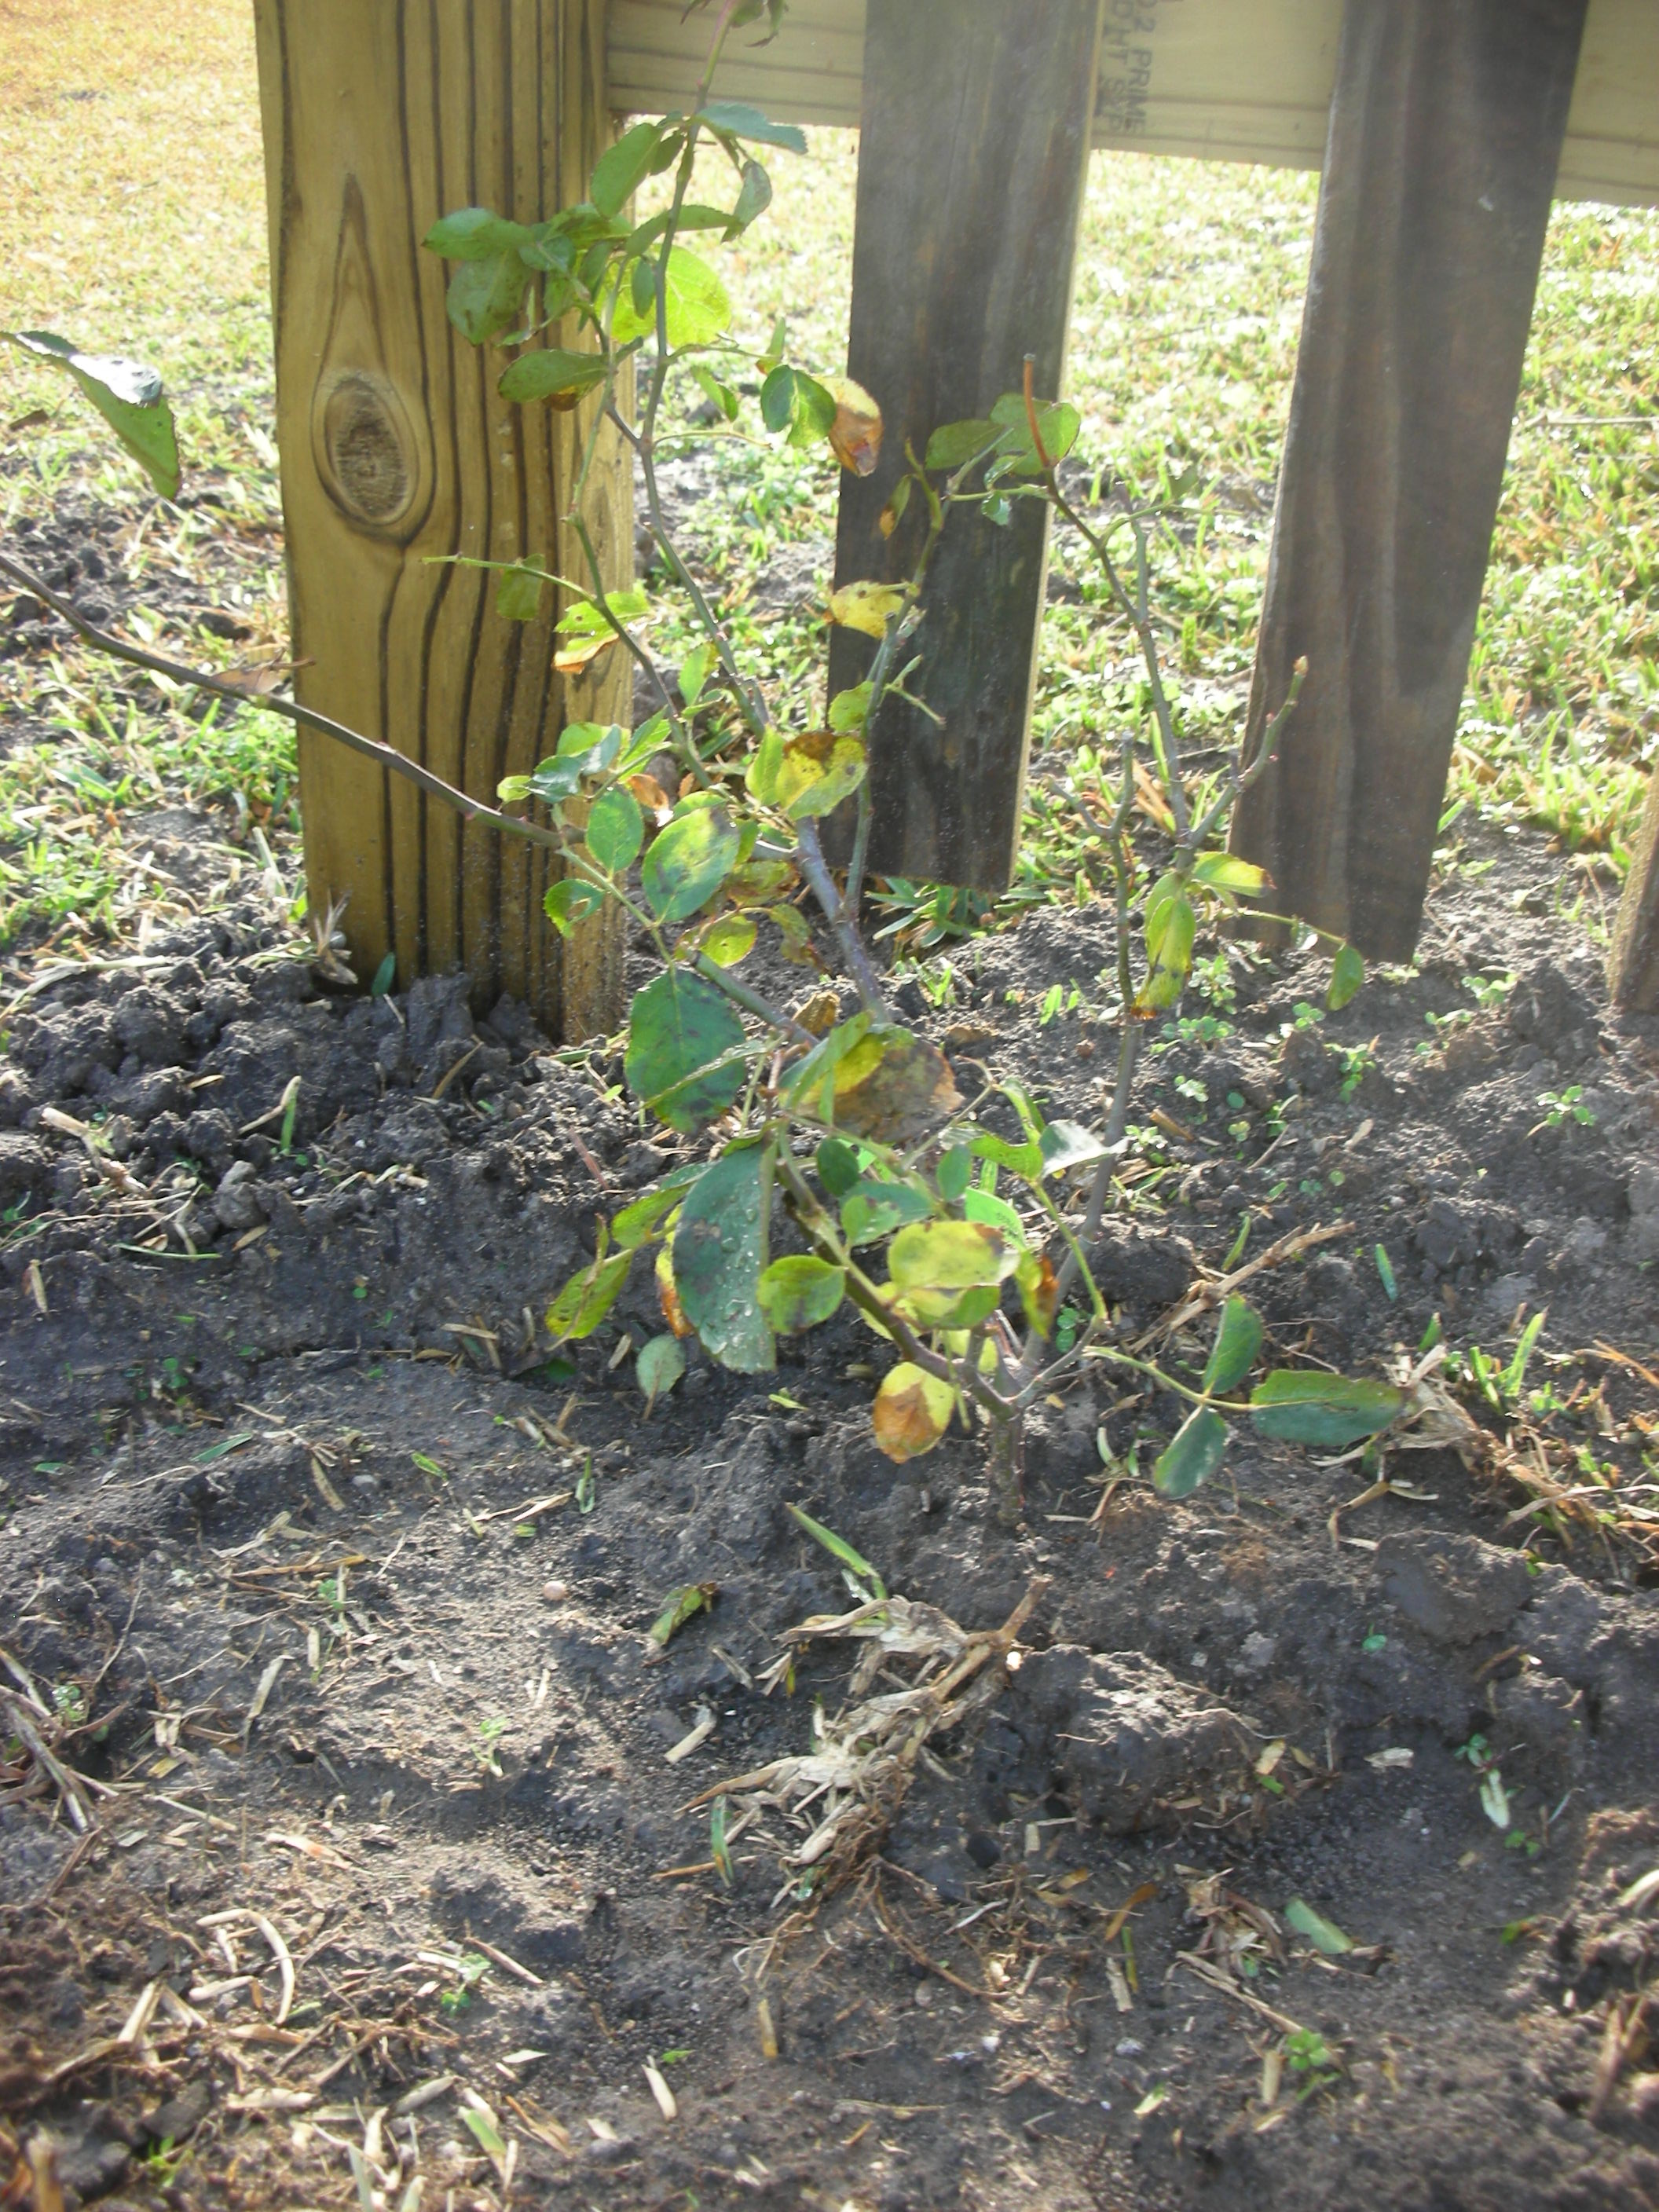
The "Don Juan" climbing rose that I hope is about to swallow my arbor

Once I ran out of things to move, I did a little planting.  Since I have recently finished the arbor in the picket fence, I planted a Don Juan climbing red rose at the base of it.  Don Juan is a fairly aggressive climbing rose that can grow to 15’.  It has very beautiful deep red velvety double petals and it smells terrific.  I have high hopes that it will be stunning on my white arbor. 

Next, I got to plant some Primrose Jasmine (Jasminum mesnyi) that I have been nursing for the past nine month.  I planted these on the east side of my house.  My house is on a slope and it sits up on blocks, so I have a lot of space between the ground and the bottom of the windows.  Since primrose jasmine makes mounds up to 10’ feet high, I figure this is the perfect plant.  Primrose jasmine is an old-fashioned plant that is often called “Fountains of Gold”.  You can see them growing at old home sites all over Texas.  These plants make a huge mound of arching branches that are covered in double yellow flowers in the spring.  I got mine by pulling up shoots from an existing plant and then potting them.  I have kept them alive now since last spring and I am very glad to finally have them in the ground.

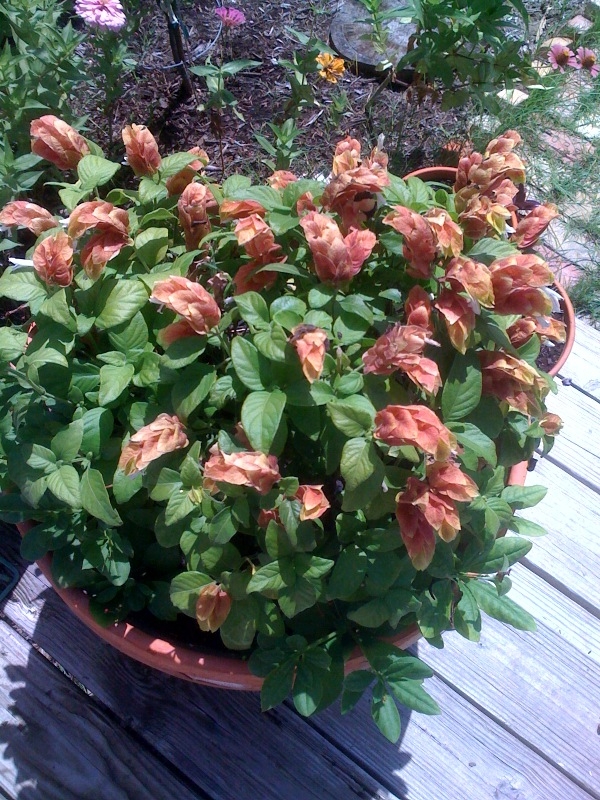
The shrimp plant that I divided and planted in the flower bed

To finish things up, I divided some shrimp plant that I had in a pot.  This one pot made four lovely clumps that I put by the steps to my deck.  I also planted some Society Garlic and day lilies that I had in pots.  I also planted a whole flat of dwarf mondo around the “stump” stepping stones that lead to my faucet.  All in all it was another relaxing and rewarding holiday at the nest.

Christmas Wine

The finished product

This year, we started a new Christmas tradition at the yupneck’s house– bottling homemade wine.  Bottling our wine was the very exciting conclusion to a process that started six months ago.

Wild grapes mature around July 4th in our part of the country.  So, while other folks were celebrating our nation’s birthday with hot dogs and hamburgers, my wife and I were out picking five gallons of Mustang and Muscadine grapes.  Both of these grapes grow in abundance over the fences and fence rows of our county. 

Finished wine waiting to be bottled

The recipe we used is an old Czech and German recipe that has been used in our area for well over one hundred years.  This recipe was passed on to us by Marvin Marberger of Brenham.  Mr. Marberger has been making wine for more years than he cares to remember.  He is pretty famous around here for his wine and we were very lucky to have his help.  I promise to do full post on the actual “making wine” part in the summer.  For now, I am going to focus on the end result.

Our wine sat and fermented on our enclosed back porch for six months.  You know your wine is ready when there are no more bubbles going through the air lock.  Our wine stopped bubbling a couple of months ago.  We let it sit until Christmas just to make sure it was indeed ready.  You see, if you bottle before the fermentation process is complete, then fermentation in the bottle can force out corks or make the bottles explode.  That would be a bad thing, so that’s why we let it sit for so long.

The yupneck's lovely wife sterilizing the bottles

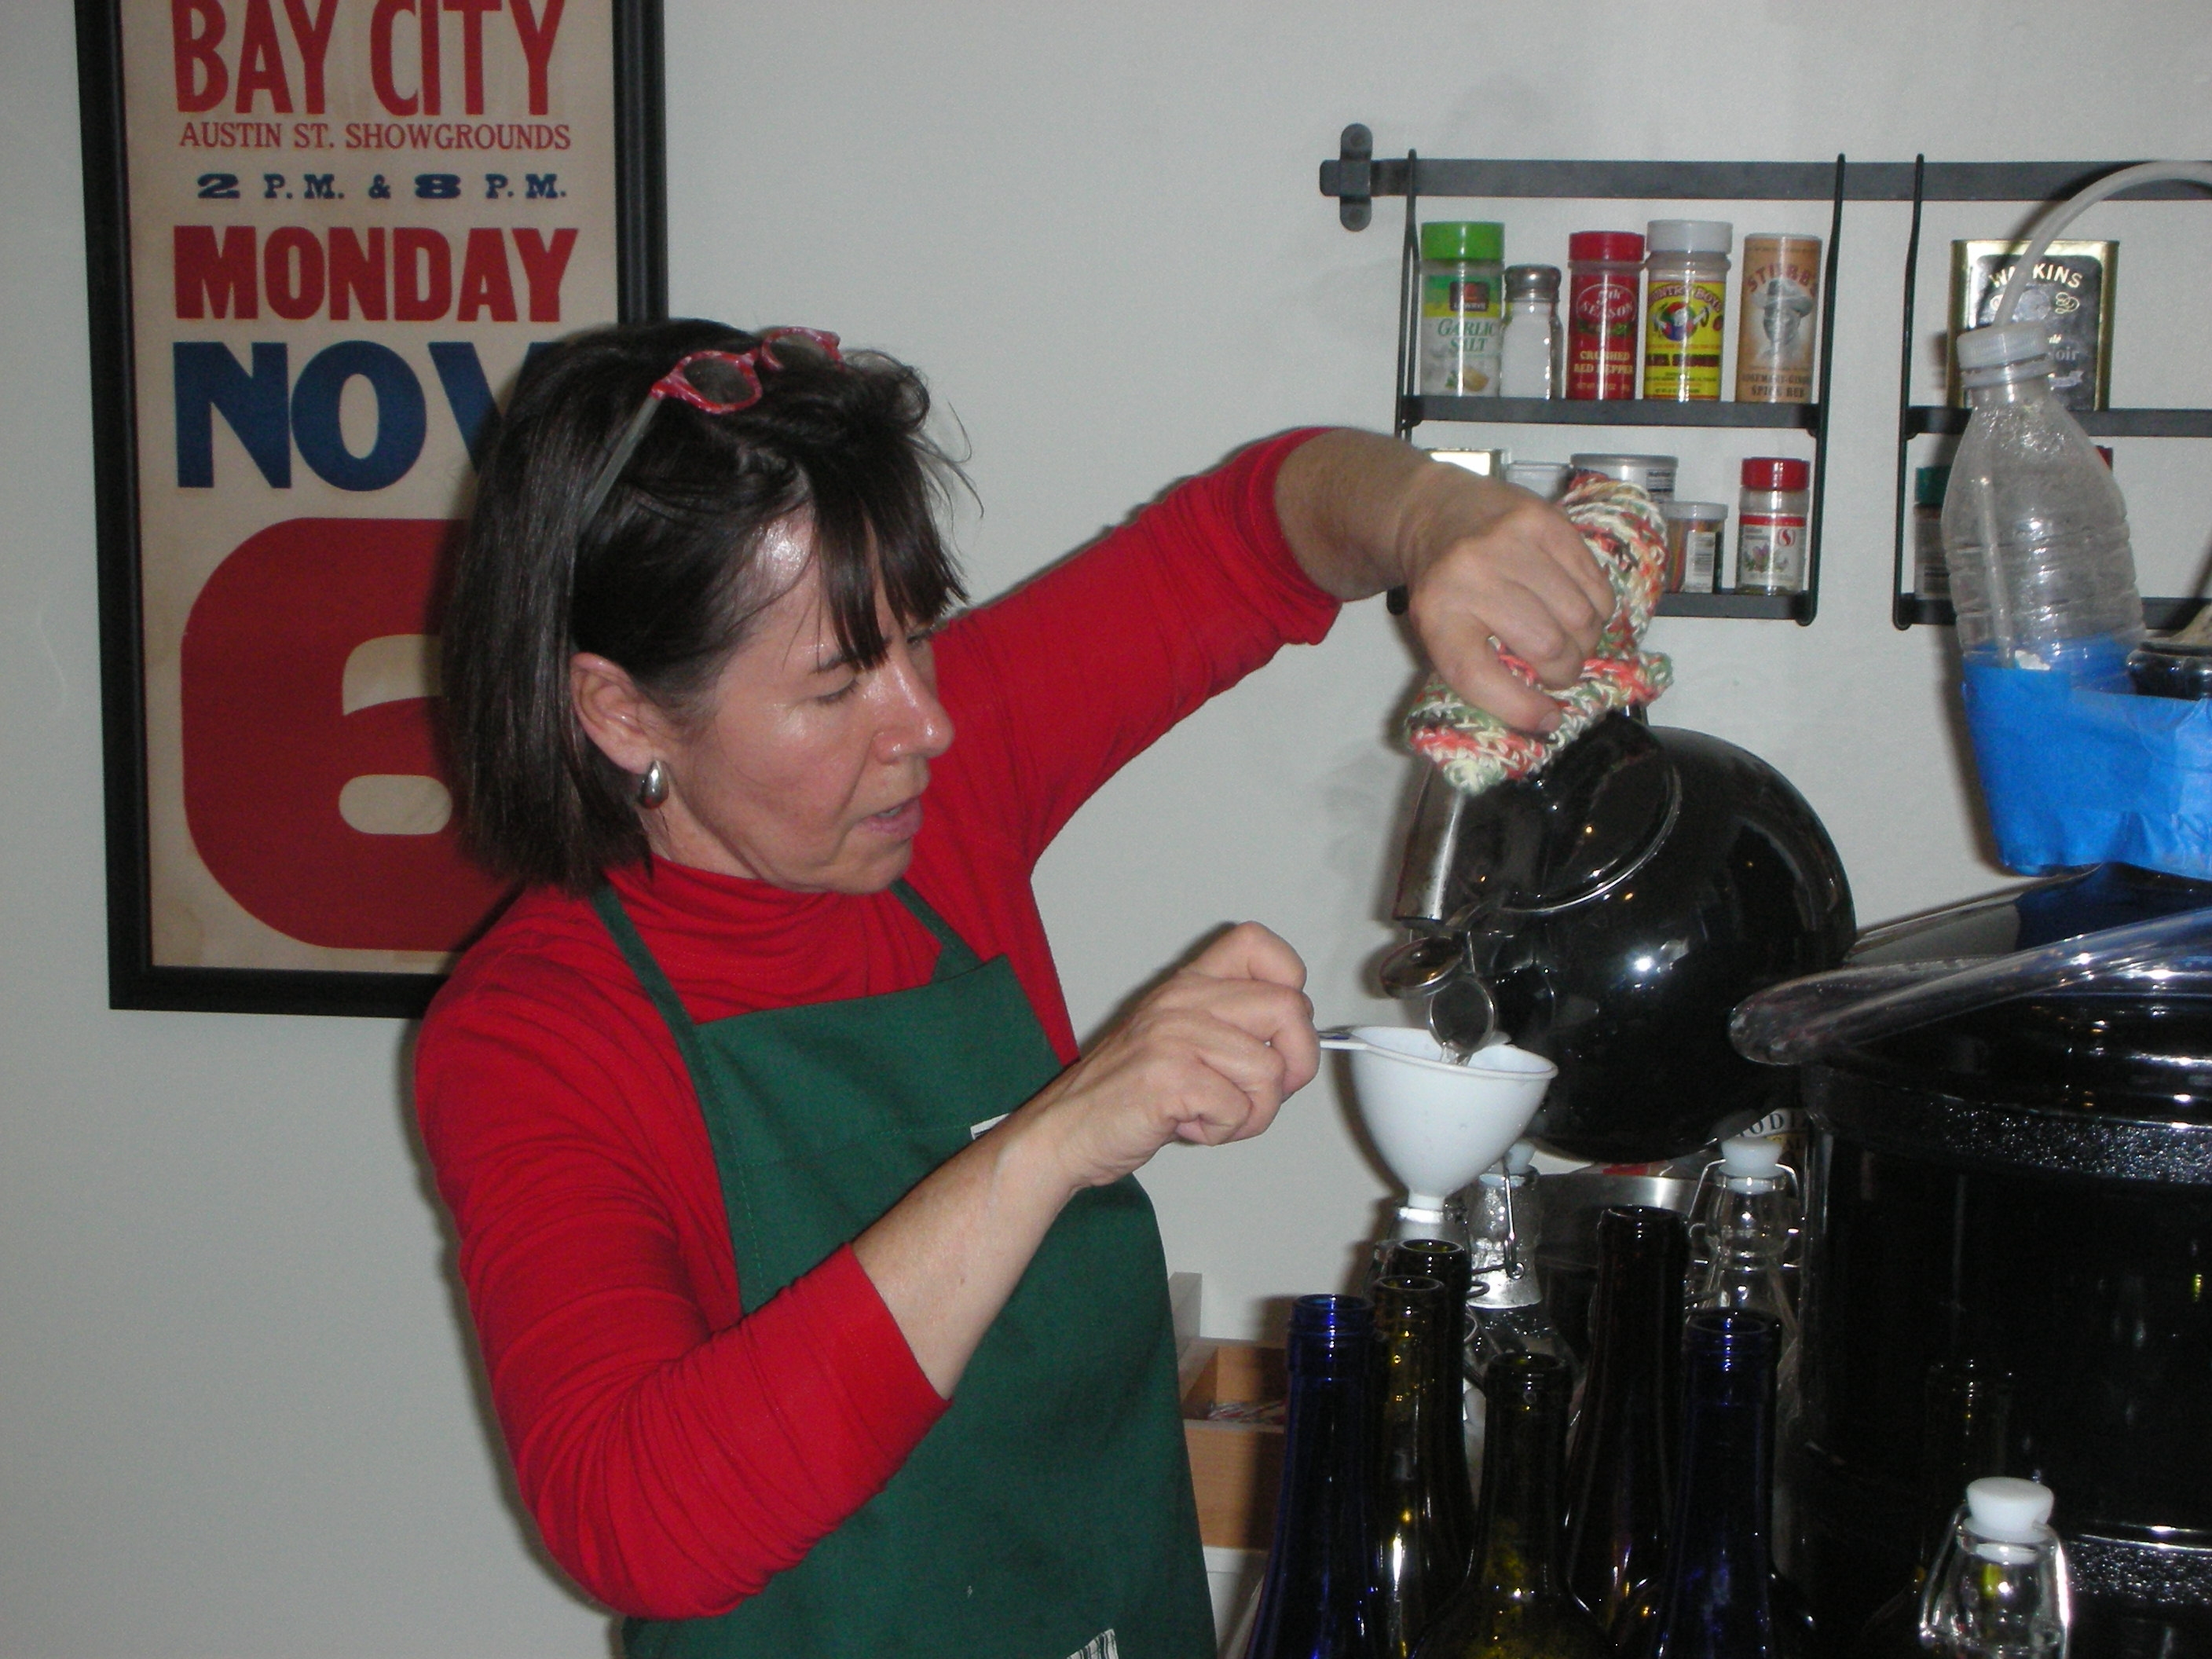
Christmas Eve night, with all of our family around to help, we brought in the wine.  Now bottling homemade wine sounds kind of romantic, but let me tell you, it is a lot of work!  First, you have to sterilize your bottles and corks.  My lovely wife did most of this job.  She would bring water to rapid boil on the stove and then use a funnel to fill the bottles.  Five gallons of wine will fill twenty five 750 ml bottles.  We used nine 1000 ml bottles and thirteen 750 ml bottles. 

Siphoning and filtering the wine

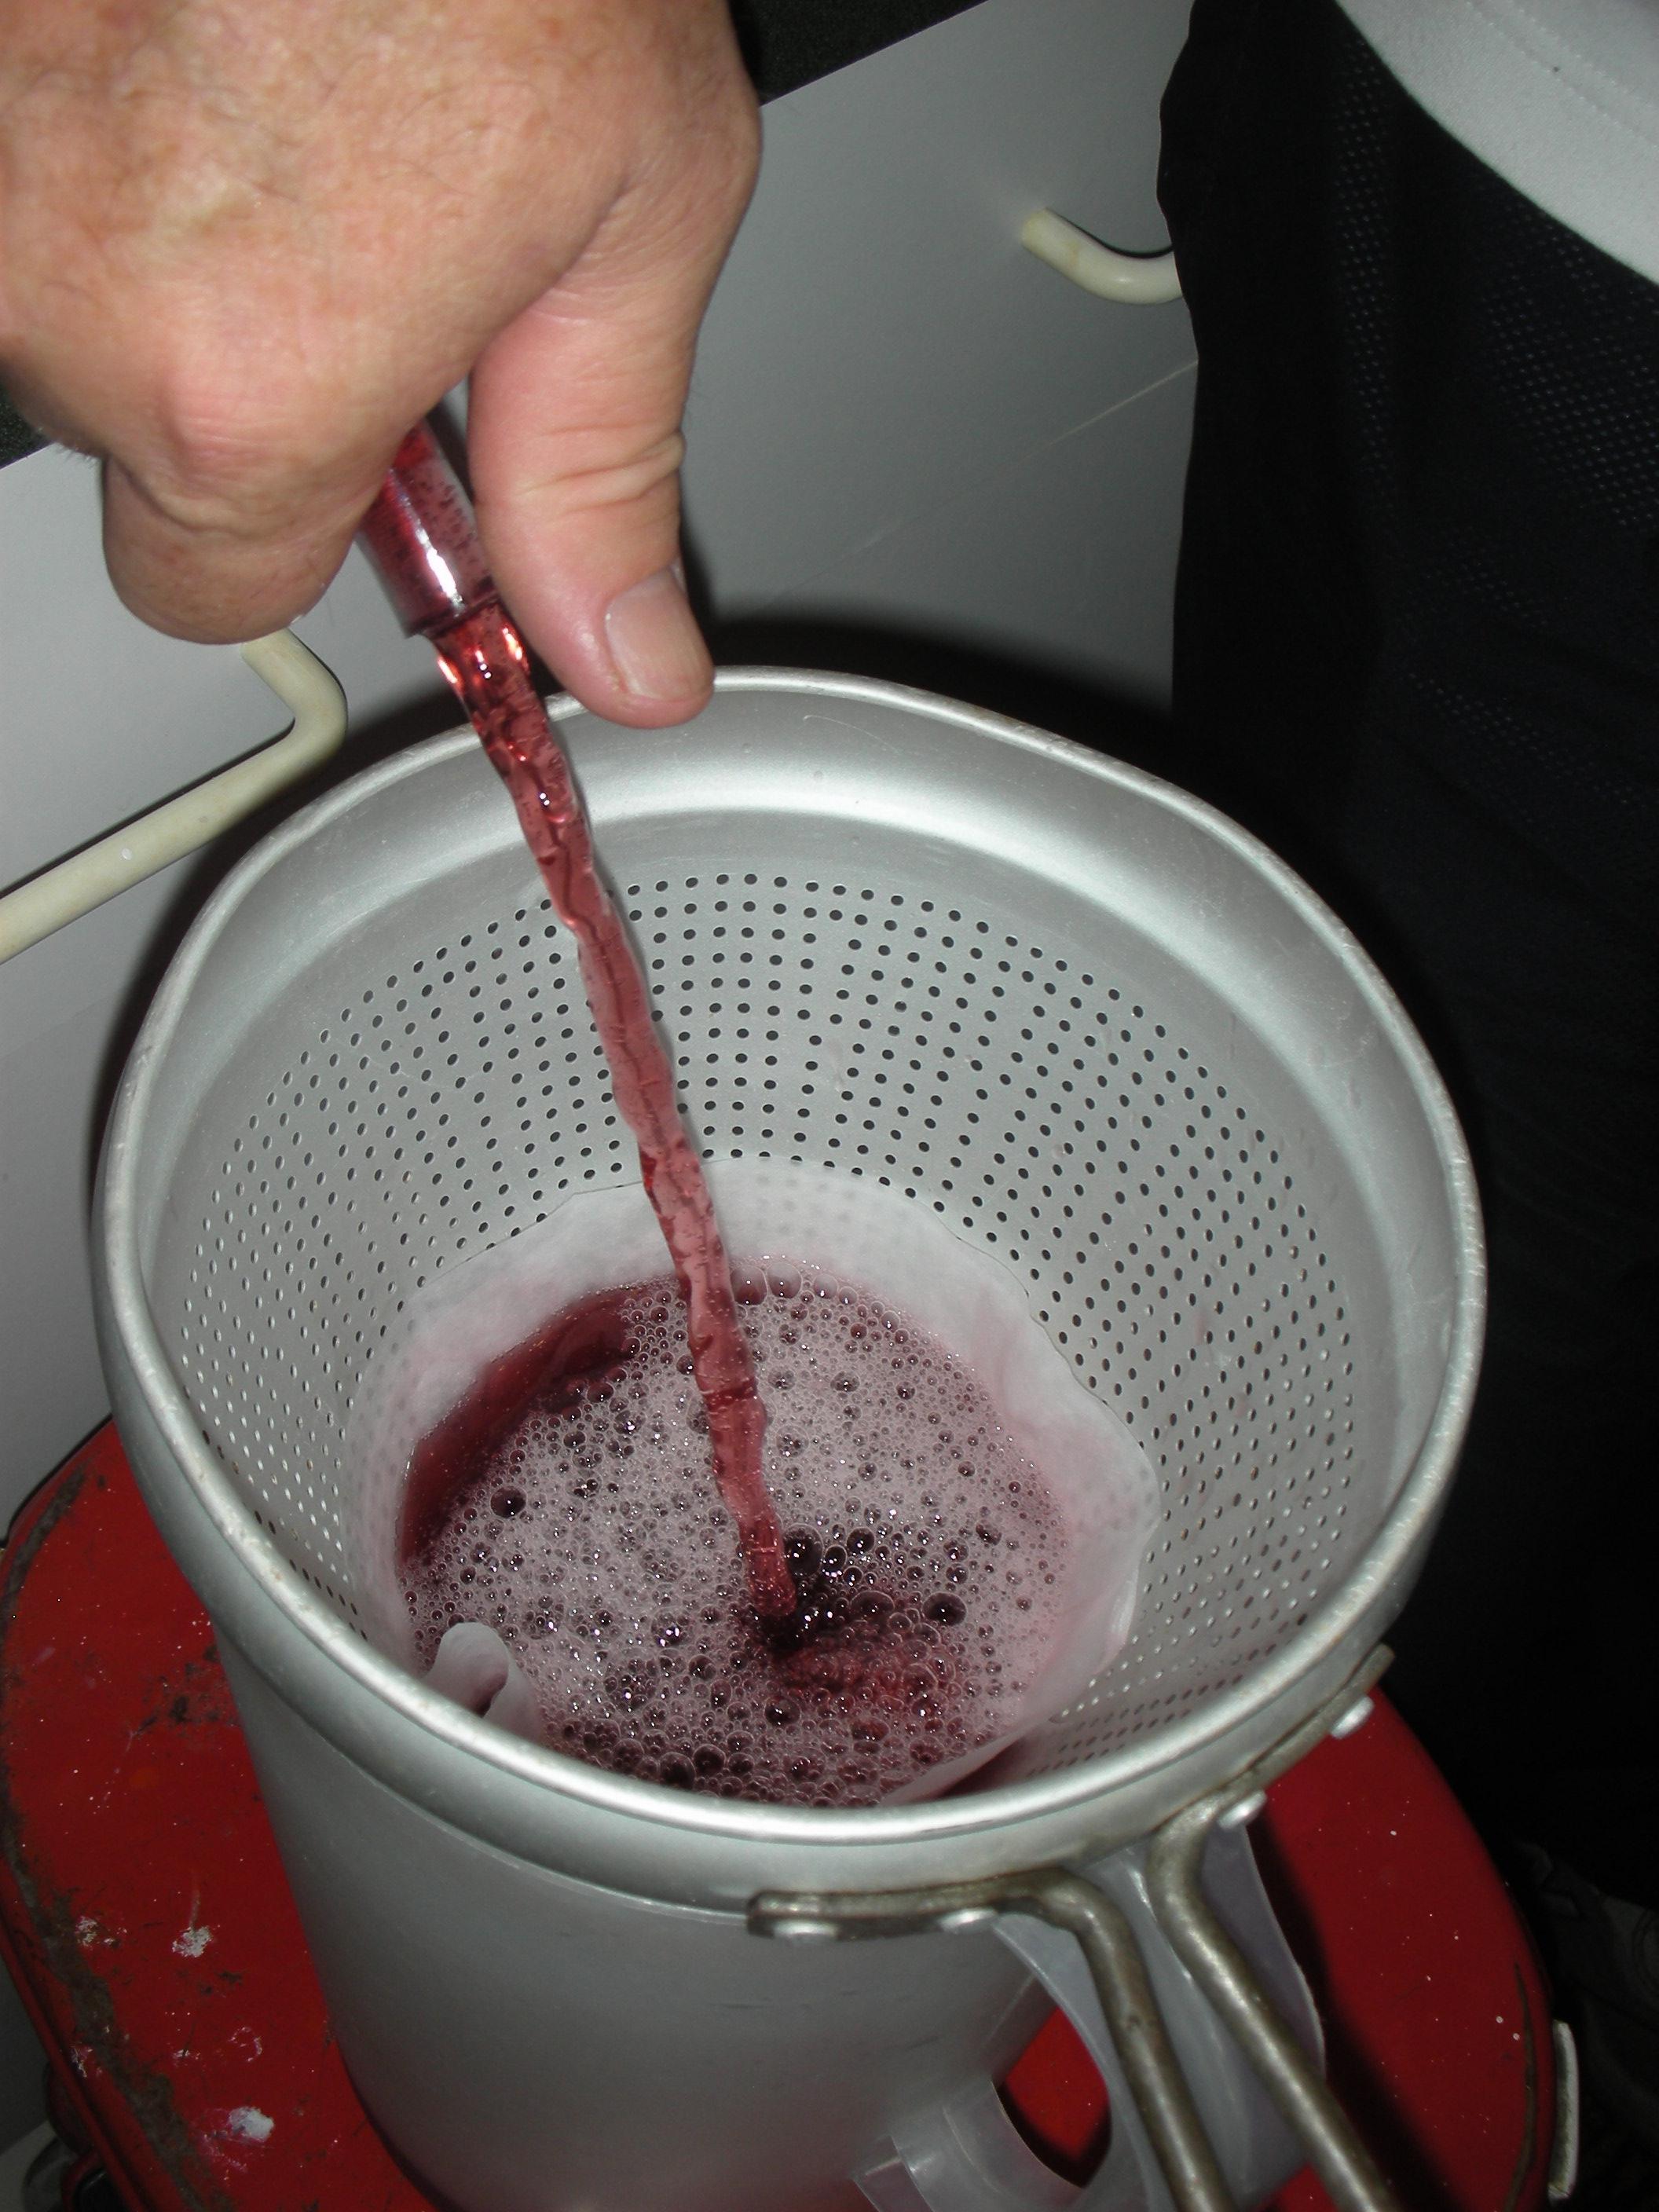
After everything was sterile, we started to bottle.  Bottling basically involves siphoning out the wine, filtering it, and then putting it in the bottles.  This was a slow process as we filtered it first into a tea pitcher and then we filtered it again as we filled the bottles.  All in all it took us a couple of hours just to fill the bottles.

Once the bottles were full, we corked them.  Our 1000 ml bottles had an attached hinged cork like a Grolsch beer bottle.  For the wine bottles, we reused old corks.  We boiled them to clean and soften them.  Then, we just pushed them in as far as they would go.  Once they were corked, they went on a shelf in an upright position to dry and seal for about a week.  Once the corks were dry, we laid them on their side in a cool dark cabinet.  This is the proper way store your wine.  The wine needs to be in contact with the cork.  This will keep the cork moist which helps in the seal.

Our daughter Jessie enjoying the "fruits" of our labor

Our wine turned out great!  While it will not get any awards, it is a very sweet and very drinkable table wine.  We gave away most of our first batch and everyone that received it has asked for more.  The process was really pretty simple and my wife and I enjoyed it immensely.  In fact, we liked it so much we are going to try and make other varieties (like watermelon, black berry or strawberry) in addition to the grape next year.  If you are lucky enough to live in area where you can get access to wild grapes, I highly recommend you try this at home.

Winter Chores in the Potager

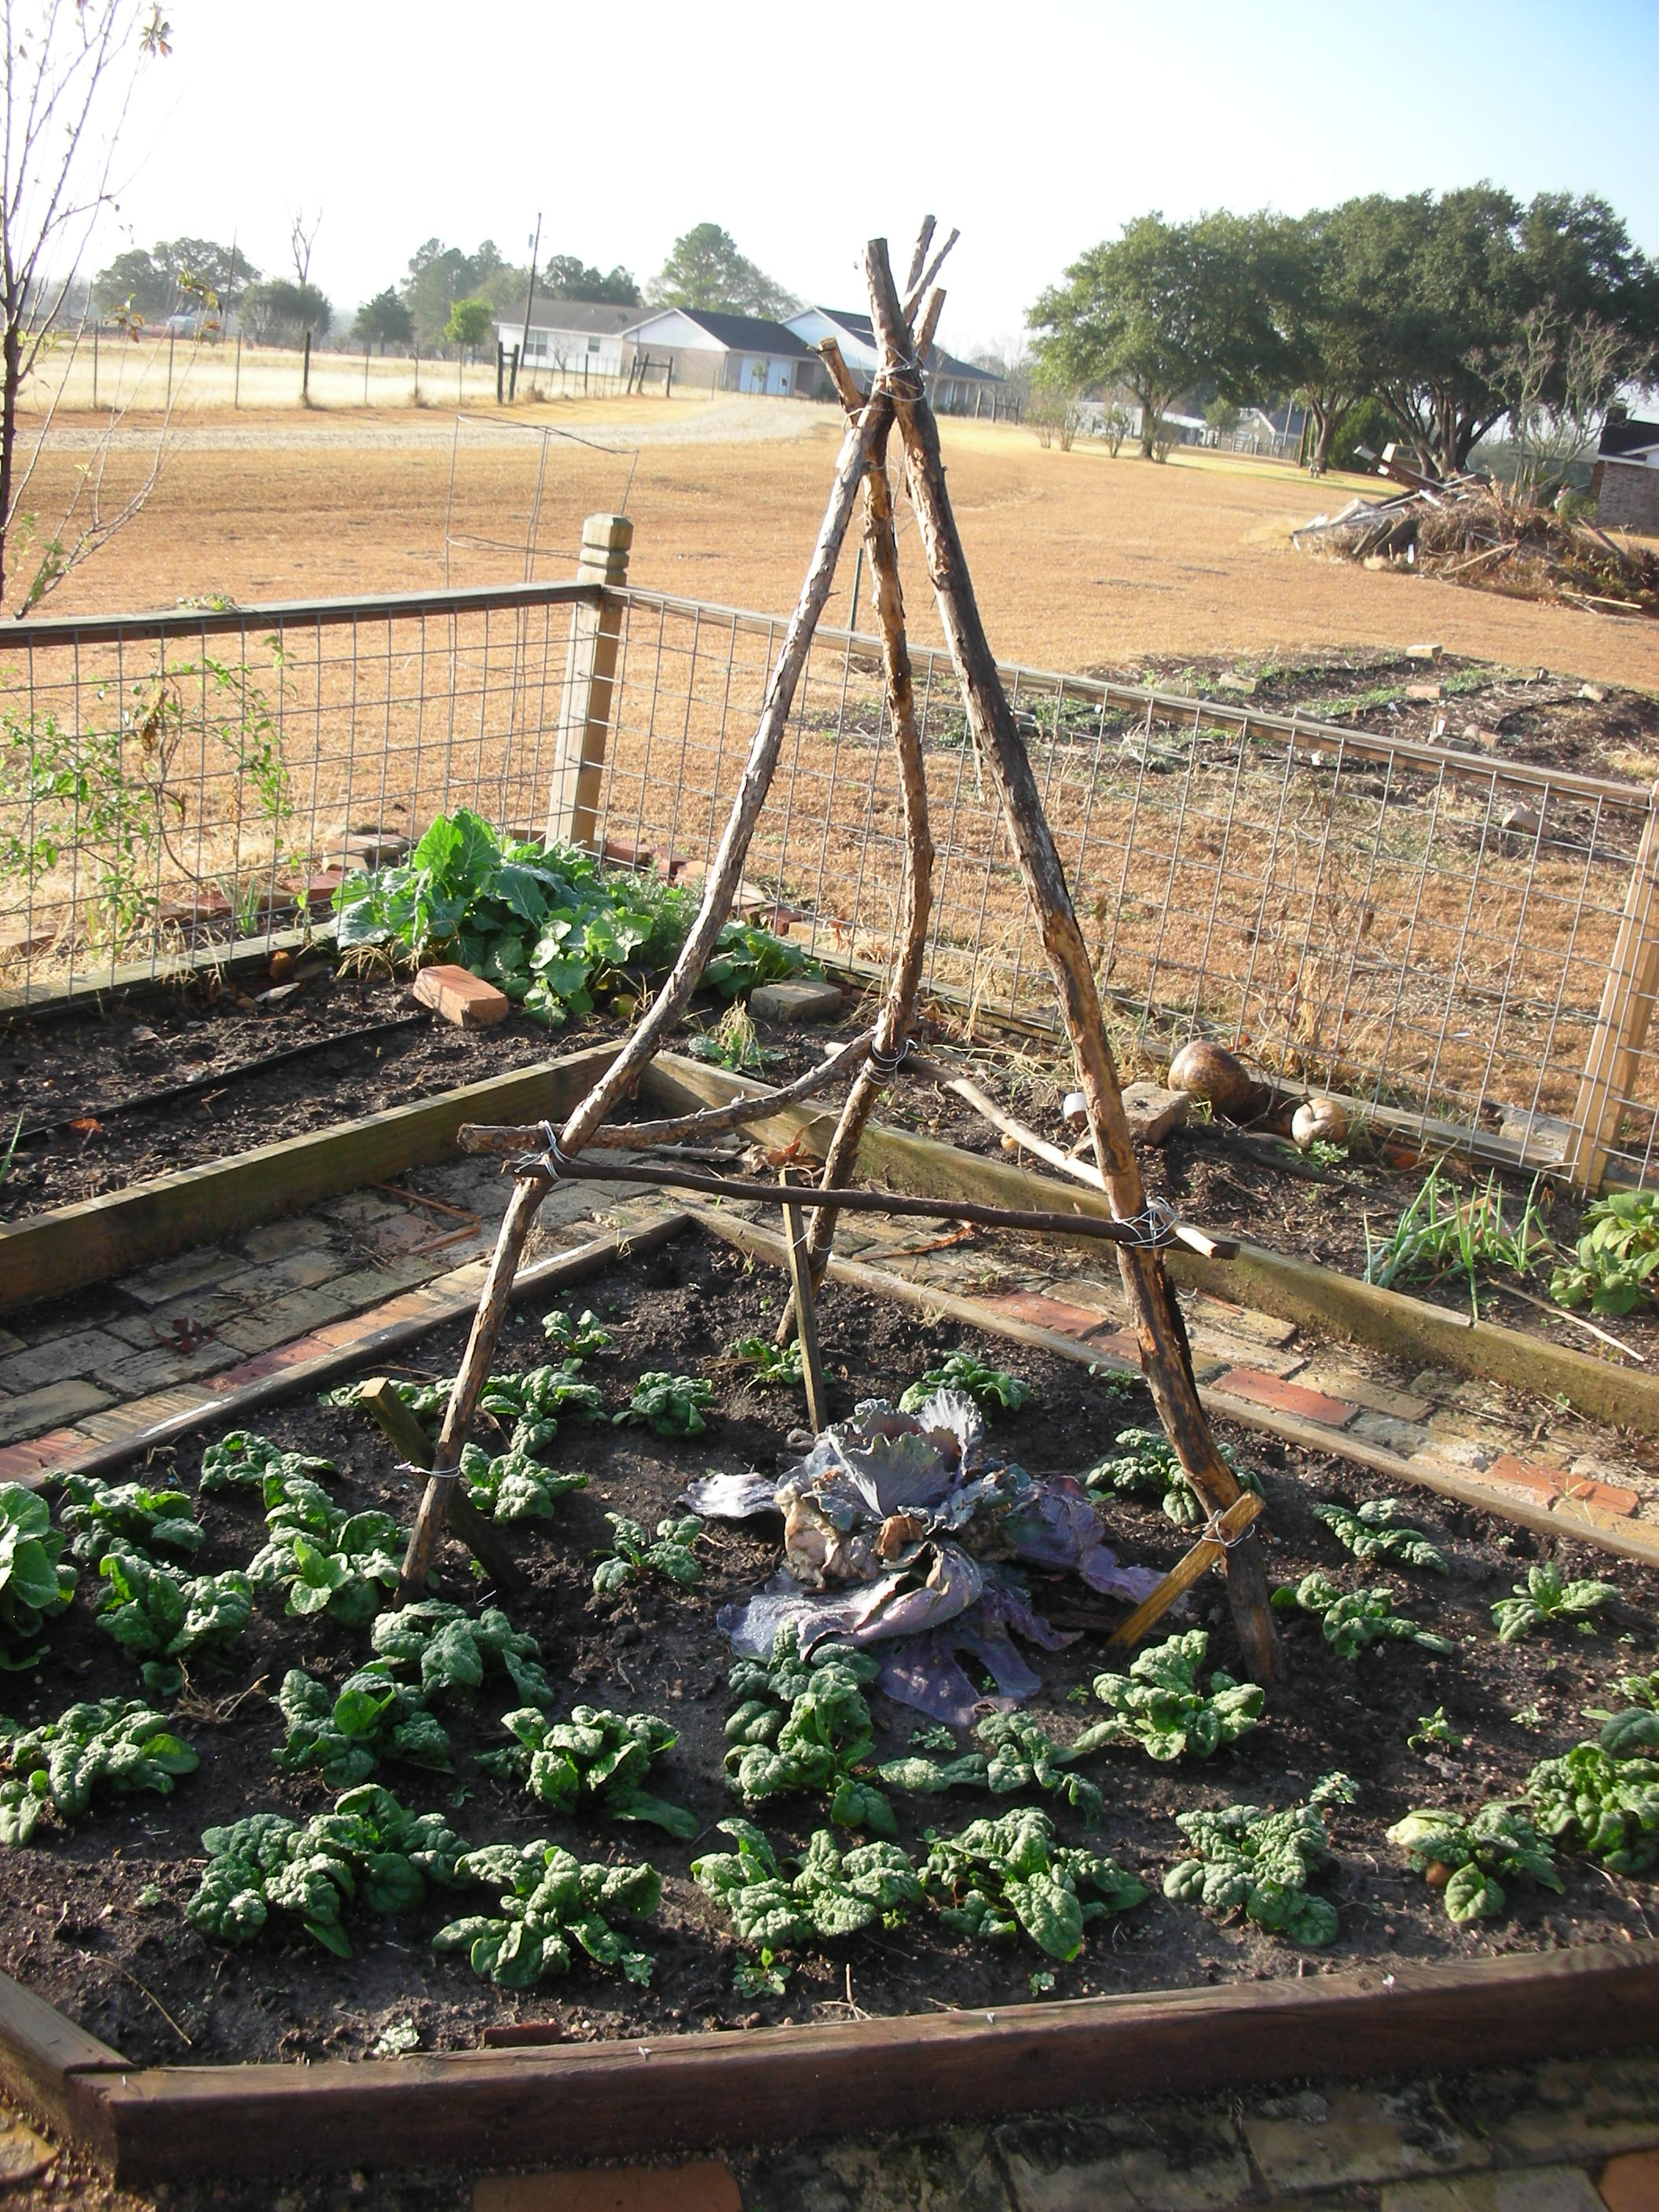
The potager in January

The weather has been so nice this holiday season that my wife and I decided to do some much needed maintenance in potager.  The Cypress vine that brought us so much joy in the summer had to come down.  The same plant that had covered our fence and trellis in beautiful red flowers and drawn so many hummingbirds and butterflies into our lives was now just an eyesore.  So, with pruners in hand, my wife and I cut, chopped and pulled down all remnants of the vine.  It came down very easy, but it covered us in tons of tiny black seeds.  You know what that means.  More Cypress vine than I will know what to do with in this spring!  

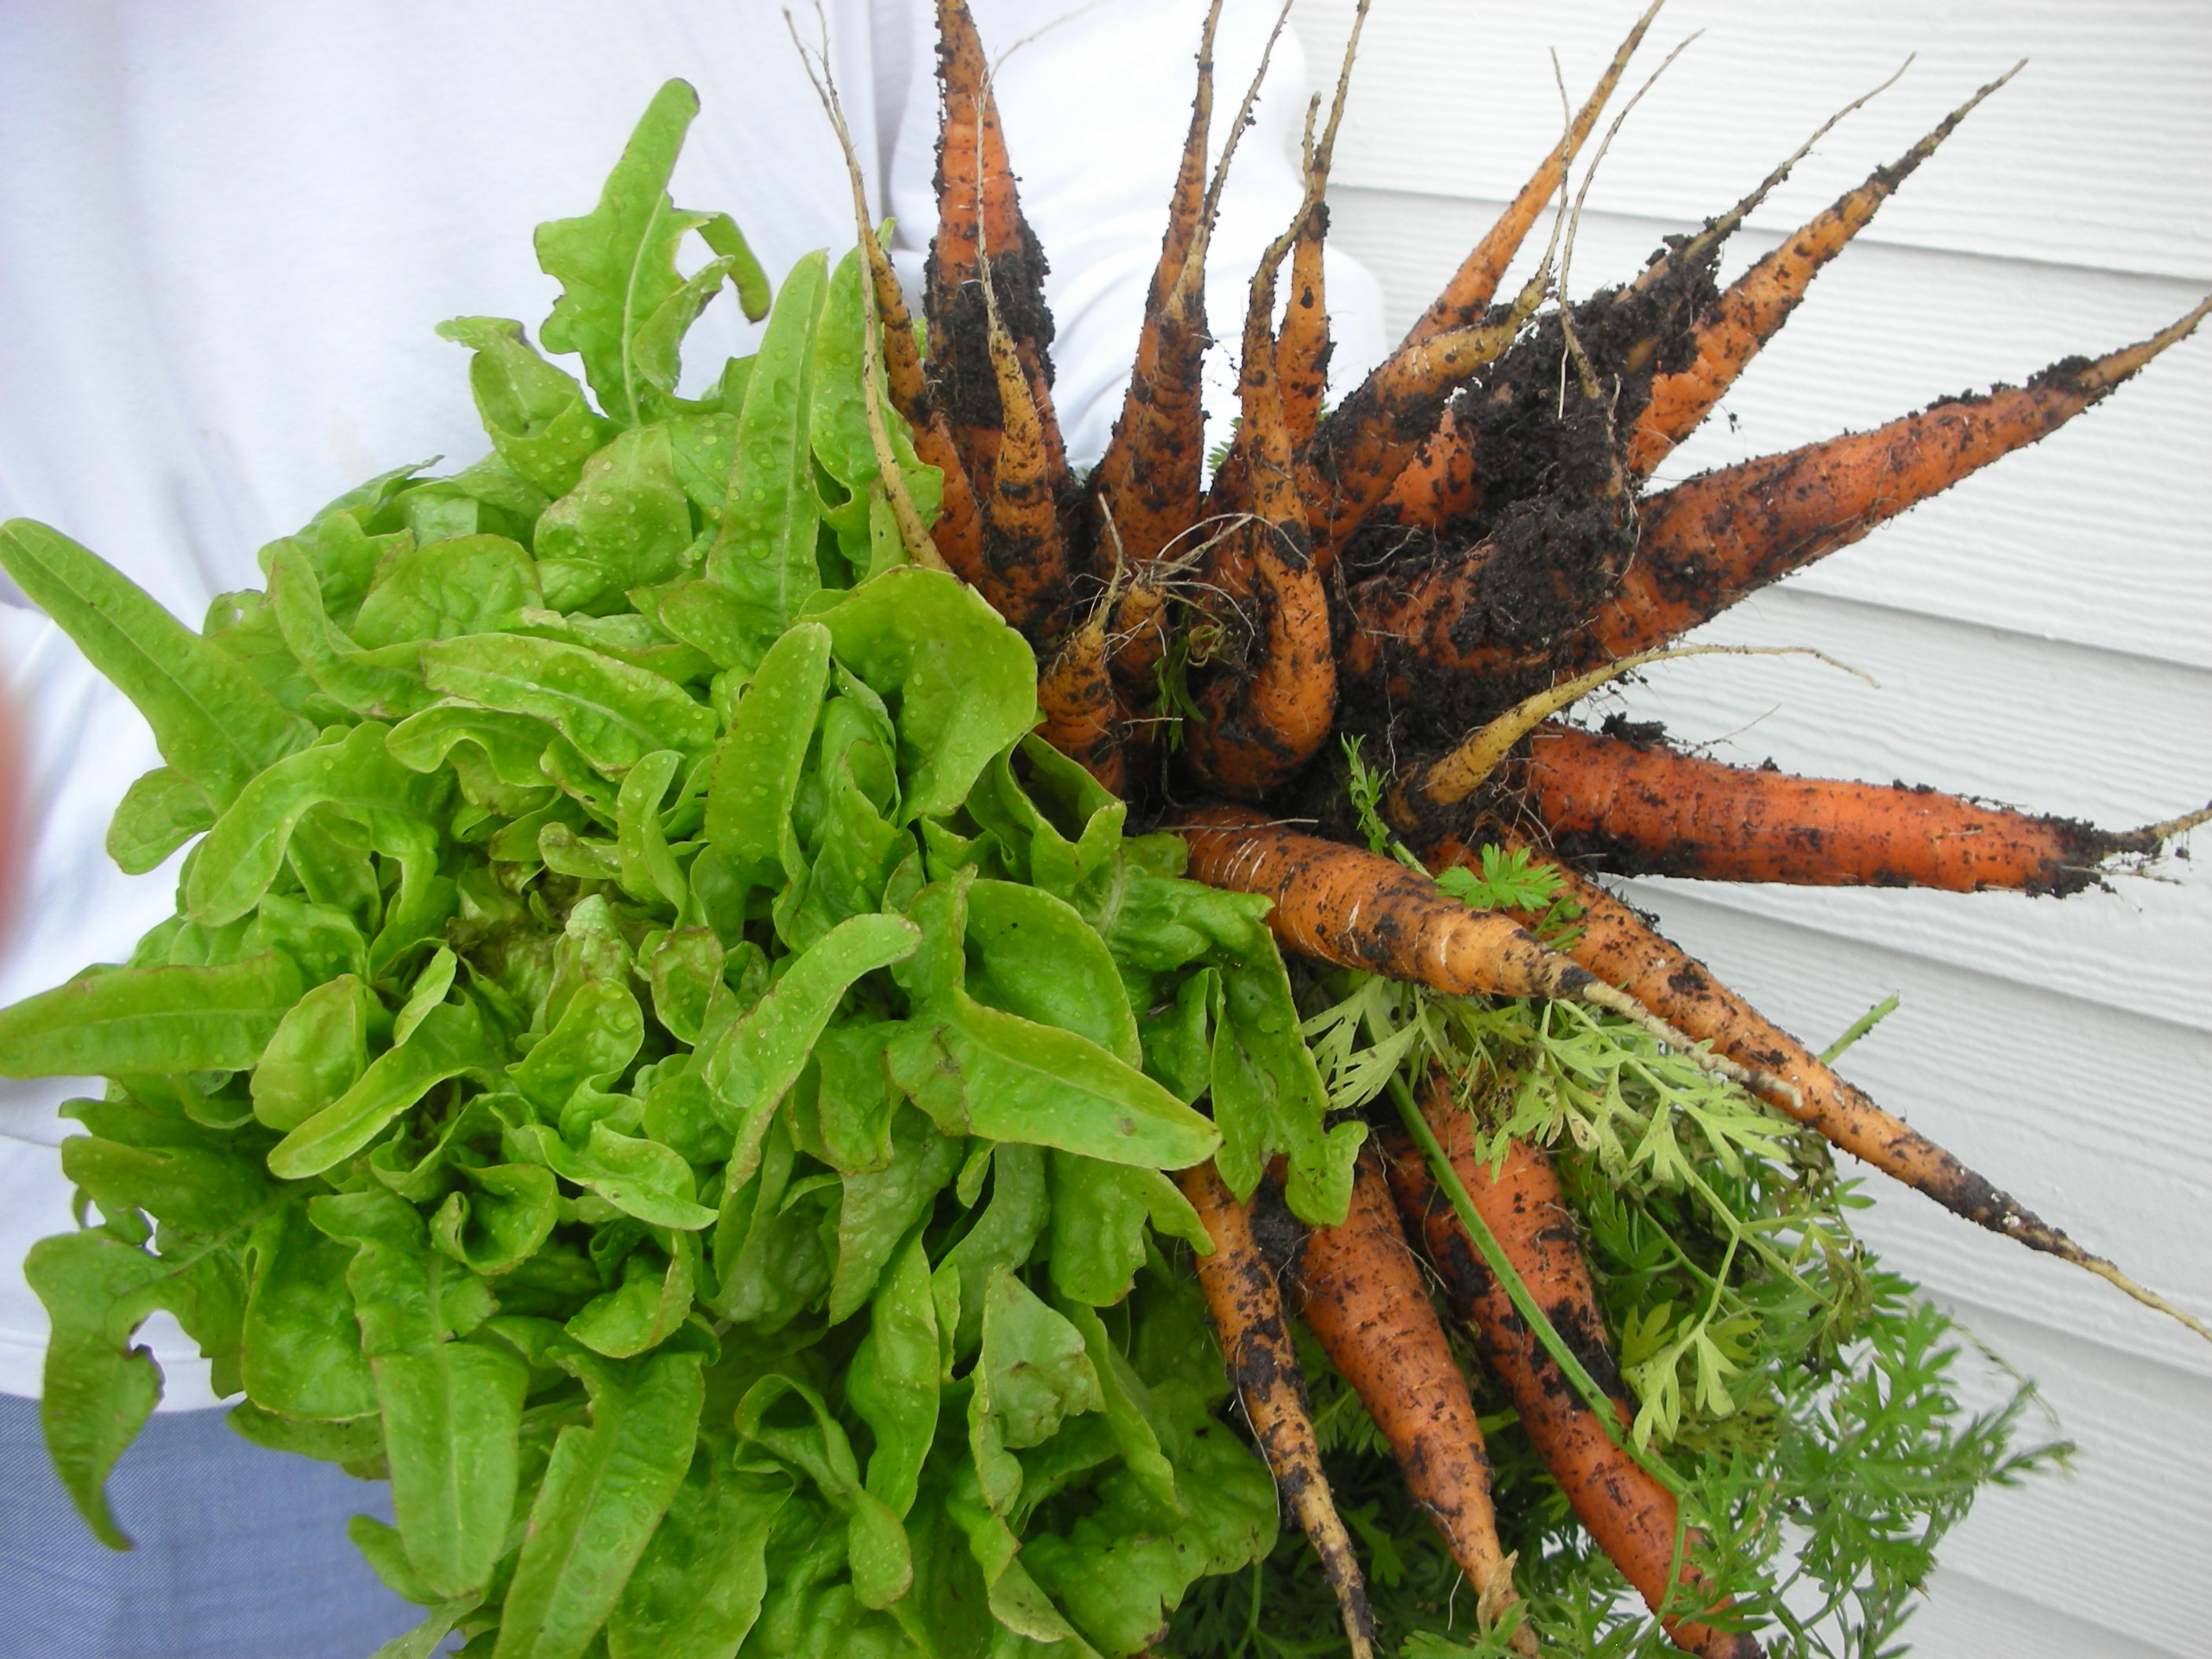
Carrots and lettuce from the potager

Once the fence and trellis were clear it was time to move inside the potager.  First, we harvested.  We pulled carrots, turnips, spinach and butter crunch lettuce. In addition to the lettuce, spinach, carrots and turnips, I have Egyptian Walking Onions, shallots, 10/15 onions, collards, chard, lemon grass, rosemary and purple cabbage.  Man do I love winter in the South!  Where else can you have so many vegetables thriving in the garden in January.

One of the trellises that we built to support the peas

After the harvest we got back to work.  We took the pruners to our lemon grass, uchuva and salvia.  Then we built four, three-legged trellises out of cedar limbs.  We anchored these in the middle of the four odd-shaped beds in the center of the potager.  After they were secured, we planted Little Marvel Peas at their base.  According to my Aunt Sara, peas are best planted either the last week of the year or the first.  We will see.  I have tried to grow them before and they just didn’t pan out for me.  I really hope they do well this year.  I have worked really hard at improving my soil this past year and my wife and I worked very hard on the little trellises. I can just see them covered in pea vines in early March.  Once the peas were planted, we finished up by planting some French breakfast radishes and some Chioggia beets that I got from rareseeds.com

The central bed in the potager. It is full of carrots, poppies and byzantine gladiolus.

While we are talking about the potager, let’s not forget all of the flowers that I have planted in it.  Right now, my red poppies are up and my Byzantine Glads are beginning to make a show.  The foxgloves and Hollyhocks look terrific.  A mermaid rose that I found while riding my bike two years ago has finally taken hold and is beginning to send out canes all along the south fence.  I am going to plant a row of red sweet peas along this fence in hopes that the mixture of red flowers with the white  roses will be stunning.  I also have lots of strawflower, statice and salvias that seem to be thriving.  Check back in the spring to see what will hopefully be my best pictures ever!

Picket Fence Update

The back gate with the arbor in the background

All of the time off around the holidays provided me with a couple of opportunities to work on the picket fence.  My son-in-law Ramez helped me finish the arbor and build the back gate.  My son-in-law Jared helped me prime the back fence and gate.  Thanks to their efforts, I now have a pretty good idea of how good it is going to look once it is complete.  Now close your eyes and imagine it covered in running pink roses!

Prepare Beds Now for Spring

 Yesterday, I noticed that my narcissus were beginning to poke up.  This is a reminder to me that spring is on its way.  December is typically a slow time in the yupneck’s garden.  However, this year, I actually have a lot to do to get ready for spring.  Because I built the picket fence I now have the opportunity to put in a lot of new beds.  Since I do things organically, now is the perfect time for me to start preparing these future beds. 

Weeds are a real problem for me.  Through much experience I have developed an integrated approach to weed control (you can read all about this in an article I have written for the upcoming March issue of Texas Gardener magazine).  The first step in this program is preparation.  Now preparation means a lot of different things to different people.  To me, it means defining where the bed is going to be and then killing everything that is growing in that area.  I kill my weeds in two ways; smothering or solarizing.

Here I am using a sheet of plywood to smother my weeds. the plywood is secured with hadite tiles. this photo was taken by Ramez Antoun.

Smothering is the process of placing an opaque material over vegetaion.  It works by depriving the plants of the water and light they need to survive.  Since smothering involves using a heavy material (that wont blow away) like plywood or Hardie plank, I only use it in relatively small areas.  If I want to kill a bigger swath of weeds, I use solarization.

Solarizing involves wetting the soil, covering it with a translucent material and securing the edges of that material so no heat escapes.  I use 6 mil poly.  Solarizing  allows the sun’s heat to raise the temperature in the air gap to a level that “cooks” the weeds to death.  Since it is winter, and not as many hot days are available, I put out my poly about a month ago.  This will give the sun four months to kill my weeds before I create the beds in the spring.  If you solarize in the summer, you can get by with a two month solarization window. 

Solarizing a bed on the back side of the picket fence. Photo bt Ramez Antoun.

Both of these methods have been very effective for me.  So, if you are going to put in a new bed in the Spring, and you are looking for an organic way to get control of your weeds early, now is the time to get started.  A little work now will make your weeds much less of a headache in the future.

Cooking Up A Mess Of Greens

Cooking greens is one of my favorite fall and winter activities.  I can’t wait for the first good

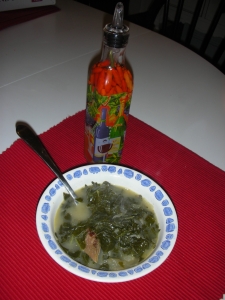
A mess of collards on the stove with smoked pork

cold snap so I can go out to my garden and bring in a “mess of greens”.  I grow and cook collard greens, turnip greens, mustard greens, kale and chard.  While cooking up a “mess of greens” is thought of as a Southern tradition, it is beginning to catch on all across the country.  The health benefits associated with “greens” are encouraging both professional and amateur chef’s to add these traditionally Southern treats to their regular menus.  Here’s how I do it.

I wait until after the first frost to harvest my greens.  The freeze is supposed to remove some of the bitterness.  For my first harvest, I cut a few stalks from each of the plants.  I then bring them in, strip the leaves from the stalks and wash them. After they are good and clean, I set them aside and proceeded to make a stock. This stock is often called pot liquor (or pot likker) and it is what makes the greens taste amazing.

Collards from the potager served with our homemade pepper sauce

To make the stock, I chopped up one whole yellow onion and four pieces of thick cut bacon. I cook the bacon and onions until the onions become soft.  If you have some vegetarians in the house (as I often do), substitute three tablespoons of EVOO for the bacon.  Next, add three cups of water and 1 teaspoon (tsp) salt, 1 tsp Zattaran’s Cajun spice and fresh ground black pepper to taste.  Bring it all to a boil. Let it boil for about 3 minutes then reduce it to simmer and cover.

While the stock is simmering I put another big pot of water on to boil. I fill this pot half full of water and add 1 tablespoon (tbsp) of salt. While this is coming to a boil, I take a small handful of greens and roll them up like a cigar. I cut the roll into about 1/2” strips. Once the green are all cut up I add them to the rapidly boiling salt water. I boil them for three minutes and then pour off the water. This removes some of the bitterness associated with the greens. Finally, I added the drained greens to the stock and let them simmer for an hour. OMG!!!!! These things are wonderful.

Country As A Turnip Green

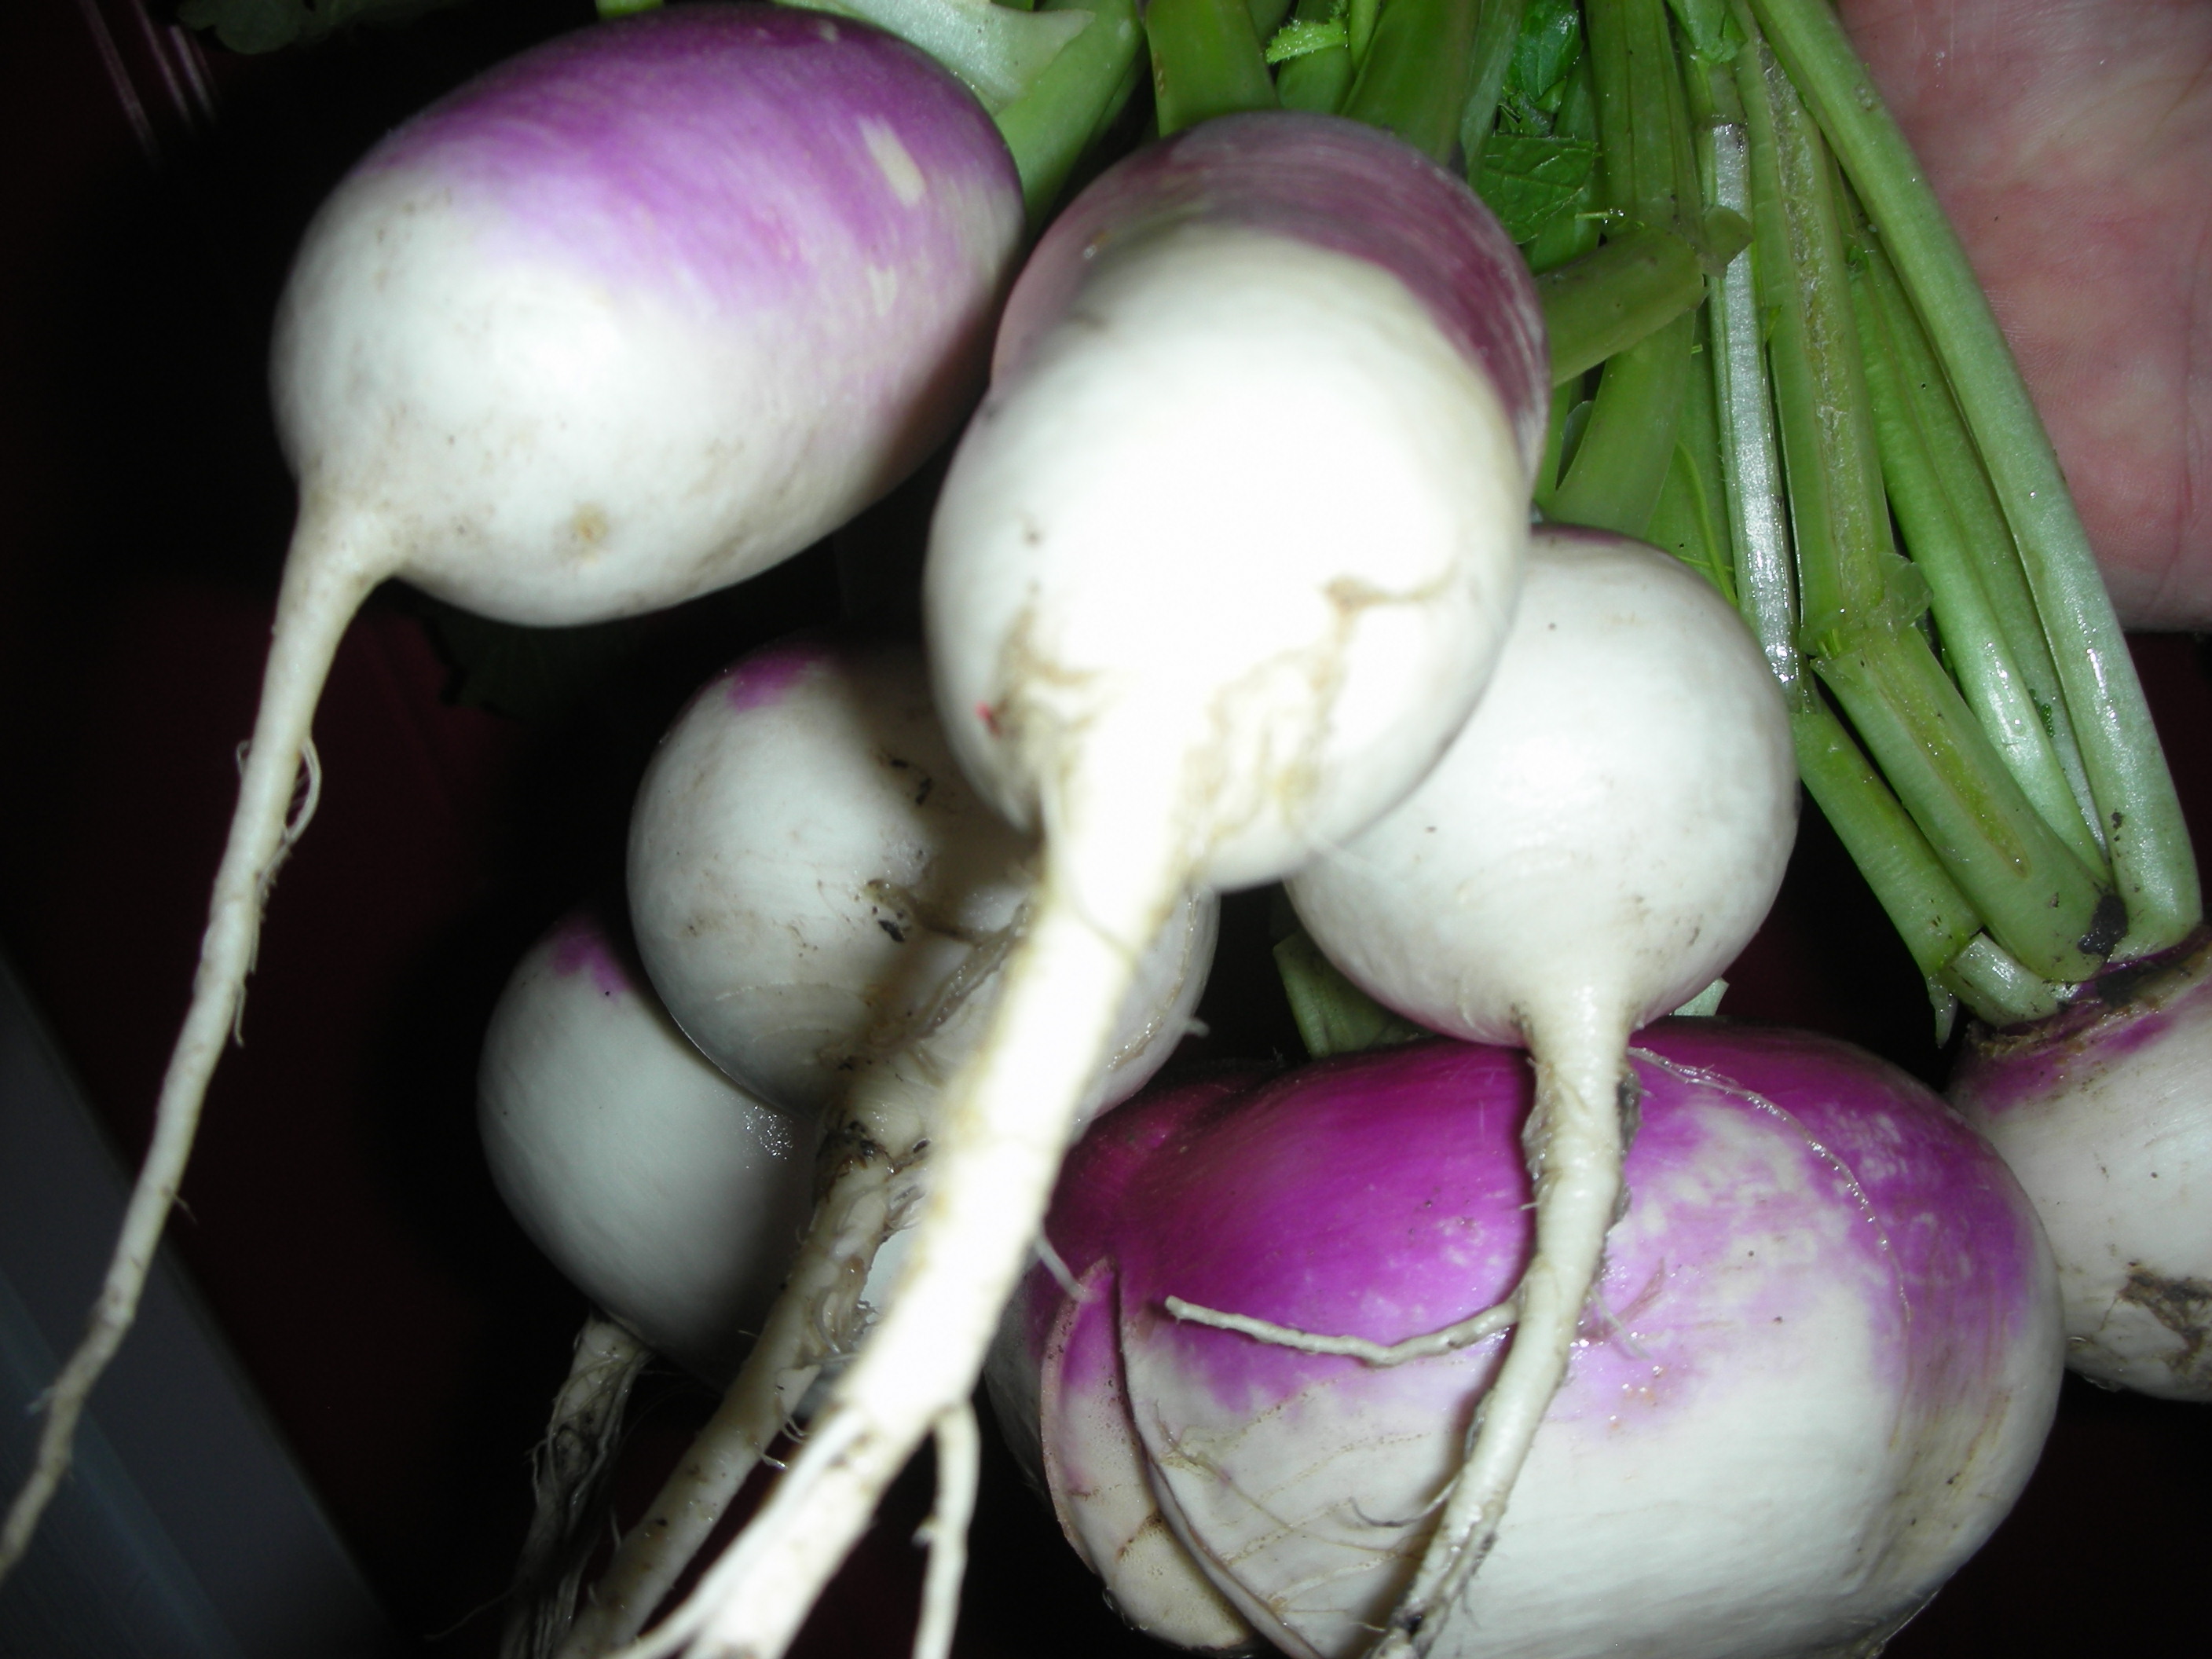
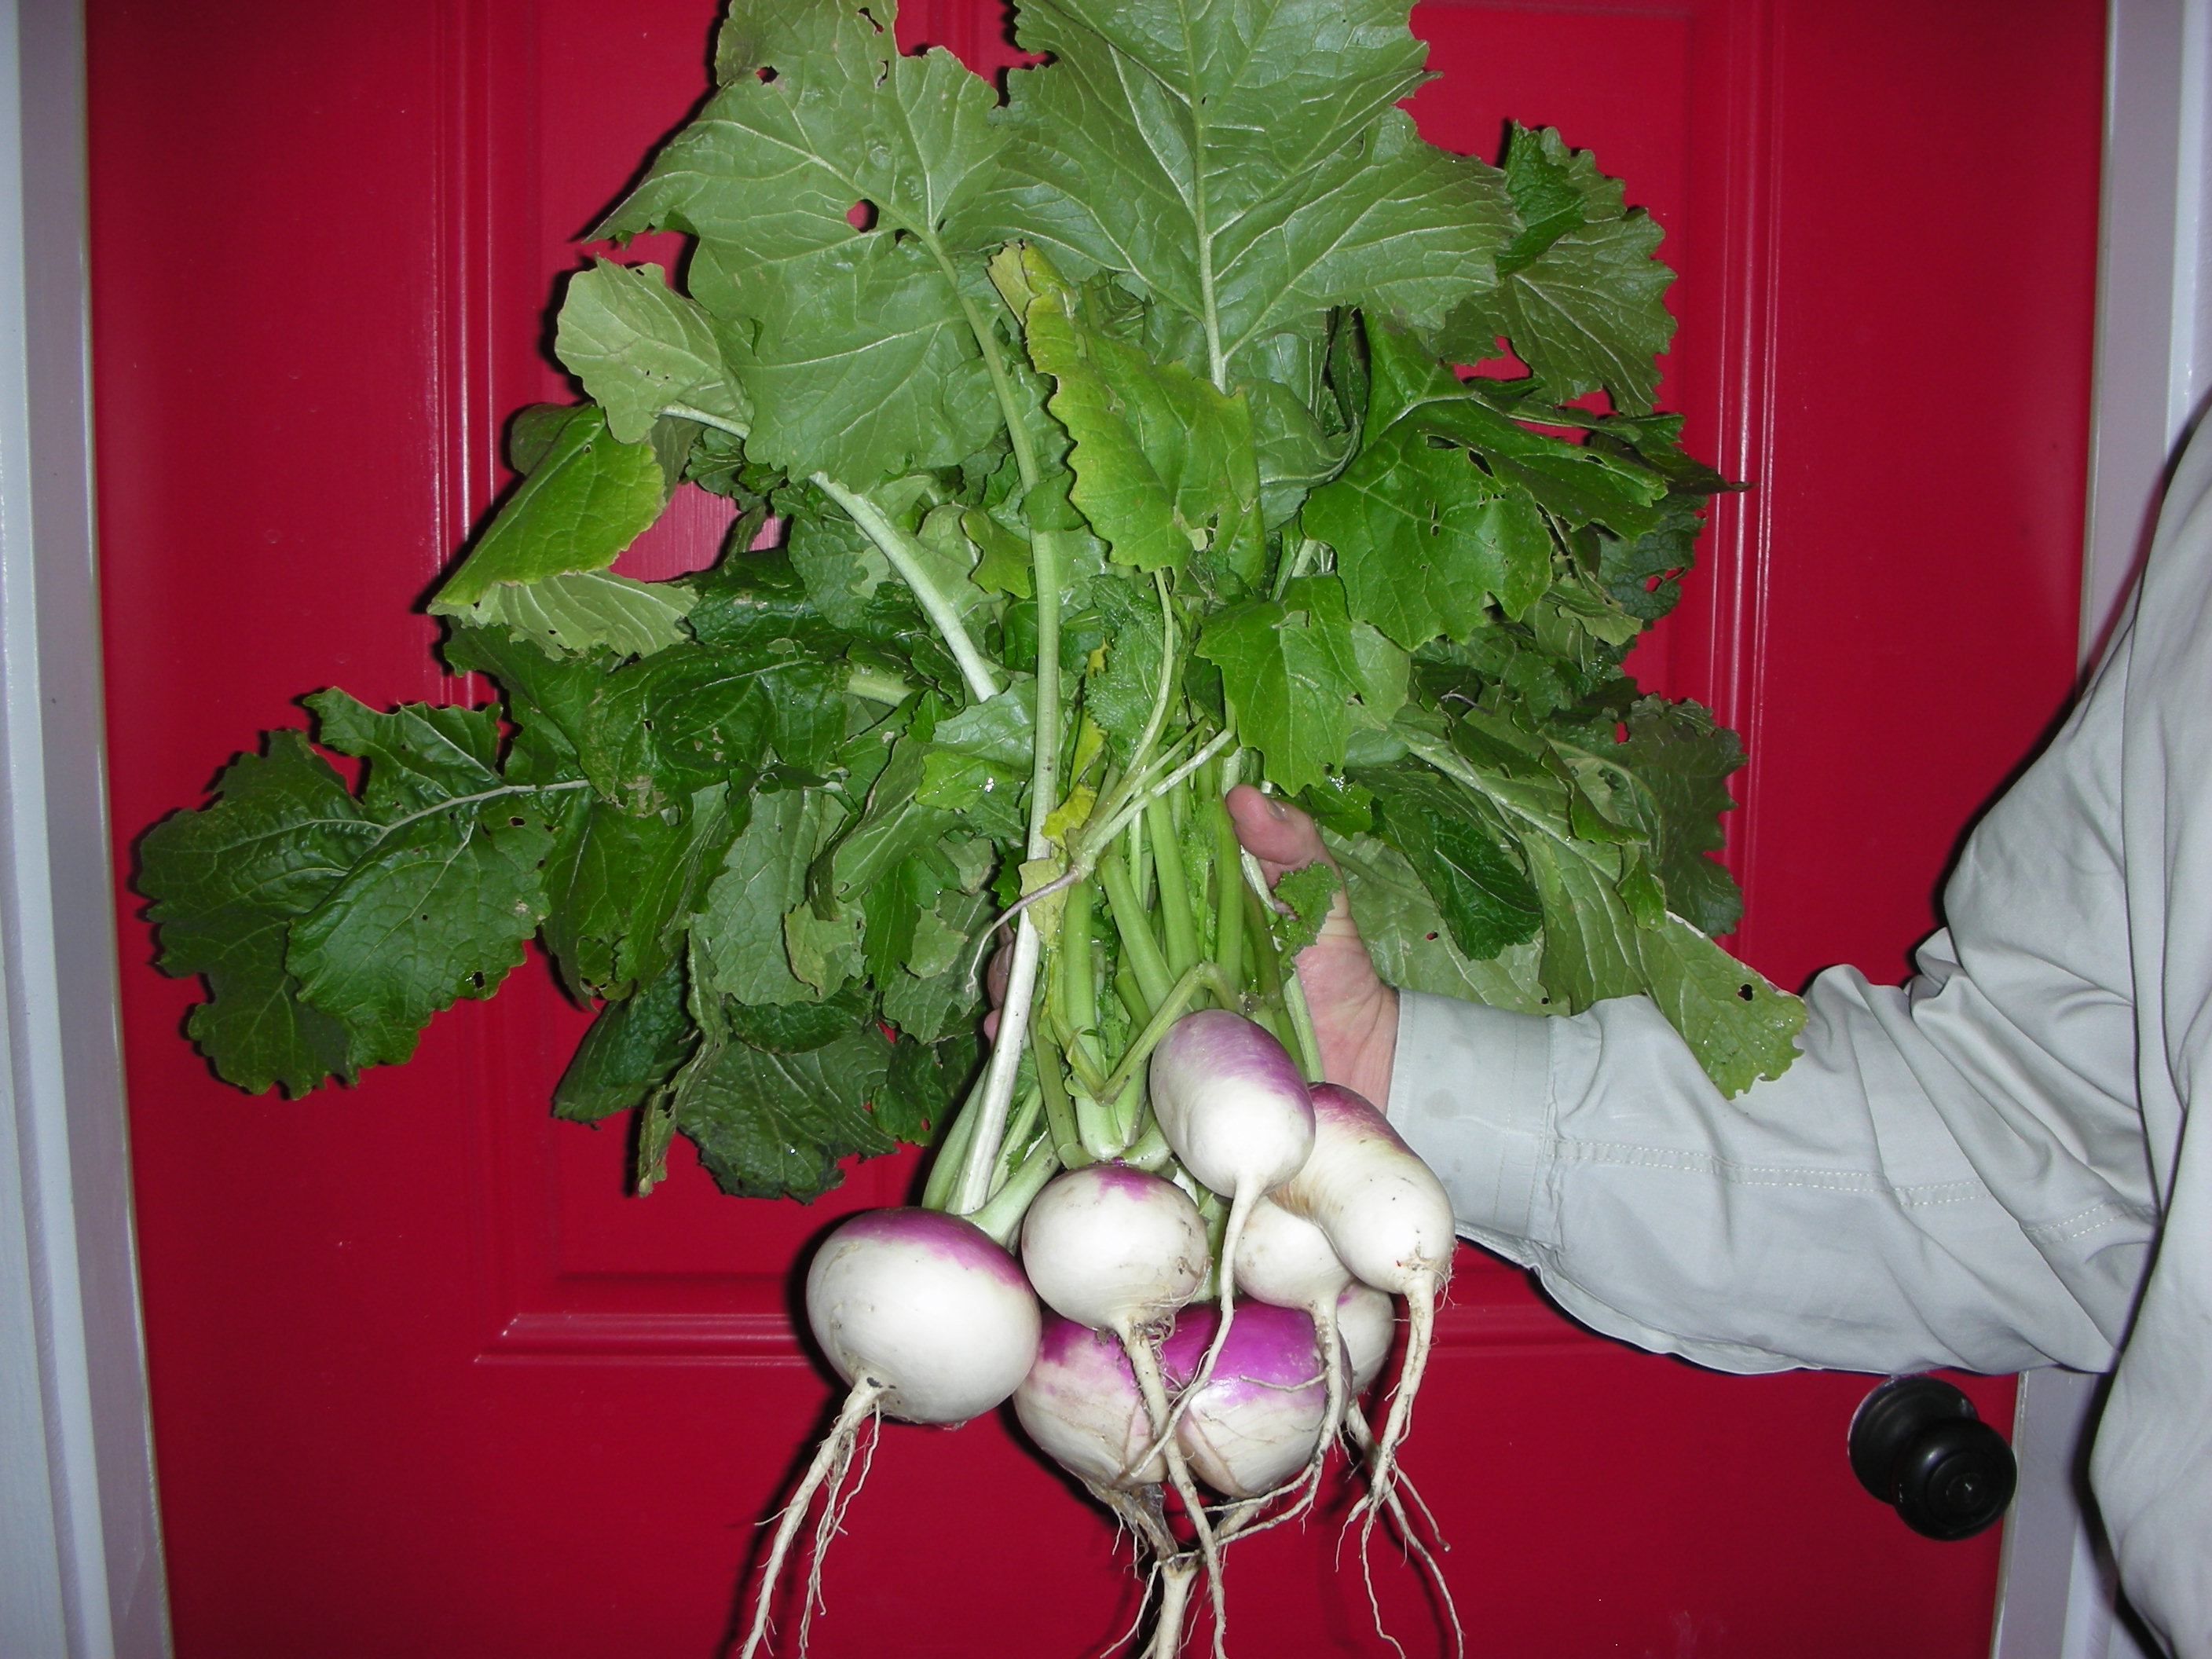
Turnips from my potager

If you listen to Mark Chestnut’s song “Daddy’s Money” you will discover that his girlfriend is “country as a turnip green”.  Well, if liking turnip greens makes you country then I am definitely “country”.  I love turnips and I love their greens (fresh and cooked).  They taste great and they are good for you.  The root is high in vitamin C and the greens are loaded with vitamins A, C, K and calcium.  How many other vegetables do you know that can provide you with two sides for a single meal?   

People (and not just country people) have been enjoying turnips (Brassica rappa) for a very long time.  The Romans loved them.  Since they were a staple of the Roman diet, we can surmise that they have been in cultivation for well over 2000 years.  They were also staples in the Irish diet long before the potato arrived.  The tradition of the “jack-o-lantern” started with the turnip.  Legend says that an Irish thief named Jack tricked the devil out of taking his soul.  When Jack died, he was too sinful to go to heaven but, because of his deal with the devil, he couldn’t go to hell either.  So, he was cursed to wander in darkness forever.  On All Hallow’s Eve, the Irish would carve out a turnip and place a small candle or ember inside to help this crafty folk hero find his way to the after life.

Turnips are very easy to grow.  Around September, I plant my first row of turnips.  I add

A two course meal

another row in October and still another in November.  This will keep me in turnips and greens right up until March.  To plant, I dig a shallow furrow with a long screw driver, scatter the seeds, cover and water.  Within a few days, they sprout.  In fact, so many little plants pop up that I am convinced they have about a 110% germination rate!  Once the true leave form, I start thinning them to about 4” apart.  Their thick, green, leafy tops make a very attractive border in my potager. 

You can eat every part of the turnip.  The young greens add a sharp taste to fall salads.  The more mature greens are wonderful cooked (if you like greens) and the root tastes an awful lot like a potato (with a little extra zip).  Because of our nation’s new found interest in healthy living, turnips and turnip greens are enjoying renewed popularity.  Many top restaurants (not just Southern restaurants either) now regularly serve greens to their well healed customers.  I have even seen bunches of turnips and their greens for sale at Whole Foods.  At this rate, greens won’t be just for country folk much longer!

If you would like to see how I prepare my greens, be sure to read the next post.

Green Strawberries (or fun with ethylene)

Have you ever purchased a green strawberry? We buy green bananas all the time.  Sometimes we even buy green tomatoes.  But why haven’t you ever bought a green strawberry?

All fruits (and many vegetables and nuts) fall into two categories based on their ripening characteristics: climacteric or non-climacteric.  Climacteric fruits will continue to ripen after the fruit has left the plant.  Non-climacteric fruits stop the ripening process the minute they leave the plant.  That is why you have never bought a green strawberry.  A green strawberry will always be a green strawberry.  It will never turn red, it will never get juicy and it will never taste good.  Strawberries are the quintessential non-climacteric fruit.

Bananas, on the other hand are the quintessential climacteric fruit.  Bananas are the most consumed fruit in America.  According to a 2006 report by the USDA, each American eats a whooping 25.14 pounds of bananas per year.  This is amazing when you think about how perishable bananas are and the distances they have to travel to get here (the top producer and exporter of bananas is India).  An understanding of the science behind this climacteric/non-climacteric thing is what allows us Americans to eat so many things that come from so far away.

Ripening is controlled by several variables.  One of these is ethylene.  When fruits start to ripen they produce ethylene.  Knowing this, we can hasten ripening by exposing the fruit to ethylene or we can slow down the ripening process by chilling the fruit (which suppresses ethylene production and is how they keep bananas fresh for so long).

The last of the yupneck’s 2010 tomatoes

O.K. I know you are thinking “This is a pretty cool horticultural fact and all, but what can I do with it?”  Well, it can help you save your fall tomato crop, that’s what.  Tonight, it is supposed to get down to 28 degrees at my house.  I am fairly certain this is going to finish off my fall tomatoes.  I have nursed them through two light freezes already.  Each time a little more of the foliage got burned and I had to cut it back.  Not much protecion left for the tomatoes that are still on the vine. So, tonight I am going home and picking what is left of my green tomatoes.  I will then take them in the house and put them in a brown paper bag with two or three ripe bananas.  I will fold the bag shut and leave it for three or four days.  When I open it up this weekend, I should have a bag full of red tomatoes!  The ethylene that is being released by the bananas will save my fall tomato crop!

Poinsettia grown by me in my Greenhouse Management course taught by a real Master of Horticulture, Dr. Terri Starman. Our poinsettia’s were wrapped in brown paper sleeves for shipment.

Here is another useful ethylene tip.  If you bring home flowers or potted plants this holiday season that are wrapped in plastic or paper  (this is common with poinsettias), un-wrap them ASAP.  You see, those plants are producing ethylene as well.  The wrappings will trap the ethylene and your flowers/plants will drop their leaves/petals pretty quickly if you do not get them out of their protective coverings.

Now that you have the facts about ethylene you can use the handy chart below to determine which fruits you can buy while they are still “green” and which fruits will never get ripe for you once they leave the plant.

Climacteric Non-Climacteric
Apples Bell Pepper
Apricots Blackberries
Avocados Blue Berries
Bananas Lemons
Cantaloupes Limes
Figs Oranges
Nectarines Grapefruits
Peaches Raspberries
Pears Summer Squash
Persimmons Egg Plant
Plums Pumpkin
Tomatoes Strawberries
Watermelon  Grapes

Picket Fence – Phase 2

Hanging the stringers

My wife and I made real progress on the picket fence this week end.  In fact, we were rather surprised at how much progress we made.  After a good breakfast and a few errands, we got busy.  Before we could really get going we had to “notch the posts” to hold the stringers.  For our fence design, we wanted the posts to show.  The posts would then have 2 1/2″ pickets with 2 1/2″ gaps that hang on stringers that are flush mounted in the back of the post.  After the top and bottom stringers were set, we trimmed the posts to their final height.  The post tops were cut to be 6″ taller than the top stringer. 

Next, we set up the cutting center.  This was basically a sheet of plywood on two saw horses.  I reinforced the plywood by placing three 4X4 posts under it and screwing them down.  Next, I set up a cutting jig for the posts.  This was done by screwing a piece of a 4X4 to the end of the plywood to serve as a stop for cutting the pickets.  I then moved my chop saw until the blade was the proper distance from the stop.  I then squared the saw and screwed it down to the plywood.  Once this was a secure, I set up my portable table saw behind the cutting jig.  I set the saw to rip pickets 2 1/2″ wide.

A good shot of how the sringers are set into the posts

Now that the stretchers were in place and the cutting center was ready, my wife and I set about making the pickets.  We did this by cutting 5/4″ boards that were 5 1/2 inches wide into 42″ long sections.  We then ran these sections through the the table saw to create two 2 1/2″ wide pickets from one 42″ section.  When the wheel barrow was full of pickets, we would go and hang them. 

Hanging pickets is pretty easy if you have the right tools.  In our case, the right tool was another jig.  Since we had hung our stringers perfectly level, we used them to hold the jig that I built for this purpose.  This jig was very simple.  I took a 4′ 2X4 and screwed a 4′ 1X4 at a 90 on the top and another 1X4 to the back that hung past the bottom edge of the 2X4.  This created a lip that I could use to screw the jig down to the stringer.  This jig ensured that all of the pickets would be perfectly level across the top. 

The yupneck at work hanging pickets

With the help of this jig, my wife and I set about hanging the pickets.  Working together, she would hold and space the picket (using another picket), and I would screw them down.  I used galvanized screws for this entire project so I do not have to worry about rusty screws staining my posts in the future.  As you can see from the pic, we made very good progress.  We got about two thirds of the front of the fence built in about four hours.  Now that we have the jigs and “a system” we expect to finish the rest of this side of the fence by the end of next weekend.  Check back to see how it goes.

Spider Lilies in Heaven

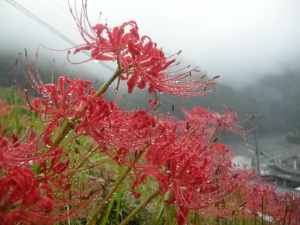
Spider lilies outside the home of the Graceless Gaijin in Totsukawa this past October

A young friend of ours is currently doing one of the coolest things that I can imagine a tall, blonde, 22-year-old American ever doing after graduating from college.  She is teaching English to Japanese elementary students in remote, rural Japanese village named Totsukawa.  While she is away, she is keeping a blog so all of us who are stuck in our mundane, state side lives can live vicariously through her.  She is an excellent writer.  When I was reading her latest post, I came upon a little gem that really caught my eye: “Spider lilies are called “higanbana” in Japanese.  According to Buddhist beliefs there is a river that separates the world of the living and the world of the dead, and higanbana grow on the opposite bank to guide the spirits across the river.”   Now how cool is that?  Spider lilies leading the way to Buddhist heaven.  This pleases me greatly since spider lilies are probably my favorite bulb.  I don’t know if I will go to Buddhist heaven (or Christian heaven for that matter), but if I do get to go I really like the thought of spider lilies leading the way!

My spider lilies (Lycoris radiata) were a gift from the previous homeowner.  The first fall that we were there, we noticed these odd, single stems beginning to shot up in our front yard.  We had no idea what they were but we decided to mow around them and see what they would become.  Well we were pleasantly surprised when the flowers burst open!  I instantly fell in love with these bright red, exotic looking beauties.  When I found out that one of their common names is “Naked Ladies”, I decided I loved them even more!

Until I read her post, I did not realize that spider lilies are native to Japan.  These rather unique looking bulbs rise up out of the ground on a single stalk and produce a single, red flower.  They usually bloom here in late September or early October.  Thanks to the graceless gaijin, I now know that they bloom at the same time in their native Japan. 

The spider lilies that surprised me again this October

Spider lilies have a relatively short bloom time, generally two weeks or less.  When they are in bloom you can extend their life by providing adequate water.  Once the flower dies, the foliage appears a couple of weeks later.  The foliage is a dark green clump that is reminiscent of lariope.  This clump will last until spring.

Luckily for us, these bulbs naturalize very readily in Texas.  If you buy bulbs (The Southern Bulb Co. is a great place to look: http://www.southernbulbs.com/catalog/index.php), you can plant them in full sun or partial shade.  The bulbs should be buried to a depth of three or four inches in good soil that has been amended with lots of organic material.  Provide normal water through the spring and summer and then wait for the fall show.  Since they naturalize so readily, you can also divide the bulbs you already have.  It is best to do this in the spring after foliage has died back.

Since the blooms and the foliage of the spider lilies eventually all die and disappear, I always seem to forget they are there.  Each fall, the appearance of those single “naked” stalks always lifts my spirits and informs me that once again, it is time to slow down and pay attention to what nature is about to share with me.  I don’t know if Spider lilies will line the path to my heaven, but I certainly hope they do!