Fig Facts

My newly planted Alma Fig

The sad little twig that you see on the left will soon grow up to be an Alma fig tree.  A friend of mine propagated it and several other varieties and then handed them out to his friends.  Thanks Tim.  I love receiving “pass along” plants.

Botanically speaking, figs are members of the ficus family.  Some research shows that they have been in cultivation in the Mediterranean area for over 4000 years.  The first figs grown in the U.S. were brought to Florida by the Spanish around 1575.  Franciscan missionaries took the fig to California where the first orchards were developed in present day San Diego.  Those early orchards were comprised of “Mission” figs.  Mission is still one of the most popular varieties in cultivation today.

Figs have been grown in the South for as long as there has been a South.  When I was a kid, everyone’s grand mother had at least one growing in their yard.  One of my favorite childhood memories is sitting at the chrome and formica kitchen table in Streetman, Texas sipping hot tea out of a saucer while eating toast and fig preserves with my Pa and MaMomma.  To this day, I think of them every time I see a fig or a jar of preserves.

My wife's alma fig preserves

Figs are very easy to grow.  They grow as well in clay as they do in sand and they can tolerate that scorching Texas heat.  Plus, they are relatively easy to care for.  They don’t need to be sprayed and they don’t need commercial fertilization.  Feed your fig by constant mulching or with a top dressing of prepared compost.  Too much nitrogen will make figs split on the tree and will cause the fruit to have a watered down taste.  Figs can take some drought but they do like frequent water.  A large fig bush should be given about 10 gallons of water per week during the really hot months.

Alma is a relatively new variety that was created by the Texas Agricultural Experiment Station in 1974.  It is a very tasty fig in a rather unattractive wrapper.  The figs tend to develop dark spots on their skins as they ripen that some say resembles a bacterial infection.  Regardless, the lovely amber colored flesh is very tasty.  It is great raw and it is well suited for canning.

Alma figs ready for canning. Note the dark brown blotches on the skin

Alma has a vigorous growth habit and it is an early producer.  It is not uncommon to get a nice crop from your first year’s growth.  Alma is not a closed eye fig.  However, it does develop a thick resin covering that keeps the dried fruit beetle at bay.  This greatly reduces the threat of on the tree souring.  Alma is a little frost sensitive and should not be planted more than 200 miles from the Gulf of Mexico.

Figs are relatively easy to propagate from cuttings.  Simply take stem cuttings from one year old growth during the dormant season.  Some people recommend treating with a rooting hormone and letting the cutting scab over before planting.  However, lots of old timers say you can just cut them and then plant them and they will be fine.  Figs can send up suckers from the ground level and these can be used as cuttings.  However, remember that figs are very susceptible to nematodes and cutting suckers is a good way to spread this problem.  Just a little FYI on nematodes.  They don’t like black clay.  So, if you are in area of clay soils, then nematodes will not be as big a concern. 

Figs can be pruned to grow like a tree.  However, this makes them a little more susceptible to freezing.  Unless you live on the coast, grow your fig into a bush.  The bushing habit will protect it from freezes.  If it does suffer some damage from a hard freeze, cut out the damaged wood in late winter or early spring.  Also, if you have a mature fig and it seems to be producing less and less each year, take your shears and open it up.  This will encourage both growth and fruit production.

A Monday Holiday

Surprise Easter Lilies

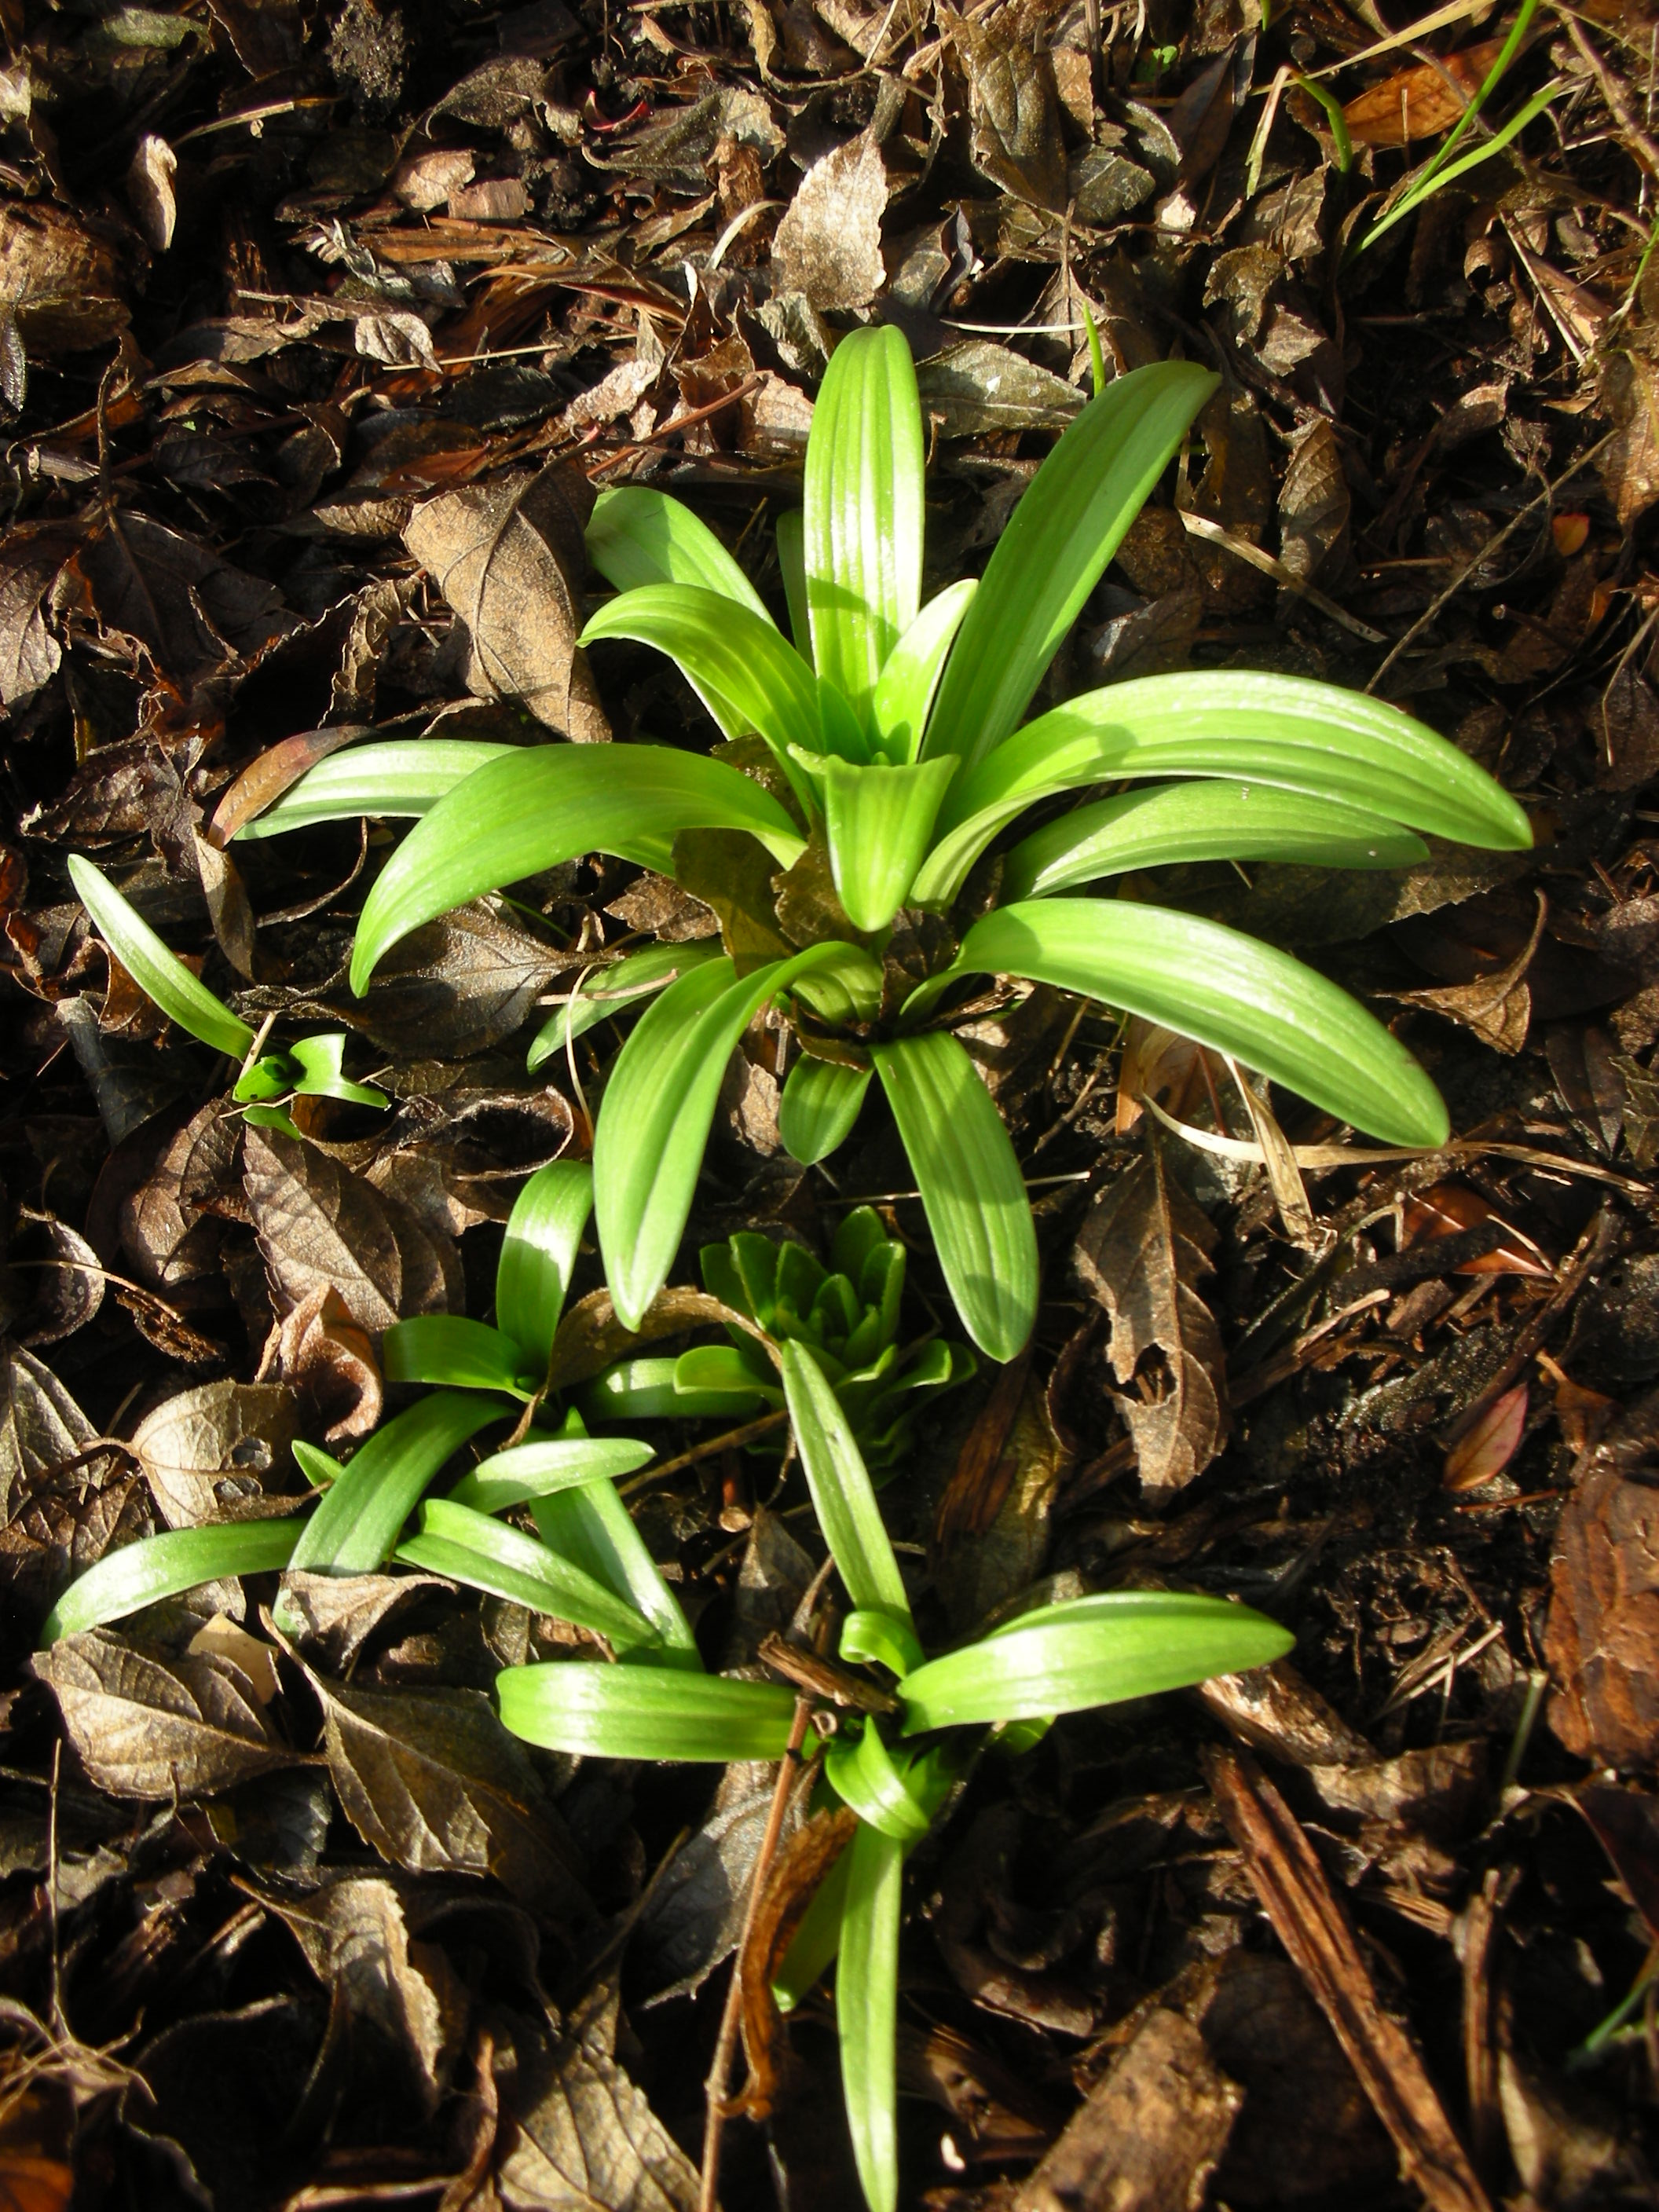
We have been so busy with the holidays and the remodel that our beds have suffered.  All of them need weeding and trimming.  This past Monday was so lovely that my wife and I decided to do some of that much need yard work. We started the morning by cutting back the Lantana that grows by our back deck.  While we were pruning I got one of those little surprises that I just love in the garden.  Tucked under the leaves and the bare branches of last year’s lantana was this year’s Easter Lilies!  Truth be told, I had forgotten they were there.  I won a single stem at our church picnic last summer and I just stuck it in the ground.  Well, that was a good decision.  That one plant has now divided and given me five new plants for the price of one.  I have never grown Easter Lilies before so I am not sure if this much division is common, but I am excited about it.

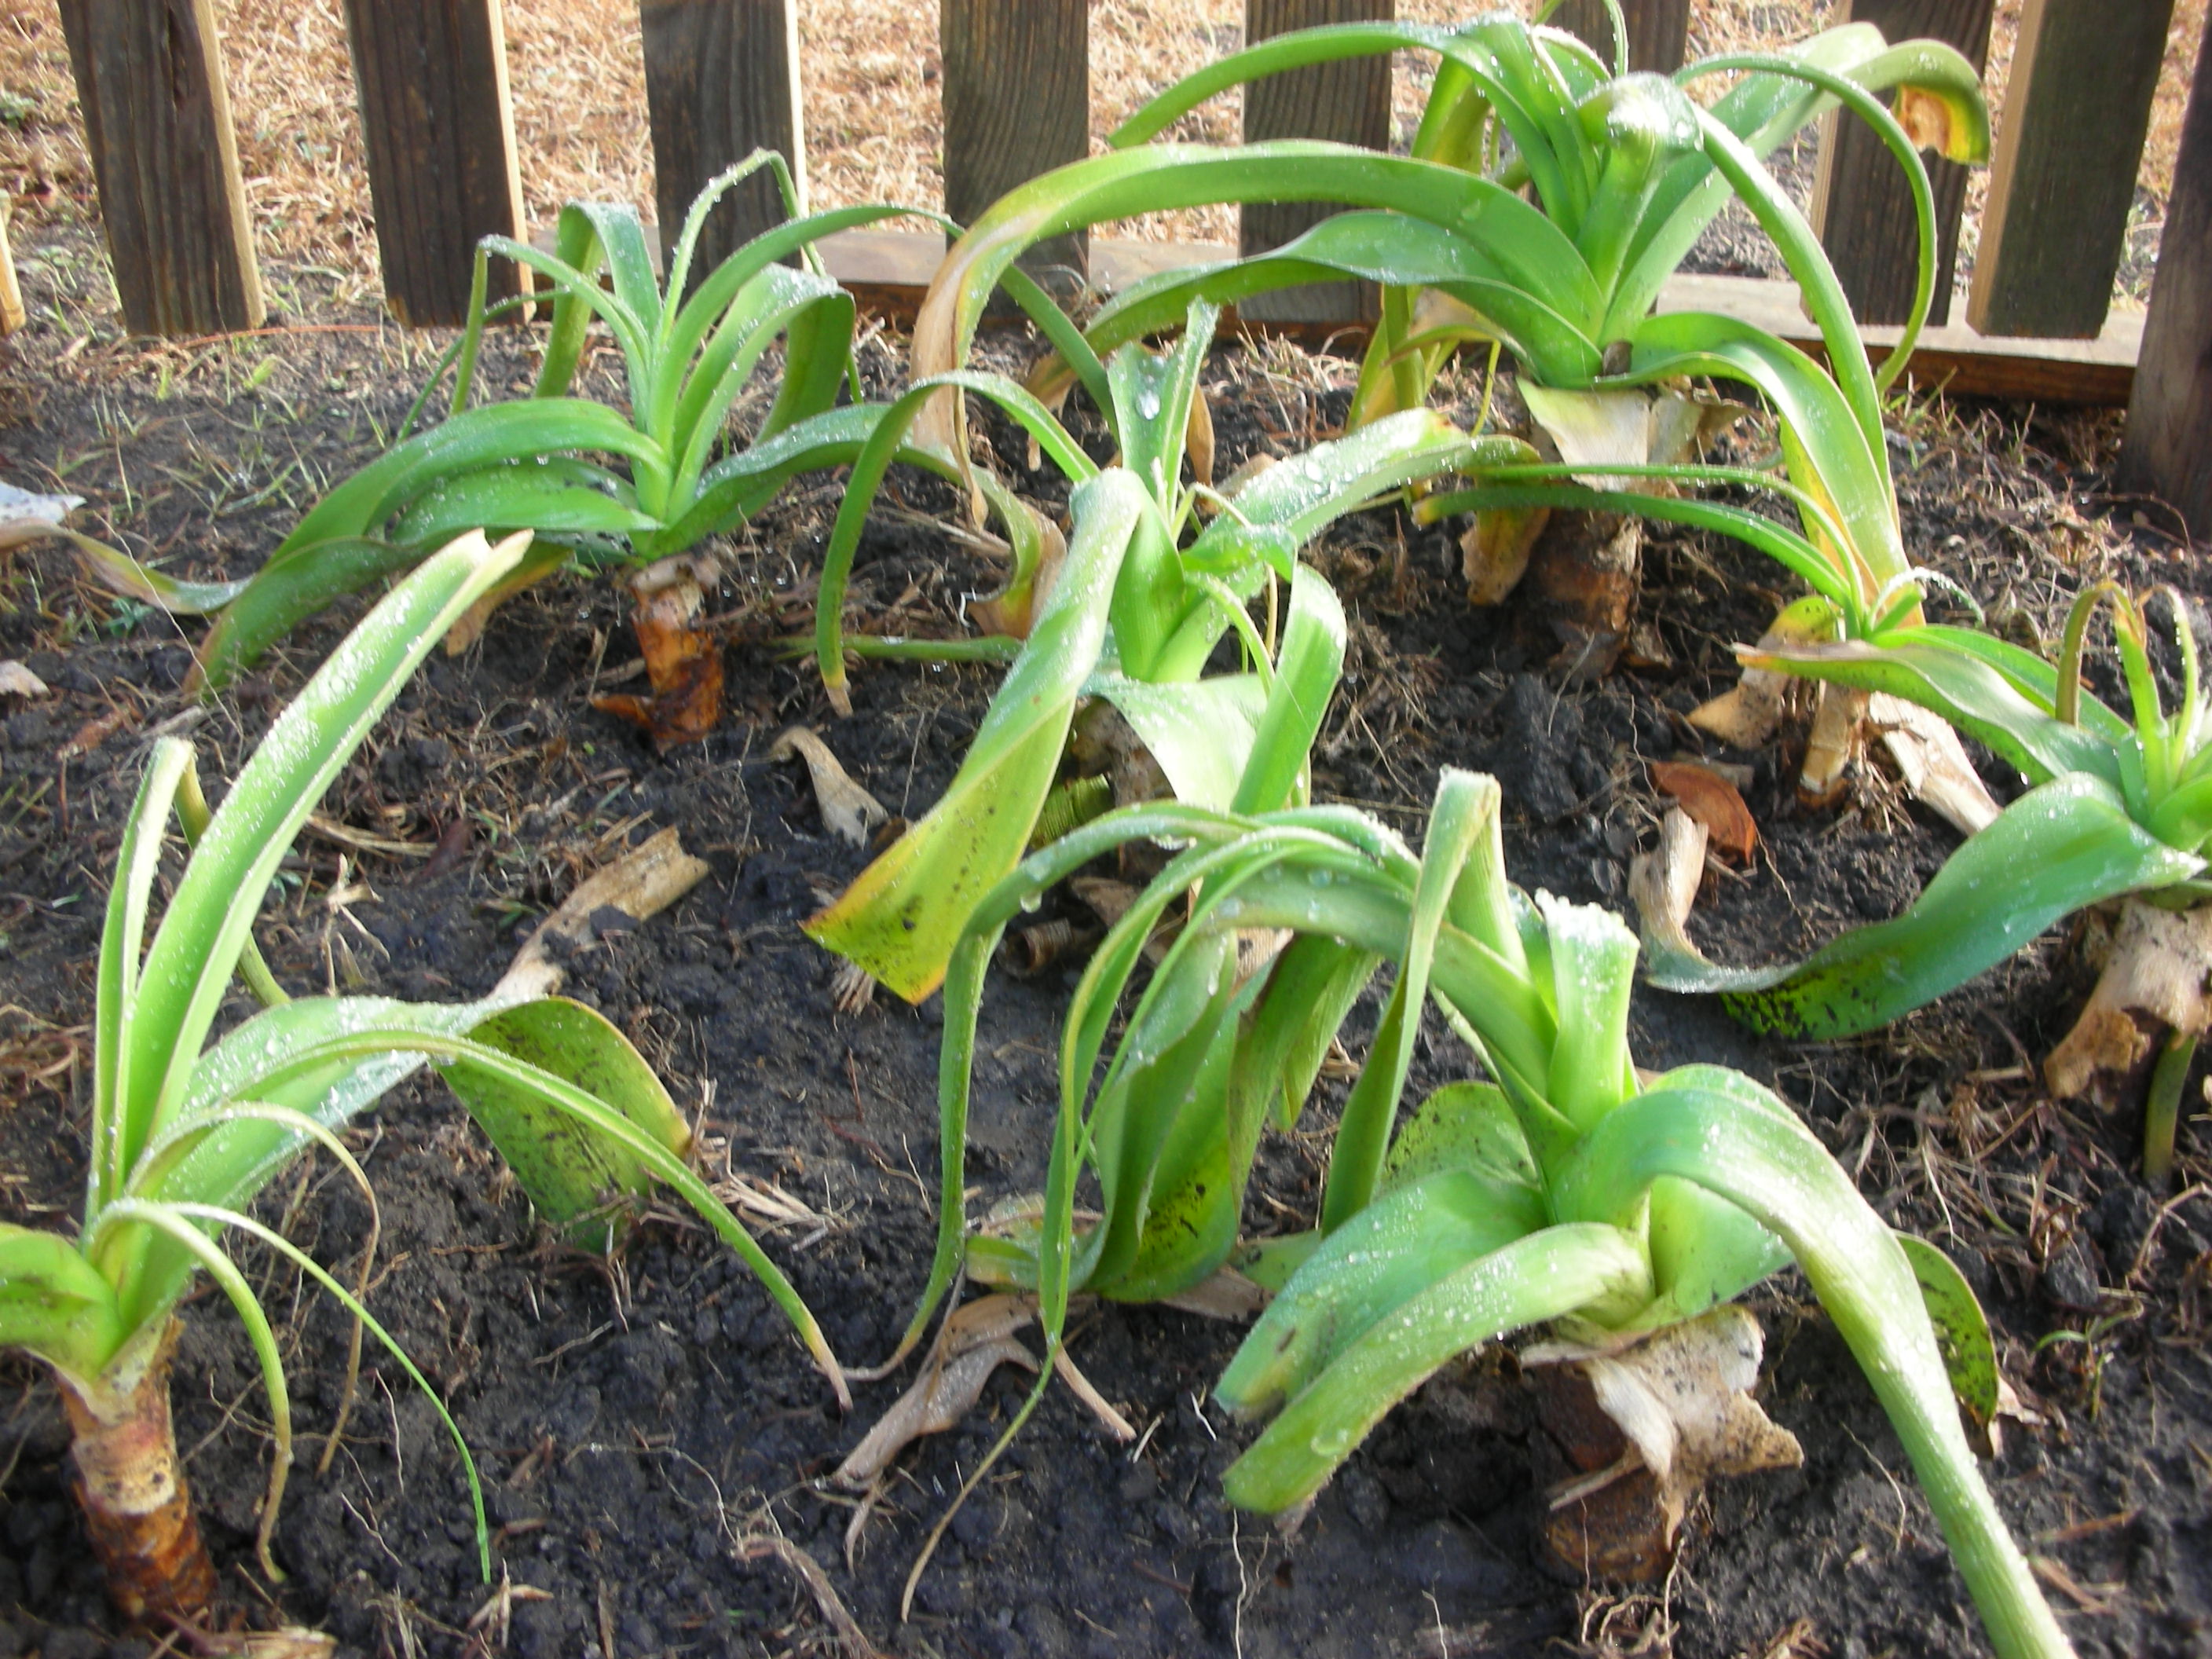
The Milk and Wine Crinums that I moved

After we cleaned up our mess I decided to do my absolute favorite garden chore – move things!  Fall is the best time for this, but, with a little care, you can move plants anytime of the year.  My friend and garden mentor Cynthia Mueller says that if you move a plant correctly, it won’t even know its been moved.  I have fully embraced her advice.  The first thing that I moved was a bunch of milk and wine crinums (Crinum x herbertii).  I got my crinums from a friend.  I think that is how most people get them.  I had several small clumps scattered around the yard so I decided to dig them up and make two masses on either side of my propane tank.  I am hoping that their lush spring and summer foliage will help camouflage my ugly propane tank.  Next, I moved a few clumps of daffodils and narcissus that were left by the previous homeowner.  He had planted them willy nilly all over the place.  I am slowly trying to sort them out and plant them in masses.

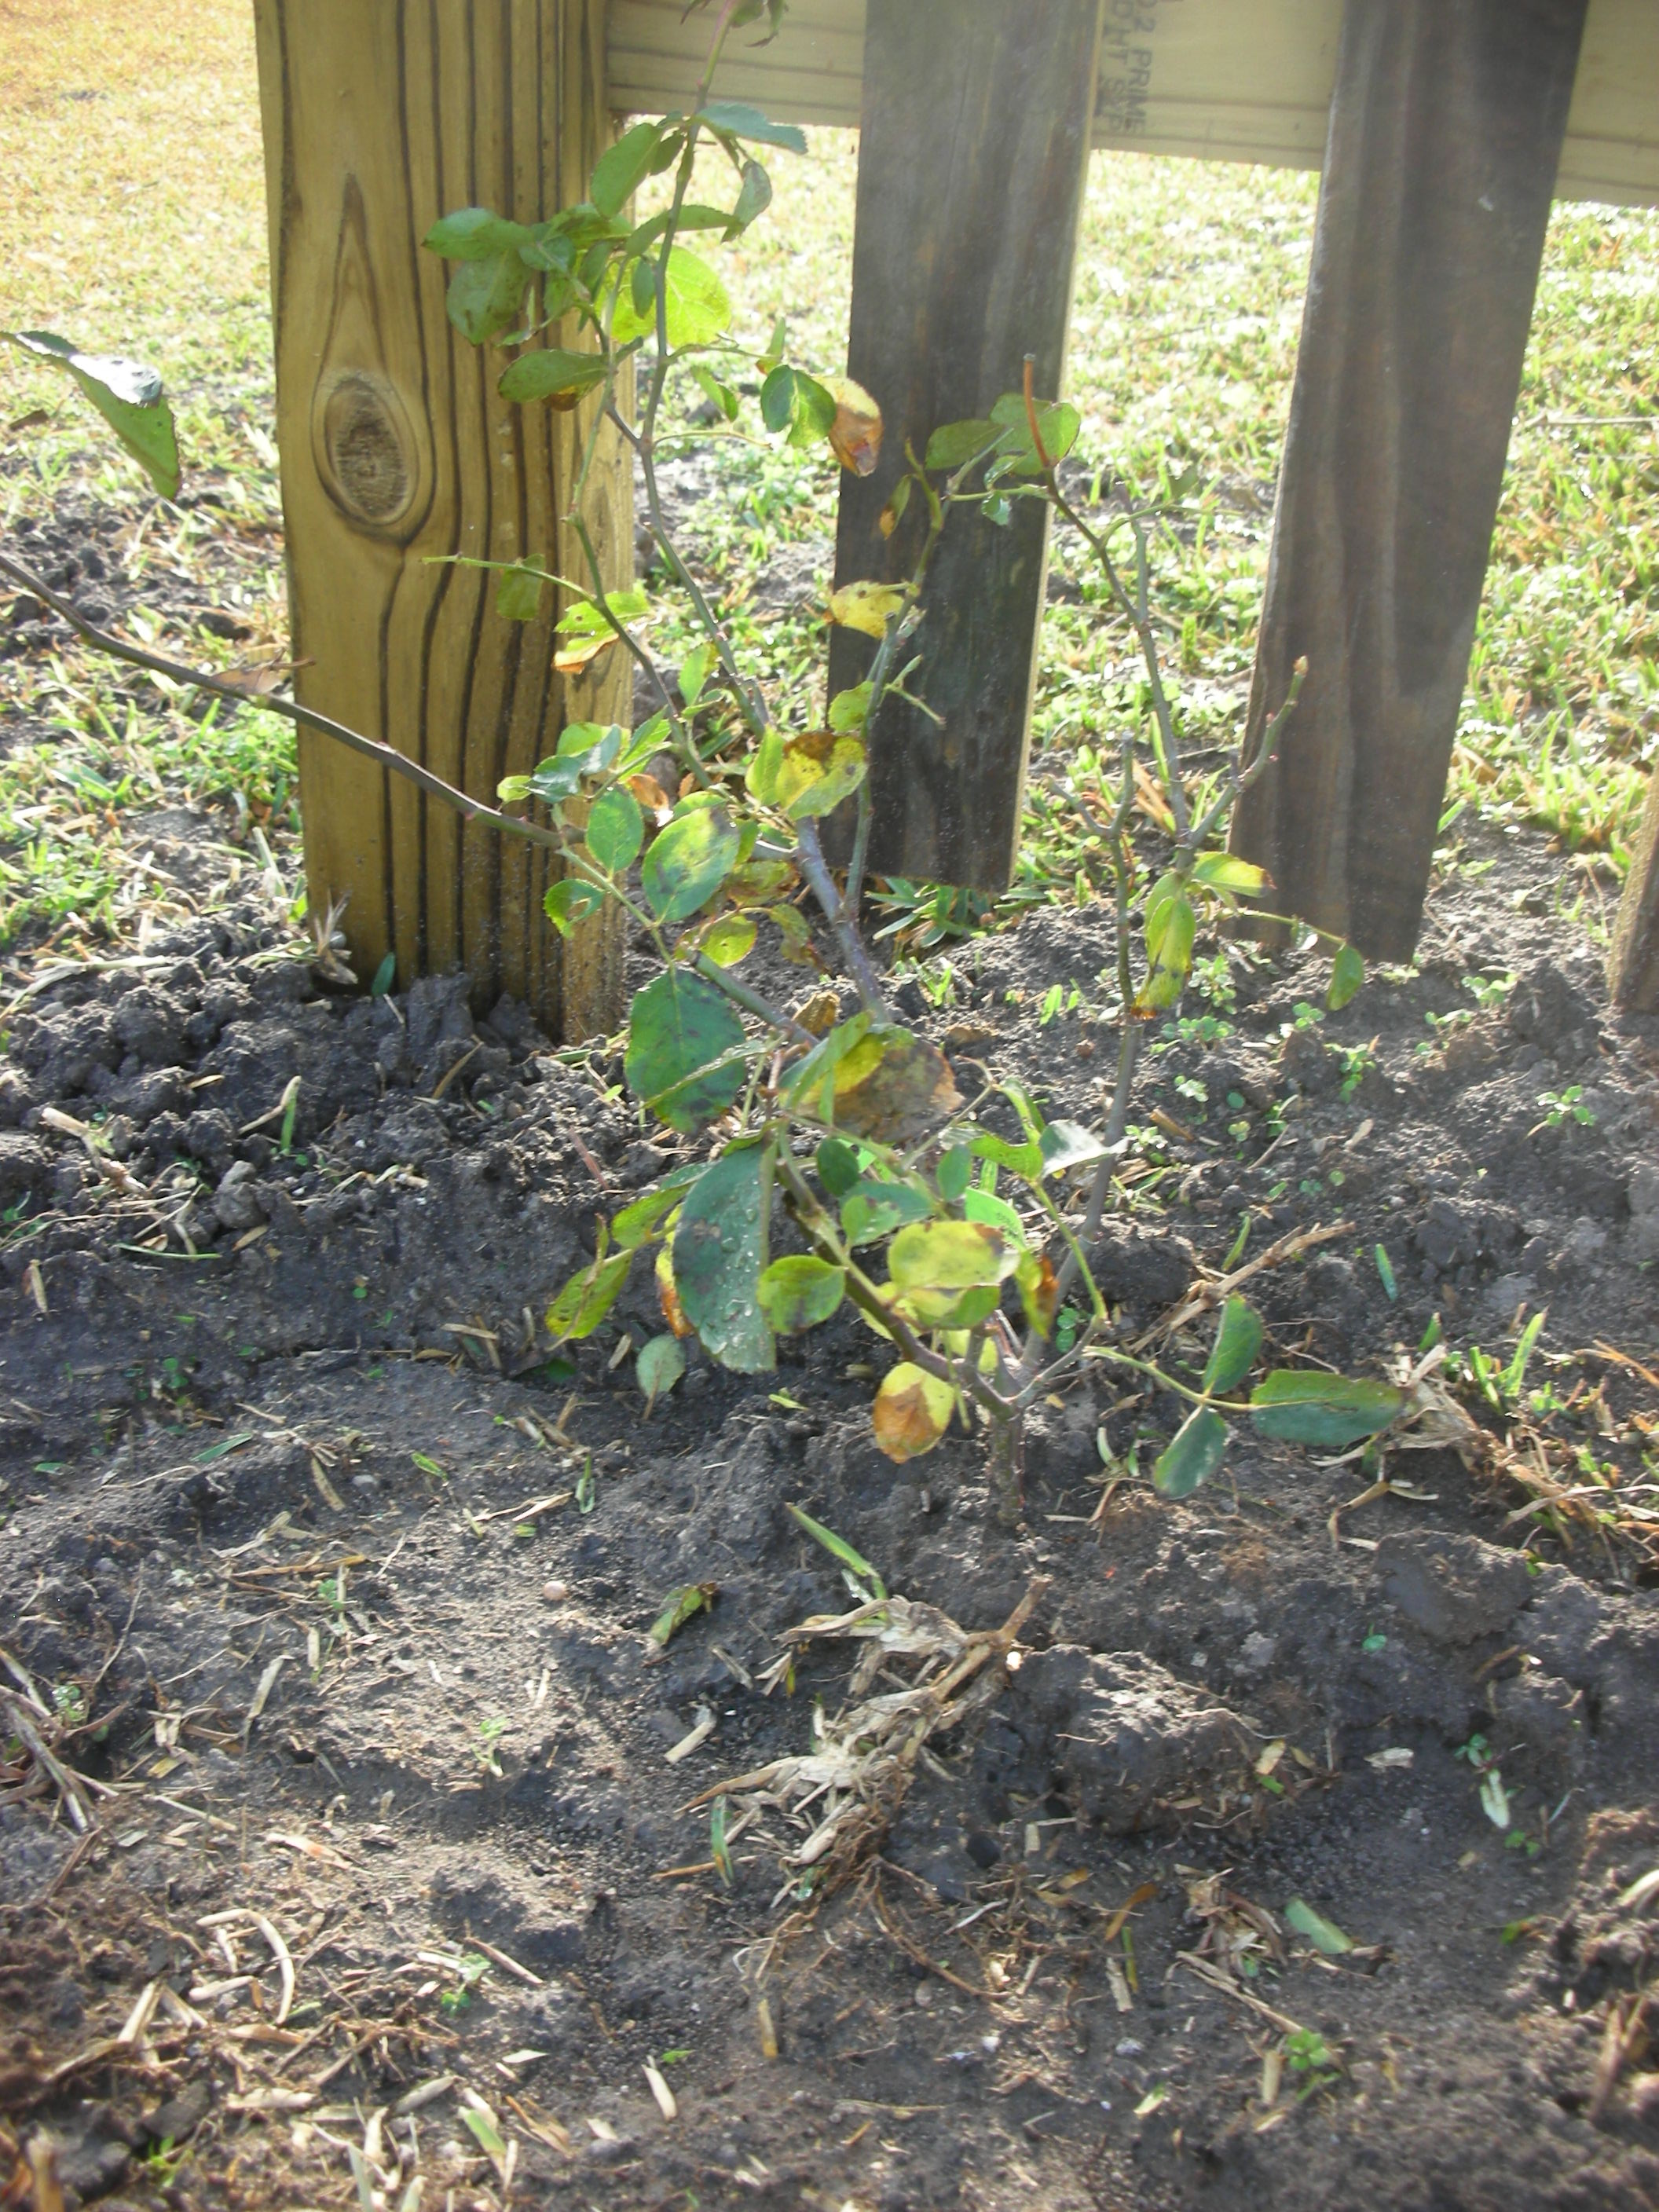
The "Don Juan" climbing rose that I hope is about to swallow my arbor

Once I ran out of things to move, I did a little planting.  Since I have recently finished the arbor in the picket fence, I planted a Don Juan climbing red rose at the base of it.  Don Juan is a fairly aggressive climbing rose that can grow to 15’.  It has very beautiful deep red velvety double petals and it smells terrific.  I have high hopes that it will be stunning on my white arbor. 

Next, I got to plant some Primrose Jasmine (Jasminum mesnyi) that I have been nursing for the past nine month.  I planted these on the east side of my house.  My house is on a slope and it sits up on blocks, so I have a lot of space between the ground and the bottom of the windows.  Since primrose jasmine makes mounds up to 10’ feet high, I figure this is the perfect plant.  Primrose jasmine is an old-fashioned plant that is often called “Fountains of Gold”.  You can see them growing at old home sites all over Texas.  These plants make a huge mound of arching branches that are covered in double yellow flowers in the spring.  I got mine by pulling up shoots from an existing plant and then potting them.  I have kept them alive now since last spring and I am very glad to finally have them in the ground.

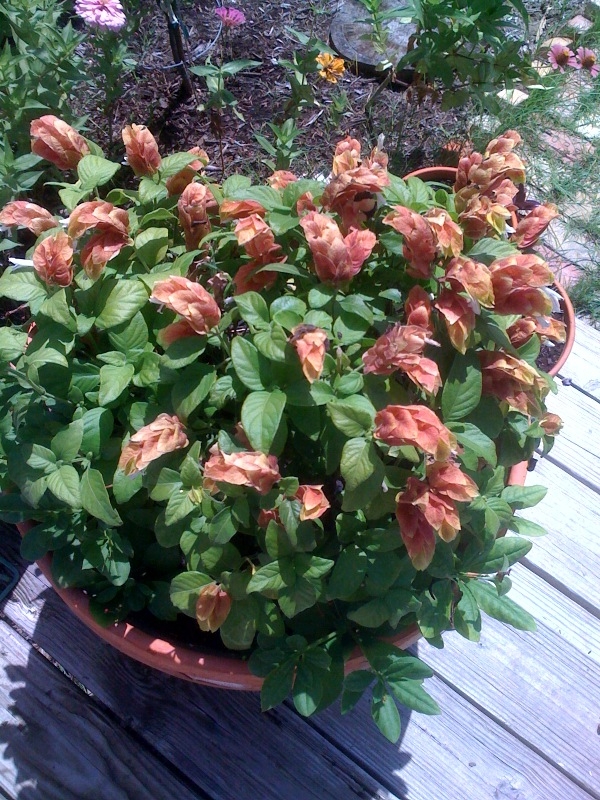
The shrimp plant that I divided and planted in the flower bed

To finish things up, I divided some shrimp plant that I had in a pot.  This one pot made four lovely clumps that I put by the steps to my deck.  I also planted some Society Garlic and day lilies that I had in pots.  I also planted a whole flat of dwarf mondo around the “stump” stepping stones that lead to my faucet.  All in all it was another relaxing and rewarding holiday at the nest.

Christmas Wine

The finished product

This year, we started a new Christmas tradition at the yupneck’s house– bottling homemade wine.  Bottling our wine was the very exciting conclusion to a process that started six months ago.

Wild grapes mature around July 4th in our part of the country.  So, while other folks were celebrating our nation’s birthday with hot dogs and hamburgers, my wife and I were out picking five gallons of Mustang and Muscadine grapes.  Both of these grapes grow in abundance over the fences and fence rows of our county. 

Finished wine waiting to be bottled

The recipe we used is an old Czech and German recipe that has been used in our area for well over one hundred years.  This recipe was passed on to us by Marvin Marberger of Brenham.  Mr. Marberger has been making wine for more years than he cares to remember.  He is pretty famous around here for his wine and we were very lucky to have his help.  I promise to do full post on the actual “making wine” part in the summer.  For now, I am going to focus on the end result.

Our wine sat and fermented on our enclosed back porch for six months.  You know your wine is ready when there are no more bubbles going through the air lock.  Our wine stopped bubbling a couple of months ago.  We let it sit until Christmas just to make sure it was indeed ready.  You see, if you bottle before the fermentation process is complete, then fermentation in the bottle can force out corks or make the bottles explode.  That would be a bad thing, so that’s why we let it sit for so long.

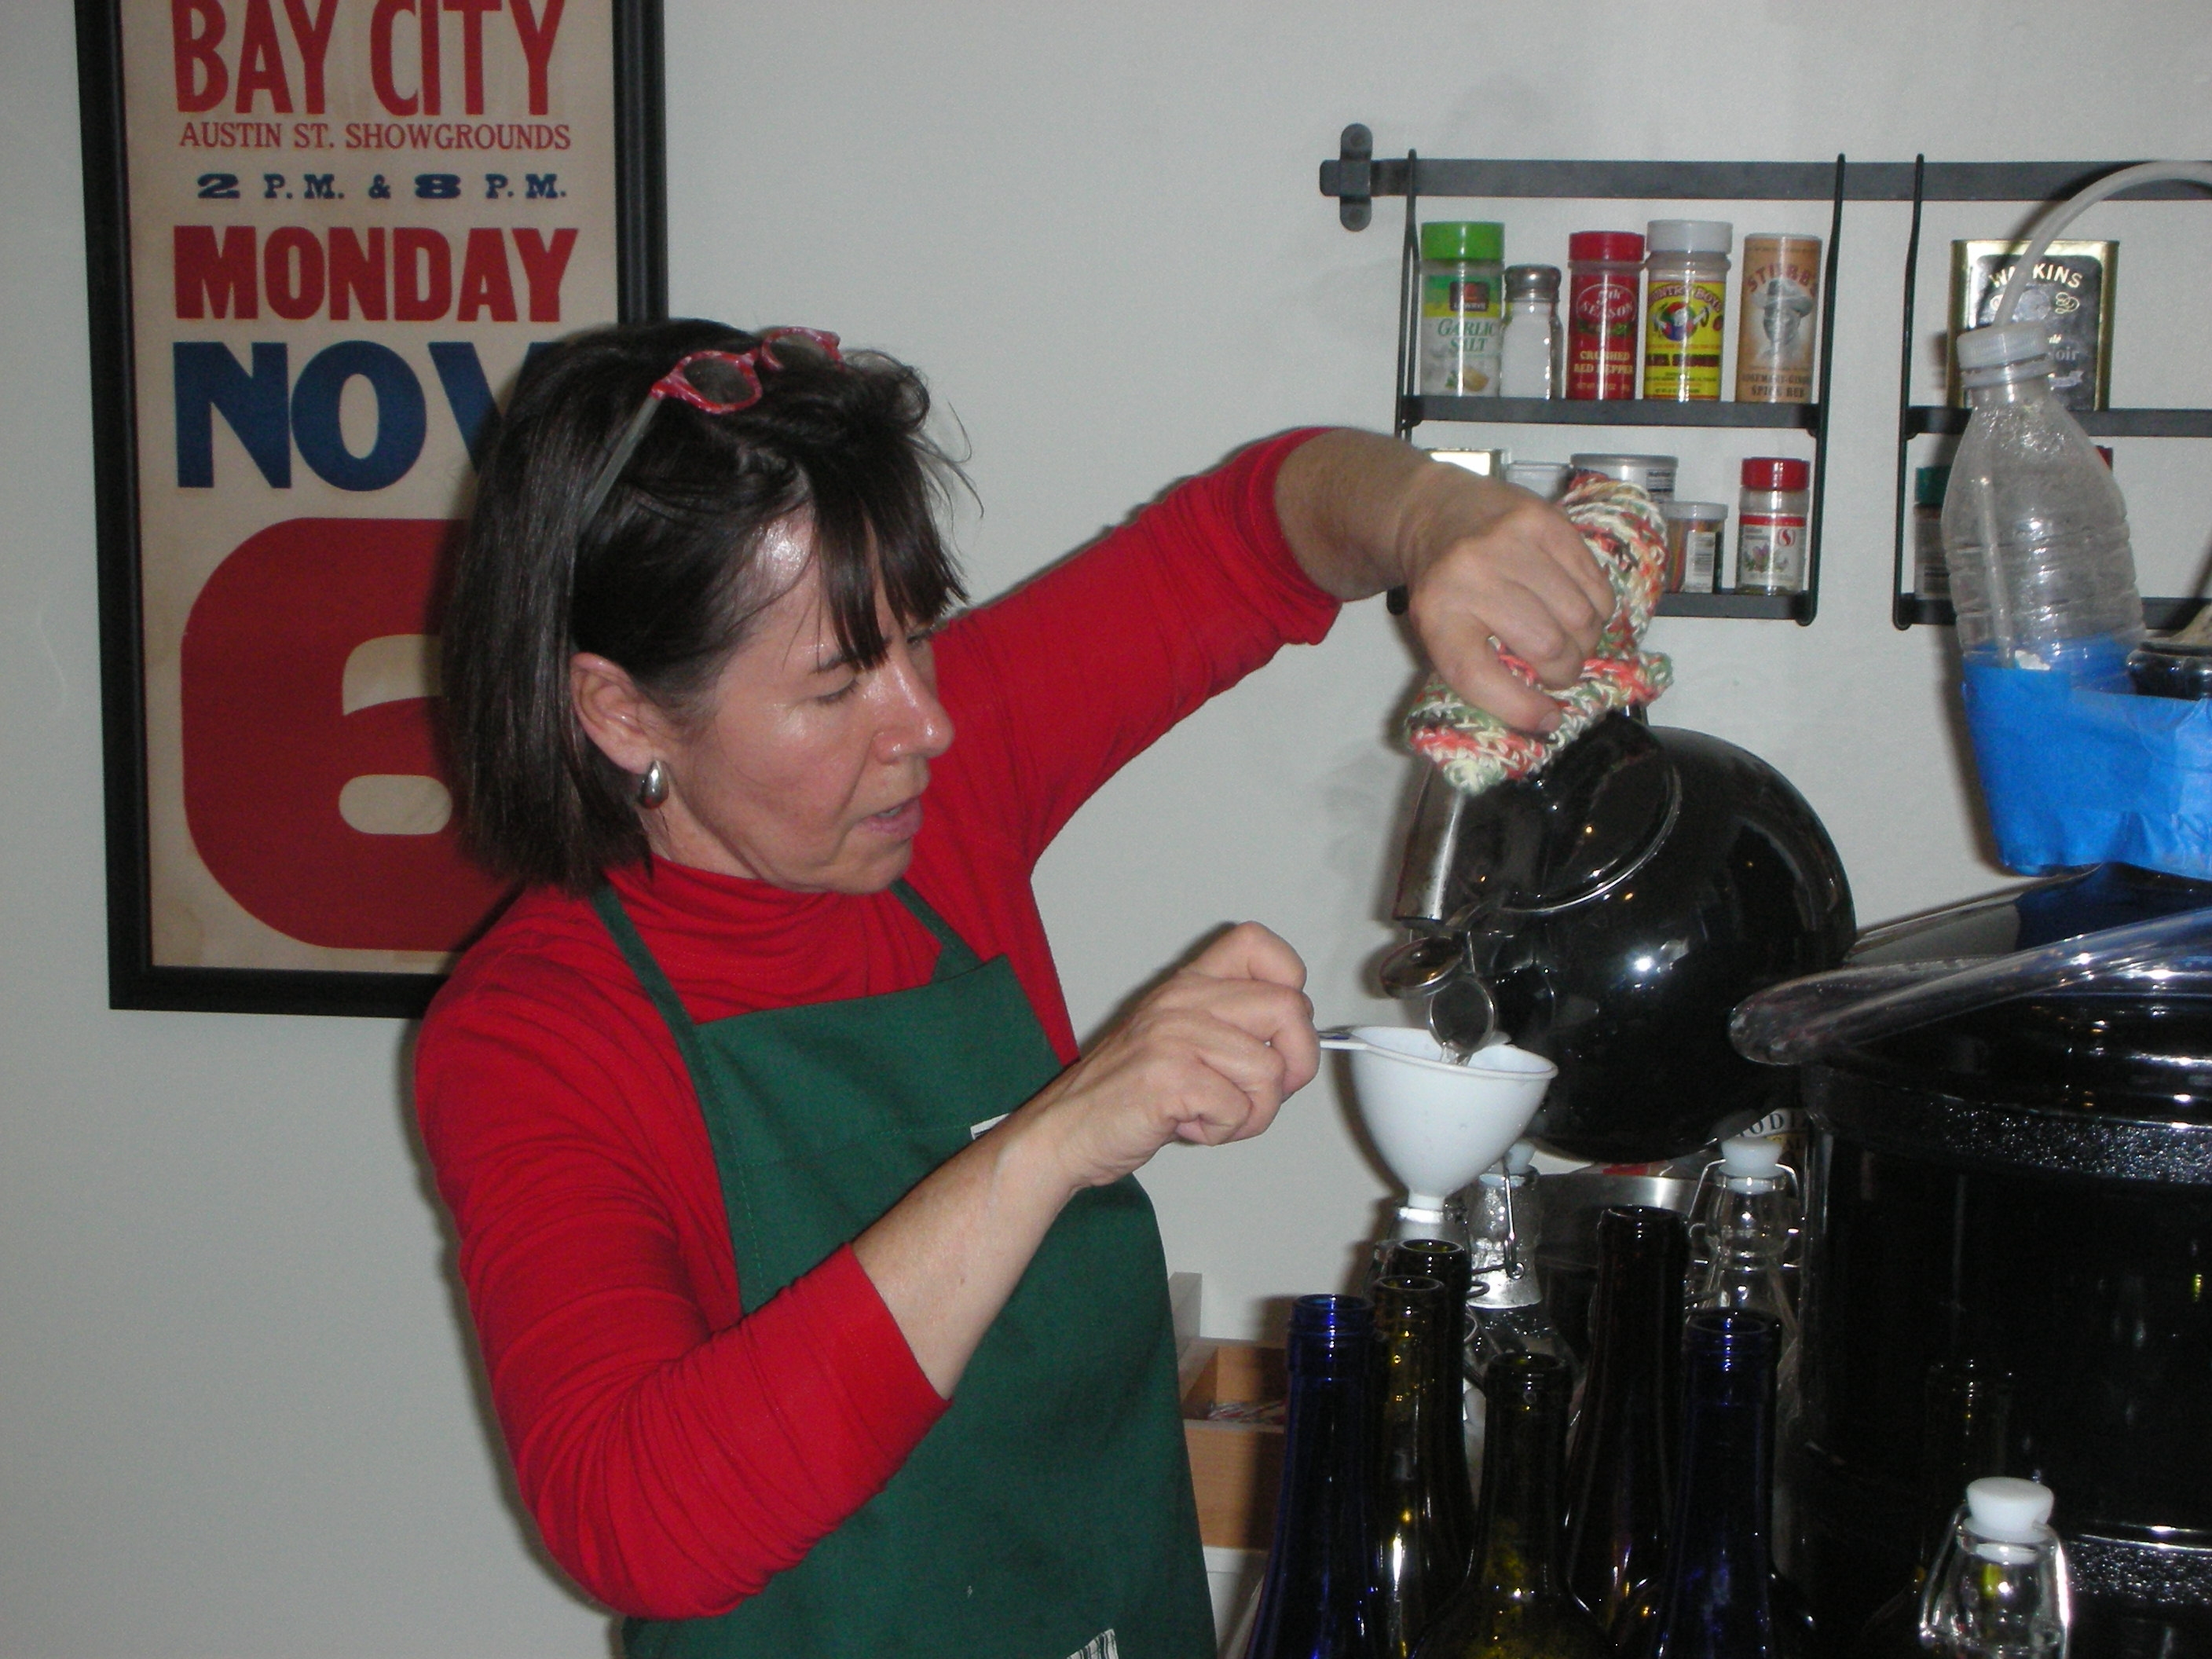
The yupneck's lovely wife sterilizing the bottles

Christmas Eve night, with all of our family around to help, we brought in the wine.  Now bottling homemade wine sounds kind of romantic, but let me tell you, it is a lot of work!  First, you have to sterilize your bottles and corks.  My lovely wife did most of this job.  She would bring water to rapid boil on the stove and then use a funnel to fill the bottles.  Five gallons of wine will fill twenty five 750 ml bottles.  We used nine 1000 ml bottles and thirteen 750 ml bottles. 

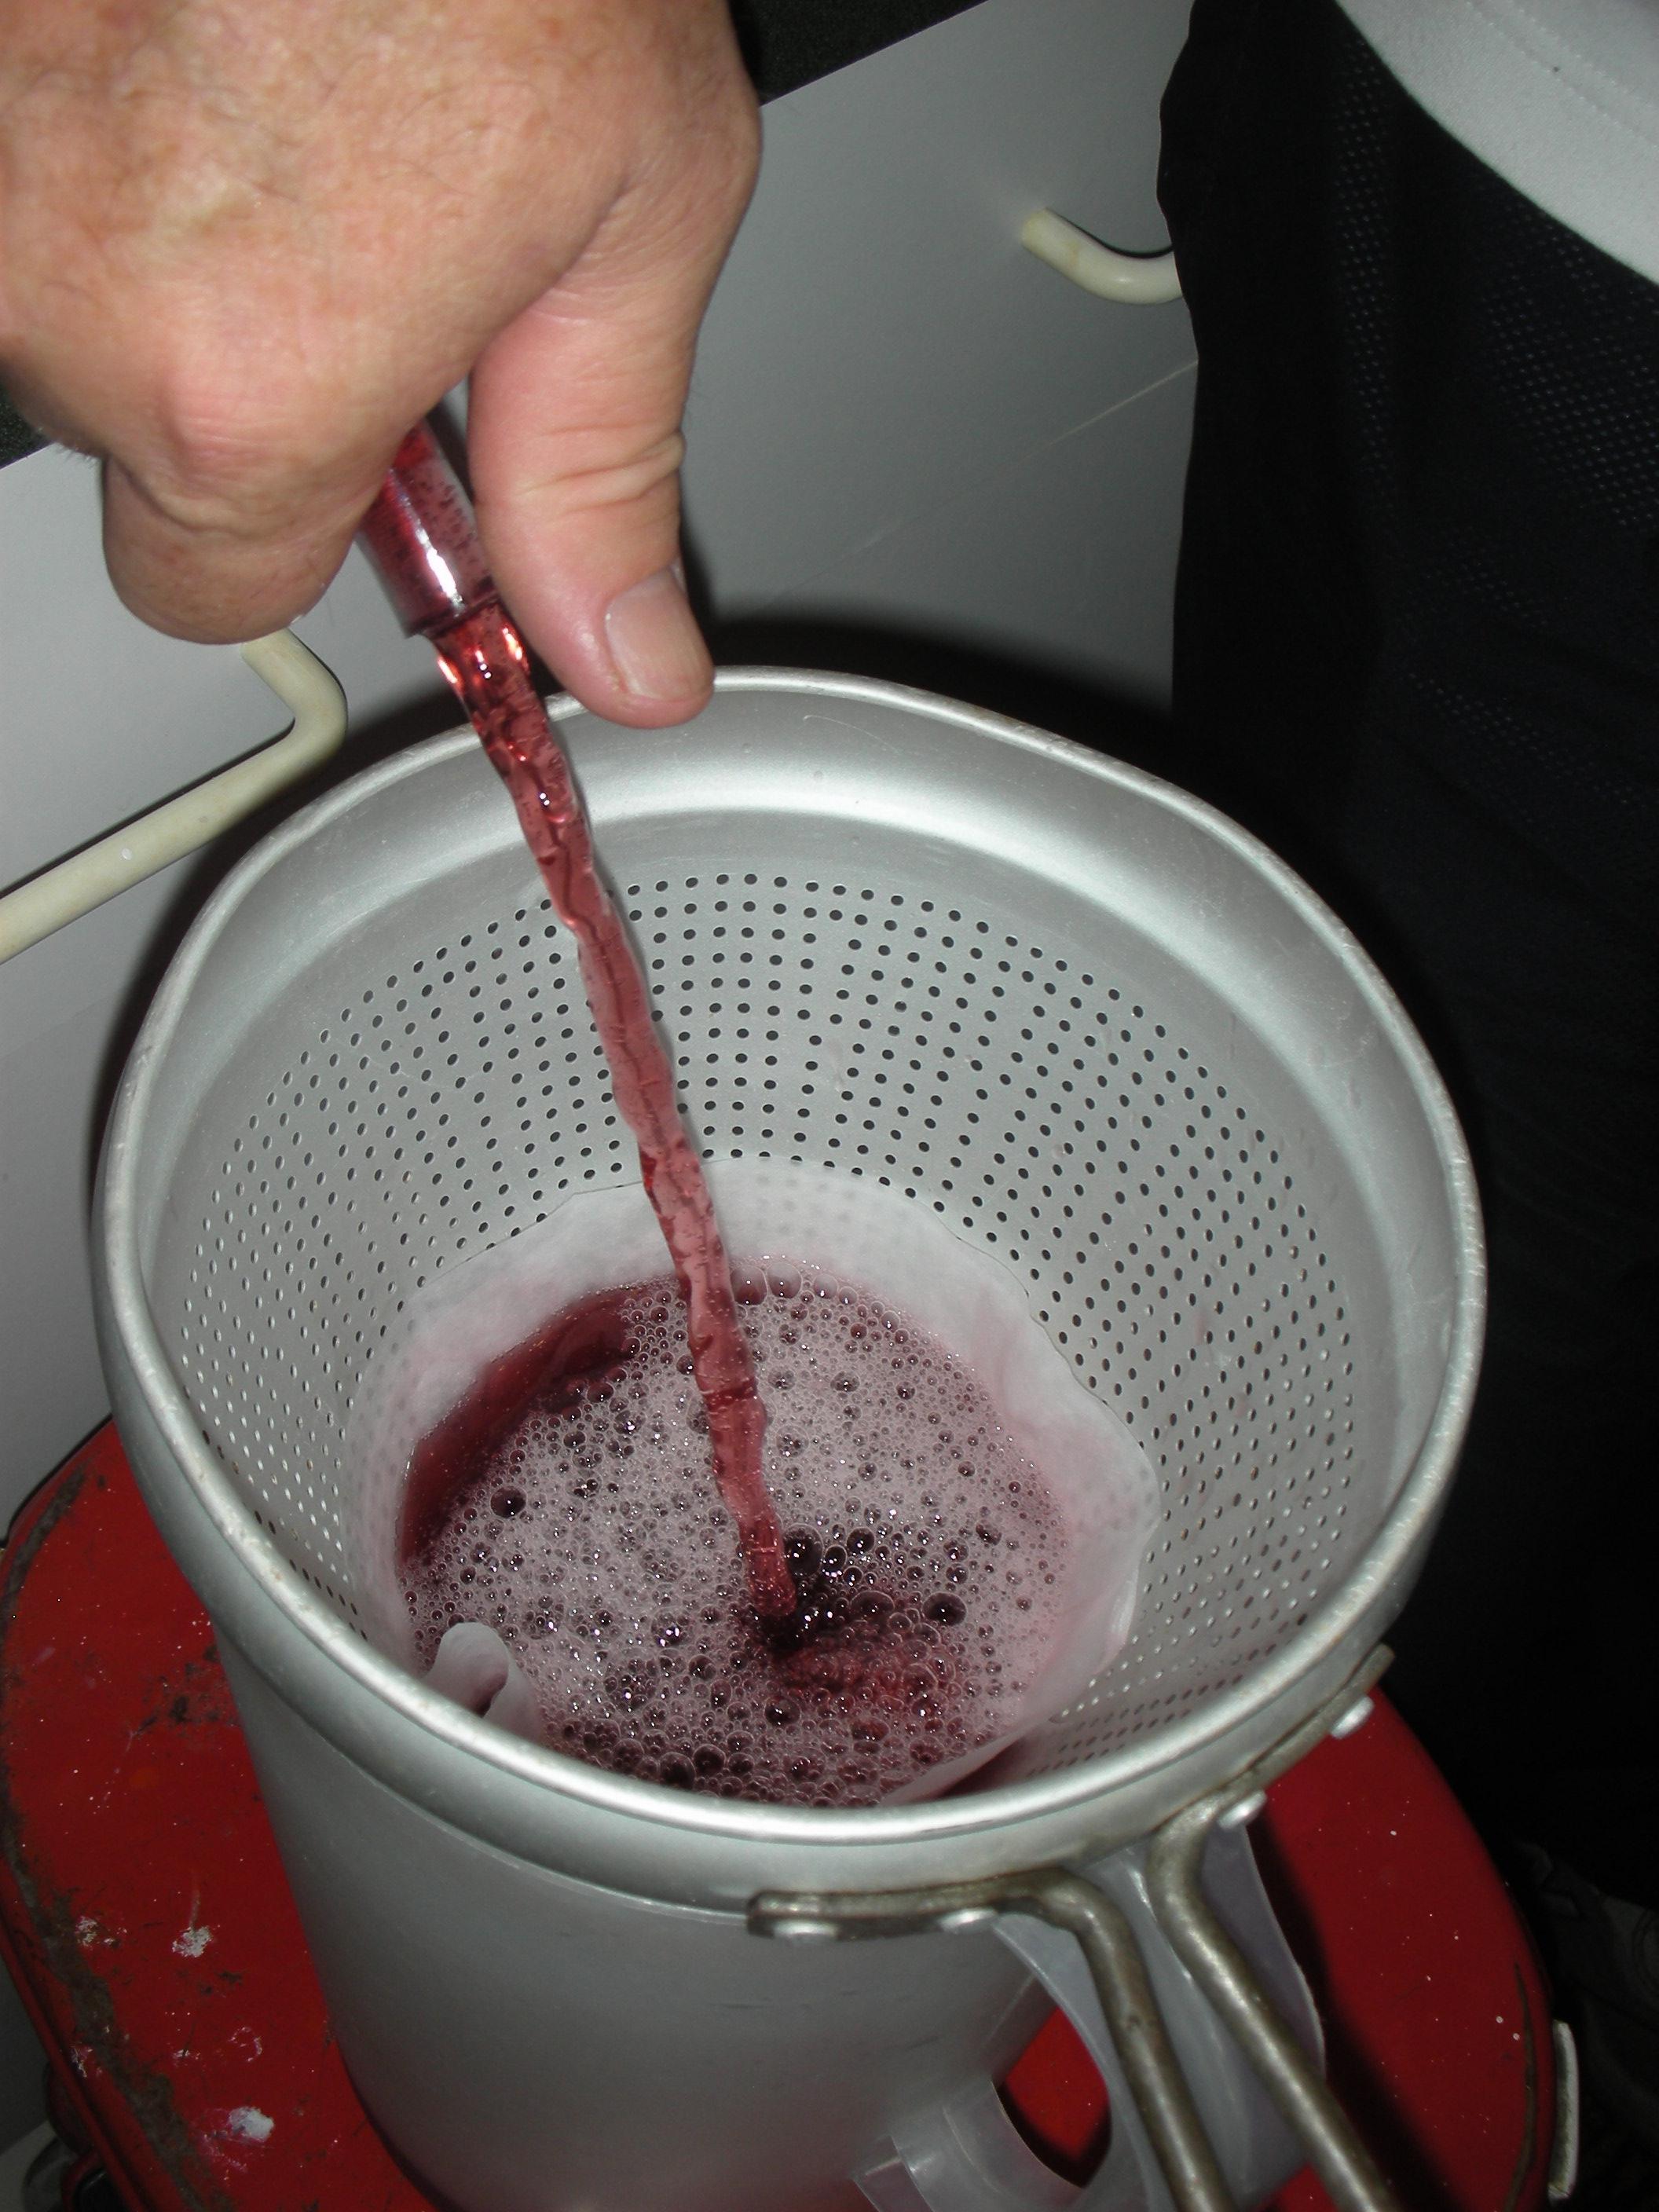
Siphoning and filtering the wine

After everything was sterile, we started to bottle.  Bottling basically involves siphoning out the wine, filtering it, and then putting it in the bottles.  This was a slow process as we filtered it first into a tea pitcher and then we filtered it again as we filled the bottles.  All in all it took us a couple of hours just to fill the bottles.

Once the bottles were full, we corked them.  Our 1000 ml bottles had an attached hinged cork like a Grolsch beer bottle.  For the wine bottles, we reused old corks.  We boiled them to clean and soften them.  Then, we just pushed them in as far as they would go.  Once they were corked, they went on a shelf in an upright position to dry and seal for about a week.  Once the corks were dry, we laid them on their side in a cool dark cabinet.  This is the proper way store your wine.  The wine needs to be in contact with the cork.  This will keep the cork moist which helps in the seal.

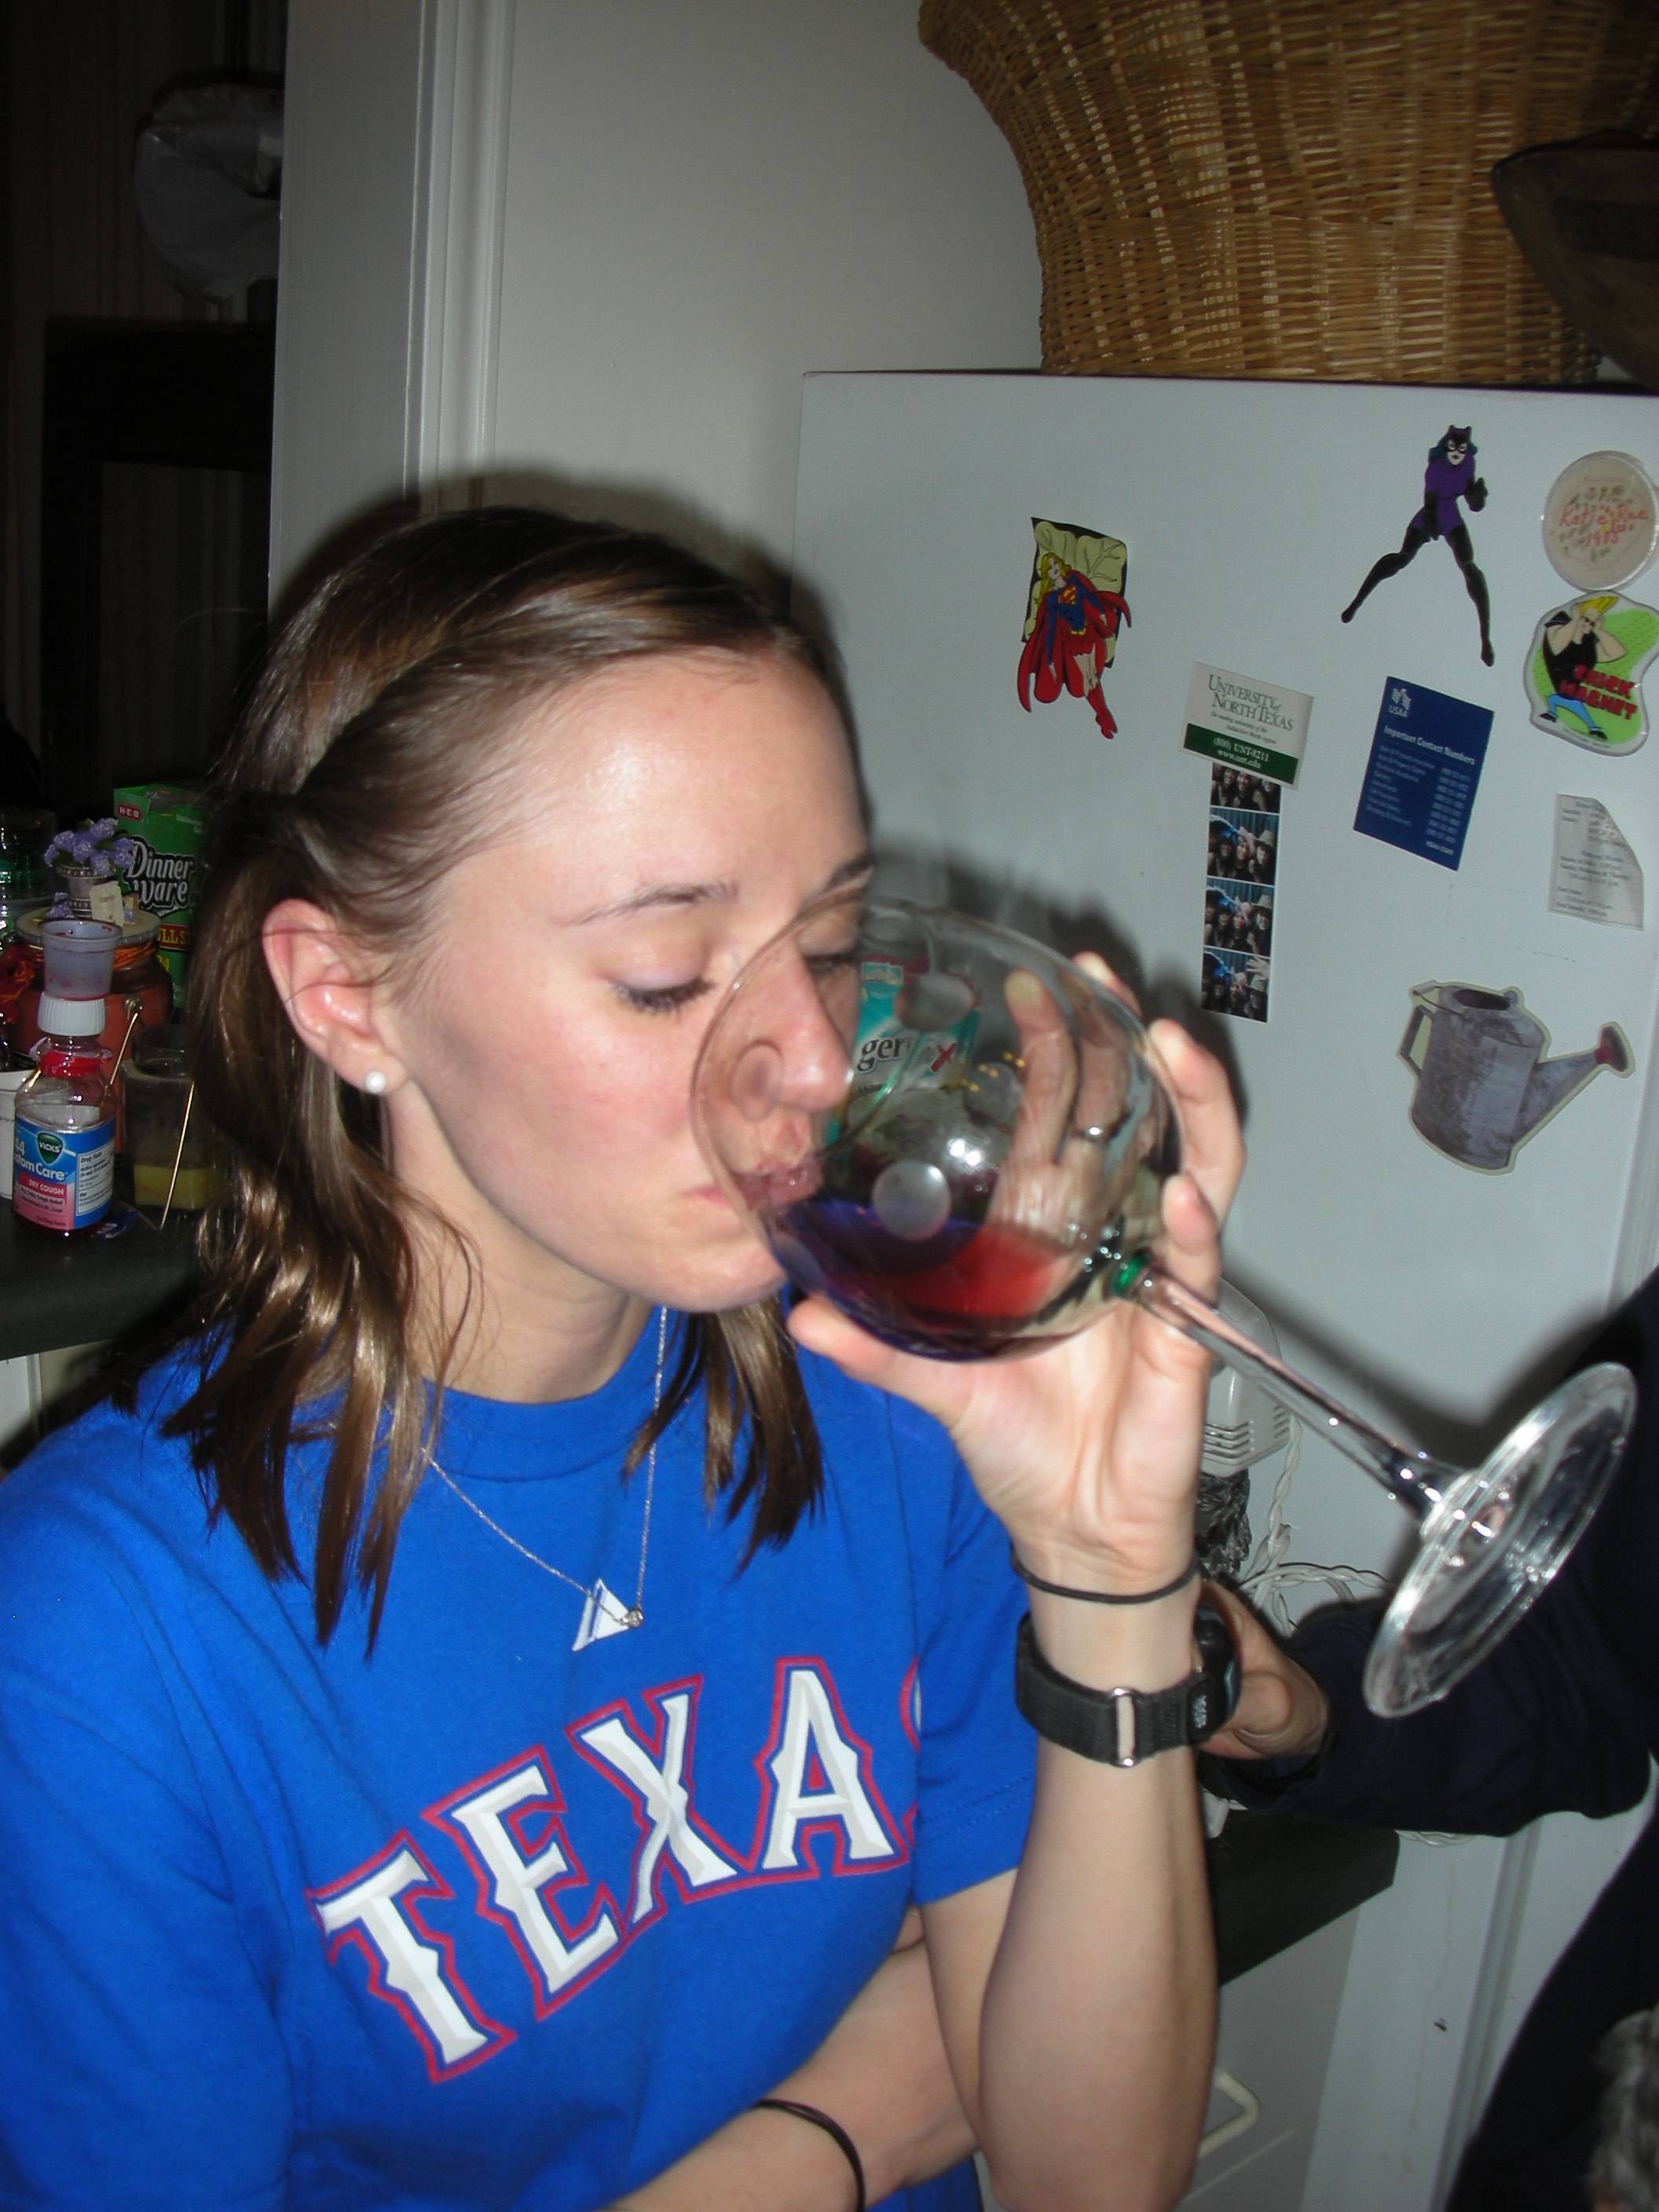
Our daughter Jessie enjoying the "fruits" of our labor

Our wine turned out great!  While it will not get any awards, it is a very sweet and very drinkable table wine.  We gave away most of our first batch and everyone that received it has asked for more.  The process was really pretty simple and my wife and I enjoyed it immensely.  In fact, we liked it so much we are going to try and make other varieties (like watermelon, black berry or strawberry) in addition to the grape next year.  If you are lucky enough to live in area where you can get access to wild grapes, I highly recommend you try this at home.

Winter Chores in the Potager

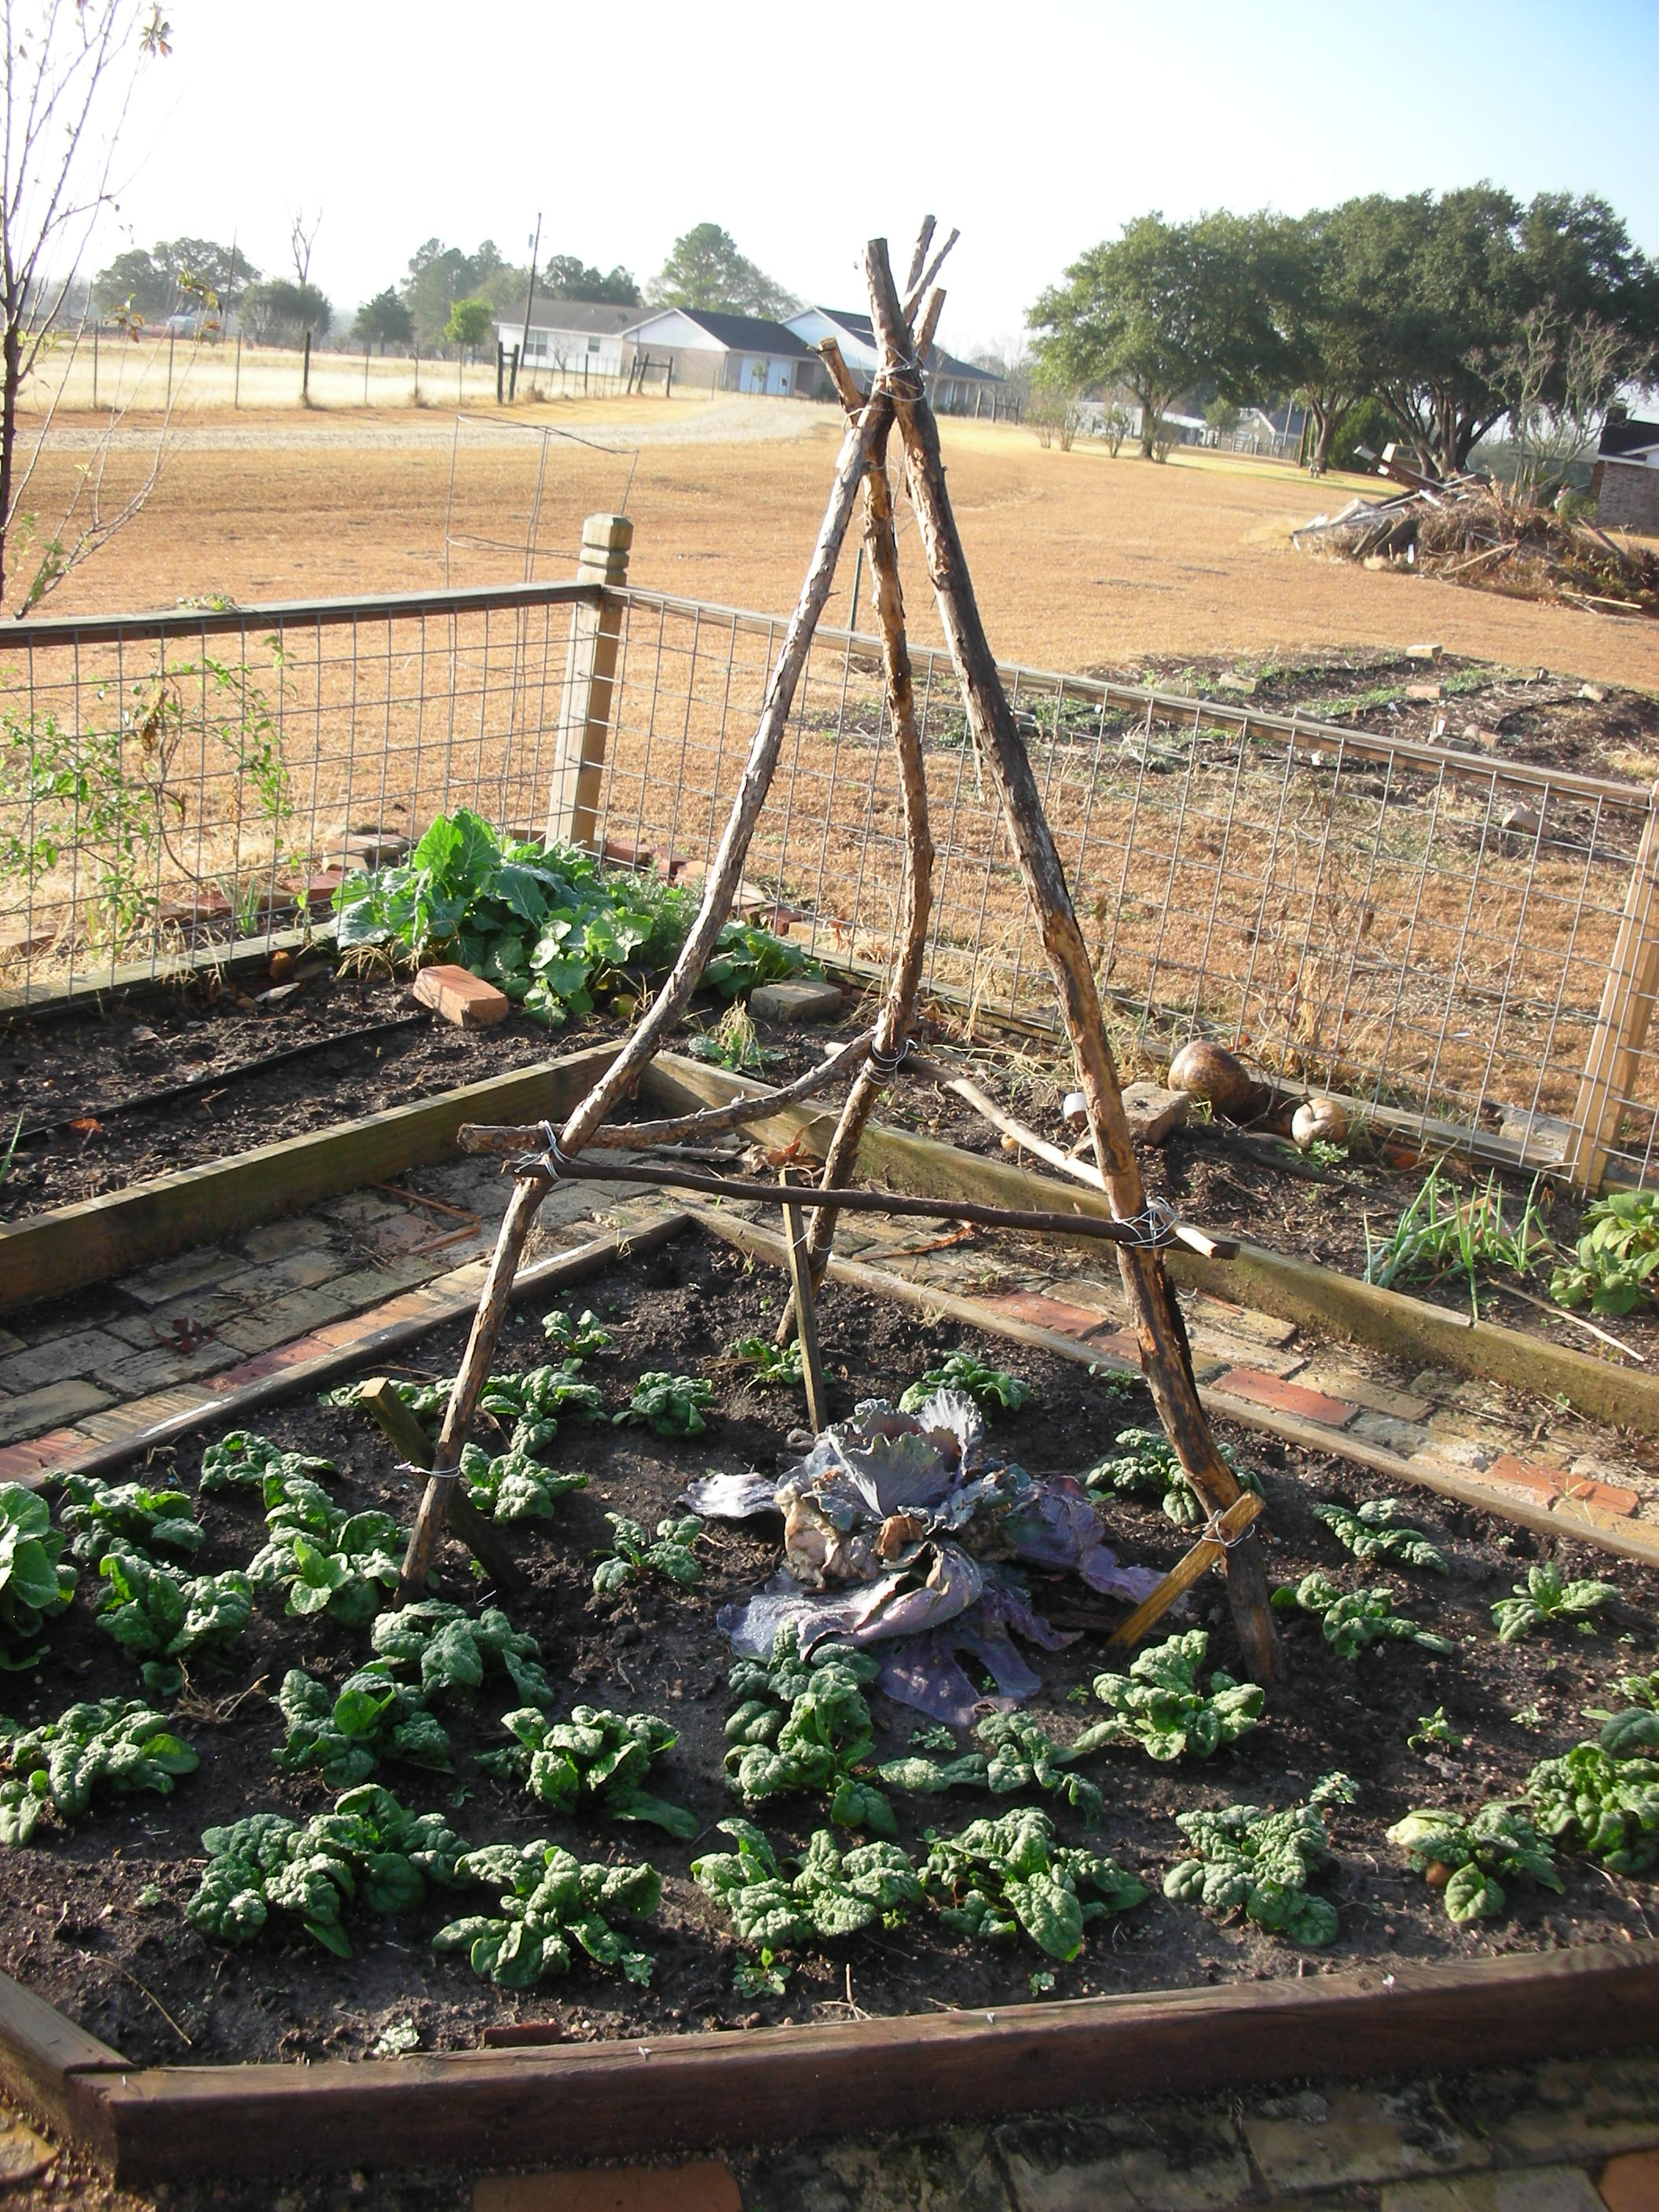
The potager in January

The weather has been so nice this holiday season that my wife and I decided to do some much needed maintenance in potager.  The Cypress vine that brought us so much joy in the summer had to come down.  The same plant that had covered our fence and trellis in beautiful red flowers and drawn so many hummingbirds and butterflies into our lives was now just an eyesore.  So, with pruners in hand, my wife and I cut, chopped and pulled down all remnants of the vine.  It came down very easy, but it covered us in tons of tiny black seeds.  You know what that means.  More Cypress vine than I will know what to do with in this spring!  

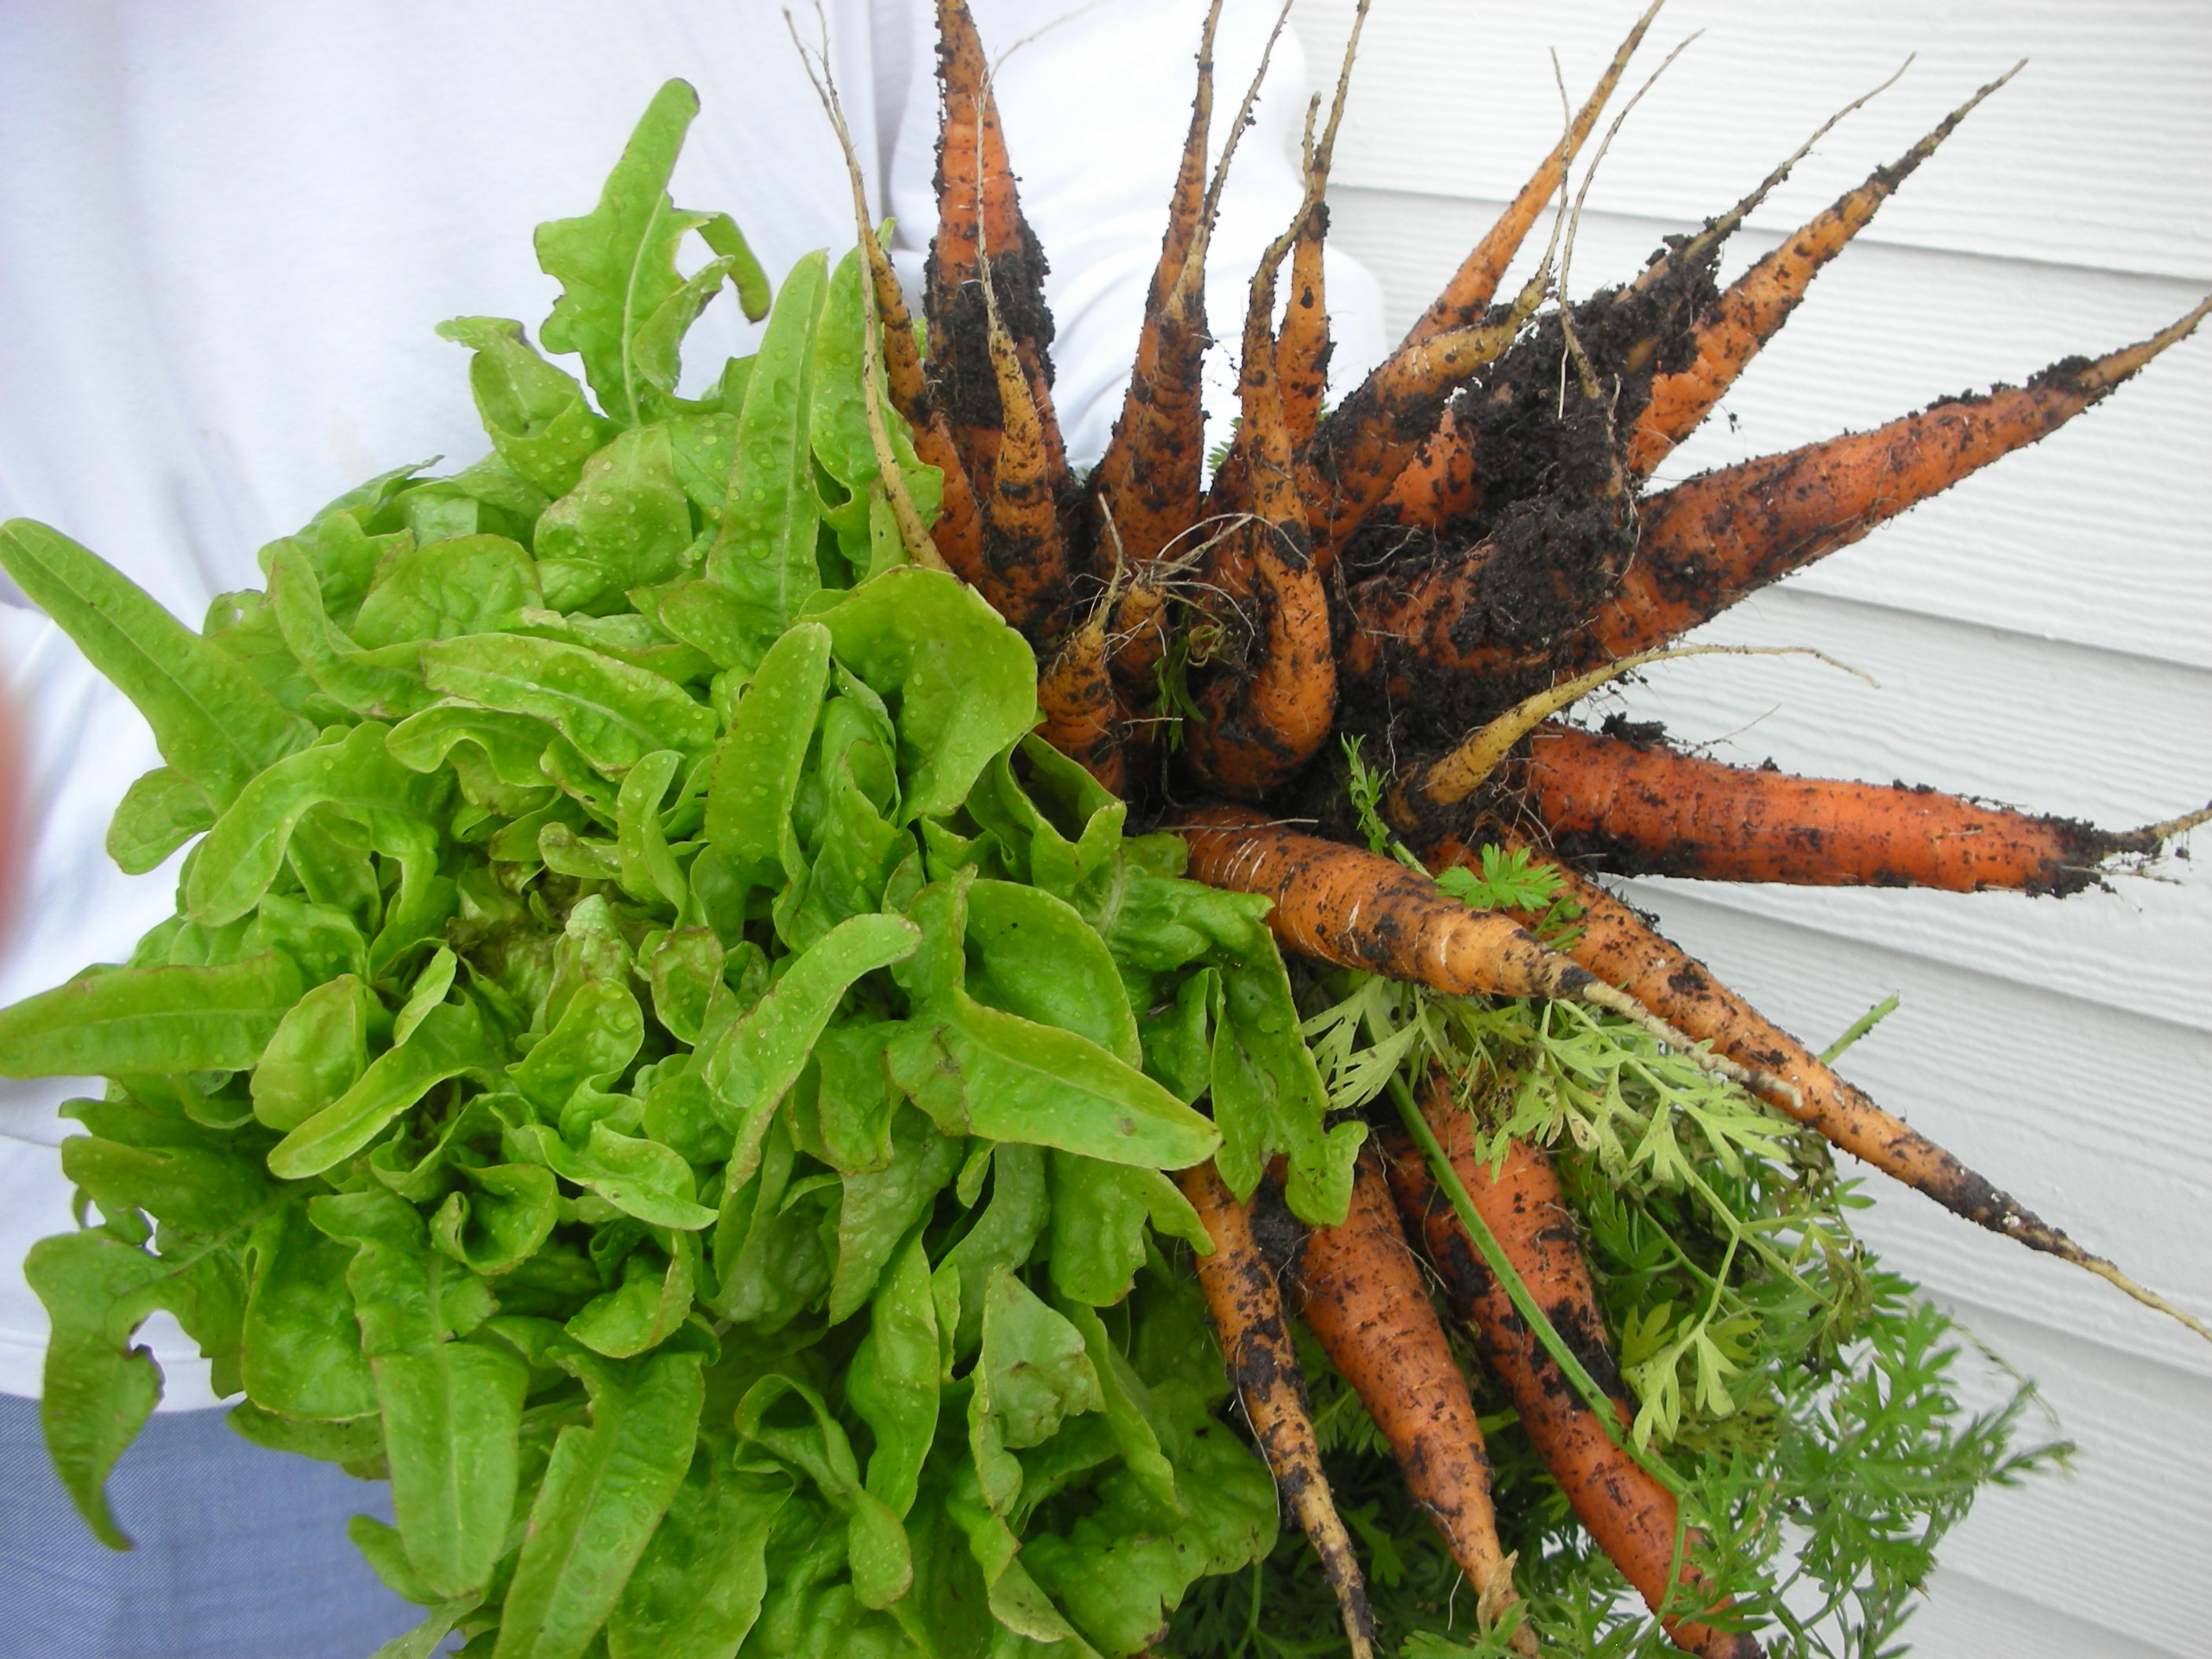
Carrots and lettuce from the potager

Once the fence and trellis were clear it was time to move inside the potager.  First, we harvested.  We pulled carrots, turnips, spinach and butter crunch lettuce. In addition to the lettuce, spinach, carrots and turnips, I have Egyptian Walking Onions, shallots, 10/15 onions, collards, chard, lemon grass, rosemary and purple cabbage.  Man do I love winter in the South!  Where else can you have so many vegetables thriving in the garden in January.

One of the trellises that we built to support the peas

After the harvest we got back to work.  We took the pruners to our lemon grass, uchuva and salvia.  Then we built four, three-legged trellises out of cedar limbs.  We anchored these in the middle of the four odd-shaped beds in the center of the potager.  After they were secured, we planted Little Marvel Peas at their base.  According to my Aunt Sara, peas are best planted either the last week of the year or the first.  We will see.  I have tried to grow them before and they just didn’t pan out for me.  I really hope they do well this year.  I have worked really hard at improving my soil this past year and my wife and I worked very hard on the little trellises. I can just see them covered in pea vines in early March.  Once the peas were planted, we finished up by planting some French breakfast radishes and some Chioggia beets that I got from rareseeds.com

The central bed in the potager. It is full of carrots, poppies and byzantine gladiolus.

While we are talking about the potager, let’s not forget all of the flowers that I have planted in it.  Right now, my red poppies are up and my Byzantine Glads are beginning to make a show.  The foxgloves and Hollyhocks look terrific.  A mermaid rose that I found while riding my bike two years ago has finally taken hold and is beginning to send out canes all along the south fence.  I am going to plant a row of red sweet peas along this fence in hopes that the mixture of red flowers with the white  roses will be stunning.  I also have lots of strawflower, statice and salvias that seem to be thriving.  Check back in the spring to see what will hopefully be my best pictures ever!

Picket Fence Update

The back gate with the arbor in the background

All of the time off around the holidays provided me with a couple of opportunities to work on the picket fence.  My son-in-law Ramez helped me finish the arbor and build the back gate.  My son-in-law Jared helped me prime the back fence and gate.  Thanks to their efforts, I now have a pretty good idea of how good it is going to look once it is complete.  Now close your eyes and imagine it covered in running pink roses!