Eight Ways to Stretch Your Garden Dollars

Right now, times are tough and everyone is looking for ways to save money.  Gardeners are no exception.  Gardening is a lot of fun and almost 5 million Americans practice some sort of gardening at their homes.  However, if you are not careful, your little garden can wind up costing you a lot of money.  Whether you grow vegetables or ornamentals, these timely tips will allow you to get the most out of your garden without draining your bank account.

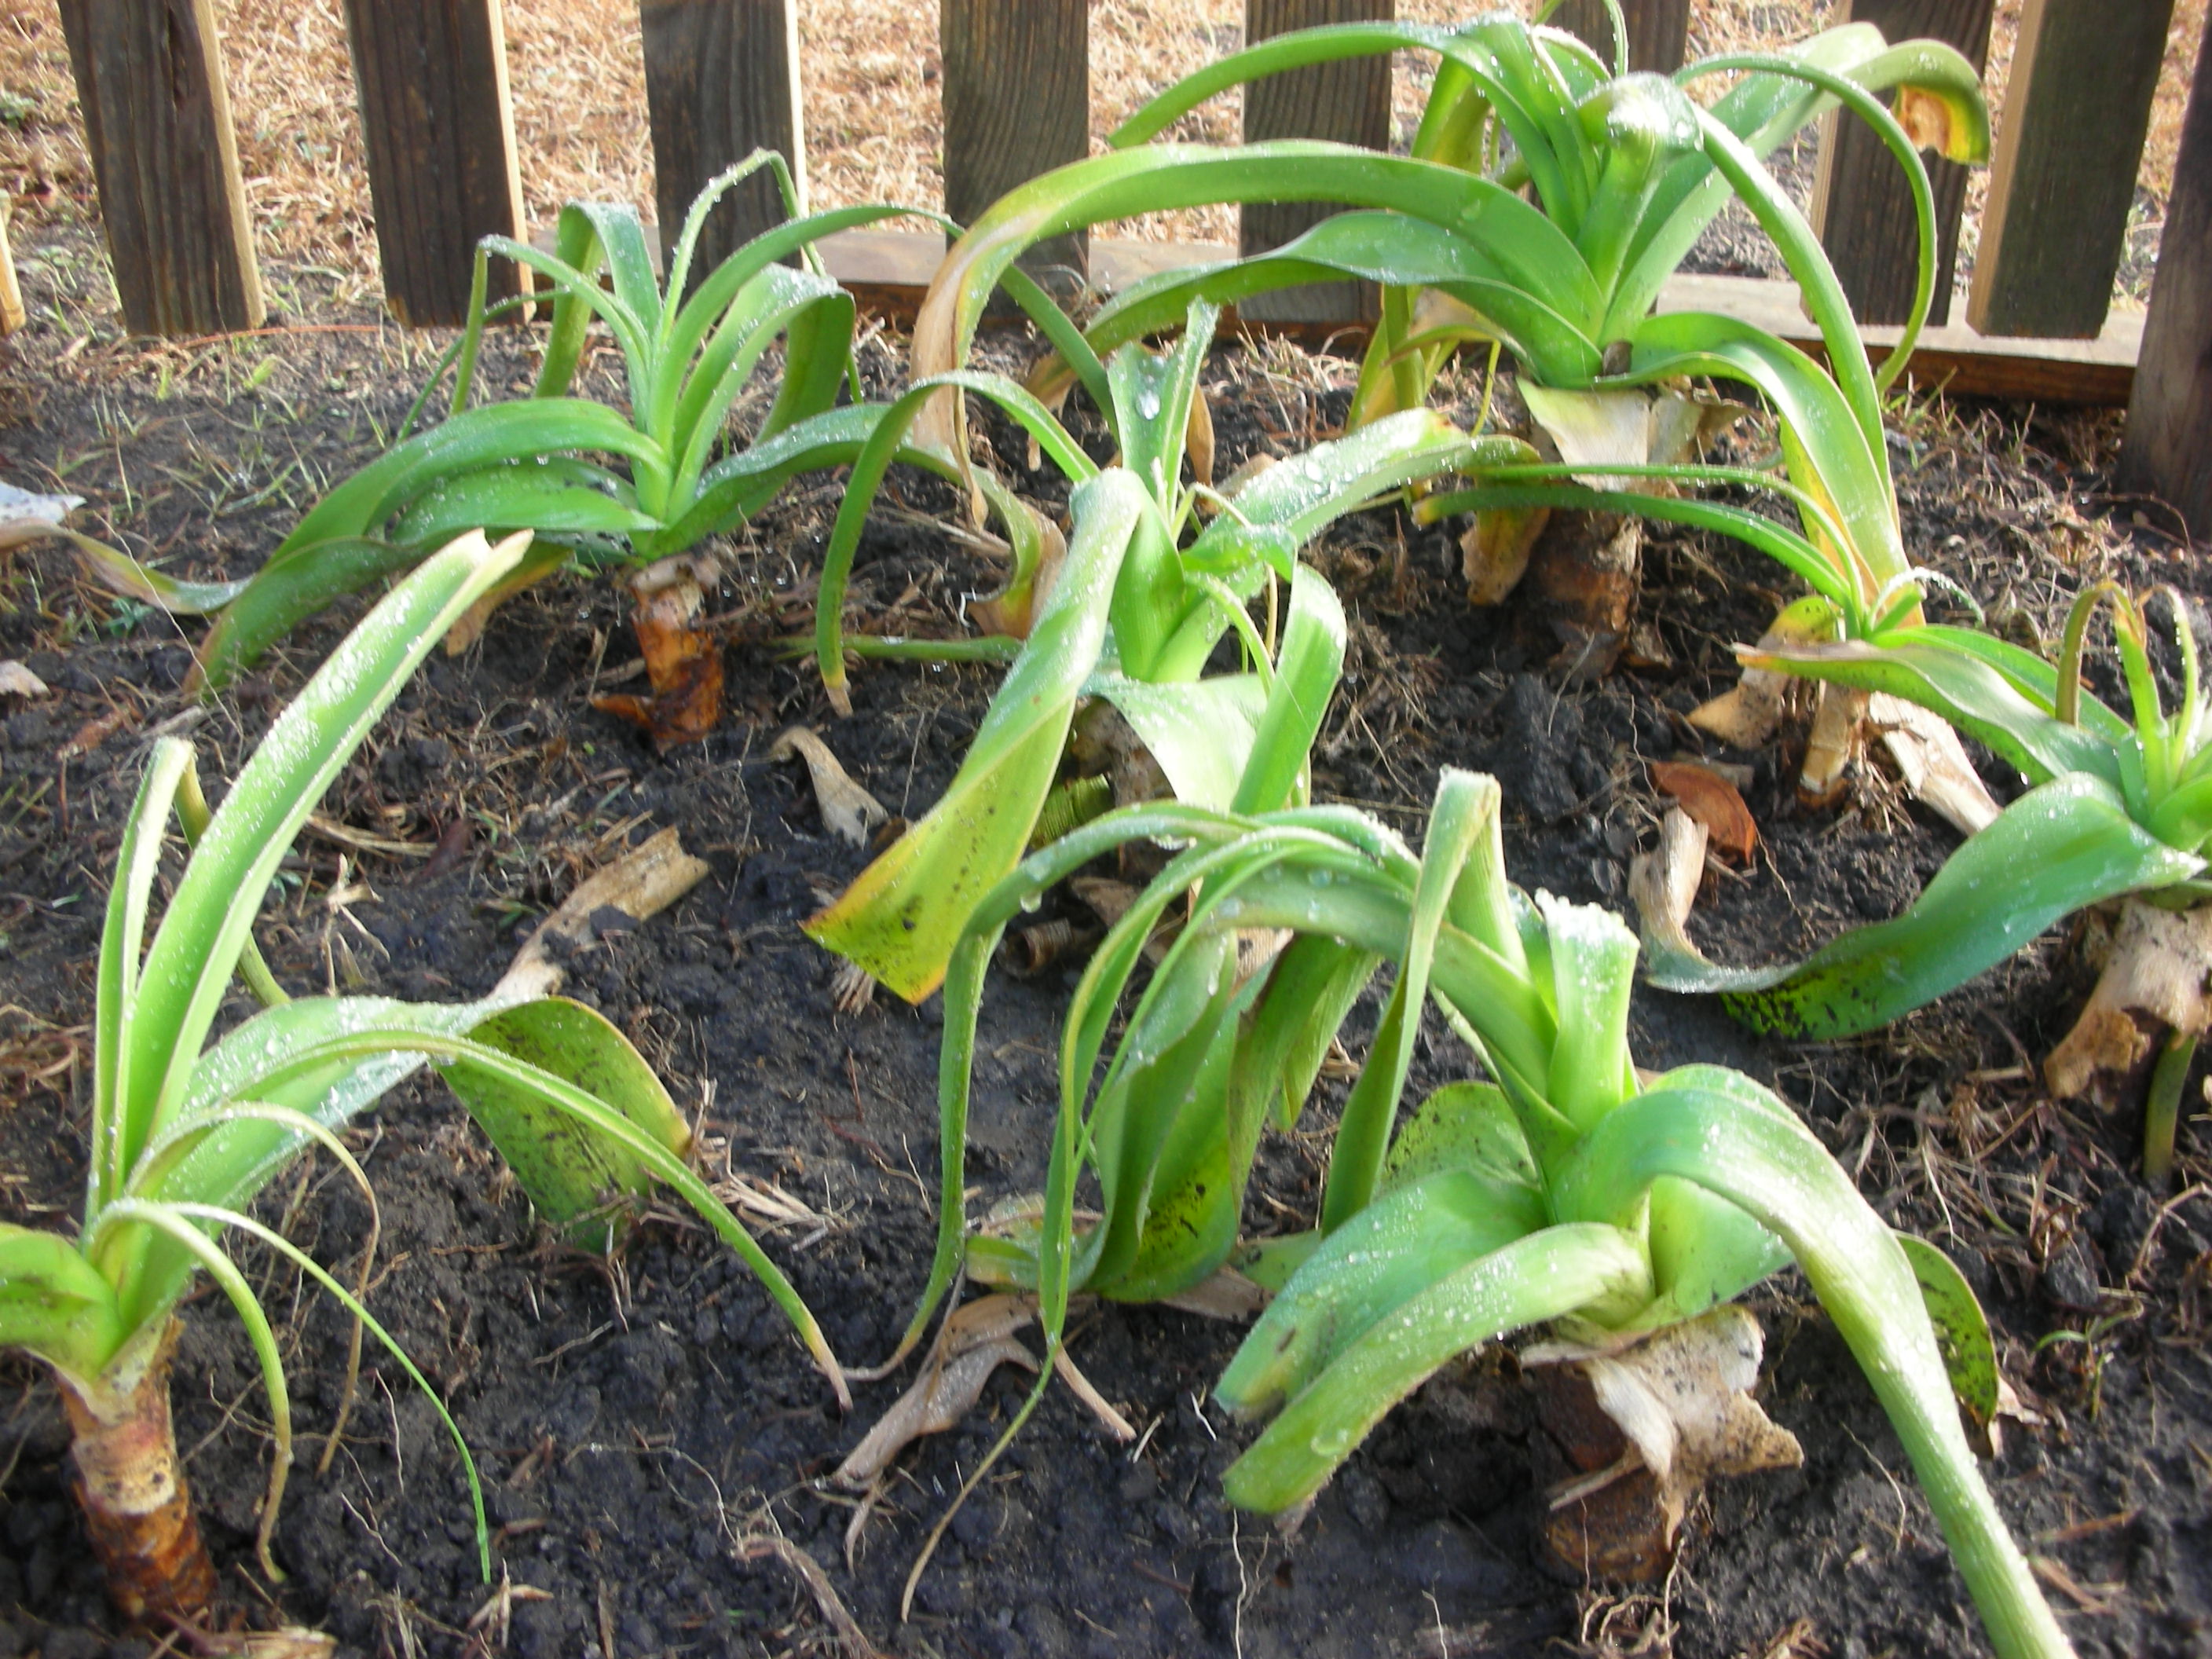
A bunch of narcissus and oxbloods given to me by a friend

Publicize – If you love to garden, tell people.  You will be surprised how much stuff people will give you once the word is out that you like to grow stuff.   I have a friend that inherited an old home.  The previous owners were avid gardeners and the abandoned yard is full of heirloom plants and bulbs.  When she found out that I love old fashioned plants, she told me I could have anything I could dig up.  So far I have harvested literally hundreds of daffodil, spider lily, oxblood lily and crinum bulbs.  I have also transplanted some yaupons.  I am going back this fall to get some flowering quince and crepe myrtles. 

My row garden with hay mulch

Mulch – If you have read much of my blog, you know I am a big fan of mulch.  Mulch reduces the amount of water you use, so lower water bills.  It also suppresses weeds, so less is spent on herbicides.  Mulch can be expensive if you buy it in bags.  That’s why I never do that.  I buy my mulch in bulk.  Each year I buy three different types of mulch.  I get hardwood mulch from my local landfill.  I drive up in my truck and they load me up.  I pay a very modest 1 cent per pound for this mulch.  I use this hardwood mulch in my flower beds in the early spring.  I buy it then because the “mulch” that is in the landfill has generally been sitting there composting since fall.  So, if you buy in early spring, you get mulch that already has a good percentage of it that has already turned to compost.

I also buy mushroom compost in bulk.  I get mine delivered from a local firm.  While it is a little pricey initially, it is the best money I spend all year.  My last load of mushroom compost cost me $320 for a ten cubic yard dump truck load.  While it is technically compost, I use it much like you would use mulch.  I practice no till gardening in my kitchen garden.  I simply put several inches of this on top of my beds either right before or after planting.  Even though it is pre-composted, it continues to break down in the garden and supply vital nitrogen and other essential nutrients to the plants.  It also suppresses weeds and conserves moisture. 

I also use a lot of hay as mulch in my vegetable gardens.  Hay can be expensive if you buy the little square bales.  However, you can usually find round bales for anywhere from $50 to $80 and the farmer will usually deliver.  A round bale contains as much hay as 10-12 square bales.  When you buy hay or straw to use as mulch, be sure to ask the farmer if it has been treated with any herbicides.  Some of the herbicides sprayed today can linger in the hay and will kill your vegetables if used as mulch.

Several trays of azelia cuttings that I helped a friend of mine prepare

Propagate – Propagation is by far the cheapest way to increase your plant material outside of someone giving you plants.  Propagation is generally pretty easy.  A quick Google search will provide you with very good instructions and very good videos to watch so you can see exactly how it is done.  Some plants are incredibly easy to propagate.  Roses are one of these.  Other plants that are very easy are coleus, sweet potato vine, lantana, coral honeysuckle and many more.  Also, all of the bulbs that naturalize here can be divided every two or three years.  Simply dig them up in the fall, pull them apart and replant.

An old "cowboy bathtub" repurposed as a planter

Reuse – My wife and I are “junkers”.  We love going to garage and estate sales.  We find a lot of very useful things for the garden at very cheap prices at these sales.  Almost all of my gardening tools came from estate sales.  So did my big tiller.  Another thing that we are always on the lookout for are old galvanized buckets.  We use these as planters.  We also buy almost every terra cota pot that we find.

Compost – If you don’t have a compost pile, start one.  Compost is truly an amazing gift to your garden.  It is easy to make and it does so much for your plants and your soil.  There are a million ways to compost, so pick one and just do it.  I make my own compost.  However, I just don’t generate enough to meet all of my needs.  However, I garden on a fairly large scale.  If you have a small garden or if you only grow in containers, you can probably make enough free fertilizer and soil conditioner from your kitchen and yard waste to meet your needs.

Be creative – I love to tackle little landscaping projects around my house.  I would do a lot more if landscaping materials weren’t so expensive.  Since I don’t have a large budget to support my hobby, I am always looking at magazines and other landscapes to find cheap alternatives for my landscaping designs.  A perfect example of this happened the other day.  While at a garage sale, my wife found a HUGE box full of those old glass insulators from electric lines.  We bought the whole lot for $20.  There were well over 100 insulators in the box.  We are going put Christmas lights inside them and use them to line one of our paths.  We will have a very cute and cool night light set up in the garden and all it will wind up costing us less than $50.

My wife enjoying a Framer's Market in Tulsa, Ok

Buy off season – Right now is the best time to buy perennials.  Nurseries that have not sold all of their spring stock now have whatever is left DRAMATICALLY marked down.  You will find sales of up 75% off at most nurseries and garden centers right now in the hottest part of the year.  Sure the plants you buy will need a little extra TLC to get them safely into the fall, but for 75% off, the extra TLC is worth it.

Sell your harvest – Finally, if you do so well in your frugal garden that you can’t use all that you grow, sell it!  That’s right.  Sell the bounty from your garden and actually make a little on your hobby.  Right now, the demand for locally grown, organic produce and flowers has never been higher.  Just about every city and town in America now has a Farmer’s Market of some kind.  Booth rent at these markets is usually very low and you will be surprised at how much you can sell.

Bulb Hunting

This past Wednesday, I got a signed copy of Chris Wiesinger’s new book “Heirloom Bulbs for Today” from my friend Dr. Bill Welch.  Chris is the owner of the Southern Bulb Company and a true “Master of Horticulture”.  Since graduating from A&M he has quickly established himself as the leading expert on Southern heirloom bulbs.  His book is packed full of useful information about many of the heirloom bulbs that do really well in Texas and the Gulf South.  This lovely book is as entertaining as it is useful.  It is full of wonderful anecdotes about his bulb hunting expeditions. The photographs and illustrations are both beautiful and a great source for identifying the things you may dig up from time to time.  The text also gives you all of the information you need to harvest, plant and care for these living heirlooms.  If you are interested, you can find it on Amazon.  Here is the link: http://www.amazon.com/Heirloom-Bulbs-Chris-Wiesinger/dp/193397995X

Grand Primos and Crinums at the Hueske Homestead

The timing of this book was very apropos.  Two days after receiving it, the weather was a balmy 74 degrees and I had the day off.  So, I decided to do a little bulb hunting of my own.  My wife and I are friends with a wonderful and generous woman that is the owner of an abandoned homestead. This place was the home of two sisters for almost 100 years.  Both were born in the house that still stands on the site.  The sisters were avid gardeners who loved and nurtured this piece of property for almost 80 years.  Their love of growing things is evidenced by the thousands of bulbs and corms that still bloom year round at the abandoned site.  Thanks to the generosity of my friend, I am able to go to the home site periodically and harvest bulbs.

Crinums around an old bird bath

I really cannot convey in words how many bulbs there are at this house.  Each time I visit I swear there are more bulbs there than when I last visited.  The choice is never what to harvest, it is always how much to harvest.  Today I made it easy on myself.  I brought a wheelbarrow and told myself that when it was full I would quit.

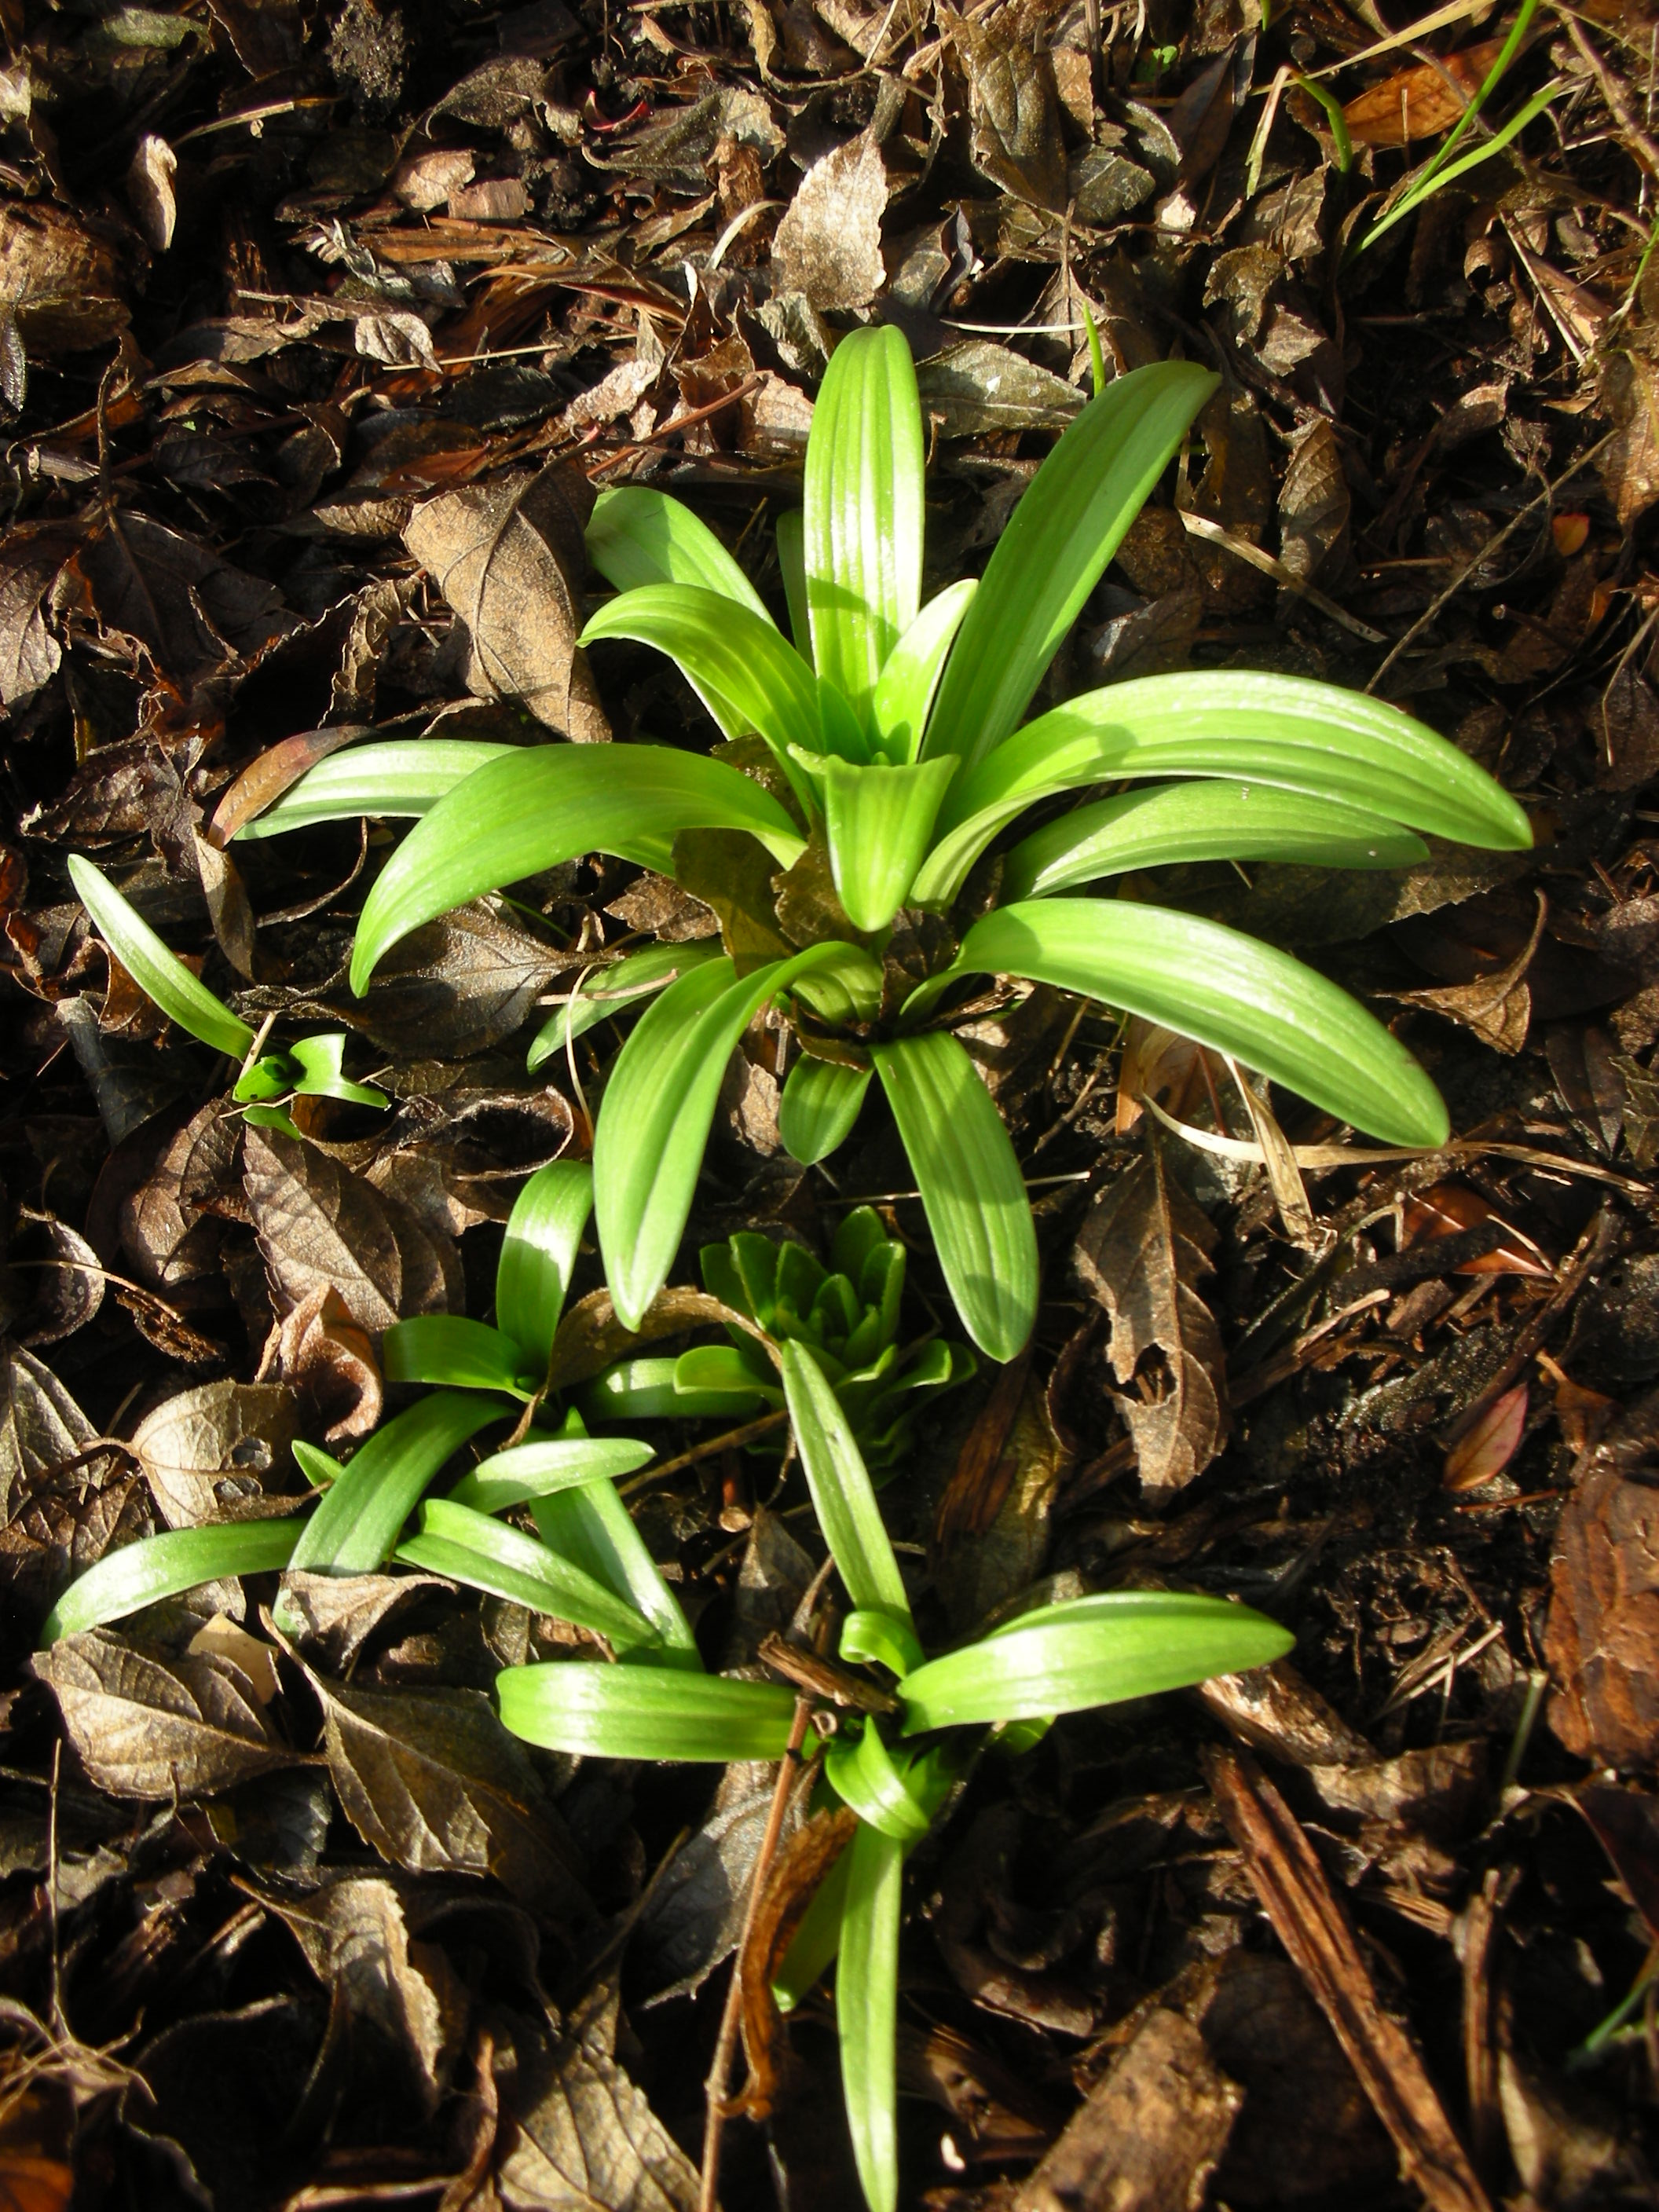
Upon my arrival, I stepped inside the gate and started digging.  The soil here is the most beautiful soil that I have ever found.  80 years of care can truly do wonders.  My shovel easily slid into this beautiful loam.  As I dug, I actually felt sorry for the bulbs that were going to have to leave this wonderful place for the hard black clay of my house.  Each turn of the shovel revealed clumps and clumps of bulbs.   After about an hour, I had harvested about 100 Grand Primo narcissus (Narcissus tazette ‘Grand Primo’) and an equal number of Oxblood Lilies (Rhodophiala bifida).  I also harvested about 50 crinums of an unknown variety. 

Time to go home

It is not really the optimal time to be gathering any of these bulbs. However, I have to harvest when my busy schedule allows.  The good thing about most of these old fashioned varieties is their hardiness.  Even though there are “better times” of the year to harvest them, you can realistically gather bulbs any time of the year.  The worst thing that usually happens if you harvest out of season is they do not bloom the first season they are transplanted.  That is a price I am willing to pay for the access to these living heirlooms. 

Harvesting

Like I mentioned before, there is definitely a right time to harvest bulbs.  For best results, you want to harvest (or divide) bulbs after their foliage has all died back.  This happens at different time for different bulbs. Grand Primo will bloom in late January and early February in our part of the world.  However, the foliage will stay bushy and green until June in some cases.  Bulbs need this foliage to stay in place as long as possible.  The foliage does the photosynthesis for the plant which the bulb then stores to produce next year’s blooms.  Spider Lilies (Lycoris  radiata) and  Oxblood Lilies (Rhodophiala bifida) are fall blooming bulbs that produce foliage that stays green for up to six months.  Because of this, it is a good idea to mark these bulbs so you will remember what you are digging when the time comes.

Dividing

Oxbloods and Grand Primos divided and ready to plant

When you dig up your bulbs, you want to be careful and not cut them.  For that reason, dig at least six inches away from the dead clump.  I stick the entire blade of my shovel into the soil on an angle toward the bulbs.  I do this all the way around the clump.  This creates a bowl shaped hole.  Next, turn over the bowl shaped mound of dirt and start removing the soil.  You will find the bulbs in clumps.  Carefully separate the bulbs with your hands.  Try to preserve as many root as you can and discard any bulbs that are soft or damaged.

At this point you have a choice.  You can replant them immediately or you can dry and store them.  I always replant immediately.  However, if you want to save them then spread them out in the sun for a few days.  After they are dry, store them in any permeable bag.  You will want to keep them in a cool, dark, dry place until you are ready to replant or share them.

Planting

Crinums from the Hueske Homestead replanted in one of my beds

Heirloom bulbs are not too particular about how they are planted.  Basically, just get them in the ground deep enough to cover them.  One rule of thumb says that they should not be planted deeper than three bulb heights.  Corms (like iris and gladiolas) should not be planted as deep.  In fact, a lot of irises like to have the tops of their corms left exposed.  Also, some bulbs like byzantine gladiolas can be difficult to determine which end is up.  If that is the case, simply plant it sideways.

Nothing is more rewarding to me in the garden than growing things that have been shared with me.  My grand parents were all gone before I was old enough to take things from their gardens to remind me of them in mine.  However, thanks to the generosity of people I can still grow things from past gardeners who loved their plants as much as I love mine.  I am so happy to be the care taker of these heirloom bulbs that have now been passed down from two gardeners of another time to me.  I will think of these charming ladies each spring, summer and fall when the bulbs they enjoyed so long ago burst forth and brighten the time that I have left on this wonderful planet.

A Monday Holiday

Surprise Easter Lilies

We have been so busy with the holidays and the remodel that our beds have suffered.  All of them need weeding and trimming.  This past Monday was so lovely that my wife and I decided to do some of that much need yard work. We started the morning by cutting back the Lantana that grows by our back deck.  While we were pruning I got one of those little surprises that I just love in the garden.  Tucked under the leaves and the bare branches of last year’s lantana was this year’s Easter Lilies!  Truth be told, I had forgotten they were there.  I won a single stem at our church picnic last summer and I just stuck it in the ground.  Well, that was a good decision.  That one plant has now divided and given me five new plants for the price of one.  I have never grown Easter Lilies before so I am not sure if this much division is common, but I am excited about it.

The Milk and Wine Crinums that I moved

After we cleaned up our mess I decided to do my absolute favorite garden chore – move things!  Fall is the best time for this, but, with a little care, you can move plants anytime of the year.  My friend and garden mentor Cynthia Mueller says that if you move a plant correctly, it won’t even know its been moved.  I have fully embraced her advice.  The first thing that I moved was a bunch of milk and wine crinums (Crinum x herbertii).  I got my crinums from a friend.  I think that is how most people get them.  I had several small clumps scattered around the yard so I decided to dig them up and make two masses on either side of my propane tank.  I am hoping that their lush spring and summer foliage will help camouflage my ugly propane tank.  Next, I moved a few clumps of daffodils and narcissus that were left by the previous homeowner.  He had planted them willy nilly all over the place.  I am slowly trying to sort them out and plant them in masses.

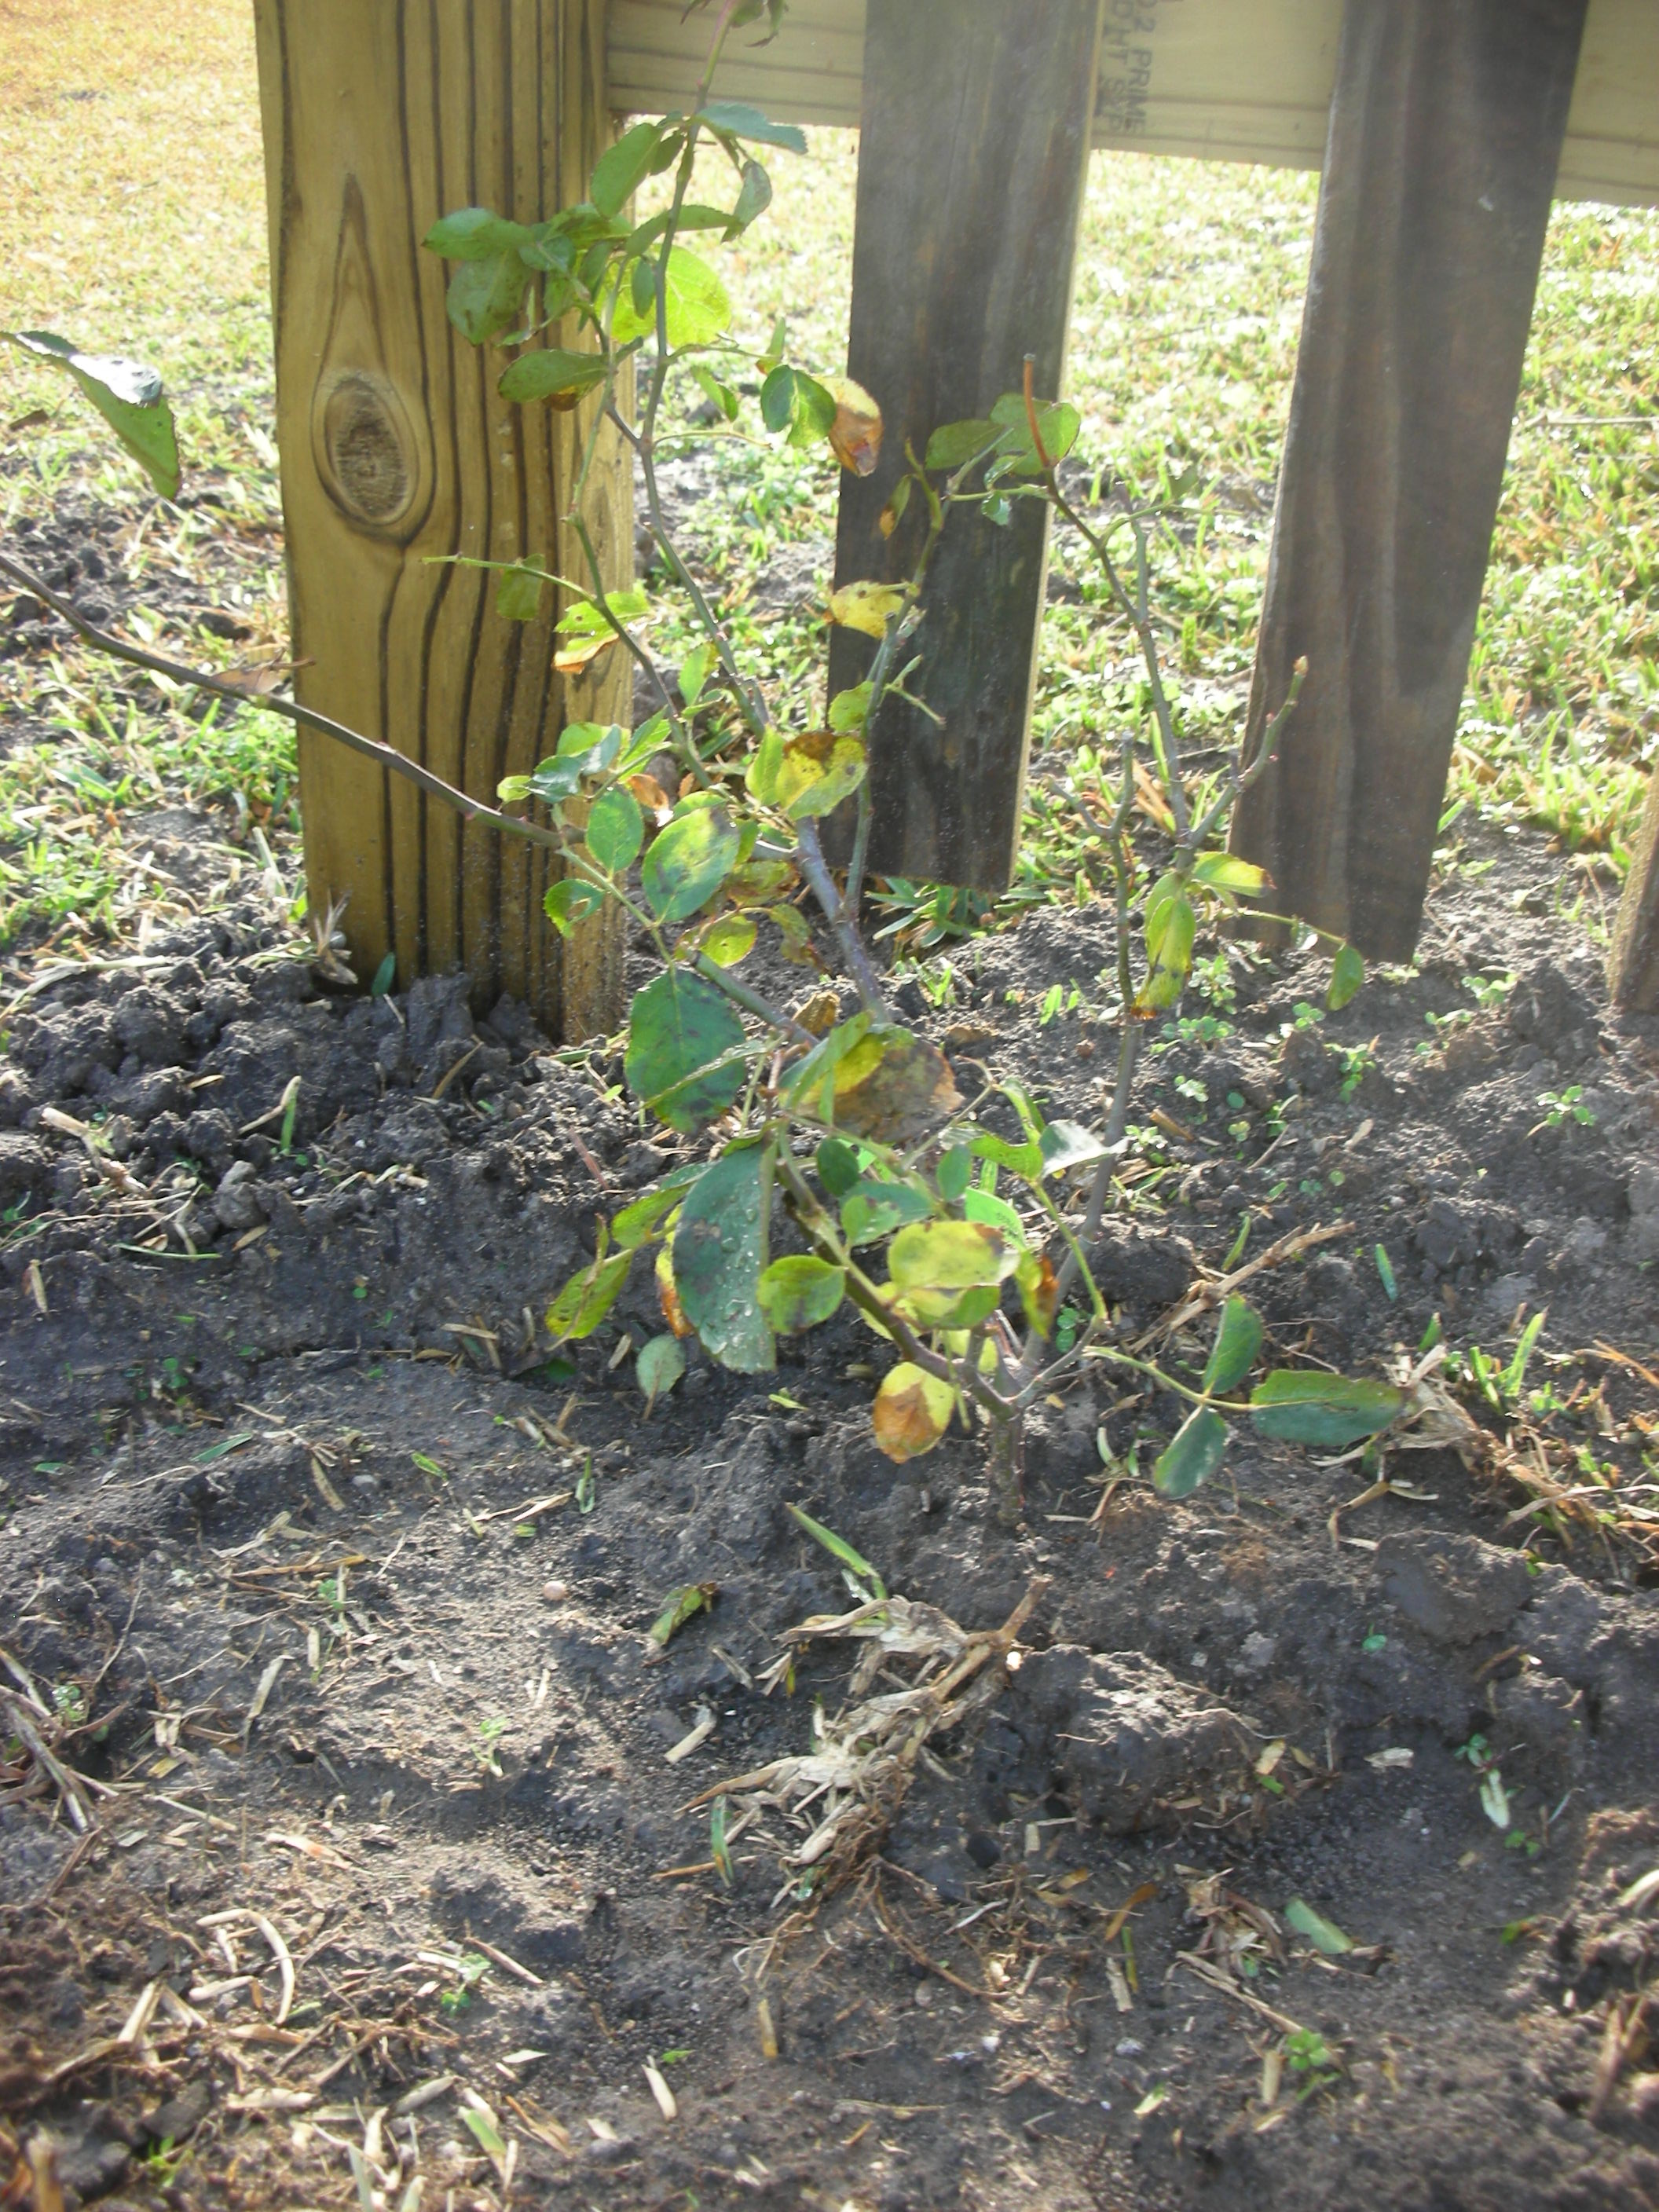
The "Don Juan" climbing rose that I hope is about to swallow my arbor

Once I ran out of things to move, I did a little planting.  Since I have recently finished the arbor in the picket fence, I planted a Don Juan climbing red rose at the base of it.  Don Juan is a fairly aggressive climbing rose that can grow to 15’.  It has very beautiful deep red velvety double petals and it smells terrific.  I have high hopes that it will be stunning on my white arbor. 

Next, I got to plant some Primrose Jasmine (Jasminum mesnyi) that I have been nursing for the past nine month.  I planted these on the east side of my house.  My house is on a slope and it sits up on blocks, so I have a lot of space between the ground and the bottom of the windows.  Since primrose jasmine makes mounds up to 10’ feet high, I figure this is the perfect plant.  Primrose jasmine is an old-fashioned plant that is often called “Fountains of Gold”.  You can see them growing at old home sites all over Texas.  These plants make a huge mound of arching branches that are covered in double yellow flowers in the spring.  I got mine by pulling up shoots from an existing plant and then potting them.  I have kept them alive now since last spring and I am very glad to finally have them in the ground.

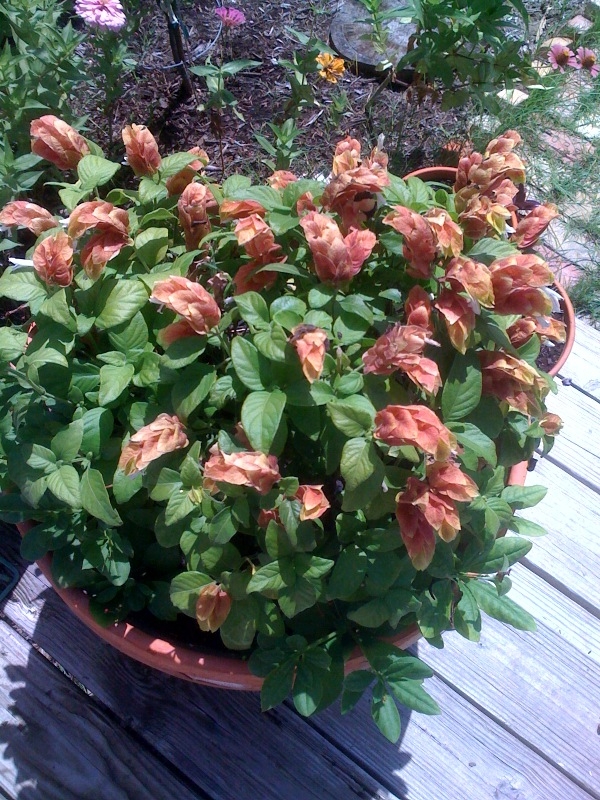
The shrimp plant that I divided and planted in the flower bed

To finish things up, I divided some shrimp plant that I had in a pot.  This one pot made four lovely clumps that I put by the steps to my deck.  I also planted some Society Garlic and day lilies that I had in pots.  I also planted a whole flat of dwarf mondo around the “stump” stepping stones that lead to my faucet.  All in all it was another relaxing and rewarding holiday at the nest.

Fall Transplanting

*This post was published on 10/27/2010 in “Texas Gardener’s Seeds”

Fall is my favorite time of the year for gardening.  While I appreciate the milder temps the season brings, I really love fall gardening because it is the best time of the year for me to correct my landscaping errors!  This is very important to me because even though I want a beautifully landscaped yard, I have no discernible talent in the area of landscape design.  So, since I love landscaping and I do not have many skills, I make a lot of landscaping mistakes!  Fall is the perfect time to “do over” those “mistakes” in my beds that just didn’t turn out as well as I had hoped. 

All of the attractive beds at my house are the product of much trial and error.  Each winter I sit down and make a list of the new plants that I want to plant.  Then I get out the graph paper and lay out a plan.  For some reason, the resulting beds never look as good in my yard as they did on the paper.  So, every fall, I move the things that I think would look better somewhere else.  Very few of the plants at our house are currently located in place they were originally planted.  This drives my wife crazy, she jokingly calls me “The Mover”.  That’s o.k.  I would rather take her teasing than leave a plant in a place that I don’t enjoy.

A lot of people seem to think that plants will die if they move them.  I have not experienced this in any great measure.  I have moved a few things that did die, but most of the things that I have moved have done alright.  In fact, many plants need to be dug up periodically and “moved” in order to thrive.  Bulbs and irises are classic examples.  Most horticulturists recommend that bulbs and corms that readily divide should be divided every three years.  If you leave irises alone long enough, the clump will start to die in the center as it spreads outward.  This leaves a fairly unattractive iris “ring” that can only be fixed by digging them up and moving them around. 

Bulbs are not the only thing that can be transplanted relatively easy.  I have learned that just about anything can be moved (as long as it doesn’t have a deep tap-root).  Using the method described below I have successfully moved red buds, crape myrtles, roses, small oaks, and a mature sage.  I have even successfully moved half-grown tomatoes, peppers, and many annuals in full bloom.  So far this year, I have moved the afore-mentioned sage, some flame acanthus, lots of ruellia, lots of yarrow and two clumps of coreopsis.  Here is how I do it. 

First, I dig the hole where the plant is going.  This is important.  The new hole should be as deep and wide as the root ball of the plant you are moving.  Once a plant is pulled up from its original location, the roots start to dry out.  Having the new hole ready will allow you to decrease the shock of transplanting by quickly getting the roots back in the ground as fast as possible. 

Next, dig up the plant to be relocated.  I dig in a manner that keeps the root ball intact.  I do this by using my shovel to cut a complete circle into the ground around the plant.  As I dig, I push the shovel into the ground at an angle toward the plant.  This will cut the plants roots and allow you to pull up a section of soil that is roughly the shape of a bowl.  Again, try to keep this soil intact as it protects the roots from exposure.

Finally, use your shovel to transport the plant and root ball to the new hole.  Make sure the plant is replanted at the same depth as it was in the original location.  Now back fill, tamp the soil and water.  Proper watering is critical to the success of this operation.  I always water very deeply immediately after replanting and then I give it a good deep watering every day for at least a week.

I know in the ideal world, we would design a bed, plant it and then enjoy it for all eternity.  Most of us don’t live in that ideal world though.  If you are not happy with a plant in its current location, wait until fall arrives and then move it.  The milder fall temperatures put less stress on the plant and provide ample time for the plant to re-root before the cold temperatures of winter kick in.  If you take a little care while relocating them, most plants will hardly even realize that they have been moved!

P.S. Here is a link to a YouTube video from Bob Villa Productions that shows a guy doing pretty much what I describe in this article.  http://www.youtube.com/watch?v=zHjXv5j3yxo