Back in December, I did a post that described the process for bottling our homemade wine. In that post, I promised to do describe how we made the wine. Well, here is that promise fulfilled. Last year, we made 5 gallons of mustang (or muscadine) wine. This year, we are making five more. However, due to bit of luck, we are making 15 additional gallons of wine from the finest Spanish grapes grown in Washington County. The method I use was taught to me by Marvin Marberger of Brenham, Texas. Mr. Marberger uses an old timey method that has been passed down through several generations of his German family. Mr. Marberger has been making wine for a long time. He can make wine from just about anything that has juice. Currently, he has 17 varieties in his house that include tomato, dewberry, peach and lots more. The process that he (and I) uses has three simple steps and uses just three ingredients; juice, water and sugar.
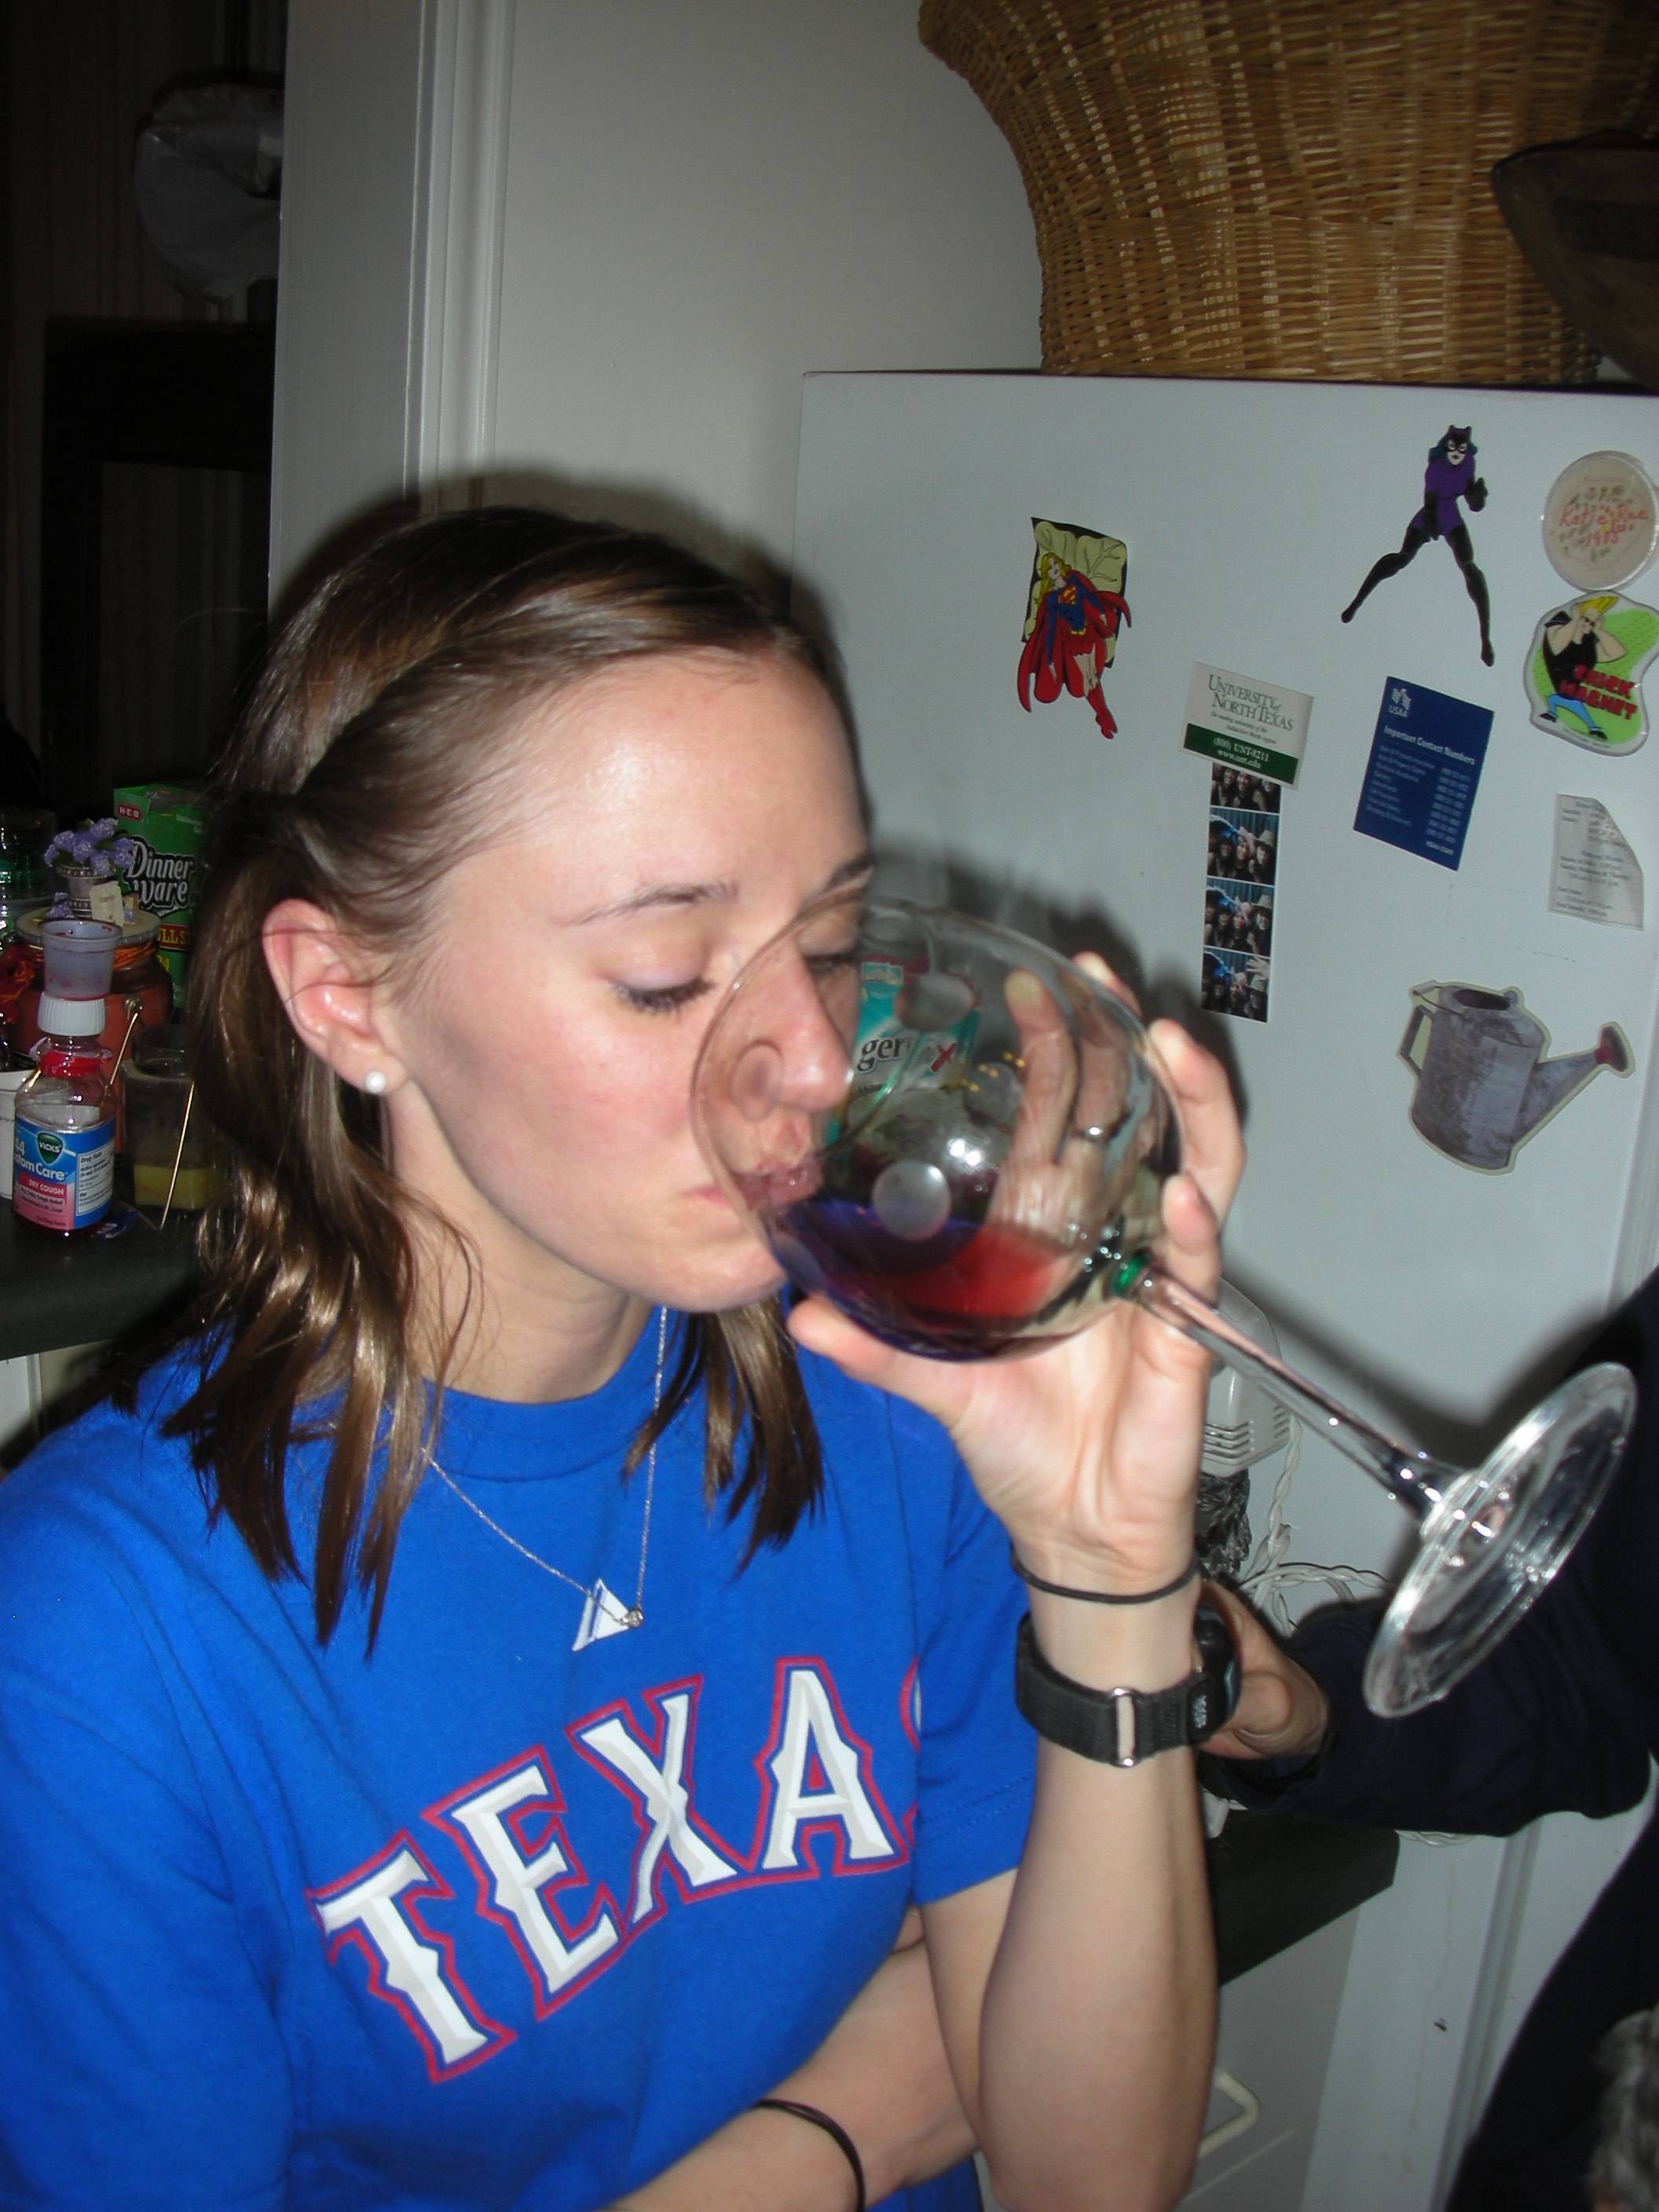
The wine that is made through this method is a VERY sweet table wine. While it is probably not going to win any awards, it is very drinkable. I drink it over ice and my wife and female kids (I say kids, they range in age from 21 to 31) like it mixed with a little Sprite. It is a good thing that my friends and family like this sweet, homemade wine. One five gallon container makes twenty five 750 ml bottles of wine. Since I am currently making 20 gallons of wine I am going to need to come up with 100 empty bottles and corks by Christmas!
Harvest – Mustang grapes are ready for harvest in our area around July 4th. So, before we can head out to the Round Top 4th of July parade, we have to make sure that we have five to six gallons of wild grapes collected. Mustang grapes seem to grow on just about every fence row in the county so they are very easy to find. You should, of course, ask permission to pick from the land owner. They are almost always happy to oblige and they love getting a bottle of the finished product as a Thank You.
Mustang grapes do not produce the large clusters that other varieties produce. So, you are going to have to do a lot of picking. This year it took about two hours for me, my wife, two daughters, and one son-in-law to pick the six gallons that are required for this recipe. As an added bonus, I also picked up a pretty wicked case of poison ivy.
Once the grapes are harvested, mash them ASAP. Do not wash them before you mash. The yeast needed for the fermentation process is lying on the skins of those wild grapes and you will need it for this process to work. It is not necessary to remove the stems before you mash. Simply fill a five gallon bucket with the grapes and mash into a pulp with a wooden implement of your choice. Some folks use a 2”X4”. I use an old baseball bat. You can use your hands or feet to mash the grapes but they have a very high acid content and you will wind up with very itchy hands and feet if you choose this method. Once the grapes are mashed, cover tightly with clean cloth or plastic wrap to keep the bugs out.
Primary Fermentation – Once your mashed grapes are covered you can put them on a porch or in the garage to let the initial fermentation process begin. The natural yeast on the skins will begin to reproduce. This creates carbon dioxide. You will know that fermentation is occurring if you see bubbles coming up through the mixture or if you have a strong smell of grape juice permeating the area in which the grapes are fermenting.

This is what the “must” looks like when primary fermentation is complete. The pulp has risen to the top and the juice is in the bottom.
This process should be allowed to proceed for about two weeks. During this time, the tannins and the color of the grapes are being transferred to the liquid. As the process progresses, the pulp, stems, seeds and skins will separate and float on the top. Sometimes a light mold will begin to grow on the top of this mash. If you see any signs of mold, pull the liquid off immediately.
Secondary Fermentation- The last step in the process is when the wine is actually made. First, siphon the liquid from the first step into a clean container. I use a food grade, six gallon bucket purchased from a restaurant supply store. Siphoning is important. You want to reduce the amount of pulp and sediment that would be passed to the secondary fermentation container without the use of the siphon. Once I have the juice pulled off, I check to ensure that I have at least six quarts of juice.
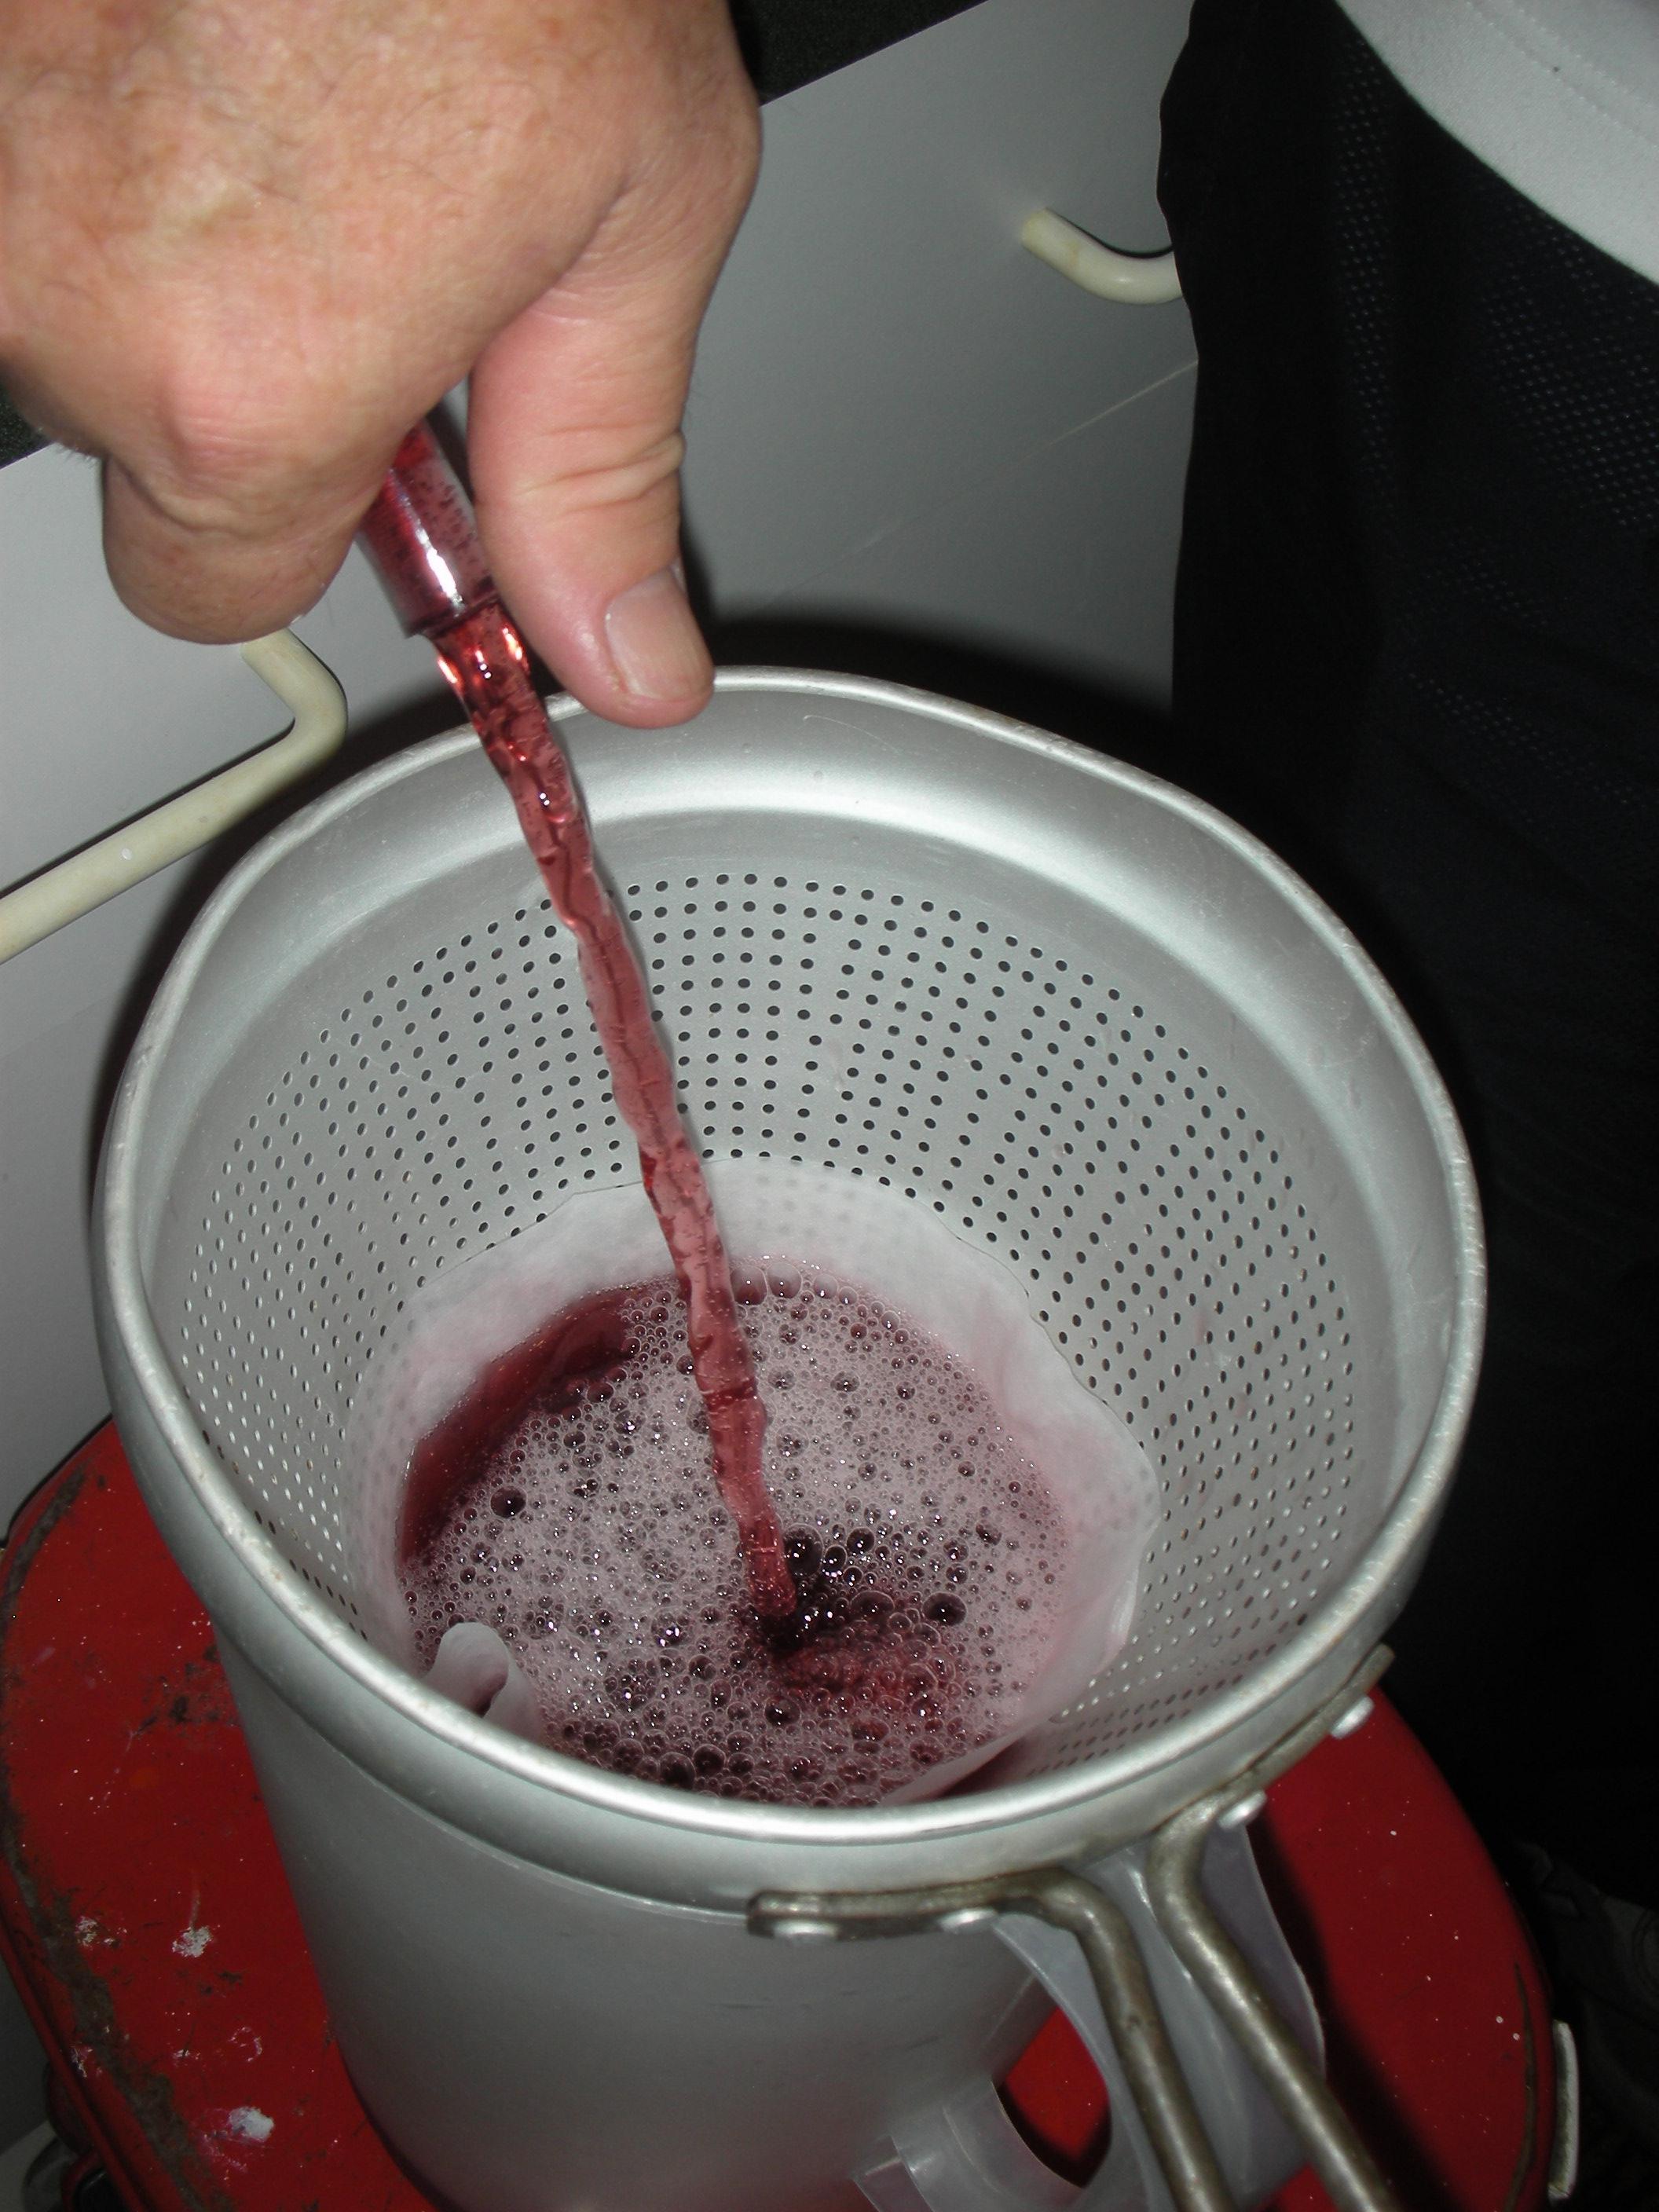
After I ensure that I have enough juice, I begin filtering. I have a large cone shaped colander used in canning. I line this with cheese cloth and strain the juice from one container into another. When this is done, I strain the juice a second time by lining the colander with a grease filter also purchased from the restaurant supply store. If the second round of filtering contained a lot of pulp, I strain again.
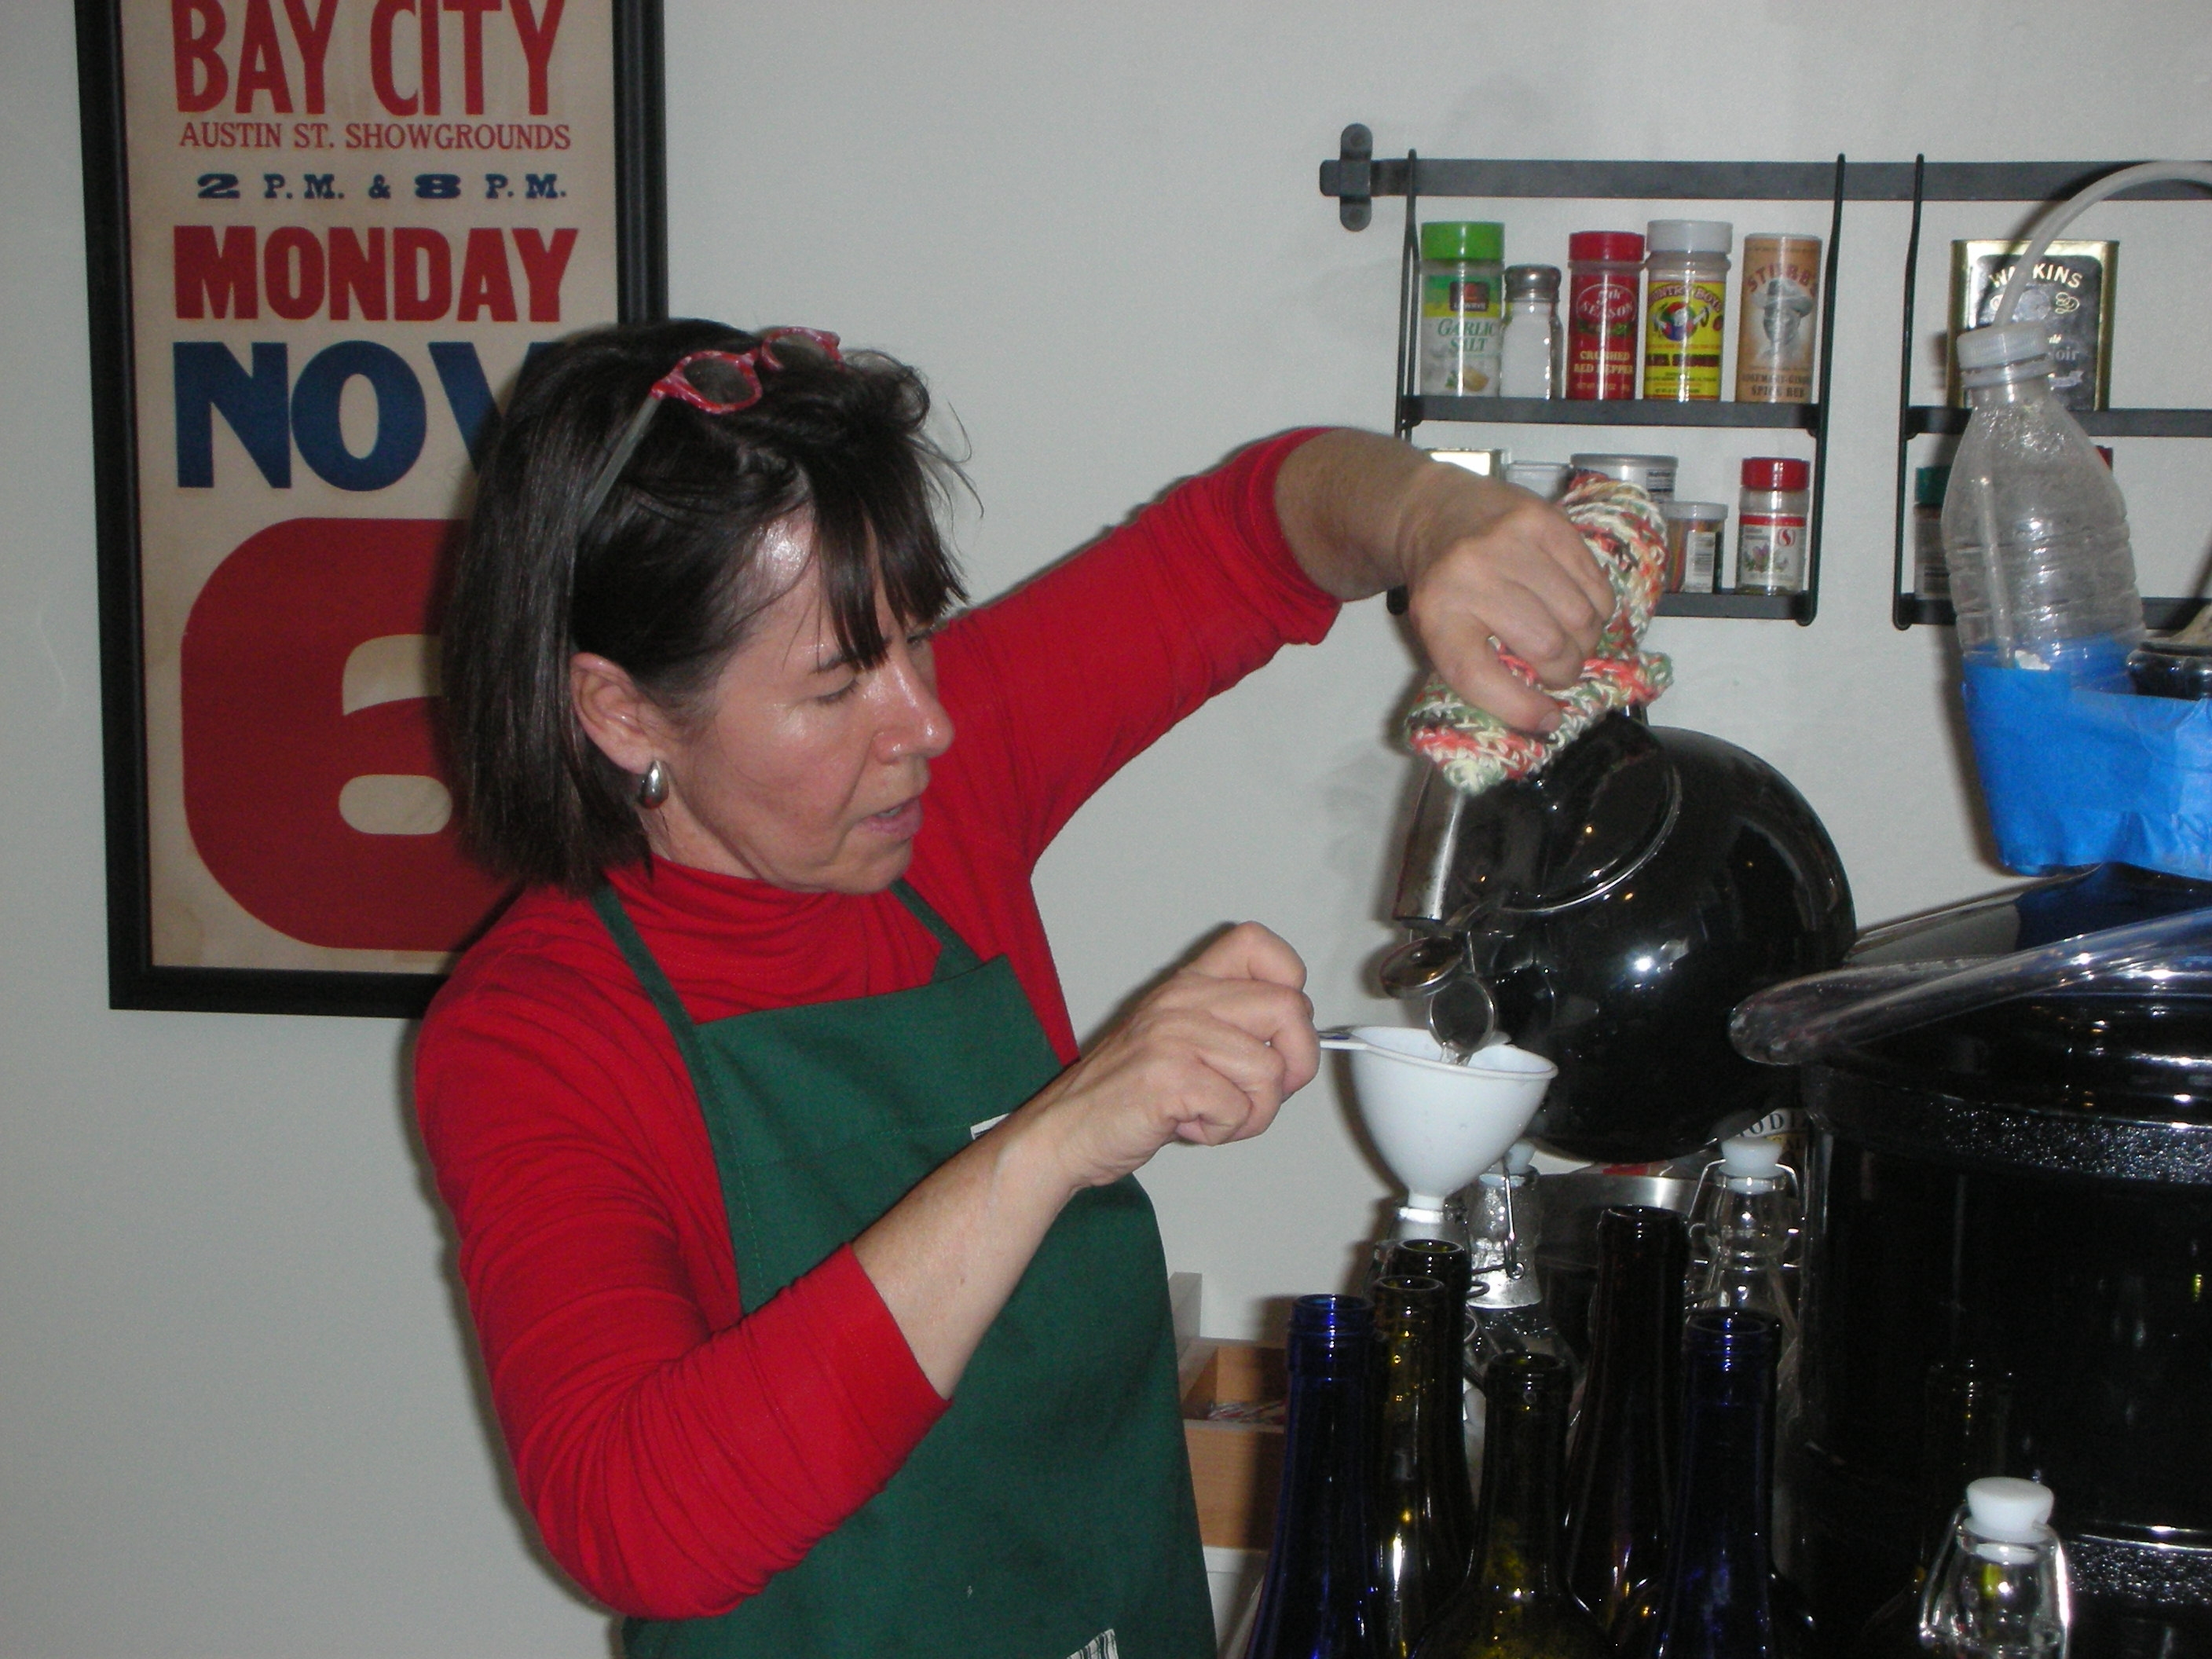
Now that I have six quarts of double strained grape juice in my food grade container (which has very handy measurements on the side), I add in the sugar. This recipe calls for 10 pounds. I pour the sugar directly into the juice and stir the mixture with a wooden spoon until the sugar is completely dissolved. Once the sugar is dissolved, I add enough filtered water to the mixture to make the volume exactly five gallons in the food grade container. Once this has been stirred again, I use a funnel to pour the five gallons of liquid into a clear plastic water bottle.
Once the mixture is in the bottle it is time to add the air lock. My airlock is very simple in nature. I use a large, solid rubber stopper with a 3/8” inch hole drilled in the center. I then feed an 18” length of clear, rubber 3/8” hose into the stopper. Next, I fill a plastic water or coke bottle ¾ of the way full with water. The lid of this bottle also has a 3/8” hole drilled in it. Tape the water bottle to the neck of the 5 gallon water bottle and then feed the rubber hose through the lid and all the way to the bottom of the bottle.
And that’s it! Once the airlock is in place, place the wine back on the porch or in the garage and let the secondary fermentation begin. In two to three days you will begin to see bubbles in the airlock. These bubbles are caused by the carbon dioxide that is being released during fermentation.
Your wine is ready for bottling when there are no more bubbles passing through the airlock. This can take as little as two months and as long as five. You want to be absolutely sure that all fermentation has stopped before you bottle your wine. If not, you can literally get “explosive” results.
It does not hurt your wine to sit in the secondary fermentation container for several months. Because of this, I do not bottle my wine until Christmas. This ensures that the fermentation is complete and it also gives me a ready supply of child labor (since all of my “kids” come home for the holidays) to help with the bottling process.
Homemade wine is fun, easy and inexpensive to make. You can start with zero supplies and create your first batch for less than $50. The second batch will only set you back the cost of the sugar. All of my friends love receiving our homemade wine as gifts. Even though I enjoy drinking the wine, I really get the most enjoyment from giving it away. And, at less than $2 per bottle, we can spread a lot of holiday cheer to a lot of friends without breaking the bank!


