Time to Mow the Bluebonnets

I’ve gotten a lot of querries about when to mow bluebonnets.  Well, if you live in Washington County, Texas, the time is now. If you live somewhere other than Brenham, you can ldetermine when to mow them by looking at the seed pods of your bluebonnets.  If most of the pods have opened and curled up, it is time to mow.   Here are a couple of not so great pictures to illustrate what I am talking about:

Here is what a seed pod looks like before it shatters. Notice it is still green and the pod is closed.

In  the following picture, note how the pod is opened and the sides have curled up.  This curling of the pod helps to disperse the seeds. Sorry for the poor focus. Look closely and you can see the empty pod.

Sunflowers (Helianthus Annus)

 Sunflowers and long beans at Boggy Creek Farms in Austin.  Photo from their website

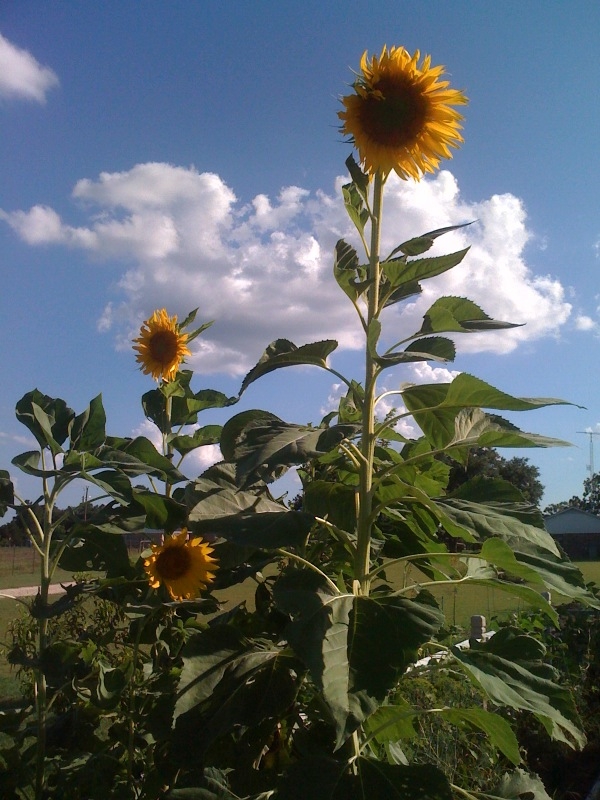
How many flowers do you grow that reach heights of ten feet, look great in the garden, last forever in a vase, and then feed you when it dries out?  As far as I know, there is only one; sunflowers!

Sunflowers are native to North America.  Indigenous people have grown them for thousands of years.  Archeological evidence shows that tribes in Arizona and New Mexico were growing them around 3000 B.C.  It is thought that the sunflowers were domesticated by Native Americans before corn.  The Aztecs were so impressed with sunflowers that they actually worshipped them.

Even though Native Americans grew them first, the Russians are responsible for producing what we most often think of as sunflowers today.  At last count, there are 82 species of sunflowers and countless numbers of varieties.  According to the USDA, in 1991, 2.7 million acres of sunflowers were grown in the U.S.   Commercial production is mostly for oil but considerable amounts are processed for human consumption, bird seed and cut flowers.


“Mammoth” sunflowers in the yupneck’s 2010 summer garden

How to Grow:  If you want to grow really big sunflowers, plant your seeds as soon as night time temperatures do not drop below 50 degrees.  Sunflowers love full sun.  In fact, the more sunlight they get, the bigger the seed heads they will produce.  6 to 8 hours of sun is the minimum.  Plant your seeds 1” deep in clumps of 5 or 6 that are spaced about 6” apart.  These “clumps” should be spaced about 20” apart.  Sunflowers are heavy feeders so make sure your bed is deeply worked with compost.  Water your seeds regularly.  With proper moisture, the seeds will sprout in 5 to 10 days.  As your seedlings emerge, slowly begin to thin them.  Cull the first bunch when the plants reach 6” in height.  Leave about four plants.  Cull the next bunch when the plants reach about a foot, leaving your best two.  When those plants get 2’ tall leave only the best.  If your sunflowers are grown to close together, they will produce shorter stalks and smaller heads.  Plant them too far apart and they may get so tall that the stalk will not be able to support the weight of the seed head.

Very few plants in my gardens give me as much enjoyment as sunflowers.  To me nothing says “summer in the country” better than a galvanized bucket full of the bright yellow heads on our dining room table.  I am fast approaching the age when grand children will soon begin to follow me into my garden.  Sunflowers will be the first plant that I use to get the next generation of gardeners in our family excited about growing things.  I can’t wait to see the wonder in their eyes as they watch that tiny little seed turn into a mighty sunflower!


Florescence 2011

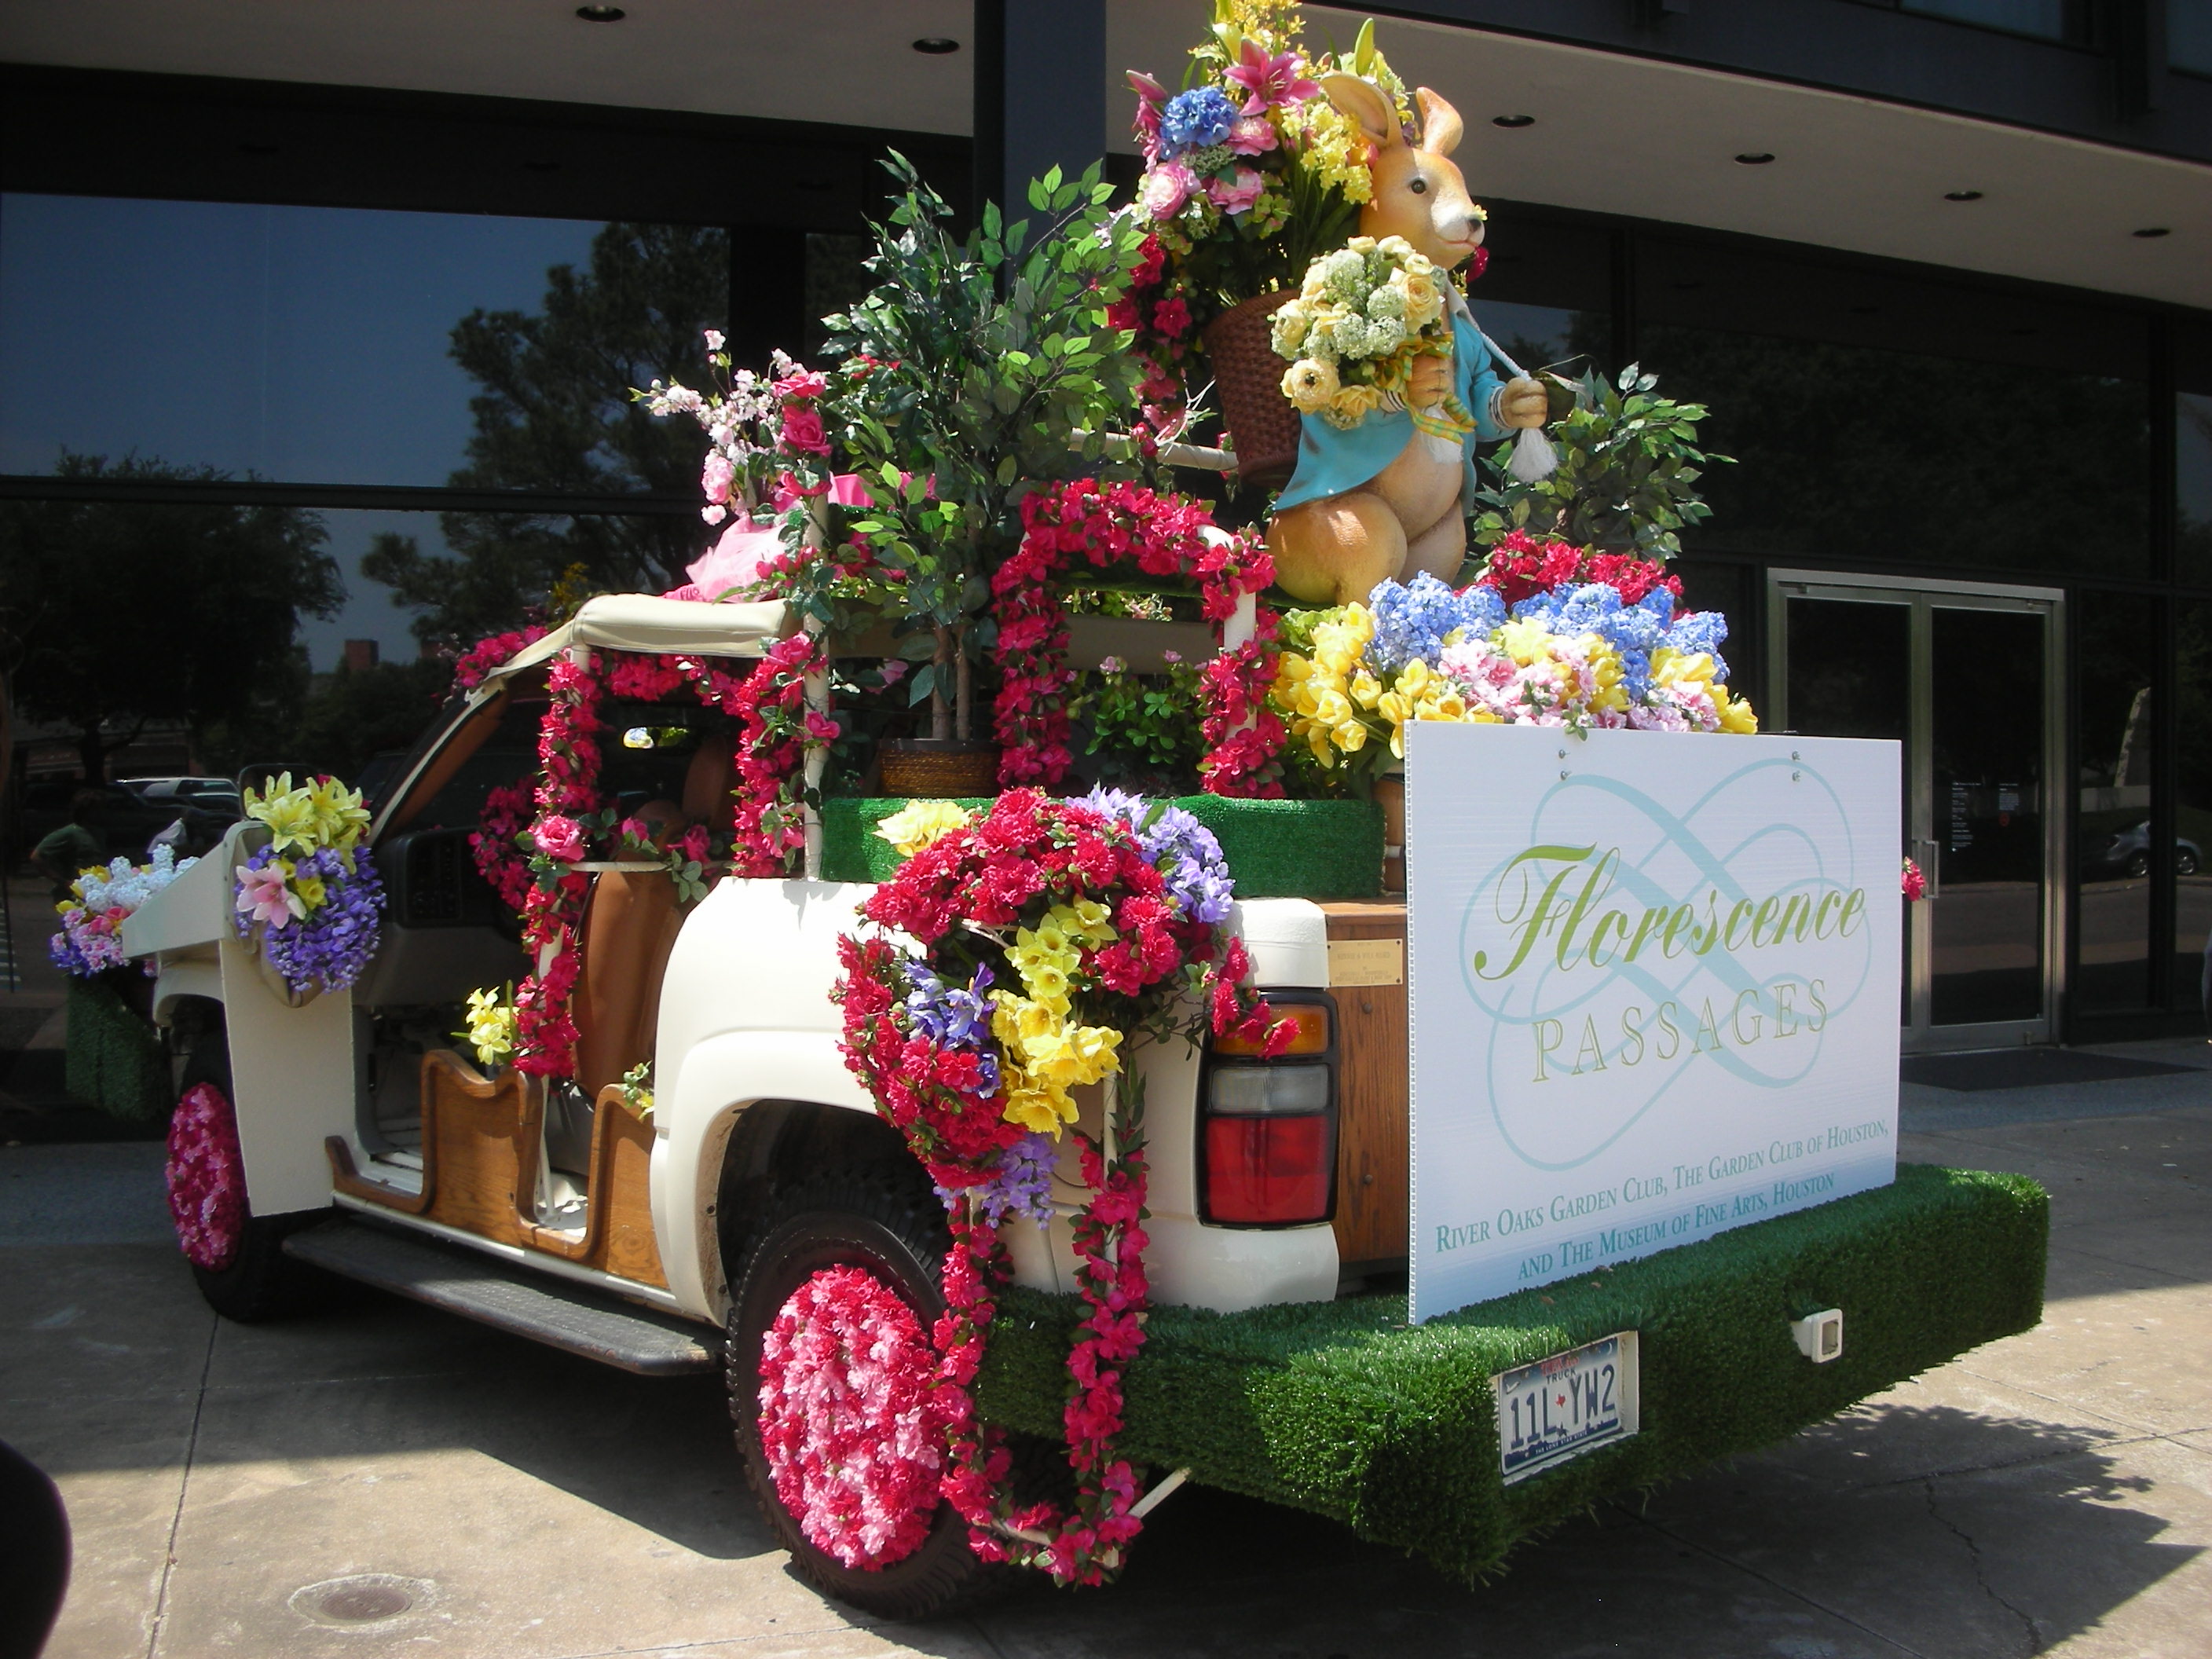
This is what an art car looks like when done by the designers at Florescence

 Every other year, the Museum of Fine Arts Houston (MFAH), in conjunction with the River Oaks Garden Club (“http://www.riveroaksgardenclub.org/Florescence.cfm“) and The Garden Club of Houston,  hosts a truly spectacular floral show.  Florescence is one of the largest competitive flower shows sanctioned by the Garden Club of America. This years theme is “Passages”.

Florescence features floral and horticultural arrangements by garden club experts, renowned designers, memebers of the Asia Society, Houston, Federated Garden Clubs, Texas State Floral Association and Lamar High School Floral Design students. 

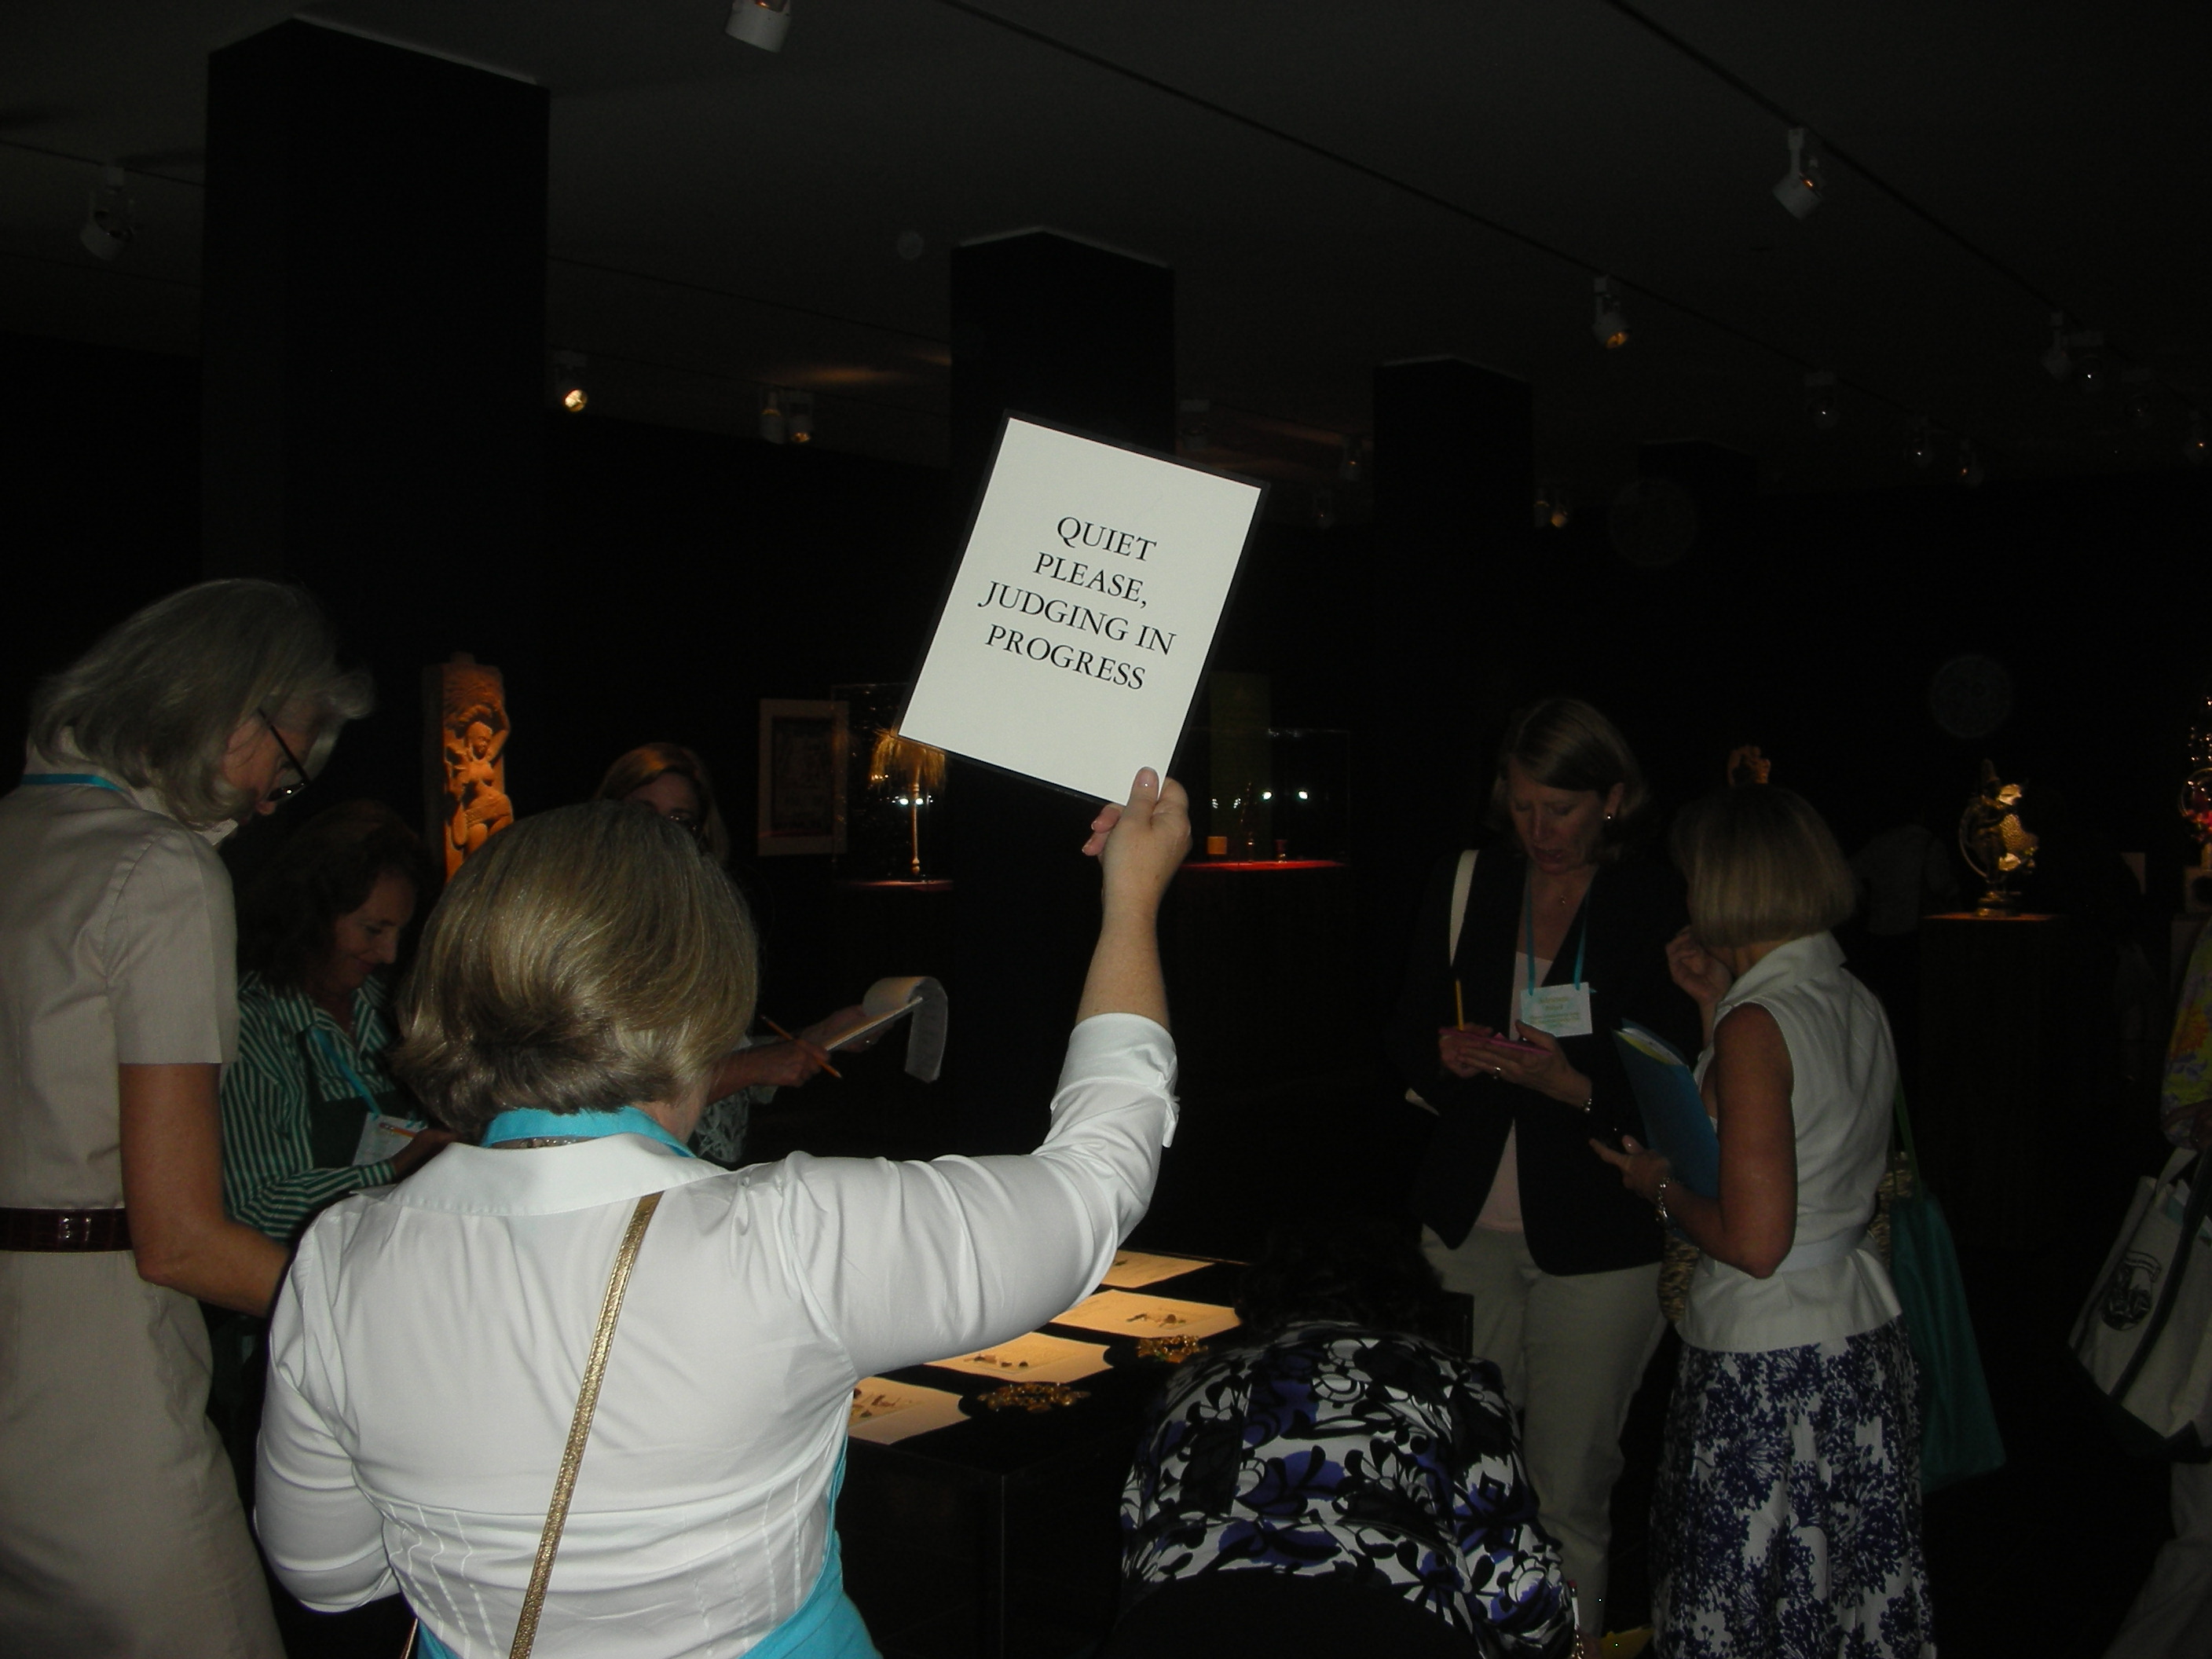
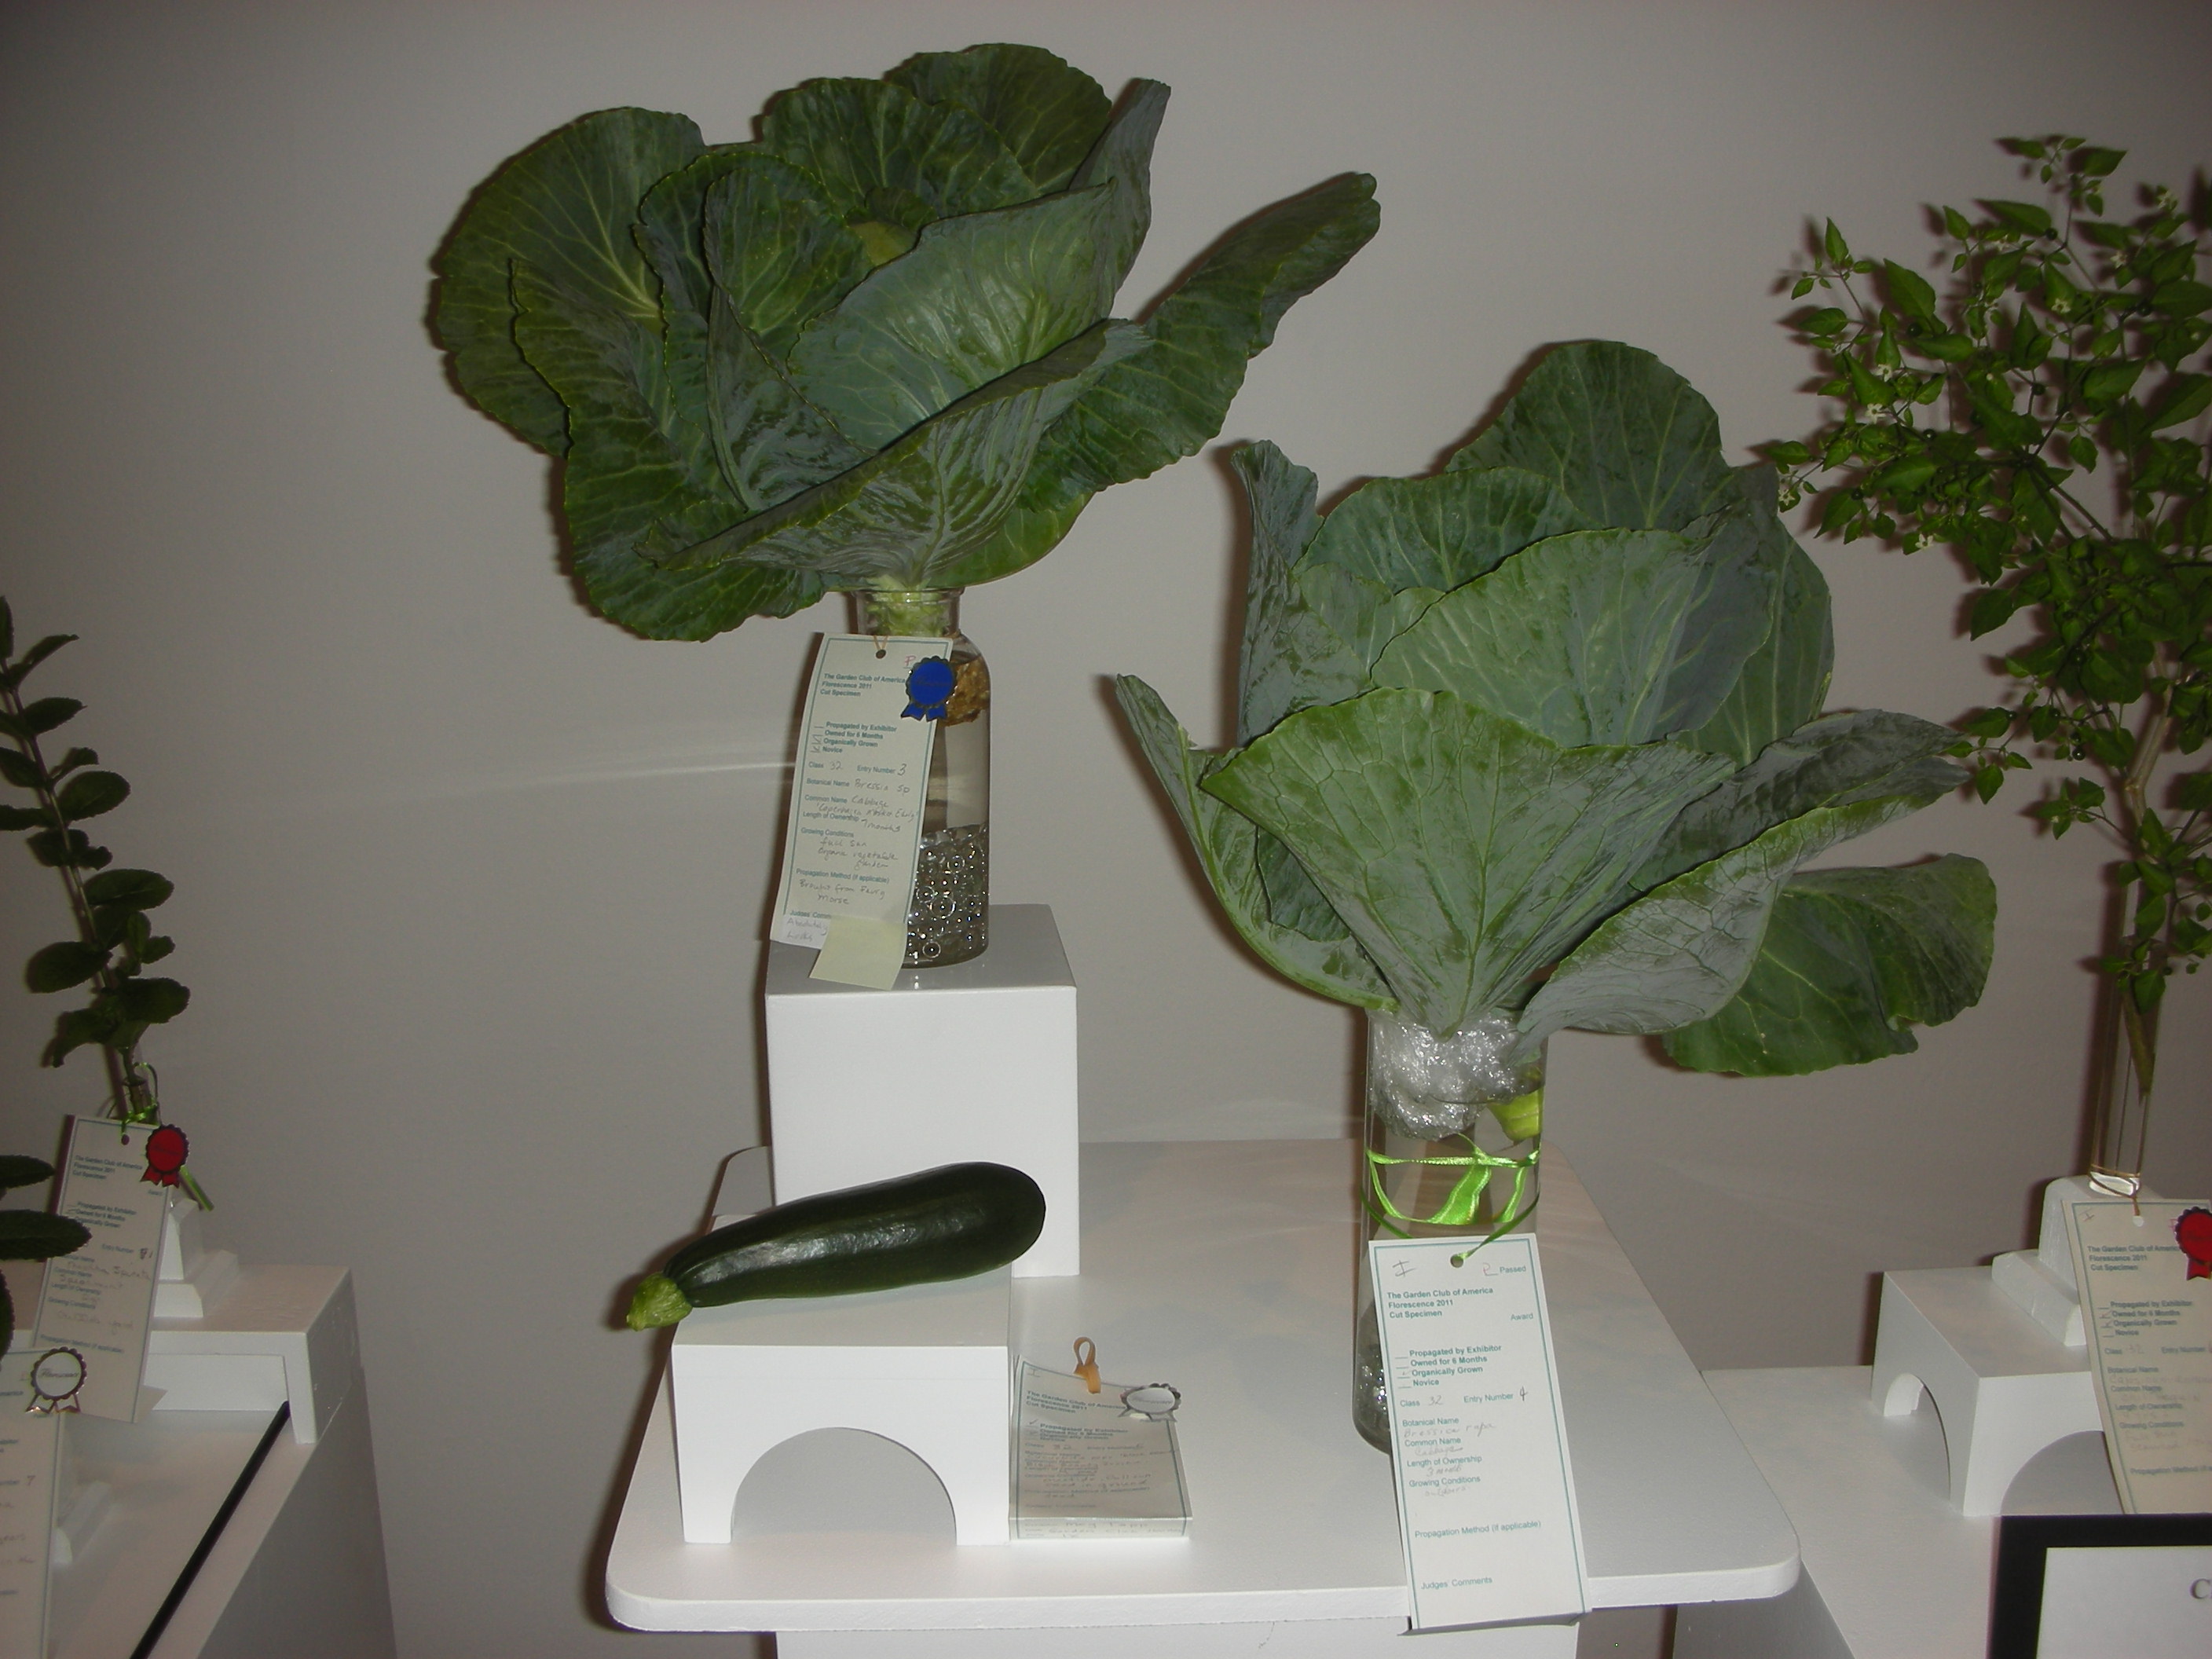
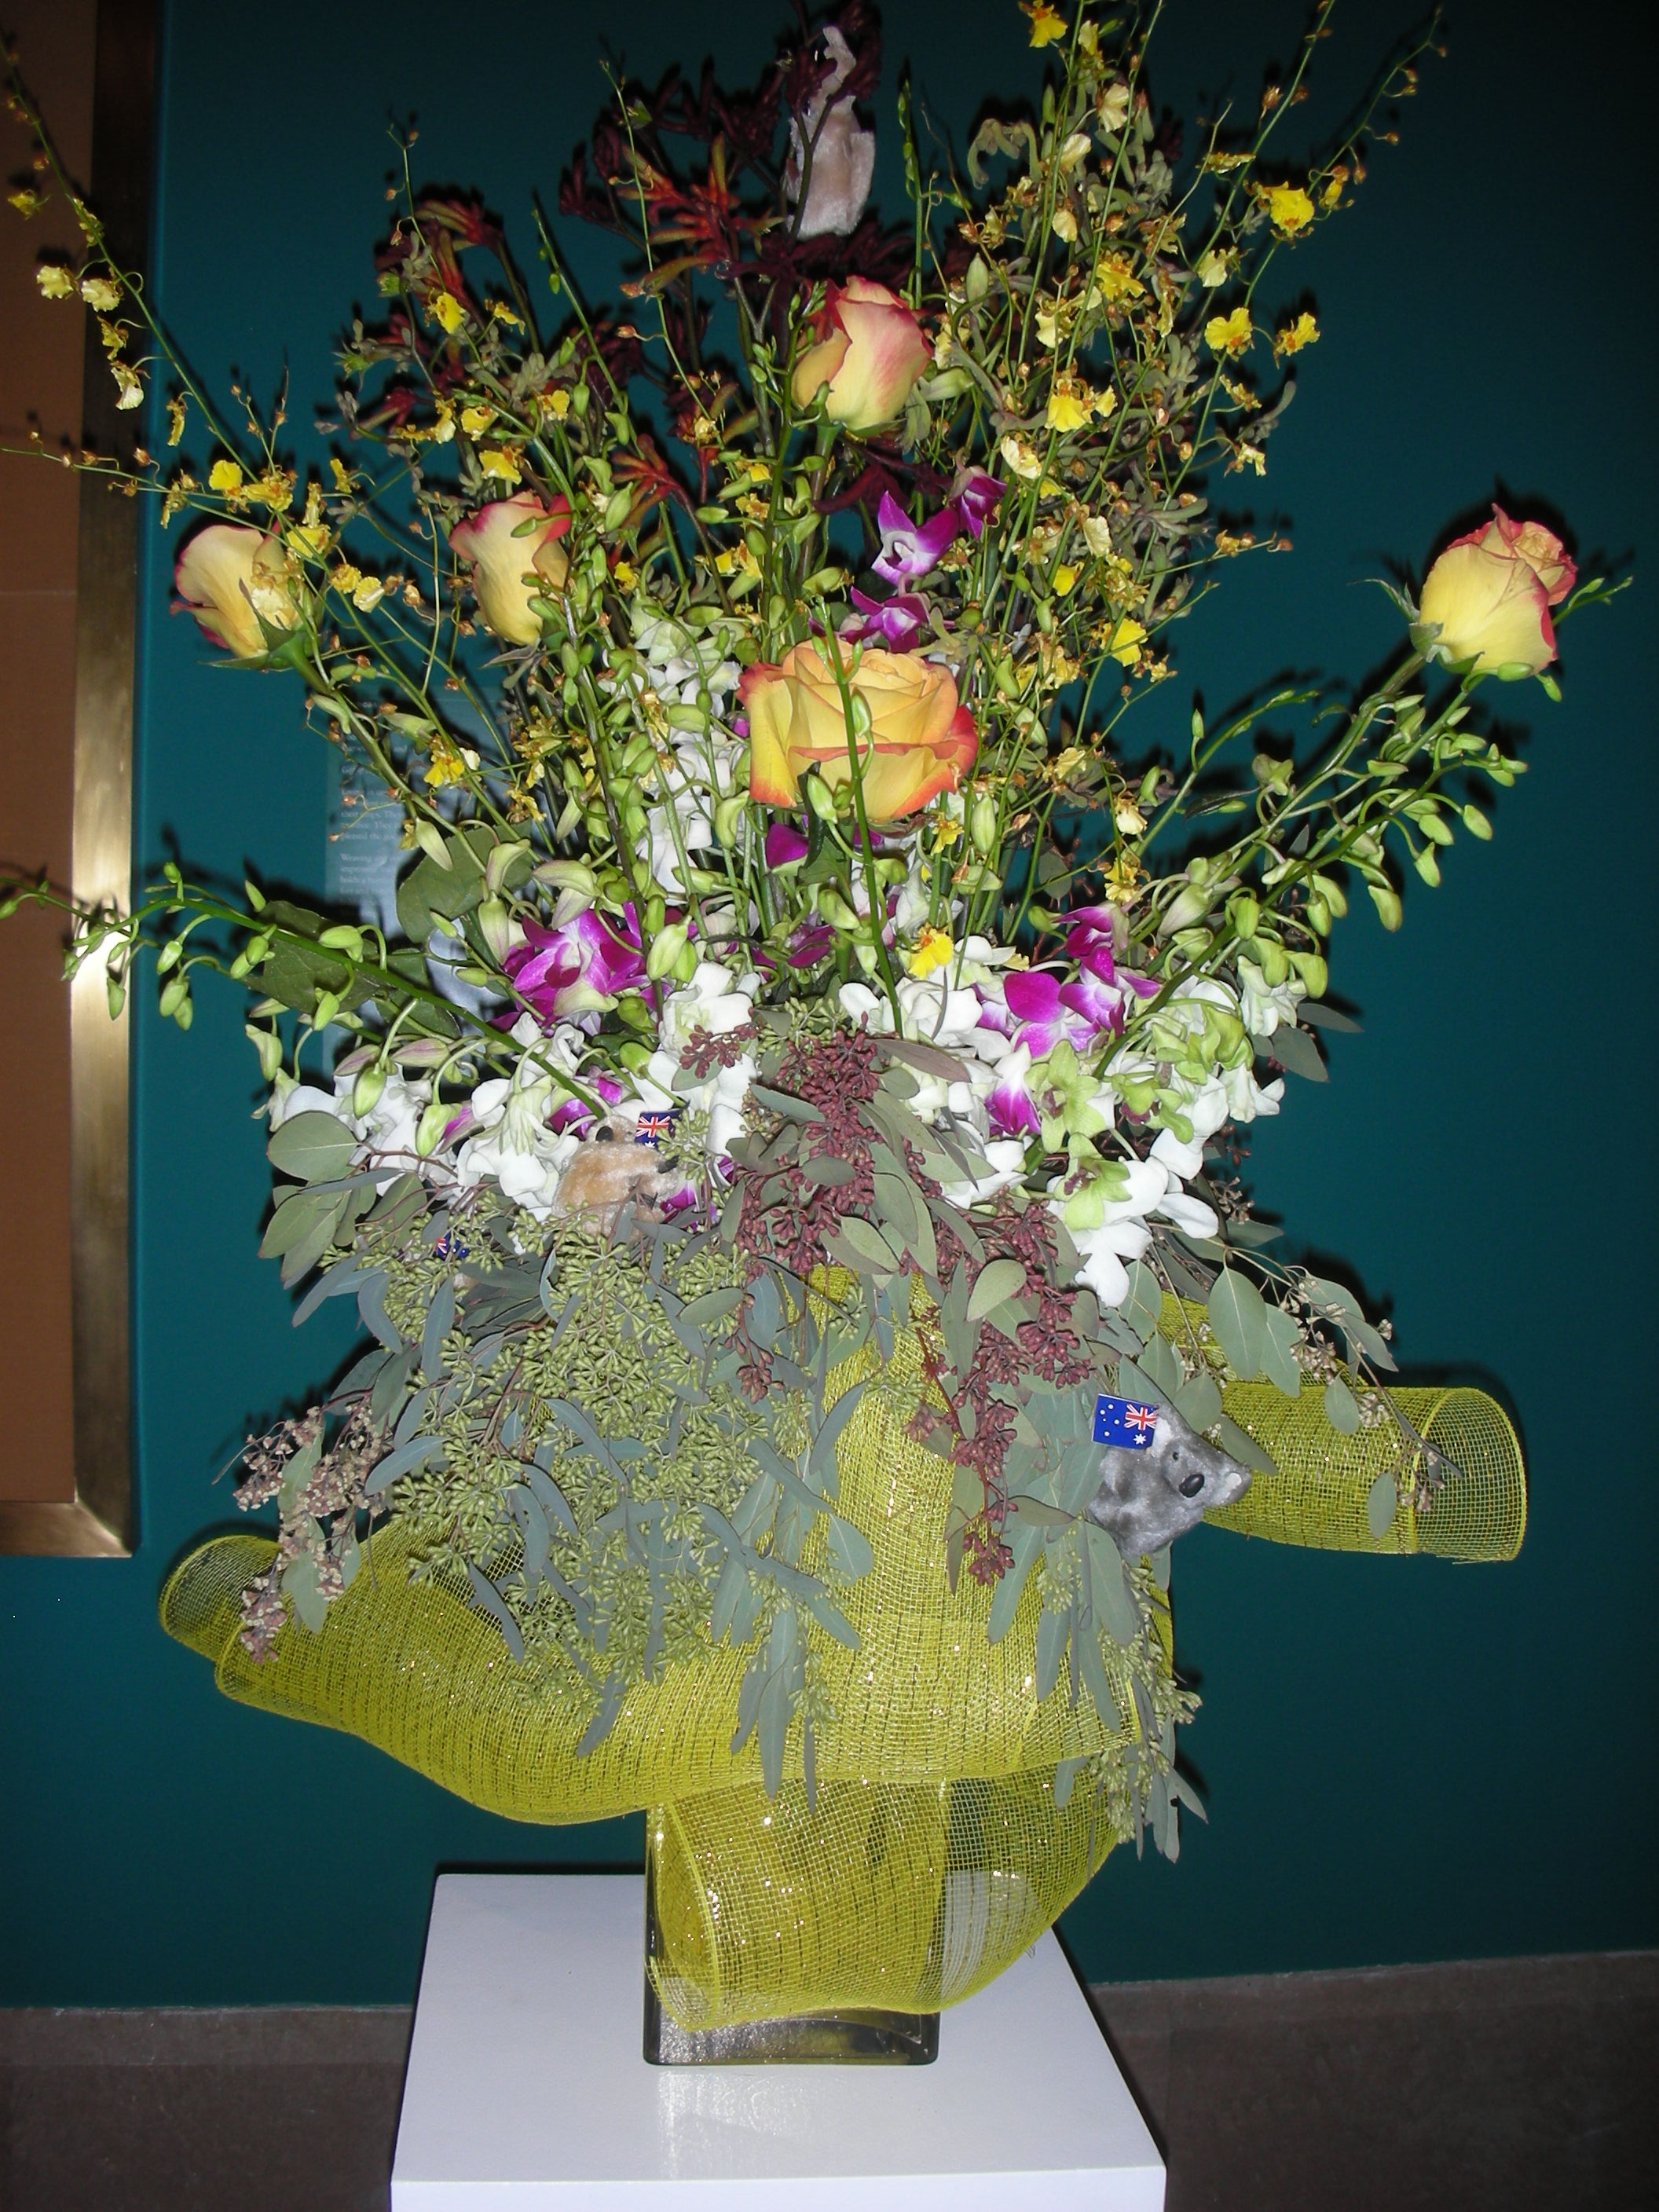
The show was outstanding.  Entries ran the gamut from individual flowers, fruits and vegetables grown by participants to very elaborate arrangements that designers built on site in response to pieces in the MFAH permanent collection.  Scroll down for pictures of some of these exhibits.

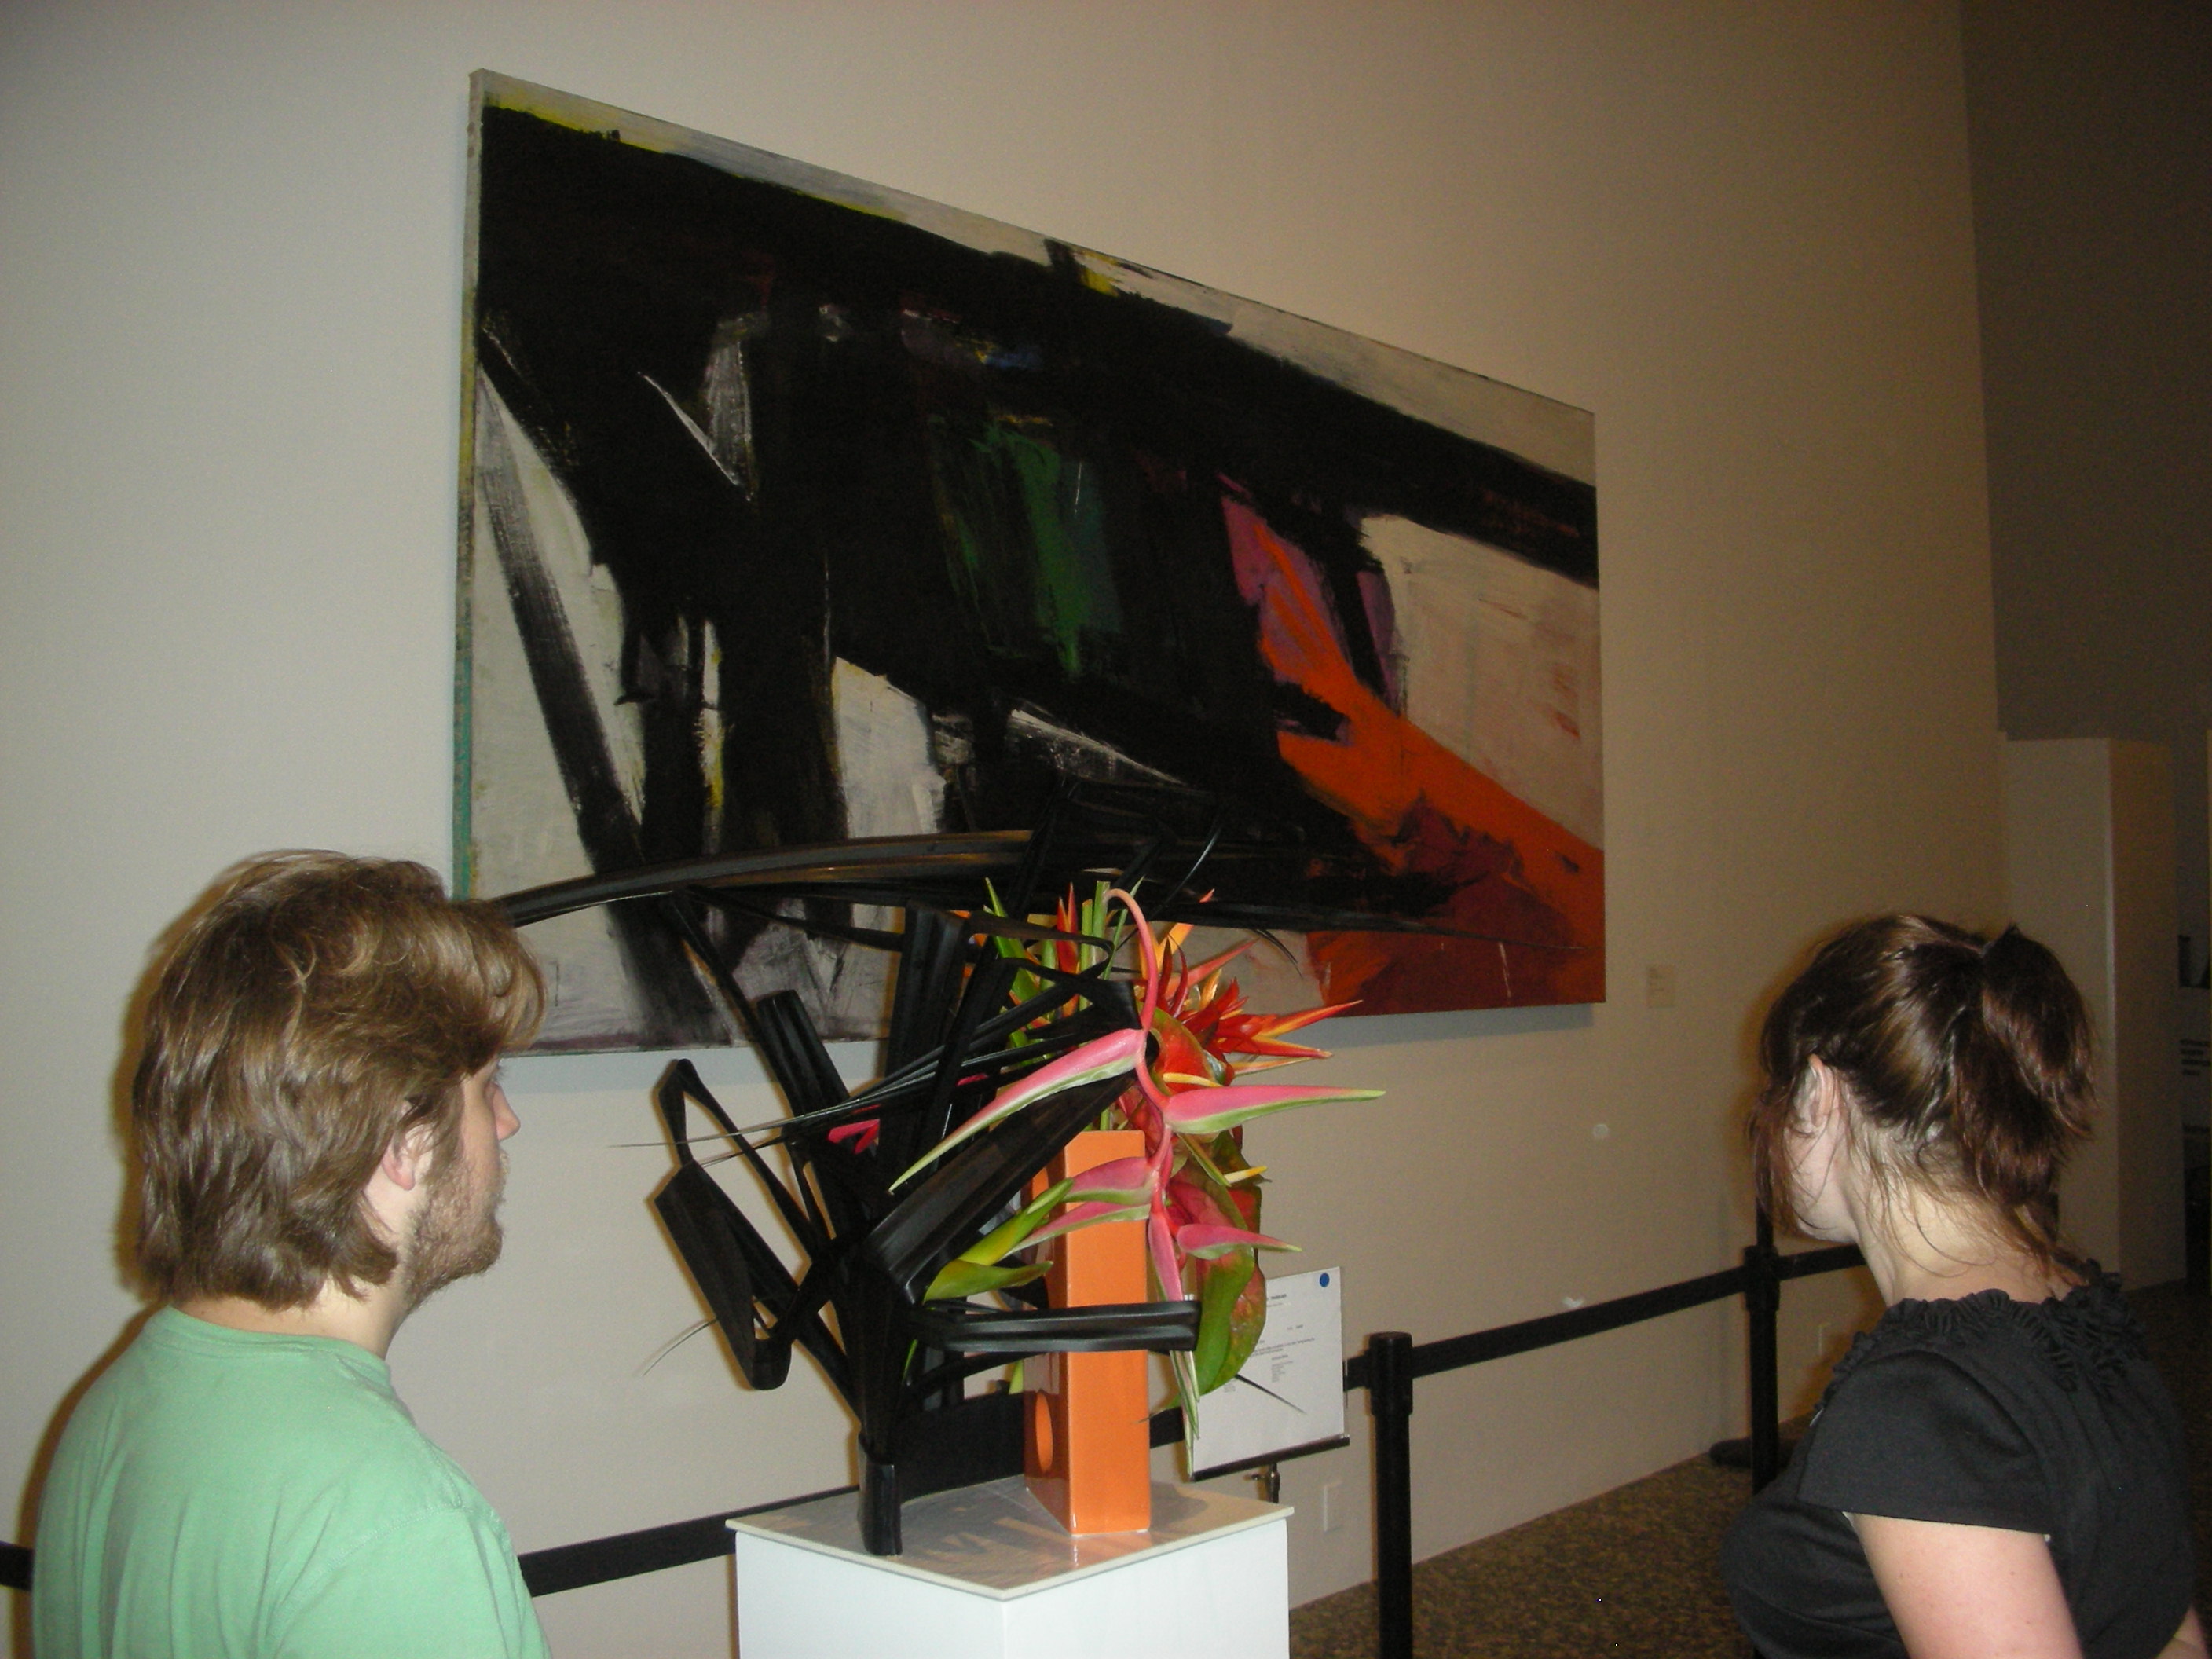
A stunning intrerpretation of one of the museum's pieces


My daughter and son in law enjoy another beautiful interpretation

I saw lots of orange in the show.


An all white display can make anything look good.


Stunning! The picture does not do it just. The flash washed out the deep green background, but still you can see how beautiful this was. I think it was my favorite.

Blooms in the Potager

Over the past year I have slowing been shifting the focus of my potager from veggies to herbs and flowers.  Because of this, the potager is now lovelier than it has ever been.  Here are a few pics of some of the things that are blooming (or beginning to) in my little kitchen garden.

First up are the poppies.  I got the seeds from Carol Ann Sayle at Boggy Creek Farm in Austin.  As you can see, they are beautiful.

Here’s another shot

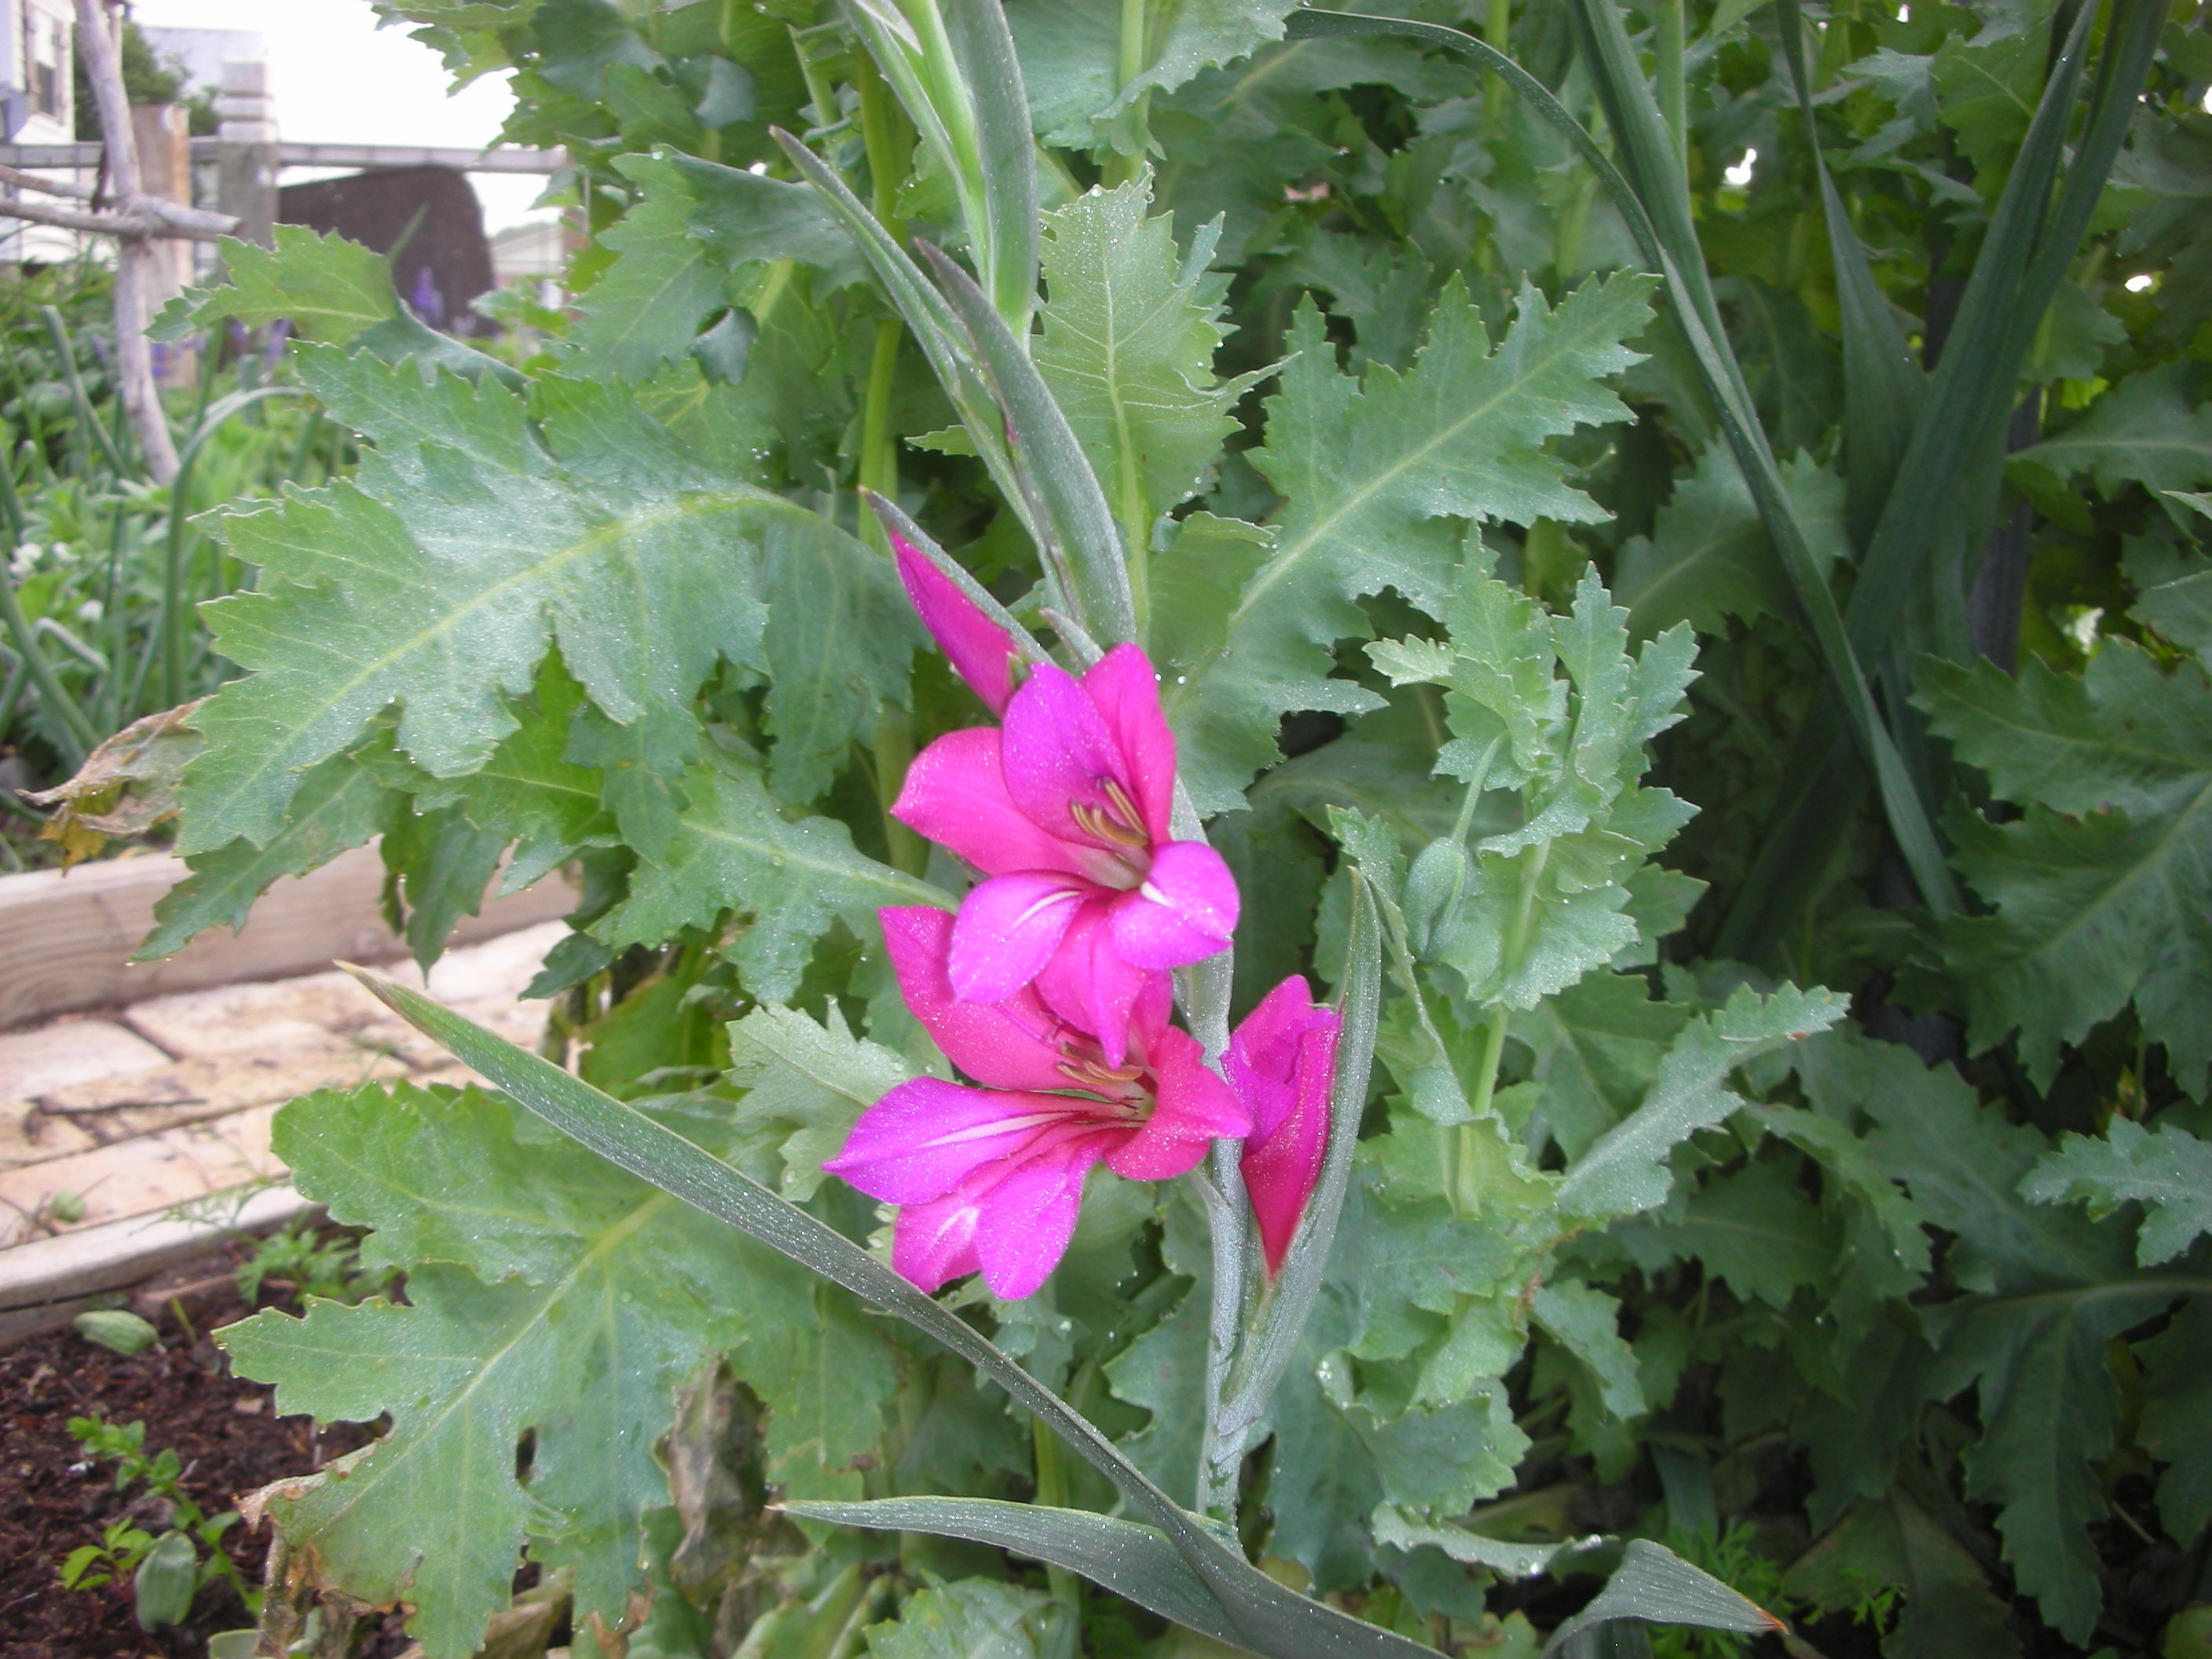
Mixed in with the poppies are some Byzantine gladiolus. 

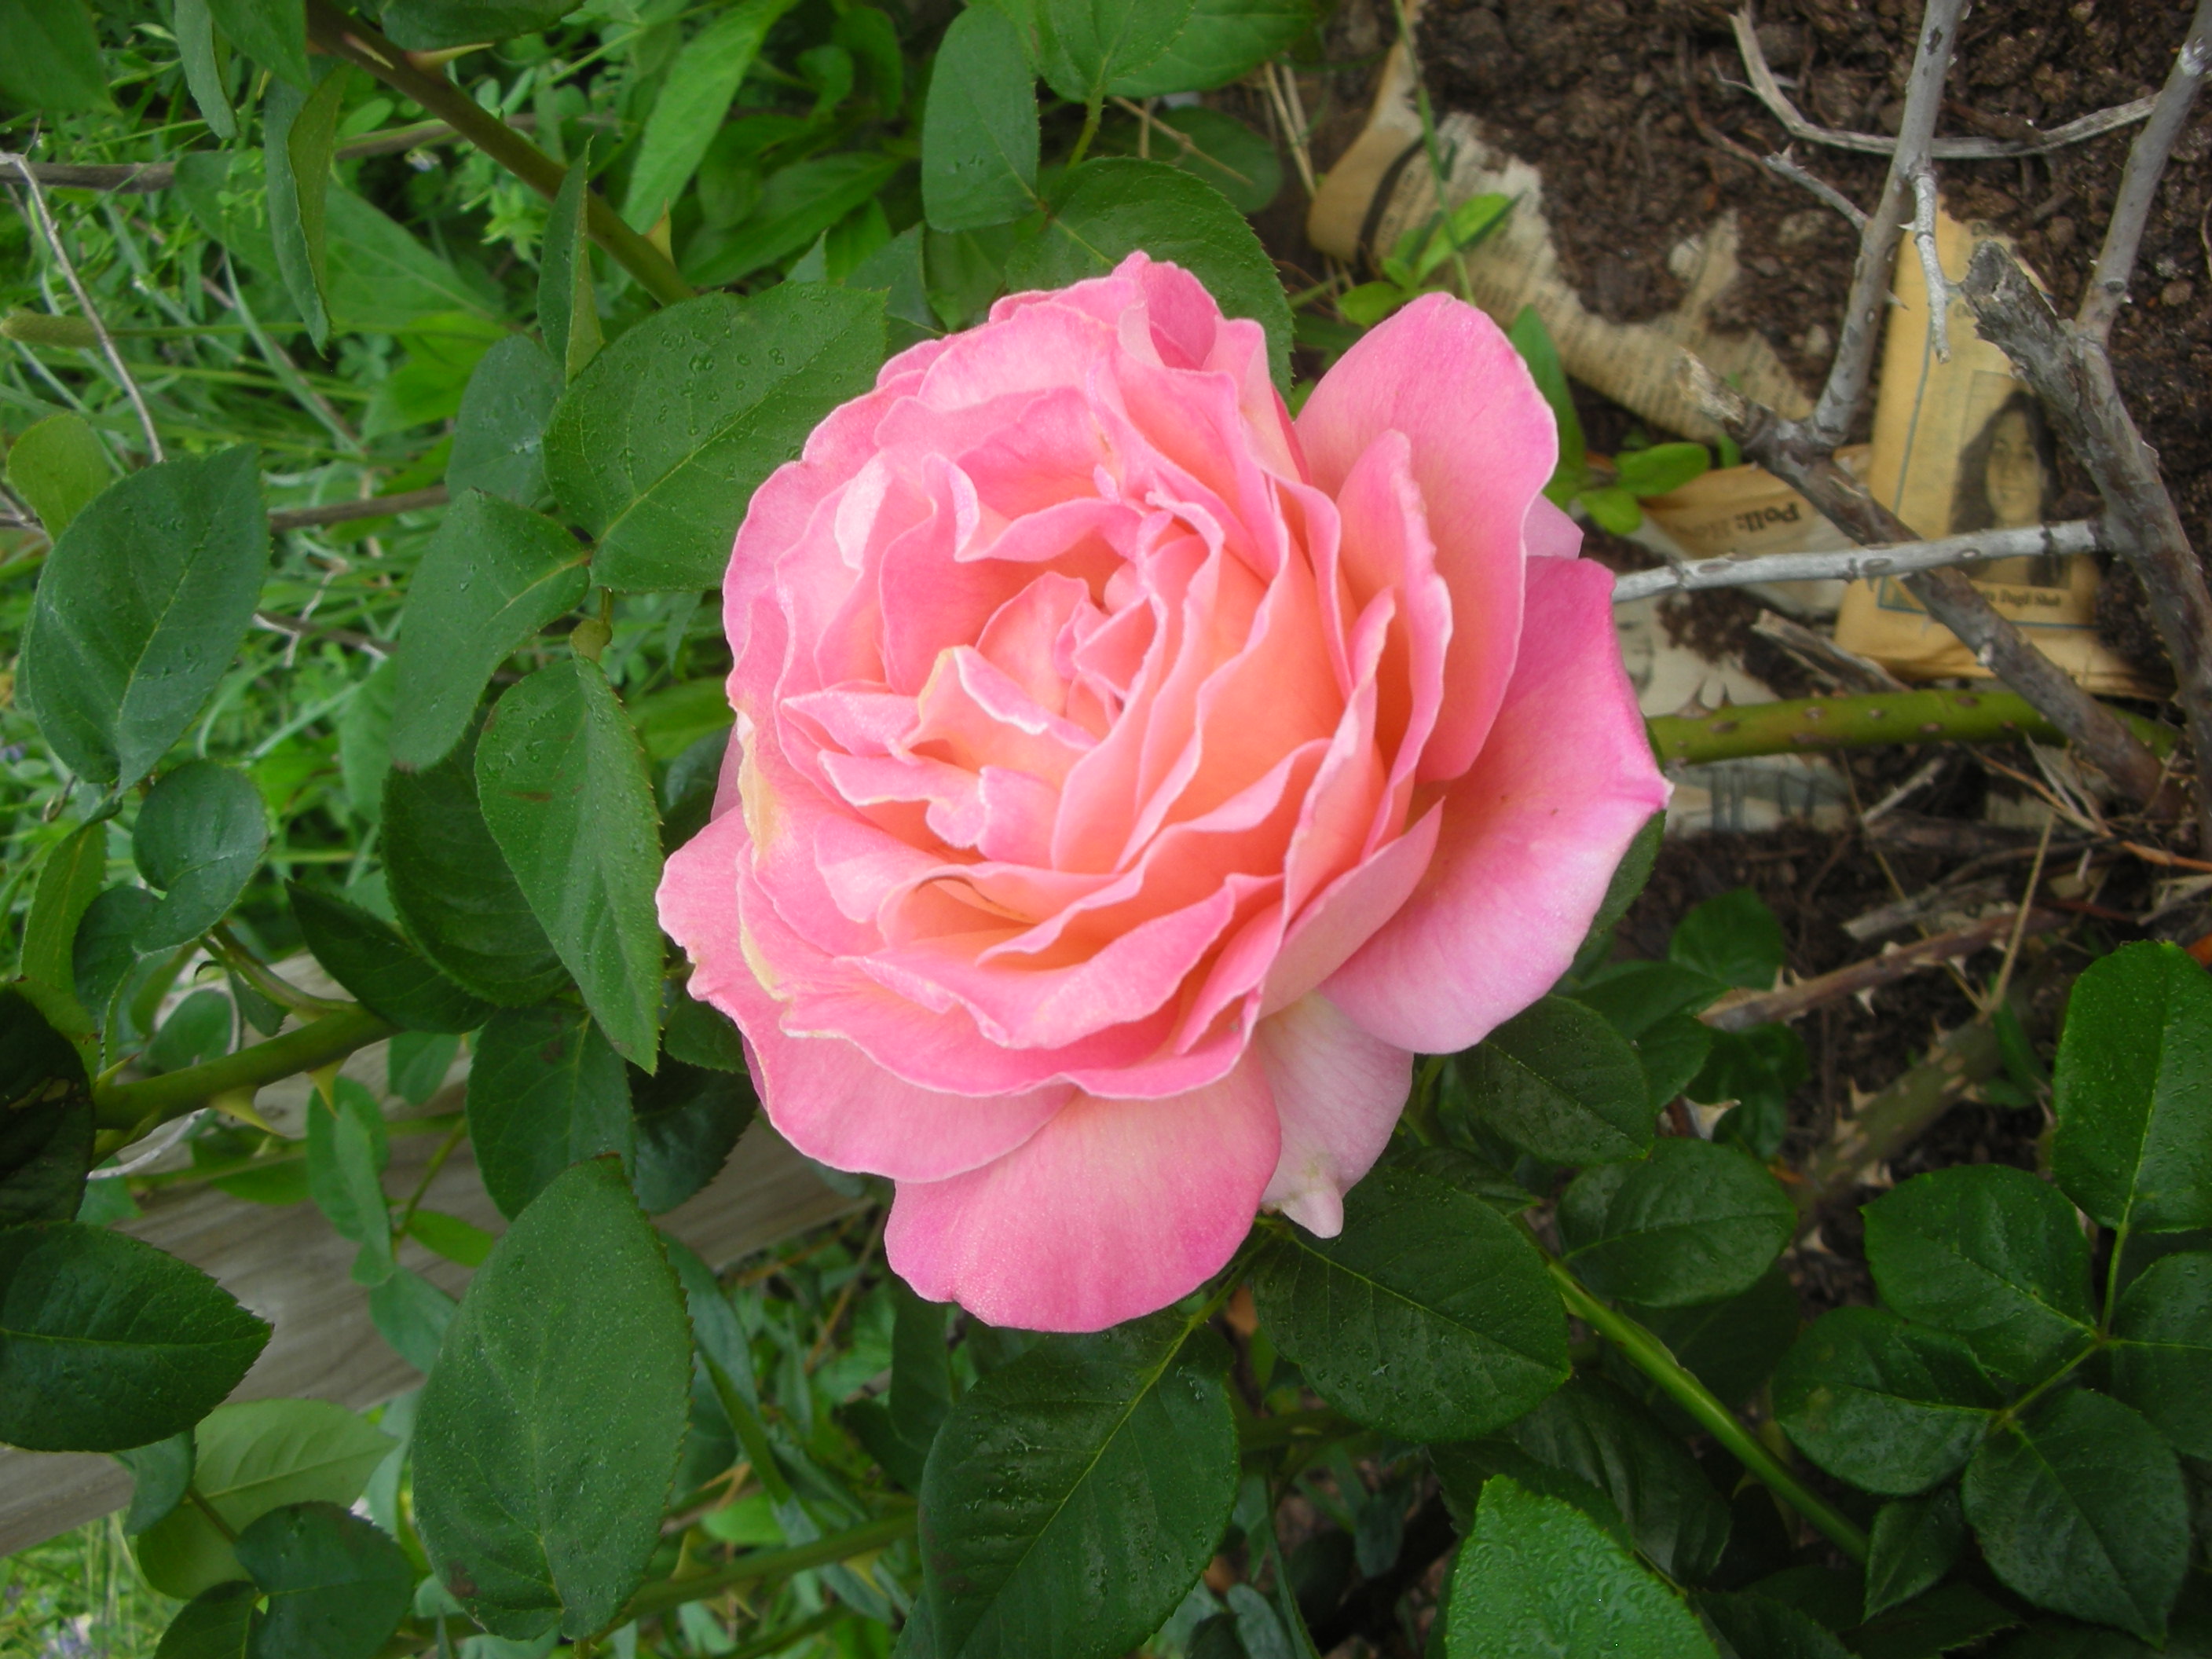
Here is an un-named rose that I got from my sister.  She lost her battle with ALS two year’s ago.  Everytime this rose blooms I think of her and smile.  Since we don’t know what it is, we call in “Ginna’s Rose” in her honor.

My “Victoria” salvia is thriving after the harsh winter.  There is lemon grass in the white pot behind it

I bought these and they were labeled “strawflower”.  They look alot like dianthus to me.  Whatever they are, they are lovely and they last forever as a cut flower.

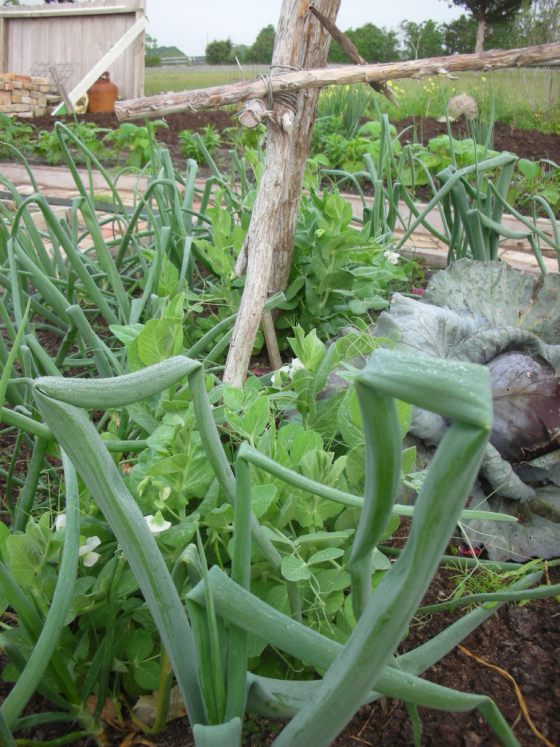
There are still a few veggies in the potager.  Here are some 10/15 onions, purple cabbage and English peas for the trellis

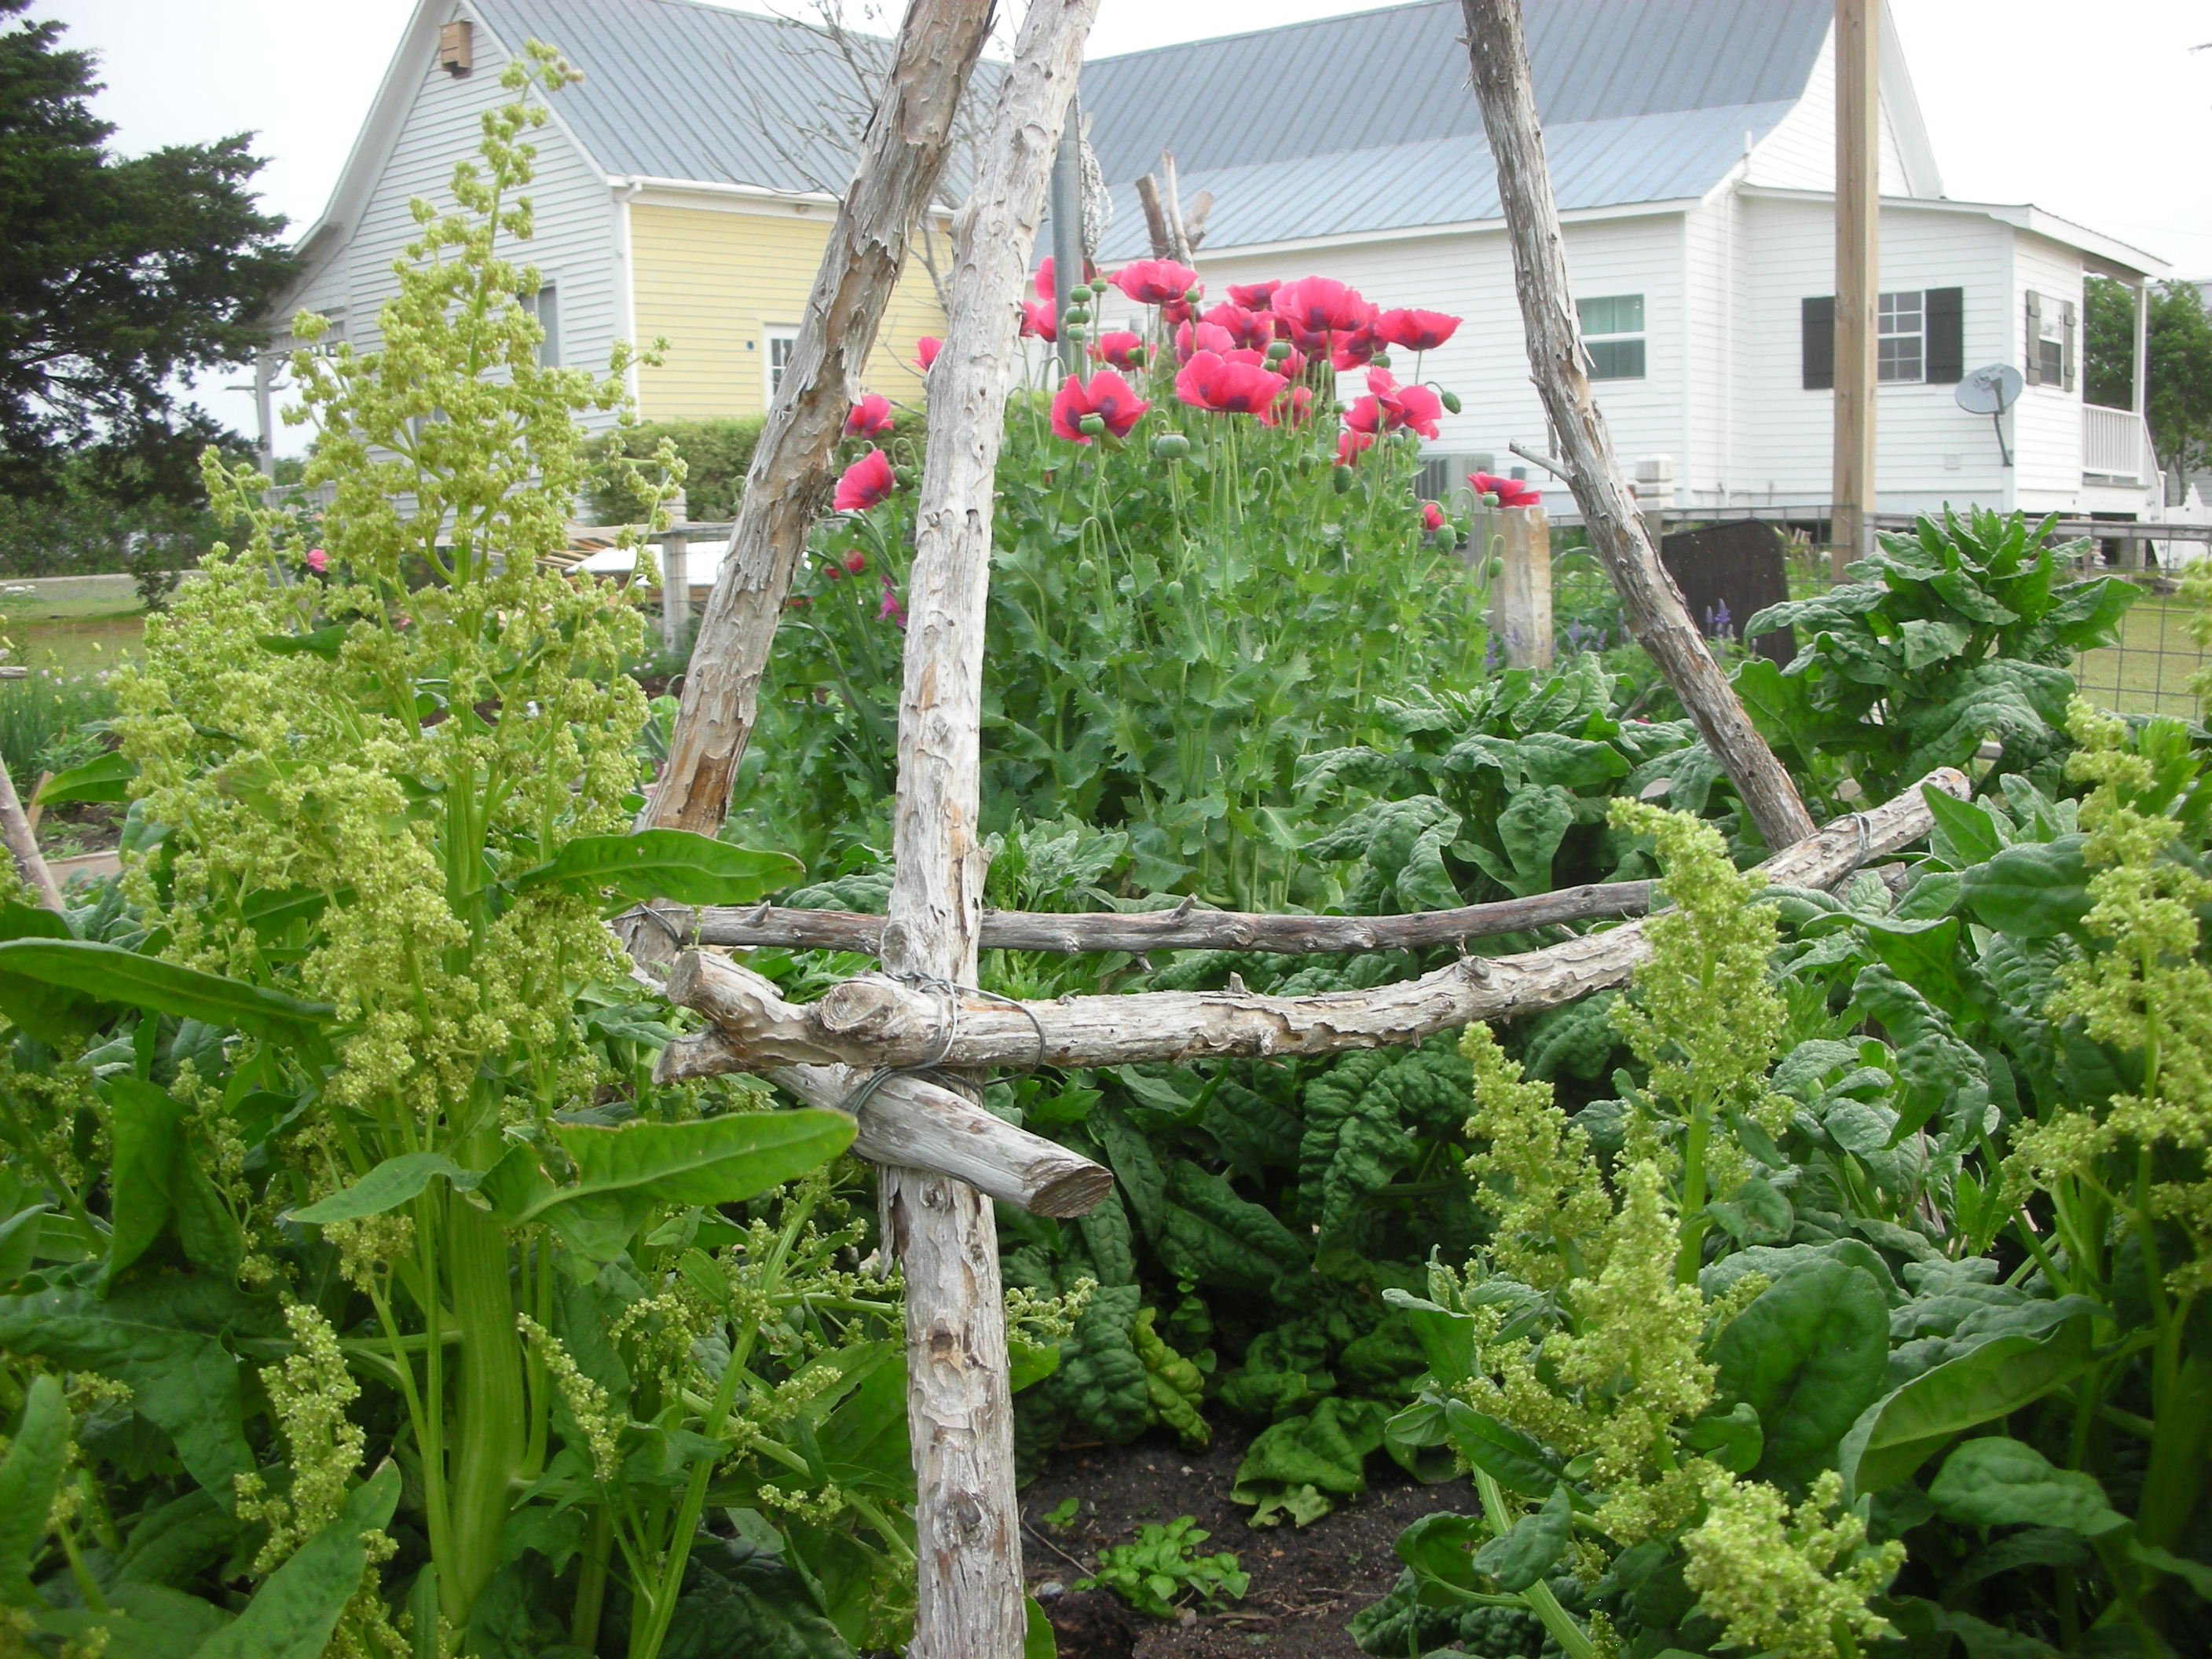
Here is what happens when you let spinach bolt.  I had never let it go this far before but I thought it made an attractive shot. 

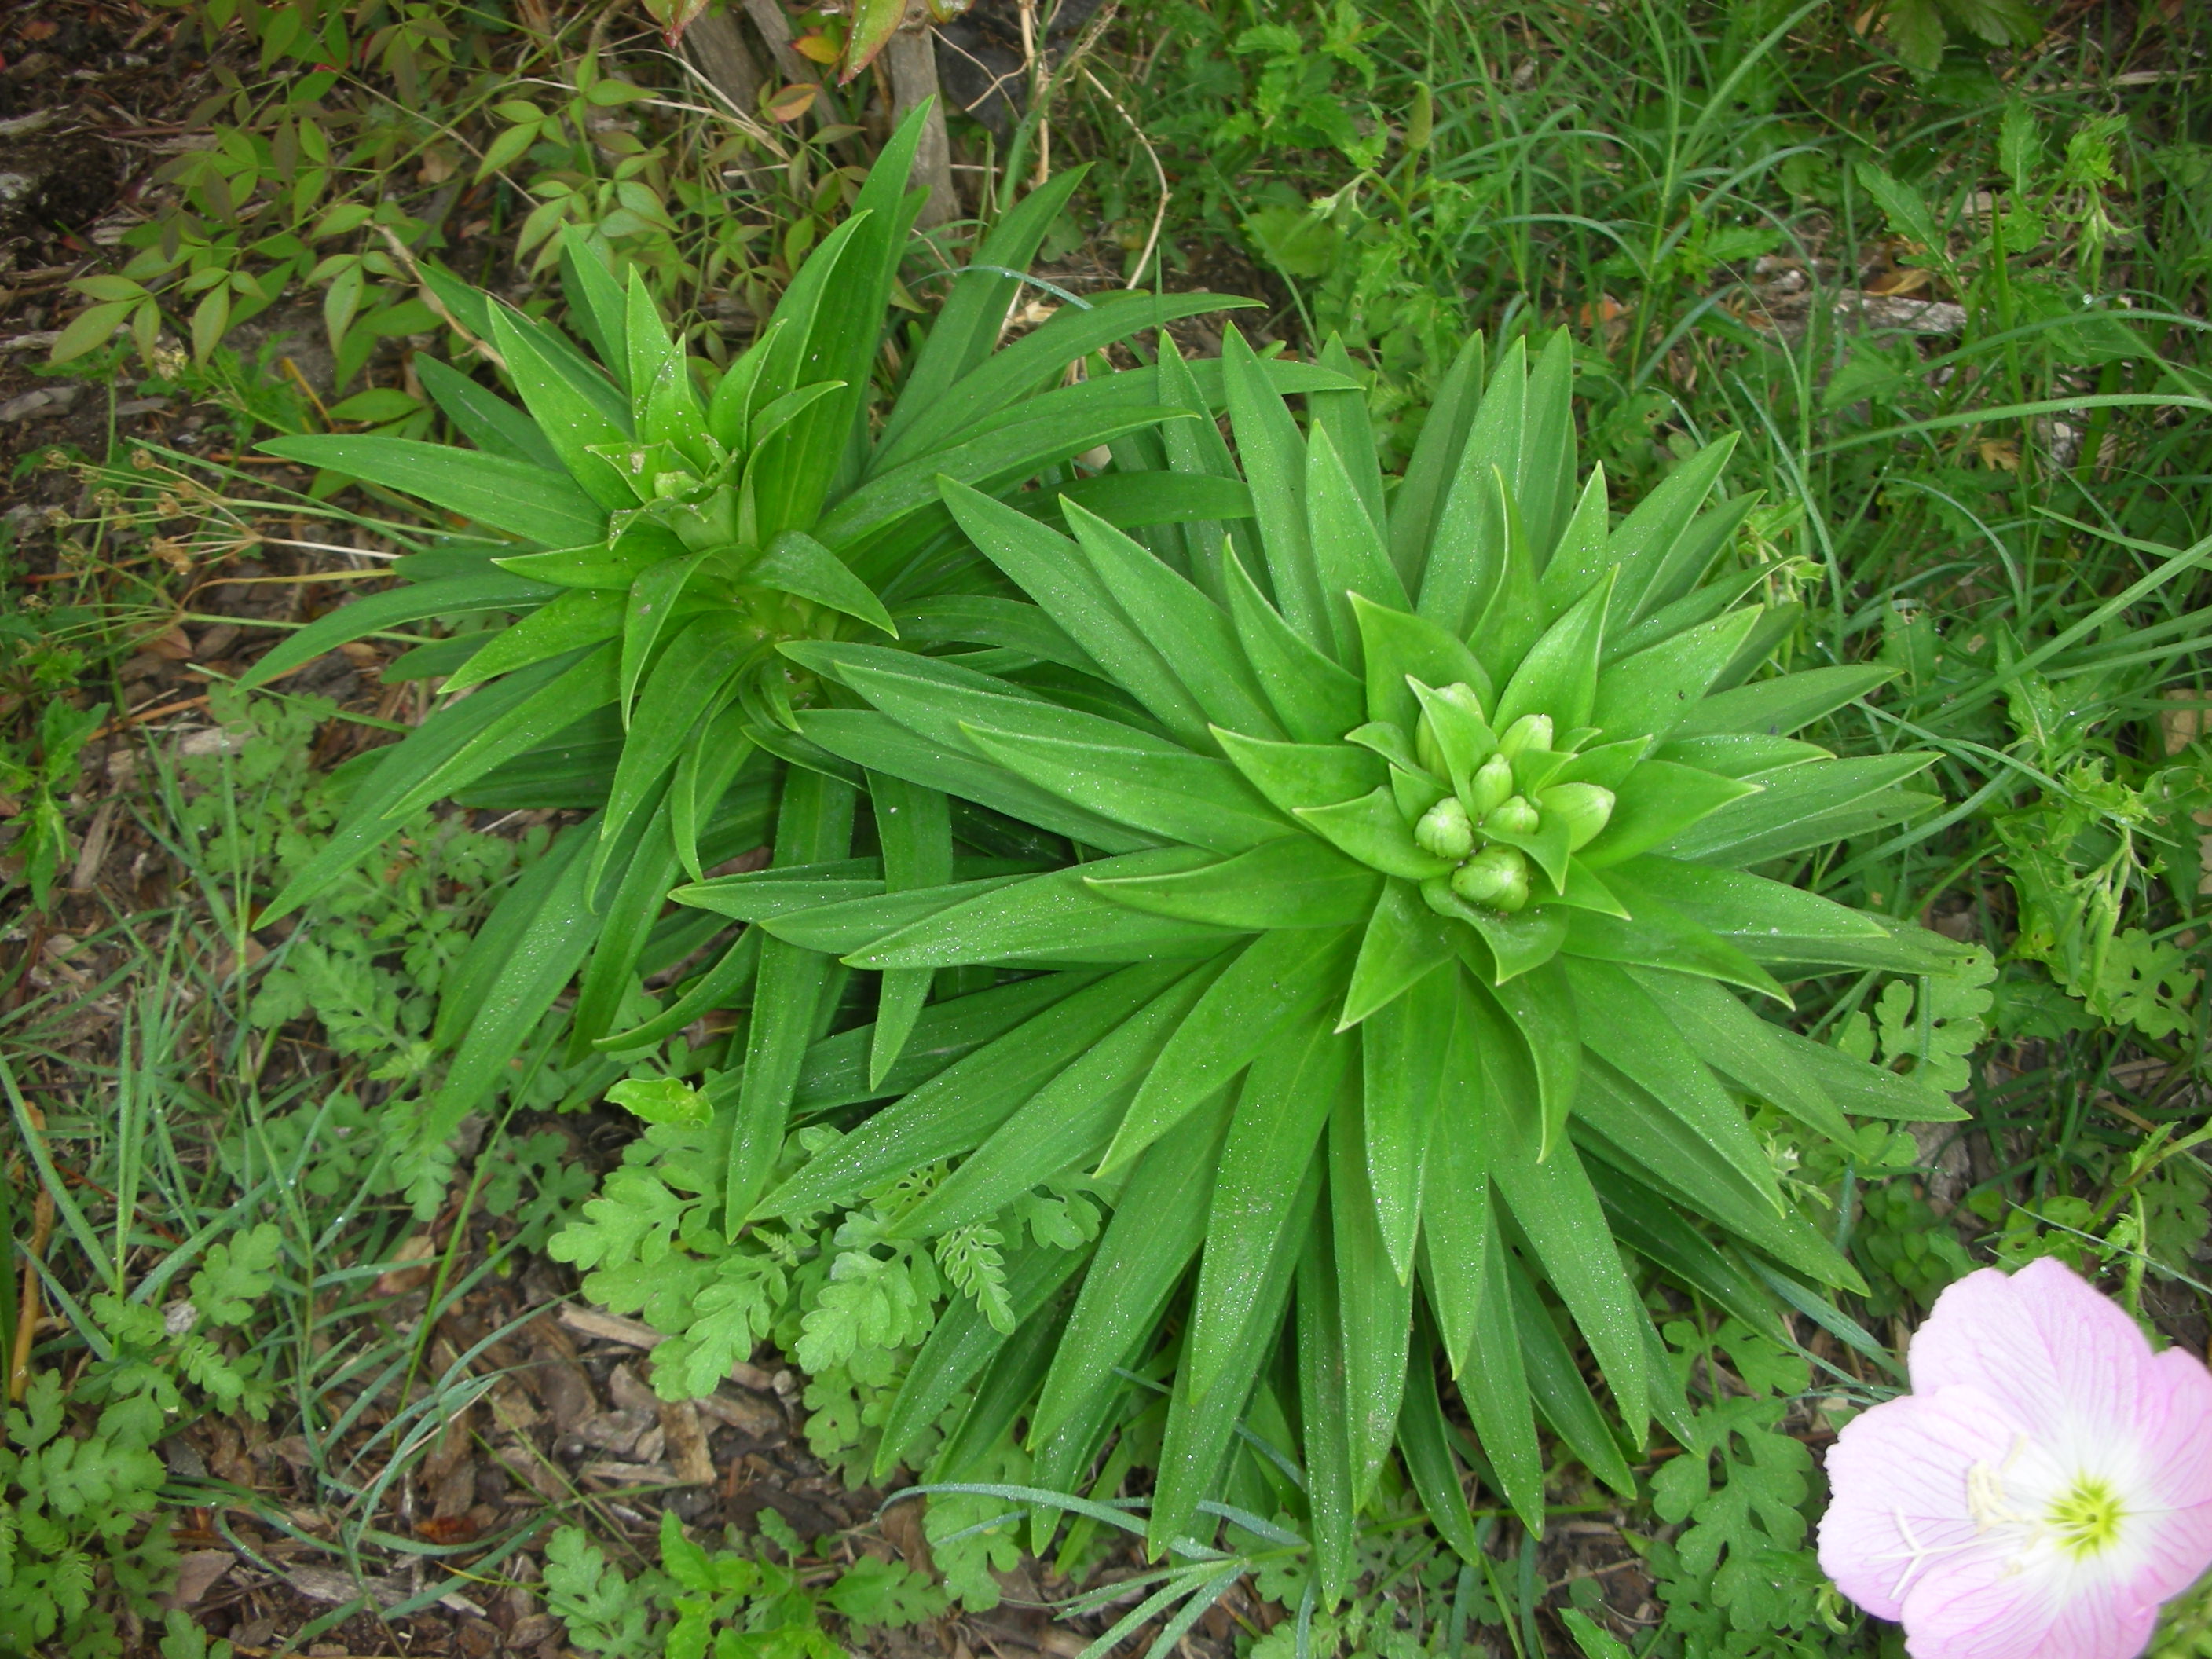
Here are some Easter lilies that may actually bloom by Easter

And finally, a lovely spring bouquet from the potager (if you say that with a french accent it rhymes )

Where Do Mother's Day Flowers Come From?

Photo from www.mommafindings.com

Have you ever wondered where the cut flowers that you are about to buy for Mother’s Day come from?  If you are like approximately 75% of the people that buy packaged cut flowers in San Antonio, your Mother’s Day flowers will come from HEB.  However, HEB doesn’t grow those flowers.  HEB buys most of their cut flowers from growers in Columbia.  In fact, most of the cut flowers sold in the US are now imported.  In 1971, the US produced about 1.2 billion blooms of the major cut flower crops (roses, carnations and chrysanthemums) and imported 100 million.  Fast forward 30 years and that trend have been completely reversed.  In 2003, the US imported 200 billion stems and produced just 200 million.  A whopping 70% of those imported stems now come from Columbia. 

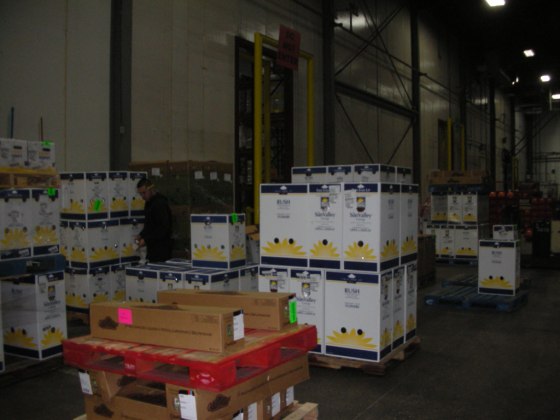
A load of fresh flowers await shipment from the HEB Floral Distribution Center

I am currently enrolled in “International Marketing of Floriculture Crops”.  This course is taught by two true masters of horticulture, Dr. Charlie Hall and Dr. Terri Starman.  For the past four months they have taught us how cut flowers are produced, imported and marketed.  To enforce some of the concepts that we have been learning, they put together a field trip to the HEB Floral Distribution Center in San Antonio.  What an interesting and enjoyable trip this was. 

The yupneck in front of one of HEB's refrigerated trucks that are going to keep mom's flowers between 34 and 42 degrees. Note that I am wearing a coat. The floral facility kept me between 34 and 42 degrees as well.

In order to keep costs as low as possible, HEB contracts directly with growers in Columbia.  HEB works very closely with these growers to ensure that they are producing the high quality products that HEB demands.  These growers cut, package and ship their flowers to a distribution center in Miami.  HEB then contracts with trucking companies to have those flowers delivered to their San Antonio warehouse.  Once at the warehouse, HEB quality control inspects the shipment.  If the flowers pass inspection they are then sorted and shipped to one of their 335 stores. 

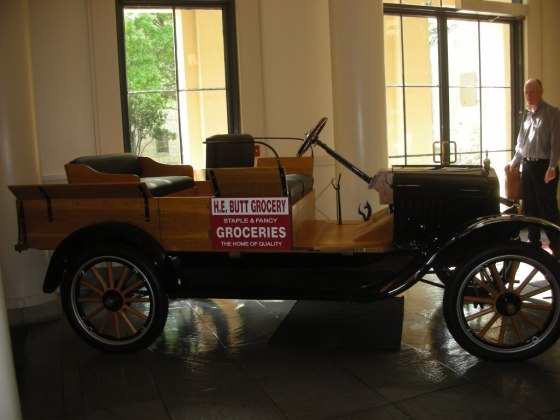
The first truck that HEB used to deliver flowers. Not really, but it is the first truck that they used to deliver groceries

Now that is a lot of moving around for a very perishable product.  In fact, most cut flowers have been “cut” for 12 to 15 days before they reach the store.  Add to that, the fact that HEB offers a freshness guarantee (they are the only grocery store chain to do this) and you begin to see how truly amazing your bunch of Mother’s Day flowers is. 

How can HEB (and other retailers of cut flowers) do this?  The answer lies in a thing called “the cold chain”.  Temperature is the single biggest factor affecting the “life” of fresh cut flowers.  The growers have developed methods that chill the crop as soon as it is cut.  From the time it receives that initial chilling until it is placed on a retailer’s shelf, your mom’s bunch of flowers was stored and transported at between 34 to 42 degrees.  These cold temperatures reduce all of the factors that contribute to the ultimate “death” of the flowers and ensure that they will look good for mom for at least a week or two.

Providing cut fresh flowers to the US public is a very complex system.  It is truly amazing to me that HEB is able to manage all of these processes and still sell you a very high quality product at a very reasonable price.  My hat is off to HEB!

A Garden Shower

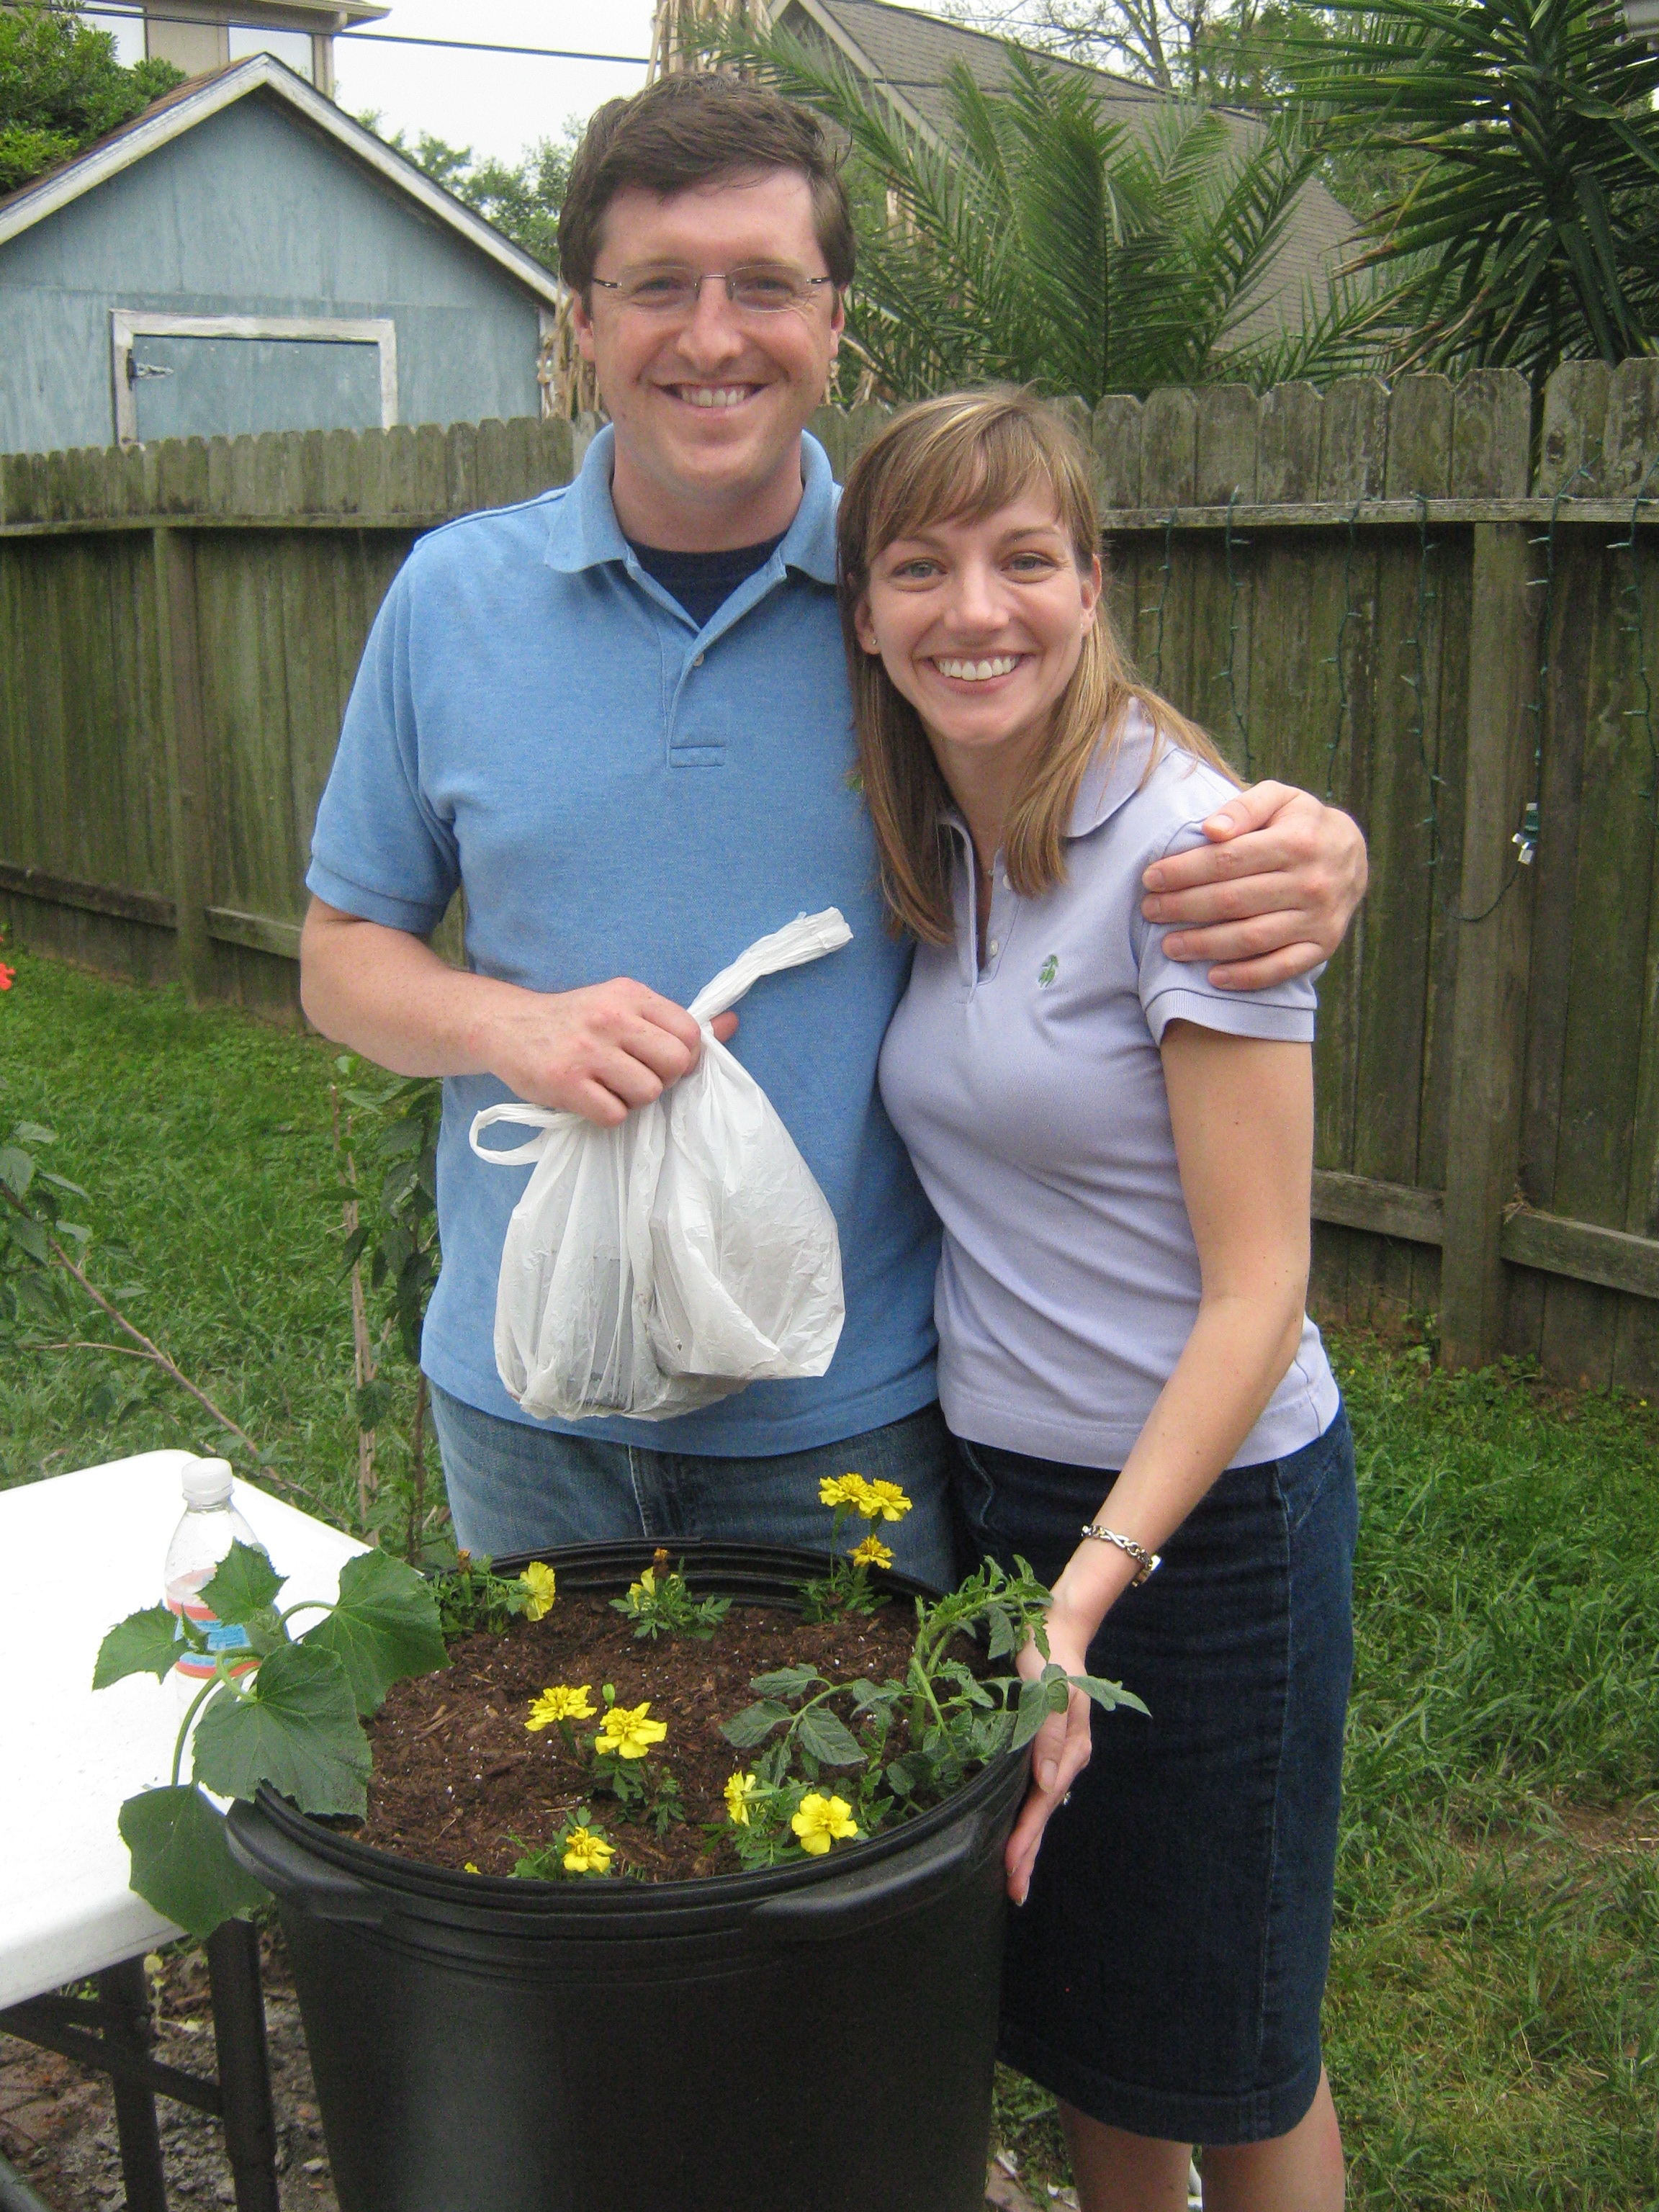
Andrew and Bridget with their new container garden

Bridget O’Brien and Andrew Hoyt are getting married!  Bridget is the Tours Program Manager at the Museum of Fine Arts Houston and her betrothed is an English teacher at the Christo Rey Jesuit College Preparatory School in Houston.  To celebrate their upcoming nuptials, my daughter Heather and her friend Lindsey Smith threw them a “Garden Shower” this past weekend.  Now from what I gathered, a “Garden Shower” is much like any other bridal shower.  Invitations were sent, punch was made, cakes were baked and gifts were presented.  However, where this one differed was in the entertainment.  Now I have to admit, I have never actually been to a bridal shower before.  But, from what I am told, the entertainment usually takes the form of silly party games.  Not this one.  This shower, being garden themed, featured a very engaging, entertaining and educational garden speaker. 

If you haven’t guessed by now, that garden speaker was me.  While I am not really all that famous, I do love talking to others about gardening.   Most of the attendees were young museum professionals that have the desire to garden but are somewhat lacking in the space.  So, we covered several topics related to container gardening.  As one of Andrew and Bridget’s gifts, the group worked together to create a 15 gallon veggie/flower garden that they got to take home.  In that garden, they will be growing and harvesting tomatoes, cucumbers and marigolds. 

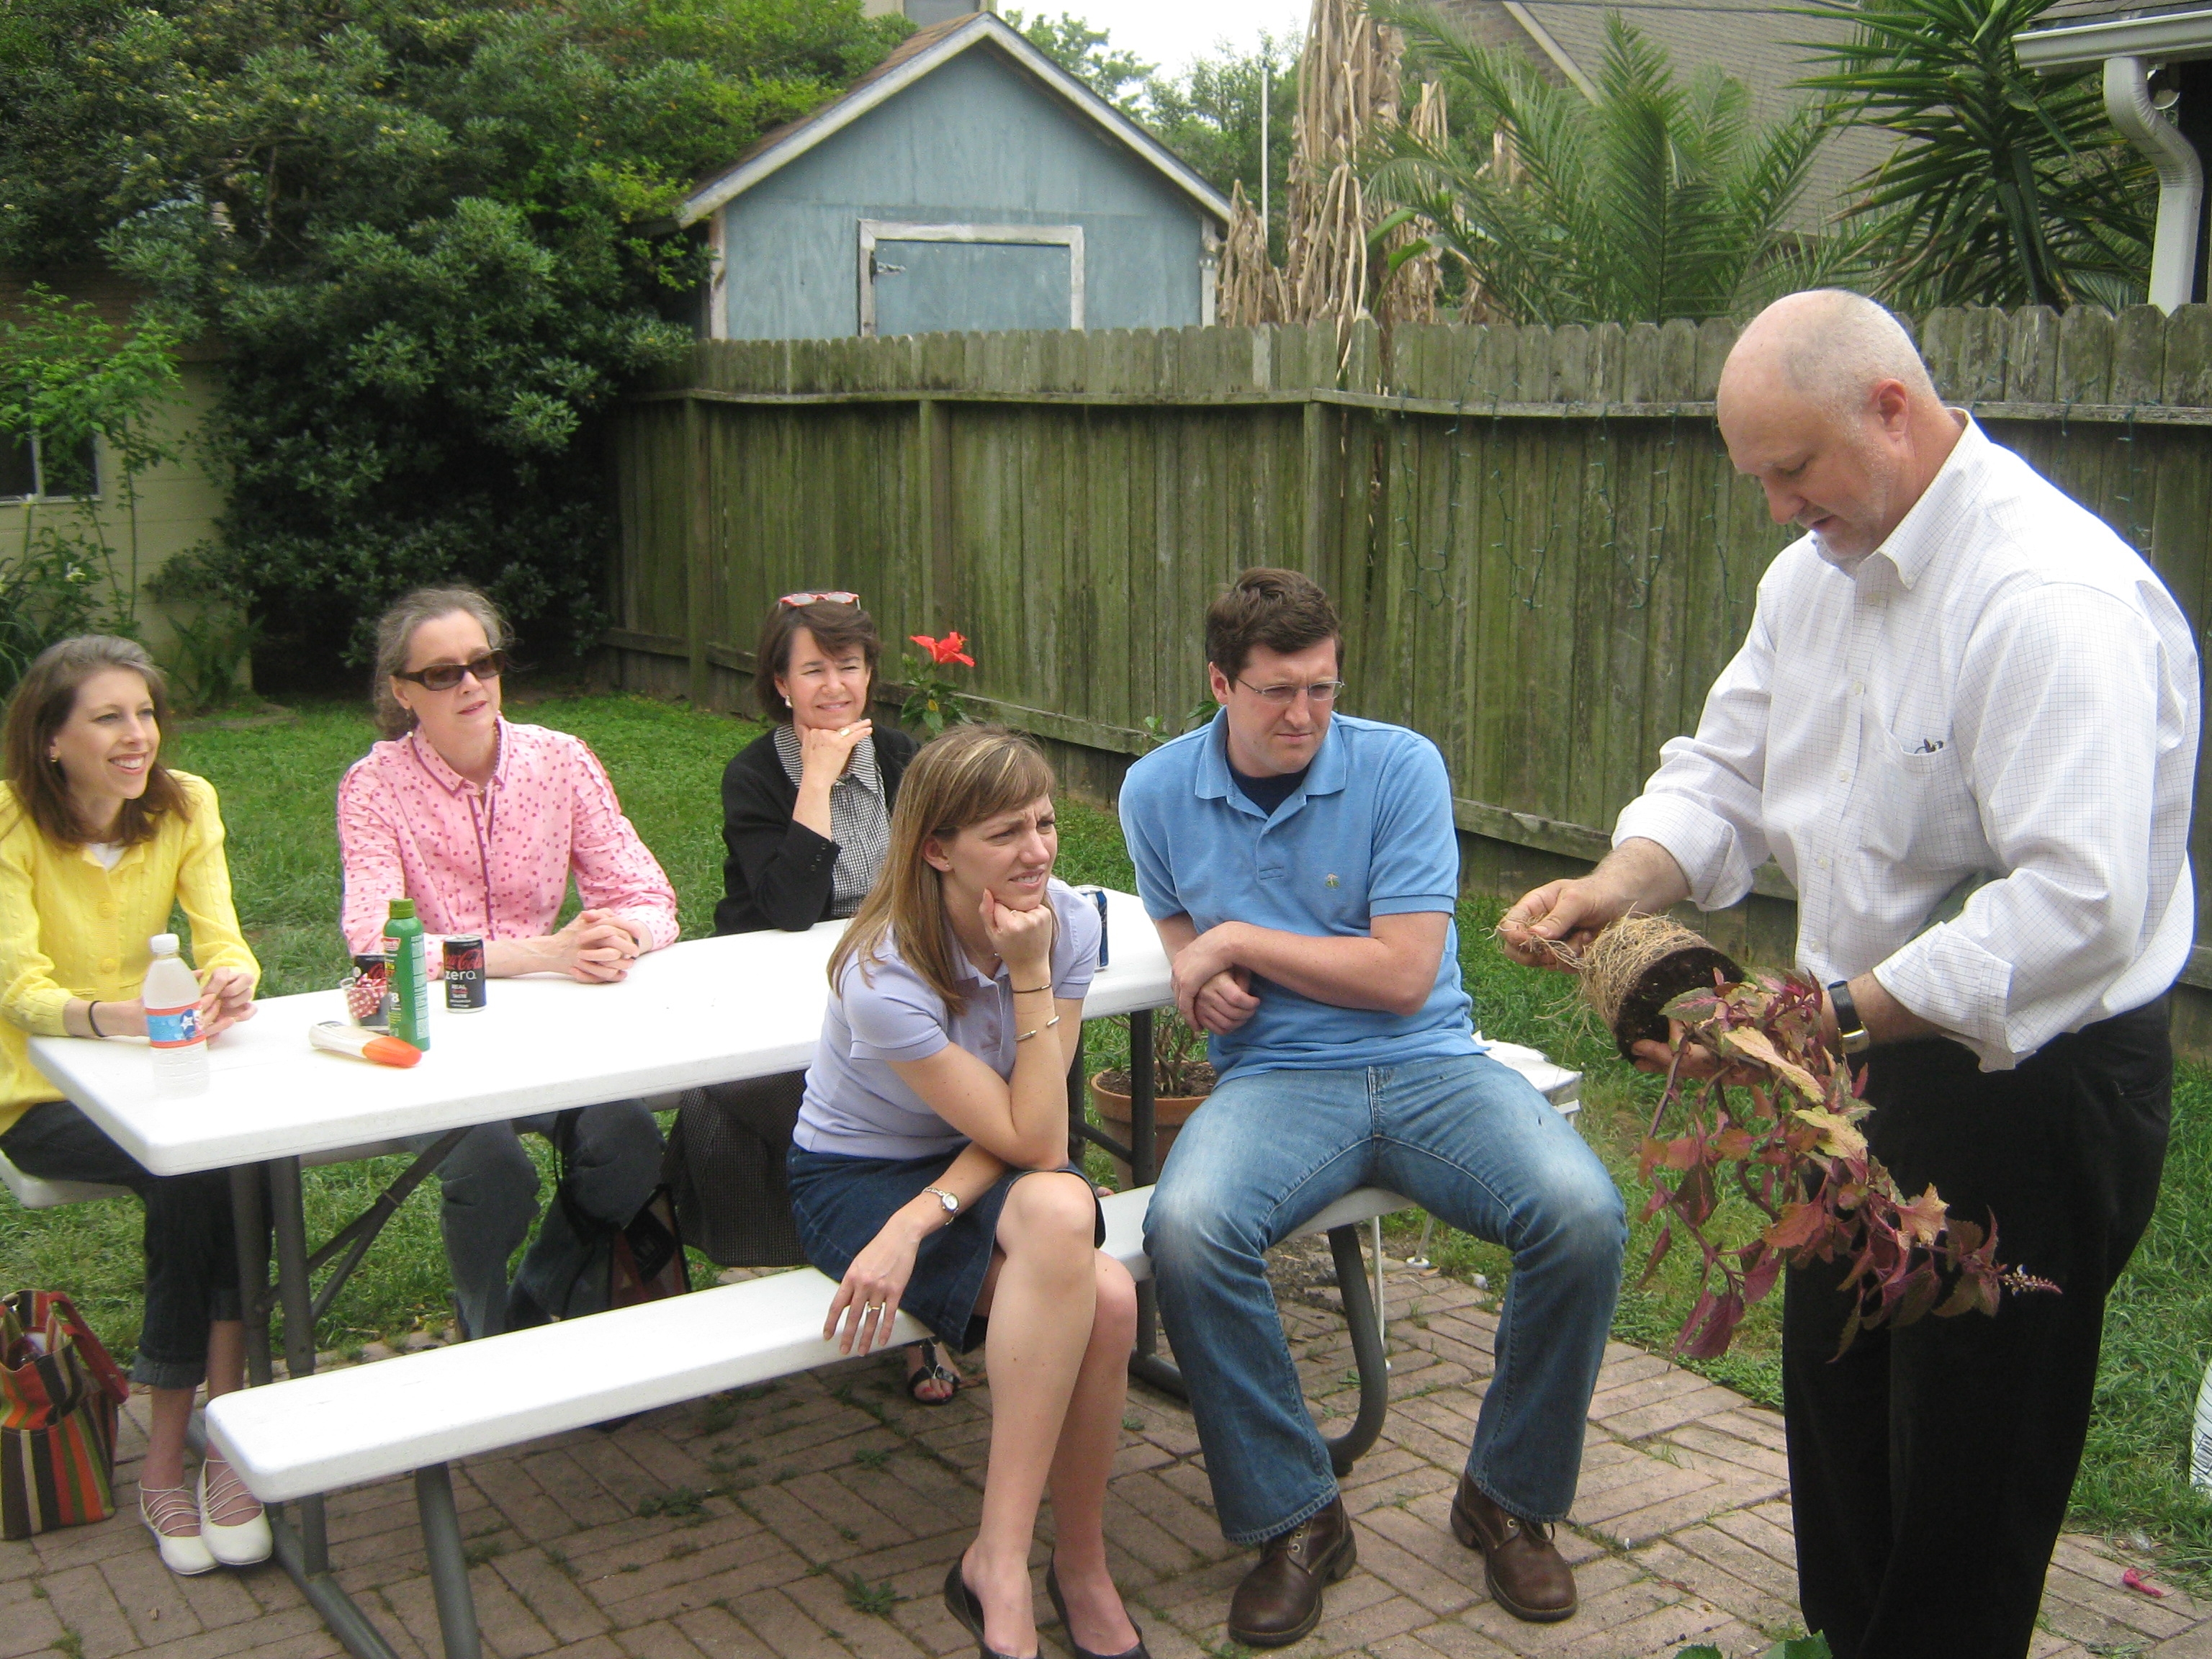
The yupneck explaining the finer points of plant selection

Most of the attendees are recent college graduates that work for non profits (translation-they are still poor), so we also talked quite a bit about plant selection and propagation.  My friends at A&M donated a very large coleus that we proceeded to chop up and turn into about 20 new plants.  Each guest got the opportunity to take cuttings and root them in their own 5” bio-degradable peat pot. 

The betrothed and a large portion of the Education Department of the MFAH. From left to right: Andrew Hoyt, Bridget O'Brien, Lindsey Smith, Sarah Wheeler, Margret Mims and Heather White

All in all, it was a lovely event.  We laughed, we learned and we gardened; a perfect afternoon!  I would like to thank everyone that came and say a special thank you to my daughter for inviting me to participate in this celebration.  Andrew and Bridget, I wish you all the best.  May your life and your garden be bountiful!

Garden Experiments

I love to experiment in my garden.  Every year, I grow something that I have never grown before or I try to grow an old stand-by in a new way.  This year, I am doing both.

My first experiment this year is potato boxes.  I am currently growing white potatoes (Kennebec) and new potatoes (La Soda) in wooden boxes that I “add to” as the potato plants grow.  According to the website that I found (http://www.re-nest.com/re-nest/gardening/how-to-grow-100-pounds-of-potatoes-in-4-square-feet-081760), these 2’ X 2’ boxes can yield about 100 pounds of potatoes each.  While I am a little skeptical of these numbers, I will let you know how accurate that estimate is in a few weeks. 

One of my two potato boxes

The process for this is pretty simple (see the drawing below).  Basically, make four corner posts 33” long ( I used 4X4’s).  Cut two 1X6’s 24” long and two more 25 ½ “ long.  Screw them to the corner posts.  Place your seed potatoes (I used 12 whole potatoes) in the bottom of the box and cover with soil (I used mushroom compost).  As the plants grow, keep covering with soil or compost so that no more than 6” to 12” of plant is showing.  As the planting area gets full of soil, add another row of 1X6’s and continue the process until the box has sides that are 33”.  Once the box is full and plants are coming out of the top, you can remove the bottom layer of 1X6 and harvest as you need. 

 So far, my experiment seems to be working just as it has was described.  The Kennebecs are doing great.  I already have three layers of 1X6 in place and I will probably have to add another this weekend.  The new potatoes had a slow start but they are beginning to take off now.  I can’t wait to finally weigh my harvest and report my results back to you.

 I am also trying an experiment with my tomatoes.  Normally, I plant my tomatoes in my potager.  However, since I have decided to grow mostly herbs and flowers in the potager, I moved my tomatoes to the row garden.  While visiting with my friend Bill Adams, I learned that he grows his tomatoes in pure mushroom compost.  Since Bill is a true Master of Horticulture and the undisputed Tomato King, I decided to follow his lead and do the same thing.   I took my Mantis tiller and dug a furrow about 9” deep.  I then took my tomatoes out of their pots and placed them in the bottom of the furrow.  Next, I back filled with the compost and watered them in.  I am supporting them with a cattle panel and I gave the whole area a thick layer of straw mulch.  So far, everything looks like it is doing great.  I planted the same varieties this year as last so I will have some ability to judge which method did the best.  (Check out Bill’s book “The Texas Tomato Lover’s Handbook –http://www.amazon.com/Handbook-AgriLife-Research-Extension-Service/dp/1603442391). 

In addition to these two “method” experiments, I am  growing three new vegetable varieties this year.  The first are daikon radishes that were given to me by blogging friend “The Gracelss Gaijin”.  Daikon is a staple of Asian cuisine and I can’t wait to try them.  I am also growing “Chinese cucumbers” that were given to me by my friend Emy Chen.  This variety of cucumber is supposed to have a very mild skin that makes it great for slicing.  Can’t wait.  My final “new veggie” for this year is the “Tigger Melon”. 


I got my seeds from Baker Creek Heirloom Seeds (http://rareseeds.com/shop/).  Tigger is a small melon with very sweet, white flesh.  These one pound melons have a great aroma and taste and are perfect for a single serving.  However, the most exciting thing about this melon is it’s orange and yellow stripped skin.  This heirloom has such a cute name and attractive wrapper that my wife had her second graders plant it in their school garden.  Check back in the summer to find out how these experiments went.

Propagating Antique Roses

A sprawling Cherokee Rose at Peckerwood Gardens. Photo by Dr. Bill Welch

Two years ago, I was training for the MS 150 outside of Cat Springs, Texas.  As I turned a corner and started down a long straight path, I saw something very unusual up ahead of me; a cedar tree covered in big white flowers.  Well, I knew that couldn’t be right so I pedal closer.  When I got close enough to be able to tell what I was seeing, I was shocked to discover that the white flowers on the cedar tree were coming from an incredibly large rose-bush.  I am not kidding, this rose-bush had sent out runners that were 30 to 40 feet long.  They were so long that they went all the way up the back of the tree and hung over the front almost down to the ground.  I was excited. 

I wasn’t sure but I thought this lovely, five petaled white rose with the bright yellow stamens was an antique rose called “Cherokee”.  The Cherokee Rose is truly an antique rose.  It has been here so long that some think it originated here.  In fact, the people of Georgia were so certain it was native that they made it their state flower.  I quickly pulled out my pocket knife and took a dozen cuttings.  This is why I love “antique roses”.  You can be on a bike ride in the country, find one, take cuttings with a pocket knife, stick them in your back pack, leave them there for over two hours and still be pretty certain that they are going to root. 

Propagating antique roses from cuttings is a fairly easy process. 

  1.  As a general rule, you should cut new wood that has just finished blooming.  This is usually in the spring but can be in the fall.  The rose is not particular as to where you cut it.  I use sharp shears to make 45 degree cuts to create stems that are about 6″ to 8’’ long.  Leave a few leaves on the stem.
  2. Next, I fill four-inch pots with a good quality garden mix and wet it.  Some people root in pure perlite, but you will need to add a little fertilizer if you go this route.   Most cuttings need two things to be successful: moisture and root aeration.  The perlite provides excellent aeration to the roots.
  3. Stick the cutting in the pot.  Many people like to dip the cuttings in a rooting hormone.  This is your choice.  It can increase your chances of getting the cuttings to take.  However, I am not certain they are necessary.  Roses naturally produce auxins at the cut.  Auxins are hormones that stimulate root production.  I have used both methods and have had success both ways.  Also, some people like to “wound” the cutting at the base.  This involves making little cuts at the base of the stem.  Roots will grow from the wound sites.
  4. Place the well watered pot in a produce bag and seal with a tie wrap.  This will keep the humidity high as the plant roots.  Open the bag every few days and make sure the soil stays moist (not wet). 
  5. Roses love the sun so find a place that is sunny but gives some shade during the hottest part of the day.  Since they are in the bag, it is very easy for them to get over heated.

Propagating plants is undoubtedly my favorite task in the garden.  Roses (especially old varieties) are very tough and very easy to grow from cuttings.  Don’t get too bogged down in the details.  Just go for it!  Remember, many of these antique roses came here in a box of dirt on the back of a covered wagon with mason jars stuck over them.  If they survived that, surely they can survive anything we do to them!

"Use of The Water Feature When Ill With Diarrhea is Prohibited"

Would they write this if there weren't a problem?

Last week, I attended the 2011 National Floriculture Forum.  It was hosted by Texas A&M (Whoop!) at the Dallas Arboretum.  We got a private tour of the gardens by Jimmy Turner.  If you are not familiar with Mr. Turner he is the research director for the Dallas Arboretum and a true “Master of Horticulture”.  Jimmy is an entertaining, engaging and incredibly knowledgeable speaker and we were very lucky to spend the morning with him in his garden.  In fact, he is the one that pointed out the sign that lead to this post.  The Forum was awesome!  I learned so much and met so many talented horticulturists from around the country.  And, what a place to hold it.  The Arboretum was spectacular!  According to Jimmy, they plant half a million bulbs each year for their spring show.  As the following pictures will illustrate, the time, effort and expense of this monumental effort is well worth it.  Hope you enjoy the pics.

Tulips and daffodils at the Dallas Arboretum

One of the four frogs that make up the water feature that you can’t use if you have an upset tummy.  The crape myrtle allee is in the background.

Stunning container plantings featuring pansies (Viloa tricolor) and dusty miller (Senecio cineraria)

The sunken garden

A river of pansies

Yellow tulips and violas.  Notice the pecan hull mulch

Lovely setting in the tulips

More tulips

We ended the evening with a catered meal on the back terrace of the Alex Camp House which is on the grounds of the Dallas Arboretum.  The house was designed by John Staub who also designed Bayou Bend (the Ima Hogg house) in Houston.

Bluebonnet season is here!!!


Bluebonnets and Indian Paintbrushes in the Yupneck's yard. Photo by Ramez Antoun

“The bluebonnet is to Texas what the shamrock is to Ireland, the cherry blossom to Japan, the lily to France, the rose to England and the tulip to Holland.”

That quote from Jack Maguire comes closer to describing the way we Texans feel about our state flower than anything else I have ever read.  The bluebonnet is as much a symbol of Texas as is the Alamo or the Texas flag.   The bluebonnet was selected as our state flower in large part because it is uniquely Texan.  The two most common varieties (Lupinis texensis and Lupinis subcarnosus) grow natively here and nowhere else.  This plant is so well loved that each year, millions of Texans load up their cars with kids and camera equipment and head out into the country.  I truly believe that no one in Texas has ever avoided being photographed in a field of bluebonnets.  
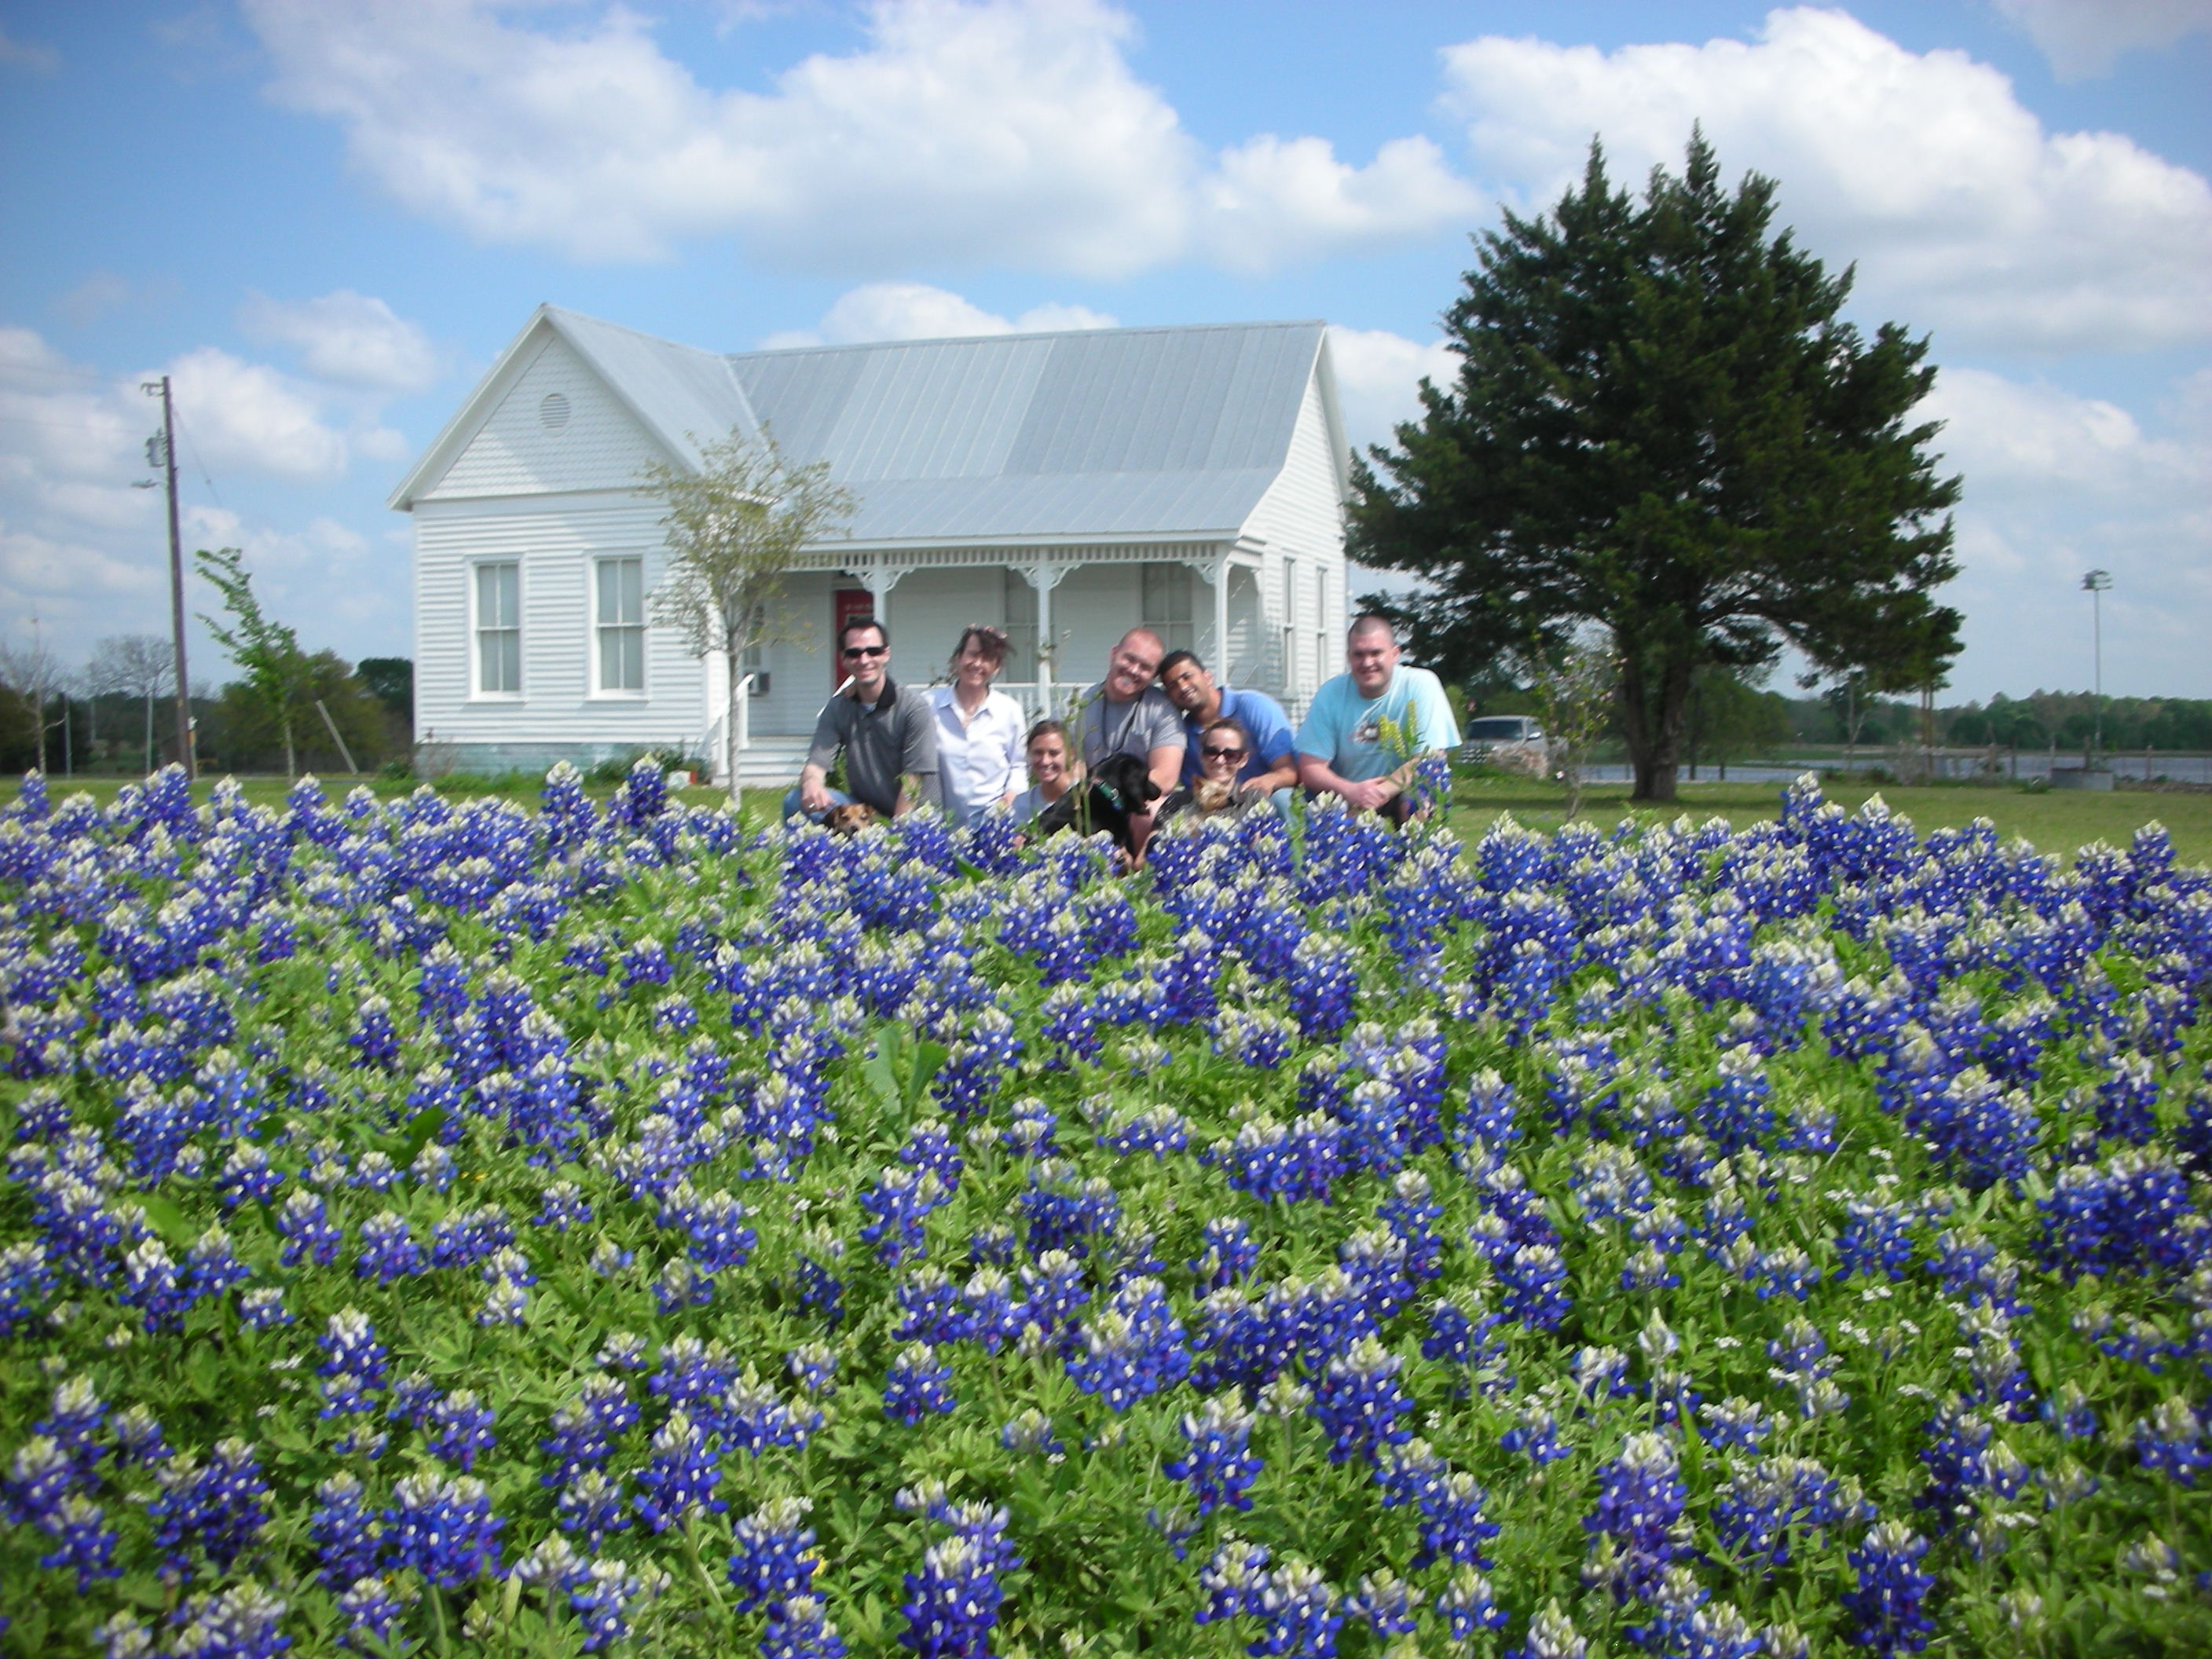
A yupneck family picture in our bluebonnets

I am fortunate enough to live in one of the best bluebonnet counties in Texas.  I live on two long, skinny, Washington county acres.  Because of the shape of my property I have about 600’ of road frontage.  My wife has worked very hard to ensure that every inch of that 600’ is covered in bluebonnets.  I am pleased to say, she has succeeded!  In fact, she has been so successful that we have actually come home and found complete strangers in our yard taking pictures.

The Farmall Cub that I bought to mow the dead bluebonnet foliage

While bluebonnets are definitely the most fabulous native flower ever created, they do have their problems.  Unless you have ever grown bluebonnets you may not be aware of what happens after the blooms fade.  Bluebonnet foliage can grow to about 2’ in height.  After they set seed the foliage and the seed pods begin to dry out and die.  This creates a very unattractive, “weedy” look in the yard.  However, no matter how bad it looks, you cannot mow them until the seed pods “shatter” and release their seeds.  Mow too soon and you will not have bluebonnets next year.  This “weedy” appearance in the yard requires very patient and very understanding neighbors.  Luckily for us, the people of Washington County are serious about their bluebonnets and no one would ever complain about our “seeding” bluebonnets (at least not to our faces).  One the bright side, the dry bluebonnet clumps are so thick and hard they almost ruined our John Deere riding mower.  So, in order to save the John Deere from the bluebonnets, my wife let me buy a 1946 Farmall cub with a shredder to handle this once a year job.

A slightly blurry but very cute picture of my wife in our bluebonnets

If you want some bluebonnets of your own, they are very easy to grow.  Just throw some seeds out in your yard in October or November.  Timing is everything.  They must go out at this time if you want them in the spring.  Bluebonnets have a relatively low germination rate.  So, to increase your success rate, mow your grass very close to the ground before sowing.  Once you have spread the seed, walk around on them and try and ensure that they have good contact with the soil.  Water them in.  After watering, you can forget about them until spring.  Only apply supplemental water if you do not receive average fall and winter rainfall.  Bluebonnets are very drought tolerant (they are a Texas native after all).  Over watering will kill them quicker than anything.

This weekend, my wife and I found the first bluebonnet flower in our yard.  Because of this, I am pleased to announce that Bluebonnet season is here again.  It is time to enjoy some of the best weather and scenery that Texas has to offer.   So, load up your kids, drive out in the country and make your kids endure the same spring rituals that your parents made you endure.  They will thank you later. 

P.S.  Don’t  go onto other people’s property without asking.  If you do, you may get to experience another Texas tradition – shooting trespassers!  Happy Spring Y’all!!!!