Garden Experiments

I love to experiment in my garden.  Every year, I grow something that I have never grown before or I try to grow an old stand-by in a new way.  This year, I am doing both.

My first experiment this year is potato boxes.  I am currently growing white potatoes (Kennebec) and new potatoes (La Soda) in wooden boxes that I “add to” as the potato plants grow.  According to the website that I found (http://www.re-nest.com/re-nest/gardening/how-to-grow-100-pounds-of-potatoes-in-4-square-feet-081760), these 2’ X 2’ boxes can yield about 100 pounds of potatoes each.  While I am a little skeptical of these numbers, I will let you know how accurate that estimate is in a few weeks. 

One of my two potato boxes

The process for this is pretty simple (see the drawing below).  Basically, make four corner posts 33” long ( I used 4X4’s).  Cut two 1X6’s 24” long and two more 25 ½ “ long.  Screw them to the corner posts.  Place your seed potatoes (I used 12 whole potatoes) in the bottom of the box and cover with soil (I used mushroom compost).  As the plants grow, keep covering with soil or compost so that no more than 6” to 12” of plant is showing.  As the planting area gets full of soil, add another row of 1X6’s and continue the process until the box has sides that are 33”.  Once the box is full and plants are coming out of the top, you can remove the bottom layer of 1X6 and harvest as you need. 

 So far, my experiment seems to be working just as it has was described.  The Kennebecs are doing great.  I already have three layers of 1X6 in place and I will probably have to add another this weekend.  The new potatoes had a slow start but they are beginning to take off now.  I can’t wait to finally weigh my harvest and report my results back to you.

 I am also trying an experiment with my tomatoes.  Normally, I plant my tomatoes in my potager.  However, since I have decided to grow mostly herbs and flowers in the potager, I moved my tomatoes to the row garden.  While visiting with my friend Bill Adams, I learned that he grows his tomatoes in pure mushroom compost.  Since Bill is a true Master of Horticulture and the undisputed Tomato King, I decided to follow his lead and do the same thing.   I took my Mantis tiller and dug a furrow about 9” deep.  I then took my tomatoes out of their pots and placed them in the bottom of the furrow.  Next, I back filled with the compost and watered them in.  I am supporting them with a cattle panel and I gave the whole area a thick layer of straw mulch.  So far, everything looks like it is doing great.  I planted the same varieties this year as last so I will have some ability to judge which method did the best.  (Check out Bill’s book “The Texas Tomato Lover’s Handbook –http://www.amazon.com/Handbook-AgriLife-Research-Extension-Service/dp/1603442391). 

In addition to these two “method” experiments, I am  growing three new vegetable varieties this year.  The first are daikon radishes that were given to me by blogging friend “The Gracelss Gaijin”.  Daikon is a staple of Asian cuisine and I can’t wait to try them.  I am also growing “Chinese cucumbers” that were given to me by my friend Emy Chen.  This variety of cucumber is supposed to have a very mild skin that makes it great for slicing.  Can’t wait.  My final “new veggie” for this year is the “Tigger Melon”. 


I got my seeds from Baker Creek Heirloom Seeds (http://rareseeds.com/shop/).  Tigger is a small melon with very sweet, white flesh.  These one pound melons have a great aroma and taste and are perfect for a single serving.  However, the most exciting thing about this melon is it’s orange and yellow stripped skin.  This heirloom has such a cute name and attractive wrapper that my wife had her second graders plant it in their school garden.  Check back in the summer to find out how these experiments went.

Propagating Antique Roses

A sprawling Cherokee Rose at Peckerwood Gardens. Photo by Dr. Bill Welch

Two years ago, I was training for the MS 150 outside of Cat Springs, Texas.  As I turned a corner and started down a long straight path, I saw something very unusual up ahead of me; a cedar tree covered in big white flowers.  Well, I knew that couldn’t be right so I pedal closer.  When I got close enough to be able to tell what I was seeing, I was shocked to discover that the white flowers on the cedar tree were coming from an incredibly large rose-bush.  I am not kidding, this rose-bush had sent out runners that were 30 to 40 feet long.  They were so long that they went all the way up the back of the tree and hung over the front almost down to the ground.  I was excited. 

I wasn’t sure but I thought this lovely, five petaled white rose with the bright yellow stamens was an antique rose called “Cherokee”.  The Cherokee Rose is truly an antique rose.  It has been here so long that some think it originated here.  In fact, the people of Georgia were so certain it was native that they made it their state flower.  I quickly pulled out my pocket knife and took a dozen cuttings.  This is why I love “antique roses”.  You can be on a bike ride in the country, find one, take cuttings with a pocket knife, stick them in your back pack, leave them there for over two hours and still be pretty certain that they are going to root. 

Propagating antique roses from cuttings is a fairly easy process. 

  1.  As a general rule, you should cut new wood that has just finished blooming.  This is usually in the spring but can be in the fall.  The rose is not particular as to where you cut it.  I use sharp shears to make 45 degree cuts to create stems that are about 6″ to 8’’ long.  Leave a few leaves on the stem.
  2. Next, I fill four-inch pots with a good quality garden mix and wet it.  Some people root in pure perlite, but you will need to add a little fertilizer if you go this route.   Most cuttings need two things to be successful: moisture and root aeration.  The perlite provides excellent aeration to the roots.
  3. Stick the cutting in the pot.  Many people like to dip the cuttings in a rooting hormone.  This is your choice.  It can increase your chances of getting the cuttings to take.  However, I am not certain they are necessary.  Roses naturally produce auxins at the cut.  Auxins are hormones that stimulate root production.  I have used both methods and have had success both ways.  Also, some people like to “wound” the cutting at the base.  This involves making little cuts at the base of the stem.  Roots will grow from the wound sites.
  4. Place the well watered pot in a produce bag and seal with a tie wrap.  This will keep the humidity high as the plant roots.  Open the bag every few days and make sure the soil stays moist (not wet). 
  5. Roses love the sun so find a place that is sunny but gives some shade during the hottest part of the day.  Since they are in the bag, it is very easy for them to get over heated.

Propagating plants is undoubtedly my favorite task in the garden.  Roses (especially old varieties) are very tough and very easy to grow from cuttings.  Don’t get too bogged down in the details.  Just go for it!  Remember, many of these antique roses came here in a box of dirt on the back of a covered wagon with mason jars stuck over them.  If they survived that, surely they can survive anything we do to them!

"Use of The Water Feature When Ill With Diarrhea is Prohibited"

Would they write this if there weren't a problem?

Last week, I attended the 2011 National Floriculture Forum.  It was hosted by Texas A&M (Whoop!) at the Dallas Arboretum.  We got a private tour of the gardens by Jimmy Turner.  If you are not familiar with Mr. Turner he is the research director for the Dallas Arboretum and a true “Master of Horticulture”.  Jimmy is an entertaining, engaging and incredibly knowledgeable speaker and we were very lucky to spend the morning with him in his garden.  In fact, he is the one that pointed out the sign that lead to this post.  The Forum was awesome!  I learned so much and met so many talented horticulturists from around the country.  And, what a place to hold it.  The Arboretum was spectacular!  According to Jimmy, they plant half a million bulbs each year for their spring show.  As the following pictures will illustrate, the time, effort and expense of this monumental effort is well worth it.  Hope you enjoy the pics.

Tulips and daffodils at the Dallas Arboretum

One of the four frogs that make up the water feature that you can’t use if you have an upset tummy.  The crape myrtle allee is in the background.

Stunning container plantings featuring pansies (Viloa tricolor) and dusty miller (Senecio cineraria)

The sunken garden

A river of pansies

Yellow tulips and violas.  Notice the pecan hull mulch

Lovely setting in the tulips

More tulips

We ended the evening with a catered meal on the back terrace of the Alex Camp House which is on the grounds of the Dallas Arboretum.  The house was designed by John Staub who also designed Bayou Bend (the Ima Hogg house) in Houston.

Bluebonnet season is here!!!


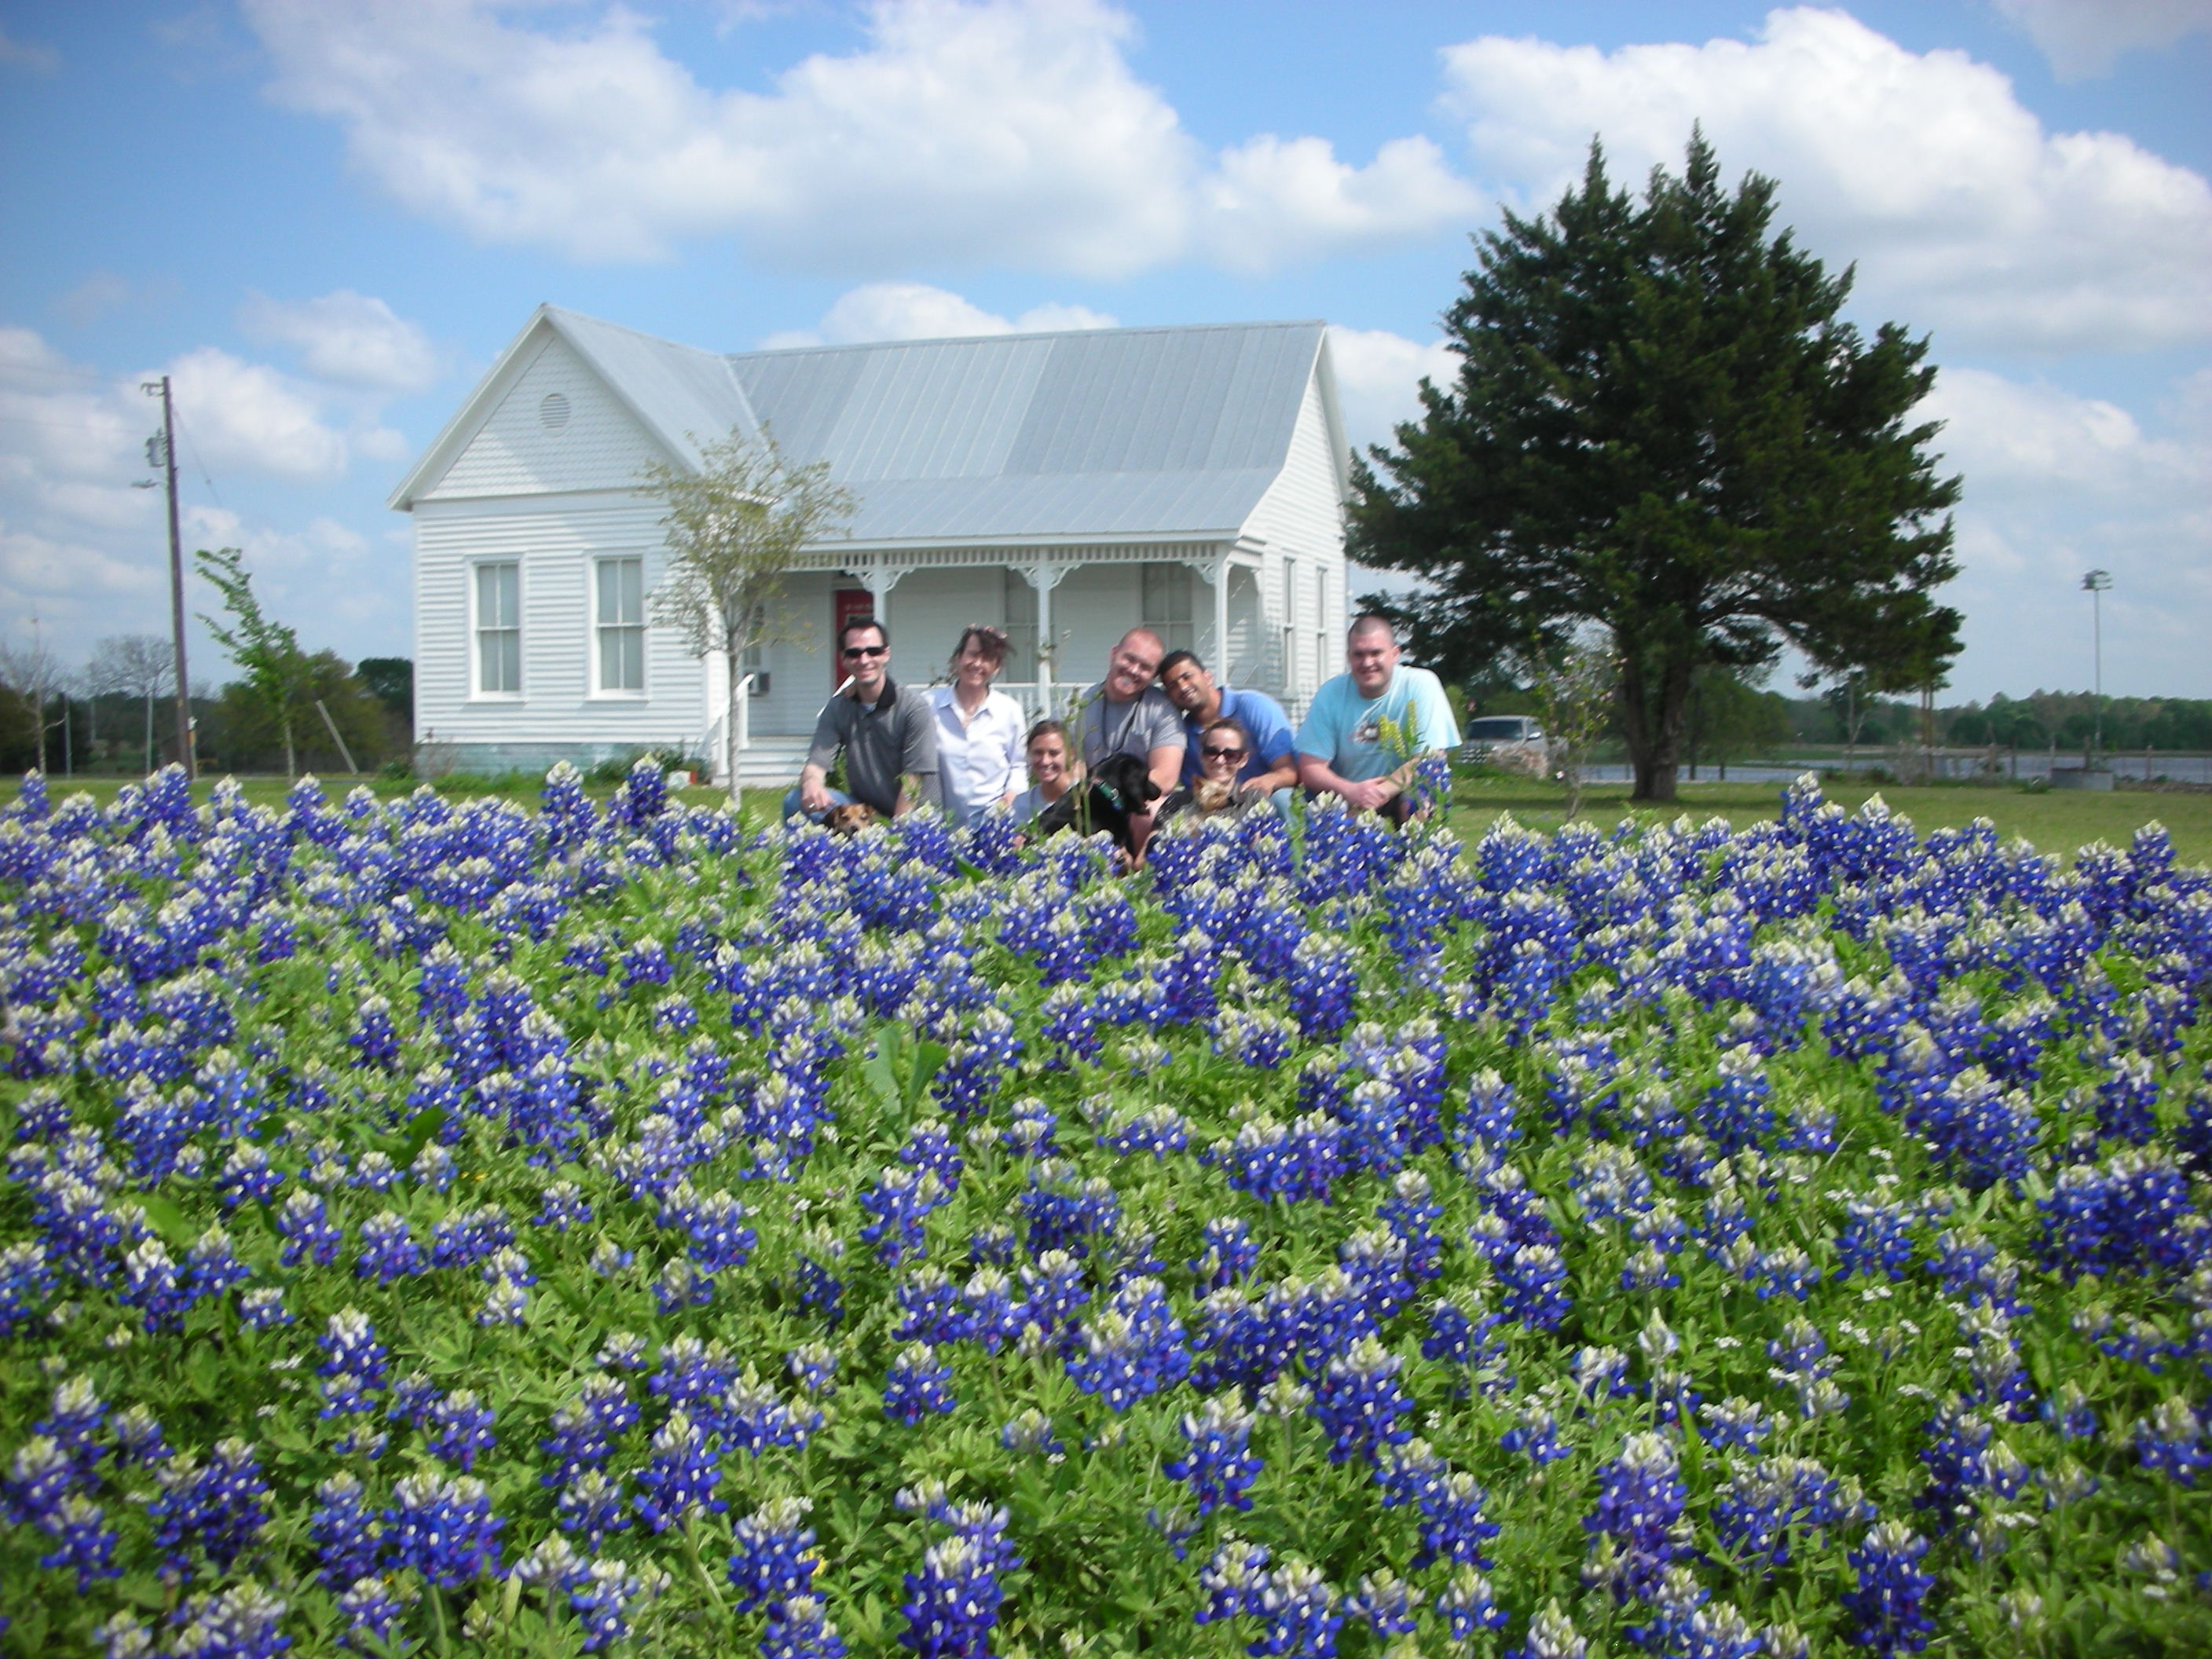
Bluebonnets and Indian Paintbrushes in the Yupneck's yard. Photo by Ramez Antoun

“The bluebonnet is to Texas what the shamrock is to Ireland, the cherry blossom to Japan, the lily to France, the rose to England and the tulip to Holland.”

That quote from Jack Maguire comes closer to describing the way we Texans feel about our state flower than anything else I have ever read.  The bluebonnet is as much a symbol of Texas as is the Alamo or the Texas flag.   The bluebonnet was selected as our state flower in large part because it is uniquely Texan.  The two most common varieties (Lupinis texensis and Lupinis subcarnosus) grow natively here and nowhere else.  This plant is so well loved that each year, millions of Texans load up their cars with kids and camera equipment and head out into the country.  I truly believe that no one in Texas has ever avoided being photographed in a field of bluebonnets.  

A yupneck family picture in our bluebonnets

I am fortunate enough to live in one of the best bluebonnet counties in Texas.  I live on two long, skinny, Washington county acres.  Because of the shape of my property I have about 600’ of road frontage.  My wife has worked very hard to ensure that every inch of that 600’ is covered in bluebonnets.  I am pleased to say, she has succeeded!  In fact, she has been so successful that we have actually come home and found complete strangers in our yard taking pictures.

The Farmall Cub that I bought to mow the dead bluebonnet foliage

While bluebonnets are definitely the most fabulous native flower ever created, they do have their problems.  Unless you have ever grown bluebonnets you may not be aware of what happens after the blooms fade.  Bluebonnet foliage can grow to about 2’ in height.  After they set seed the foliage and the seed pods begin to dry out and die.  This creates a very unattractive, “weedy” look in the yard.  However, no matter how bad it looks, you cannot mow them until the seed pods “shatter” and release their seeds.  Mow too soon and you will not have bluebonnets next year.  This “weedy” appearance in the yard requires very patient and very understanding neighbors.  Luckily for us, the people of Washington County are serious about their bluebonnets and no one would ever complain about our “seeding” bluebonnets (at least not to our faces).  One the bright side, the dry bluebonnet clumps are so thick and hard they almost ruined our John Deere riding mower.  So, in order to save the John Deere from the bluebonnets, my wife let me buy a 1946 Farmall cub with a shredder to handle this once a year job.

A slightly blurry but very cute picture of my wife in our bluebonnets

If you want some bluebonnets of your own, they are very easy to grow.  Just throw some seeds out in your yard in October or November.  Timing is everything.  They must go out at this time if you want them in the spring.  Bluebonnets have a relatively low germination rate.  So, to increase your success rate, mow your grass very close to the ground before sowing.  Once you have spread the seed, walk around on them and try and ensure that they have good contact with the soil.  Water them in.  After watering, you can forget about them until spring.  Only apply supplemental water if you do not receive average fall and winter rainfall.  Bluebonnets are very drought tolerant (they are a Texas native after all).  Over watering will kill them quicker than anything.

This weekend, my wife and I found the first bluebonnet flower in our yard.  Because of this, I am pleased to announce that Bluebonnet season is here again.  It is time to enjoy some of the best weather and scenery that Texas has to offer.   So, load up your kids, drive out in the country and make your kids endure the same spring rituals that your parents made you endure.  They will thank you later. 

P.S.  Don’t  go onto other people’s property without asking.  If you do, you may get to experience another Texas tradition – shooting trespassers!  Happy Spring Y’all!!!!

Texas Redbuds

Here in Central Texas, signs of spring start early.  Daffodils and narcissus begin blooming in early January.  By February, these bulbs have begun to fade and are replaced by the graceful Leucojum.  By March, big green mounds of dark green foliage in yards and pastures remind us that Bluebonnet season will soon be upon us.  Yet, in spite of all of these signs, I never really feel sure that spring has arrived until I see two things in my yard: purple martins and buds developing on my redbud trees.

This lovely redbud was captured by Bruce Leander at the Lady Bird Johnson Wildflower Center

This lovely redbud was captured by Bruce Leander at the Lady Bird Johnson Wildflower Center

The Texas redbud (Cercis canadensis “texensis”) is probably the most loved ornamental native tree in Texas.  The bright magenta flowers burst forth when most of the earth is still grey from winter.  The flowers seem to appear over night.  You can drive past the bare branches of a dormant redbud tree everyday and never notice it.  Then, sometime around the first of March, the flowers arrive in all of their magenta glory.  They are so bright and showy that I am always pleasantly shocked when I see the first redbud of spring.


Redbud in bloom by Bruce Leander

Redbud in bloom by Bruce Leander

Redbuds are small deciduous trees with light grey bark covered in white spots.  They are commonly multi-trunked and rarely exceed 25 feet in height.  They flower in a variety of colors.  In addition to the most common magenta, you can find varieties that bloom deep rose, pink, purple and even white. Redbud leaves have a very distinctive “heart” shape that is dark green and waxy on the top and lighter on the bottom.  The tree produces a flat seed pod in late summer that is attractive to many birds and varmints.  Technically an understory tree, they do well in full sun but do appreciate some afternoon shade.  Their drought tolerance and adaptability to the alkaline soils of Central and South Texas make them an excellent choice for our yards and gardens.

Raindrops on redbud blooms by Bruce Leander

Raindrops on redbud blooms by Bruce Leander

Like fruit trees, it is best to plant redbuds in late winter.  If you are going to buy your tree from a nursery you might wait until early spring when they have bud development so you can be sure of the color you are getting.  Once purchased, the redbud should be planted like all other balled or potted trees.  Dig a hole about twice as wide and the same depth of the root ball.  Back fill and tamp.  Make sure and leave the plant high enough in the hole to keep the root collar exposed.  Water in well and mulch with a 4” to 6” layer of compost.

The blooms of the redbud are a sure indicator that Spring is just around the corner!  Photo by Bruce Leander

The blooms of the redbud are a sure indicator that Spring is just around the corner! Photo by Bruce Leander

Last weekend, several purple martins began to set up house in my back yard.  Seeing this, I immediately went and inspected my redbuds.  Sure enough, they were covered in buds.  Because of this, I am now pleased to announce that winter is officially over.  Why not get in the car this weekend and enjoy the show provided by the redbuds?  I promise, you will be glad you did!

The Bee Queen

My wife and I hiving our first package of bees

In addition to gardening, my wife and I are beekeepers.  At least we try to be.  Our first effort was a lot of fun and we learned a lot.  Unfortunately we did not learn enough to keep the hive alive over the brutal winter.  Since we both enjoyed the bees so much, and we really liked having them in the garden, we decided to try again.  In order to increase our bee’s chances of survival, we decided to get some help.  Last night we attended a meeting of the Central Texas Beekeepers Association. 

The meeting was packed.  We were very excited to see how many people keep bees in our area.  The speaker was McCartney Taylor from Austin (http://learningbeekeeping.com/).  He gave a very interesting talk on top bar hives.  McCartney has the largest YouTube channel about bees on the internet. 

The yupneck and the 2011 Bee Queen, Kaylynn Mansker

Another special visitor was the 2011 Bee Queen, Kaylynn Mansker.  I have to admit, I was not aware that there was an annual Bee Queen.  The Bee Queen is the spokes person for the Texas Beekeepers Association.  The Texas Bee Keepers Association has been serving beekeepers in Texas since 1880.  In addition to promoting bee keeping, the association provides scholarships and sponsors the annual Bee Queen.  In her role, she travels the state and spreads the good word about beekeeping at club meetings, schools and fairs.  Kaylynn was a joy to visit with.  She is very personable, knowledgeable and a great speaker (and who can resist getting their picture made with a pretty girl).  If you want to learn more about bee keeping, the Central Texas Beekeeper’s are hosting their third annual school on March 11 in Brenham.  Here is a link if you are interested in attending: www.centraltexasbeekeepers.org

We also met John and Wendy Rohan.  They are the owners of Rohan Meadery (www.rohanmeadery.com).  Until last night, I did not know what mead was.  Turns out, it is wine made from honey.  Many believe that mead was the first fermentated beverage enjoyed by mankind.  The Rohan’s make and sell small batch artisanal mead from their meadery in La Grange, Texas.  They use local honey that comes from Kenny and Wendy Reed of Bee Wilde Farm in Montgomery, Texas (http://beewilde.com/home1.html).  They also use 100% organic fruit in their flavored meads.  They brought three varieties for tasting and they were all excellent.  We cannot wait to visit the meadery and load up.  If you are in the La Grange area, stop by “The Hive” (their tasting room), take a tour and try their mead.  I promise, you will thank me for telling you about them.

Weed Free-Organically

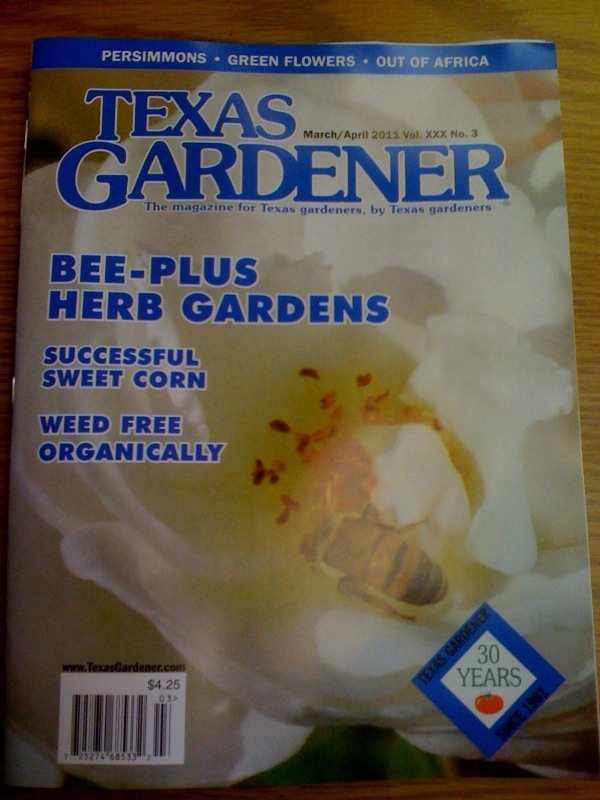
The cover of this month's Texas Gardener magazine. In it you will find my first "published" piece, "Weed Free-Organically".

Well, this is a banner day for the yupneck.  My first published piece came out today in Texas Gardener magazine (http://texasgardener.com/).  My article is entitled “Weed Free-Organically”.  It is a pretty in-depth piece on controlling weeds in your flower beds and vegetable gardens without the use of chemicals.  Of course my wife, kids and mother think it is the best thing they have ever read.  I hope you buy a copy and let me know if you agree with them.  It will be available on news stands by February 28th and also on the web around the same time.

Texas Gardener is the second largest gardening magazine in Texas.  It was started in 1981 by Chris Corby in Waco, Texas.  For thirty years now he has been providing gardening advice to Texas gardeners by Texas gardeners.  Chris has built an impressive stable of very well-respected garden writers.  Their articles provide invaluable tips and tricks for growing things in the wildly variable and difficult Texas climate.  This month, he is doing a special promotion with the garden centers in over two hundred Texas Wal-Marts.  Look for your copy at the check out stand.  You can also find copies wherever magazines are sold.

When I started my master’s degree at A&M, I had no idea what I would do with it.  Thanks to some prodding and encouragement by some very special people, I may have found my niche.  Seeing my work in print is very exciting.  I am humbled to know that some people think that other’s might actually enjoy reading the things I write.  I would like to say a special thanks to my wife.  Without her encouragement, none of this would have happened.   I would also like to thank Cynthia Mueller for asking me to write for HortUpdate (http://aggie-horticulture.tamu.edu/newsletters/hortupdate/).  That first potager piece led to my blog and now this.  Also many thanks to Dr.  Bill Welch and Dr. Doug Welsh for their support and encouragement.  My son-in-law, Ramez Antoun is a very talented photographer.  His photos made this article and my blog come alive.  Thanks Moose!  And finally, thanks to my kids.  You always read what I write.  And even if you think it is boring, you never let it show!  I love you all!

Going Green For God

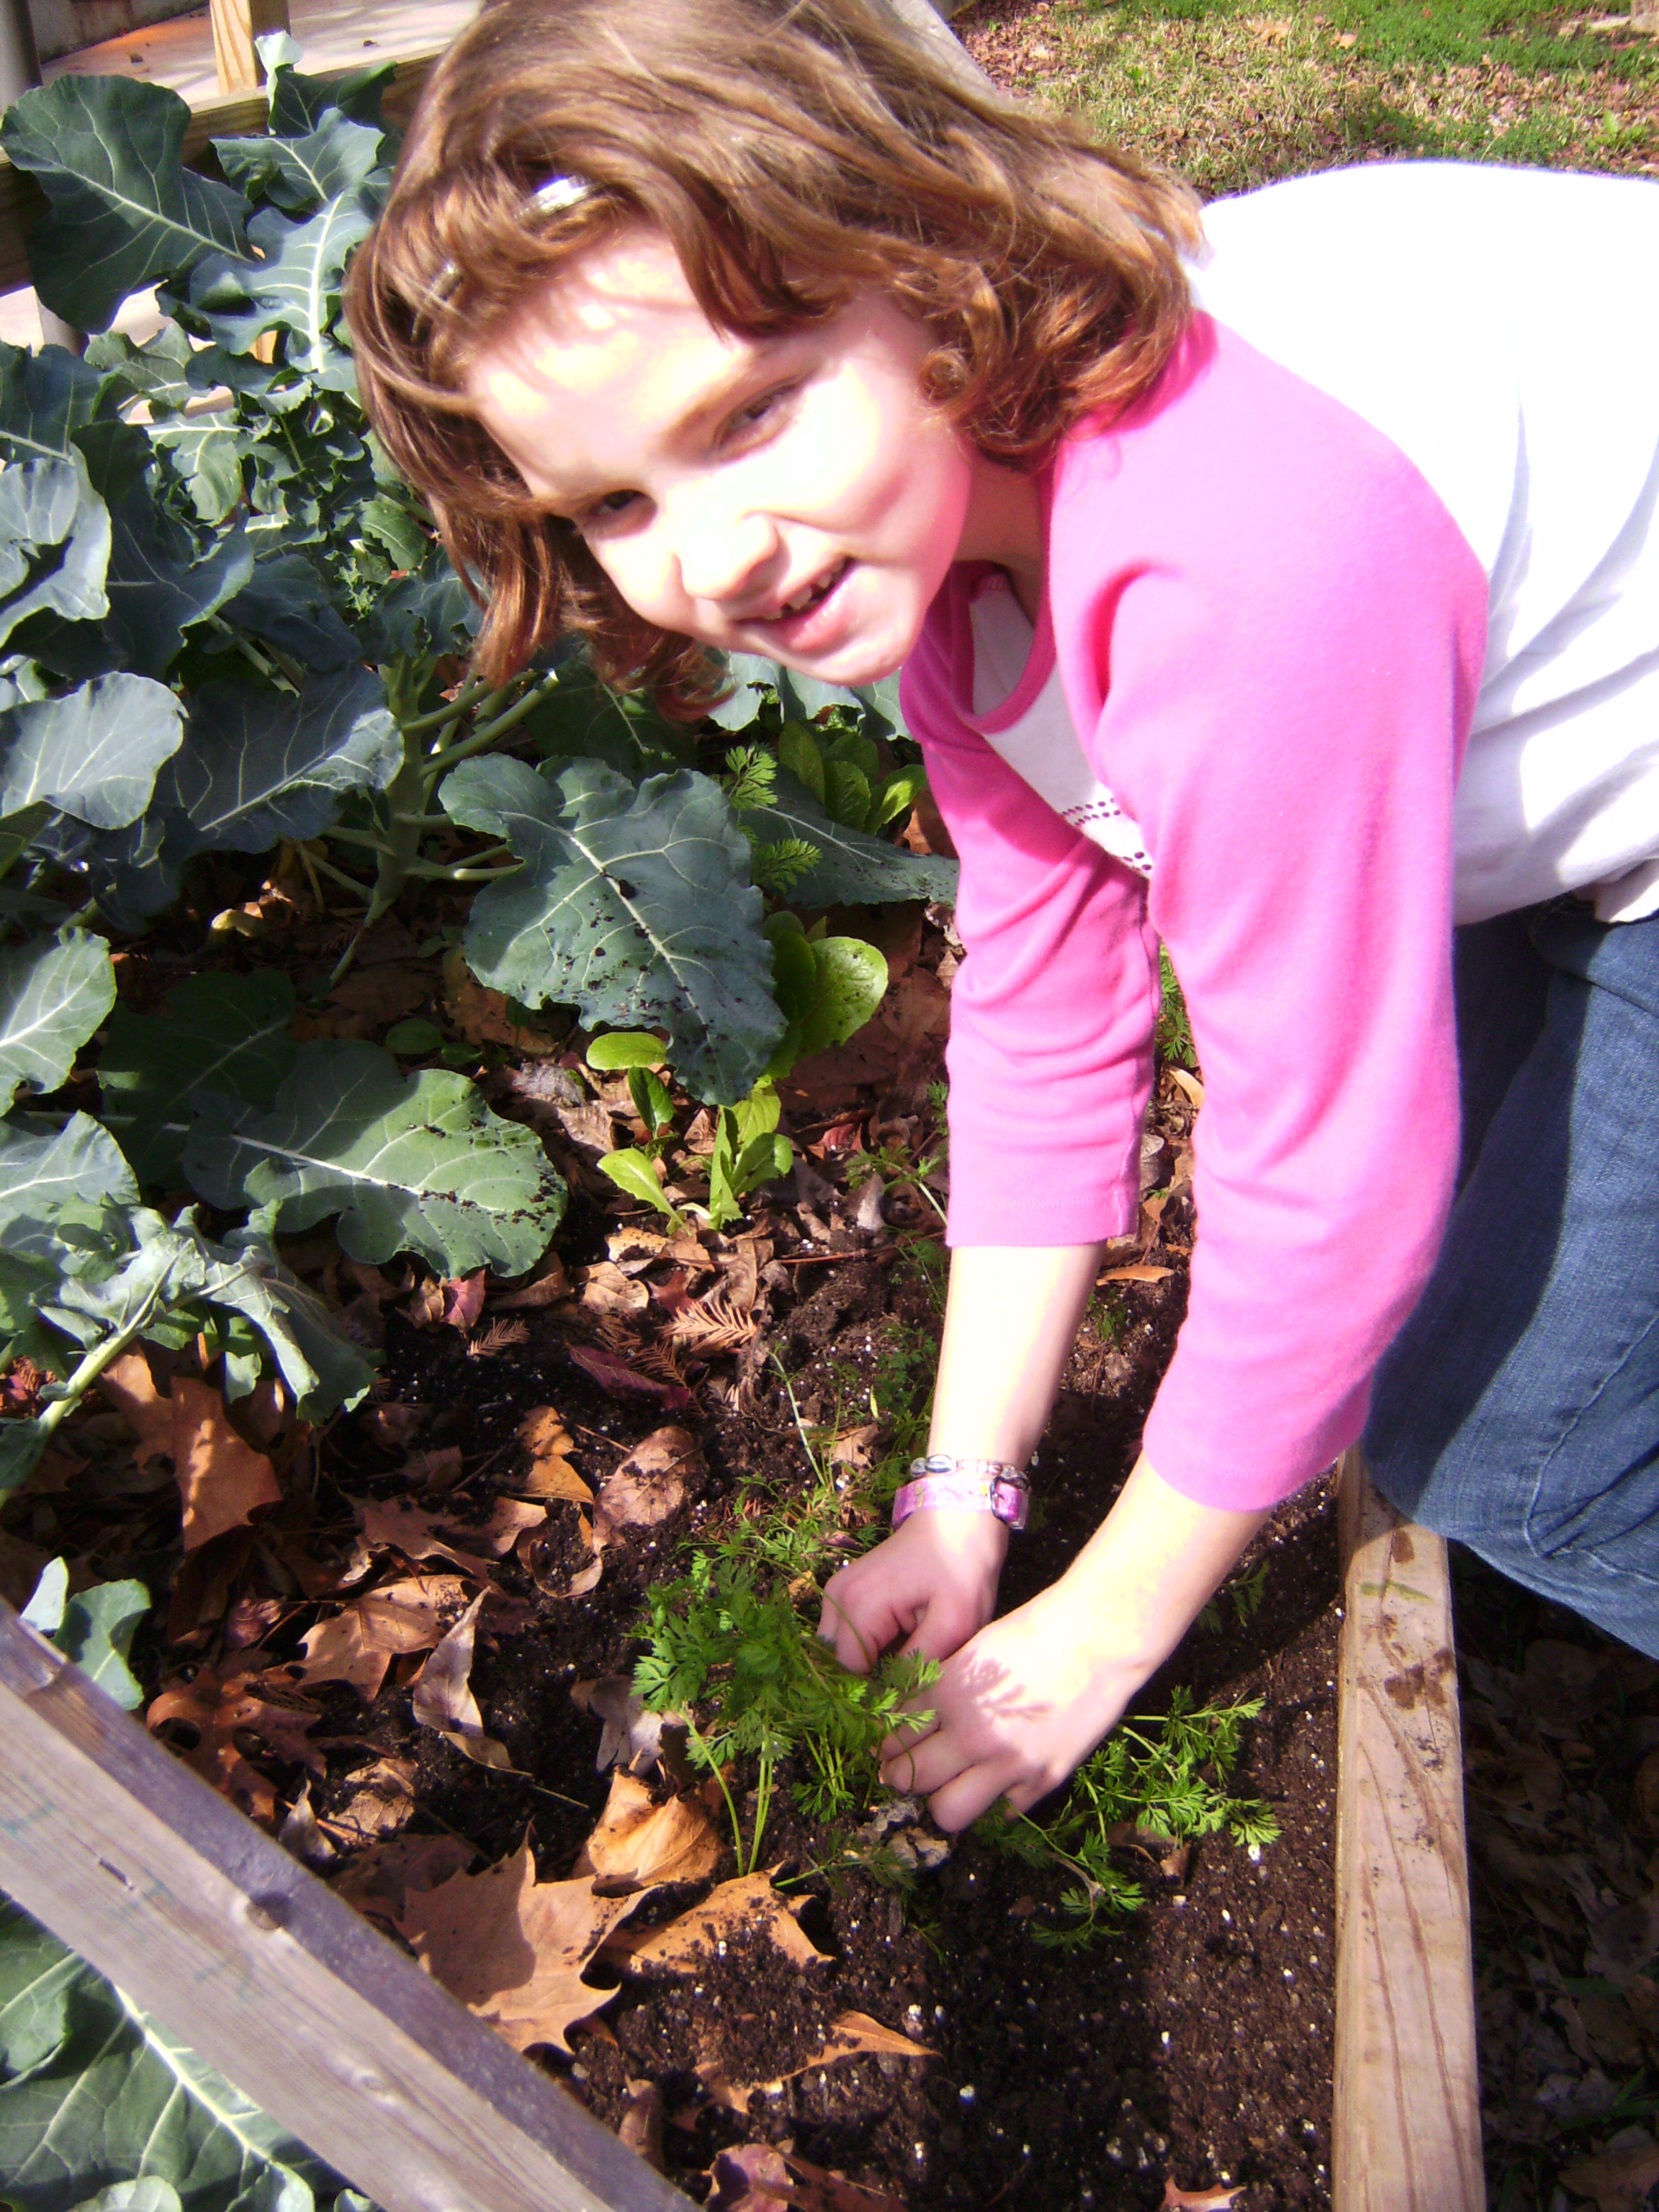
Kate is thinning the carrots in the St. Paul's organic garden

How do you get a bunch of second grade students excited about science?  If you are Sally White, you have them grow an organic vegetable garden.  Sally is the second grade teacher at St. Paul’s Christian Day School in Brenham.  She is also an avid gardener.  Each year, as a part of her science curriculum, she introduces her students to several plant related concepts.  She then uses the hands on experience of the garden to reinforce those concepts.   She calls her program “Going Green for God”.  According to Sally “The kids love getting their hands dirty.  The garden provides a way for me to get their initial interest level up and maintain it through out the year by constant visits to observe and document the changes in the garden.”
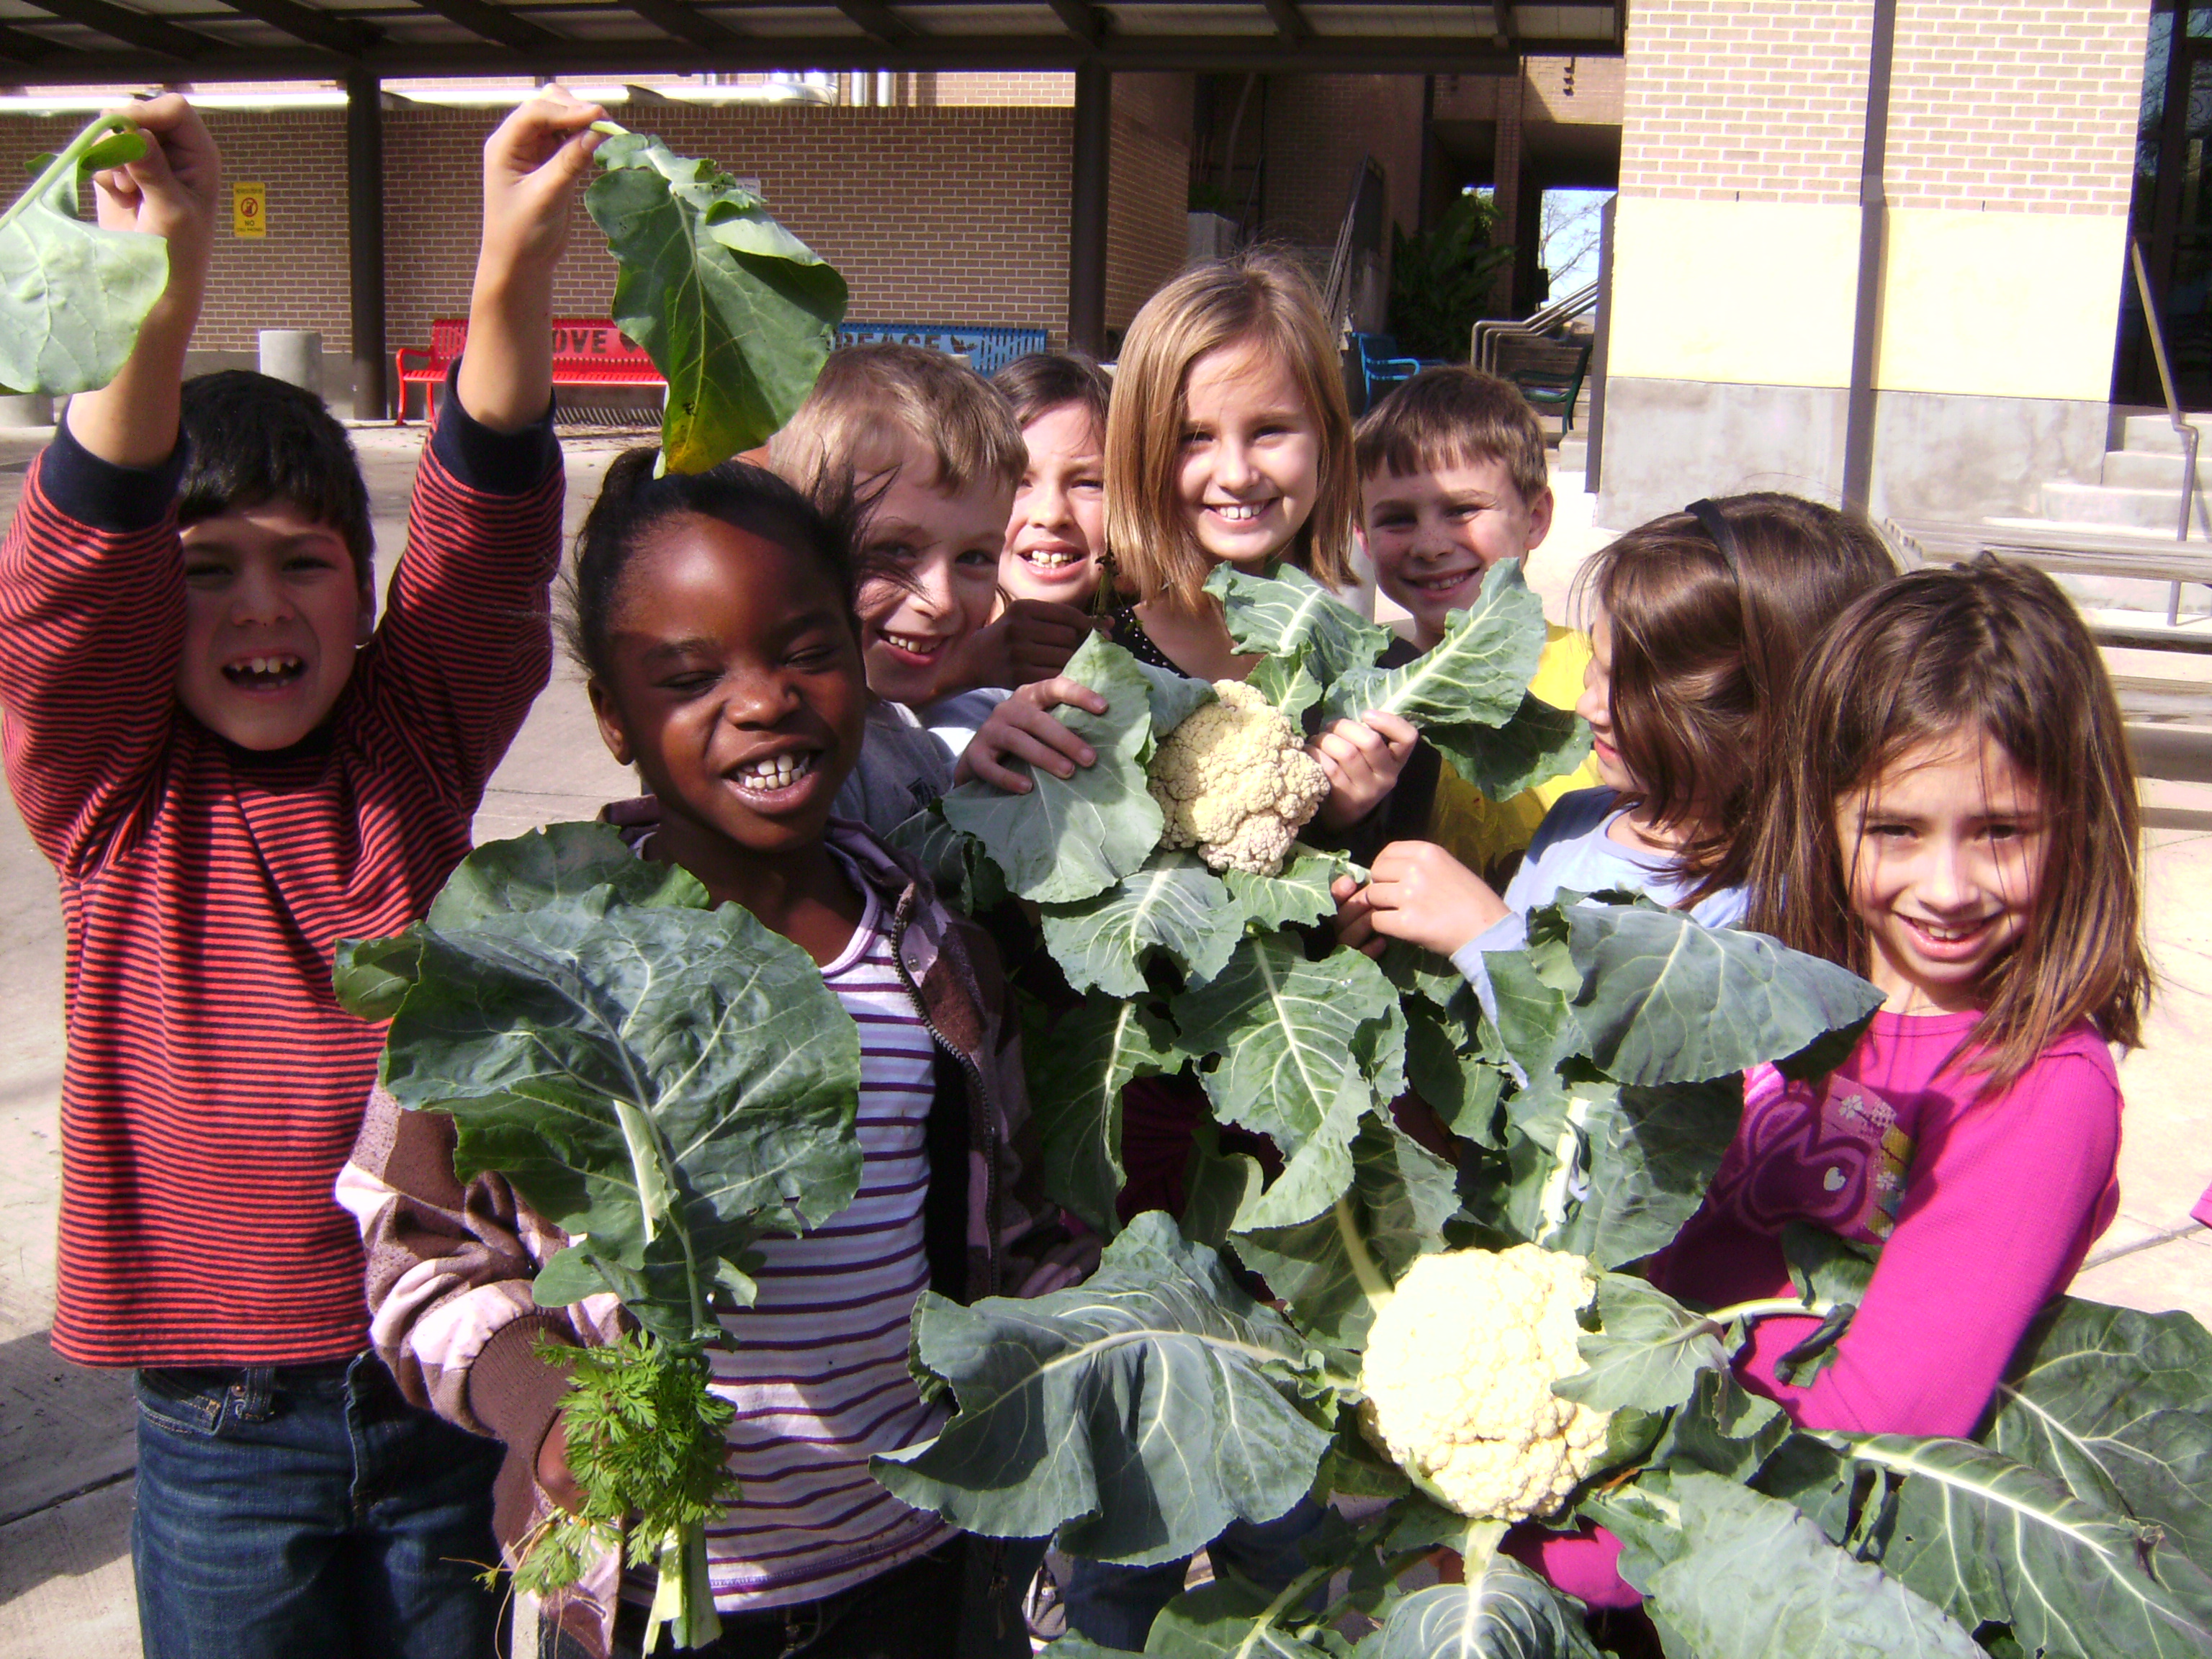
Sally built a raised bed garden at the school based on Mel Barthalomew’s square foot gardening methods.  Her garden is an 8’ X 3’ raised bed with a trellis on the back.  Each year her class plants both a fall and a spring garden.  The kids get to plan their garden by selecting the appropriate plants for the appropriate season.  This exercise in planning reinforces lessons learned about seasonality and helps develop their graphing skills.  The kids are responsible for all of the care of the garden.  They water, compost, weed and harvest. This fall, her class has harvested broccoli, cauliflower, carrots and lettuce.  Spring plantings include carrots, lettuces, cucumbers and tomatoes.  This year, she will be adding potatoes to the mix.

Sally's class harvesting the fall garden

Sally also uses her garden to demonstrate and reinforce the Christian principle of stewardship.  She teaches her students to be good stewards of God’s creation by caring for the garden with organic methods.  Compost is a big part of this.  She teaches kids about the processes involved in making compost and the value that it provides to the soil and ultimately the plants.  Her compost lectures are always a hit.  The kids love the fact that they can make something good out of “cow poo and garbage”!  The compost lesson is reinforced before each planting when the kids add compost to the planting bed to “recharge” their soil.  Good stewardship also means learning to live by the “waste not, want not” motto.  Nothing grown in their garden goes to waste.  The lunch staff often prepares the vegetables for the kids or the kids are allowed to take home the fresh produce.  The greens and foliage go into her compost pile.

Our world is going through a lot of changes right now.  Things like climate change and overpopulation are serious threats to the future of our planet.  Kids across our world are going to grow up in a world that has much fewer certainties than the world their parents grew up in.  By teaching her kids to be concerned, self reliant, good stewards of the earth, she hopes that she is “growing” a huge crop of great kids that will be a positive force on our future.

Bulb Hunting

This past Wednesday, I got a signed copy of Chris Wiesinger’s new book “Heirloom Bulbs for Today” from my friend Dr. Bill Welch.  Chris is the owner of the Southern Bulb Company and a true “Master of Horticulture”.  Since graduating from A&M he has quickly established himself as the leading expert on Southern heirloom bulbs.  His book is packed full of useful information about many of the heirloom bulbs that do really well in Texas and the Gulf South.  This lovely book is as entertaining as it is useful.  It is full of wonderful anecdotes about his bulb hunting expeditions. The photographs and illustrations are both beautiful and a great source for identifying the things you may dig up from time to time.  The text also gives you all of the information you need to harvest, plant and care for these living heirlooms.  If you are interested, you can find it on Amazon.  Here is the link: http://www.amazon.com/Heirloom-Bulbs-Chris-Wiesinger/dp/193397995X

Grand Primos and Crinums at the Hueske Homestead

The timing of this book was very apropos.  Two days after receiving it, the weather was a balmy 74 degrees and I had the day off.  So, I decided to do a little bulb hunting of my own.  My wife and I are friends with a wonderful and generous woman that is the owner of an abandoned homestead. This place was the home of two sisters for almost 100 years.  Both were born in the house that still stands on the site.  The sisters were avid gardeners who loved and nurtured this piece of property for almost 80 years.  Their love of growing things is evidenced by the thousands of bulbs and corms that still bloom year round at the abandoned site.  Thanks to the generosity of my friend, I am able to go to the home site periodically and harvest bulbs.

Crinums around an old bird bath

I really cannot convey in words how many bulbs there are at this house.  Each time I visit I swear there are more bulbs there than when I last visited.  The choice is never what to harvest, it is always how much to harvest.  Today I made it easy on myself.  I brought a wheelbarrow and told myself that when it was full I would quit.

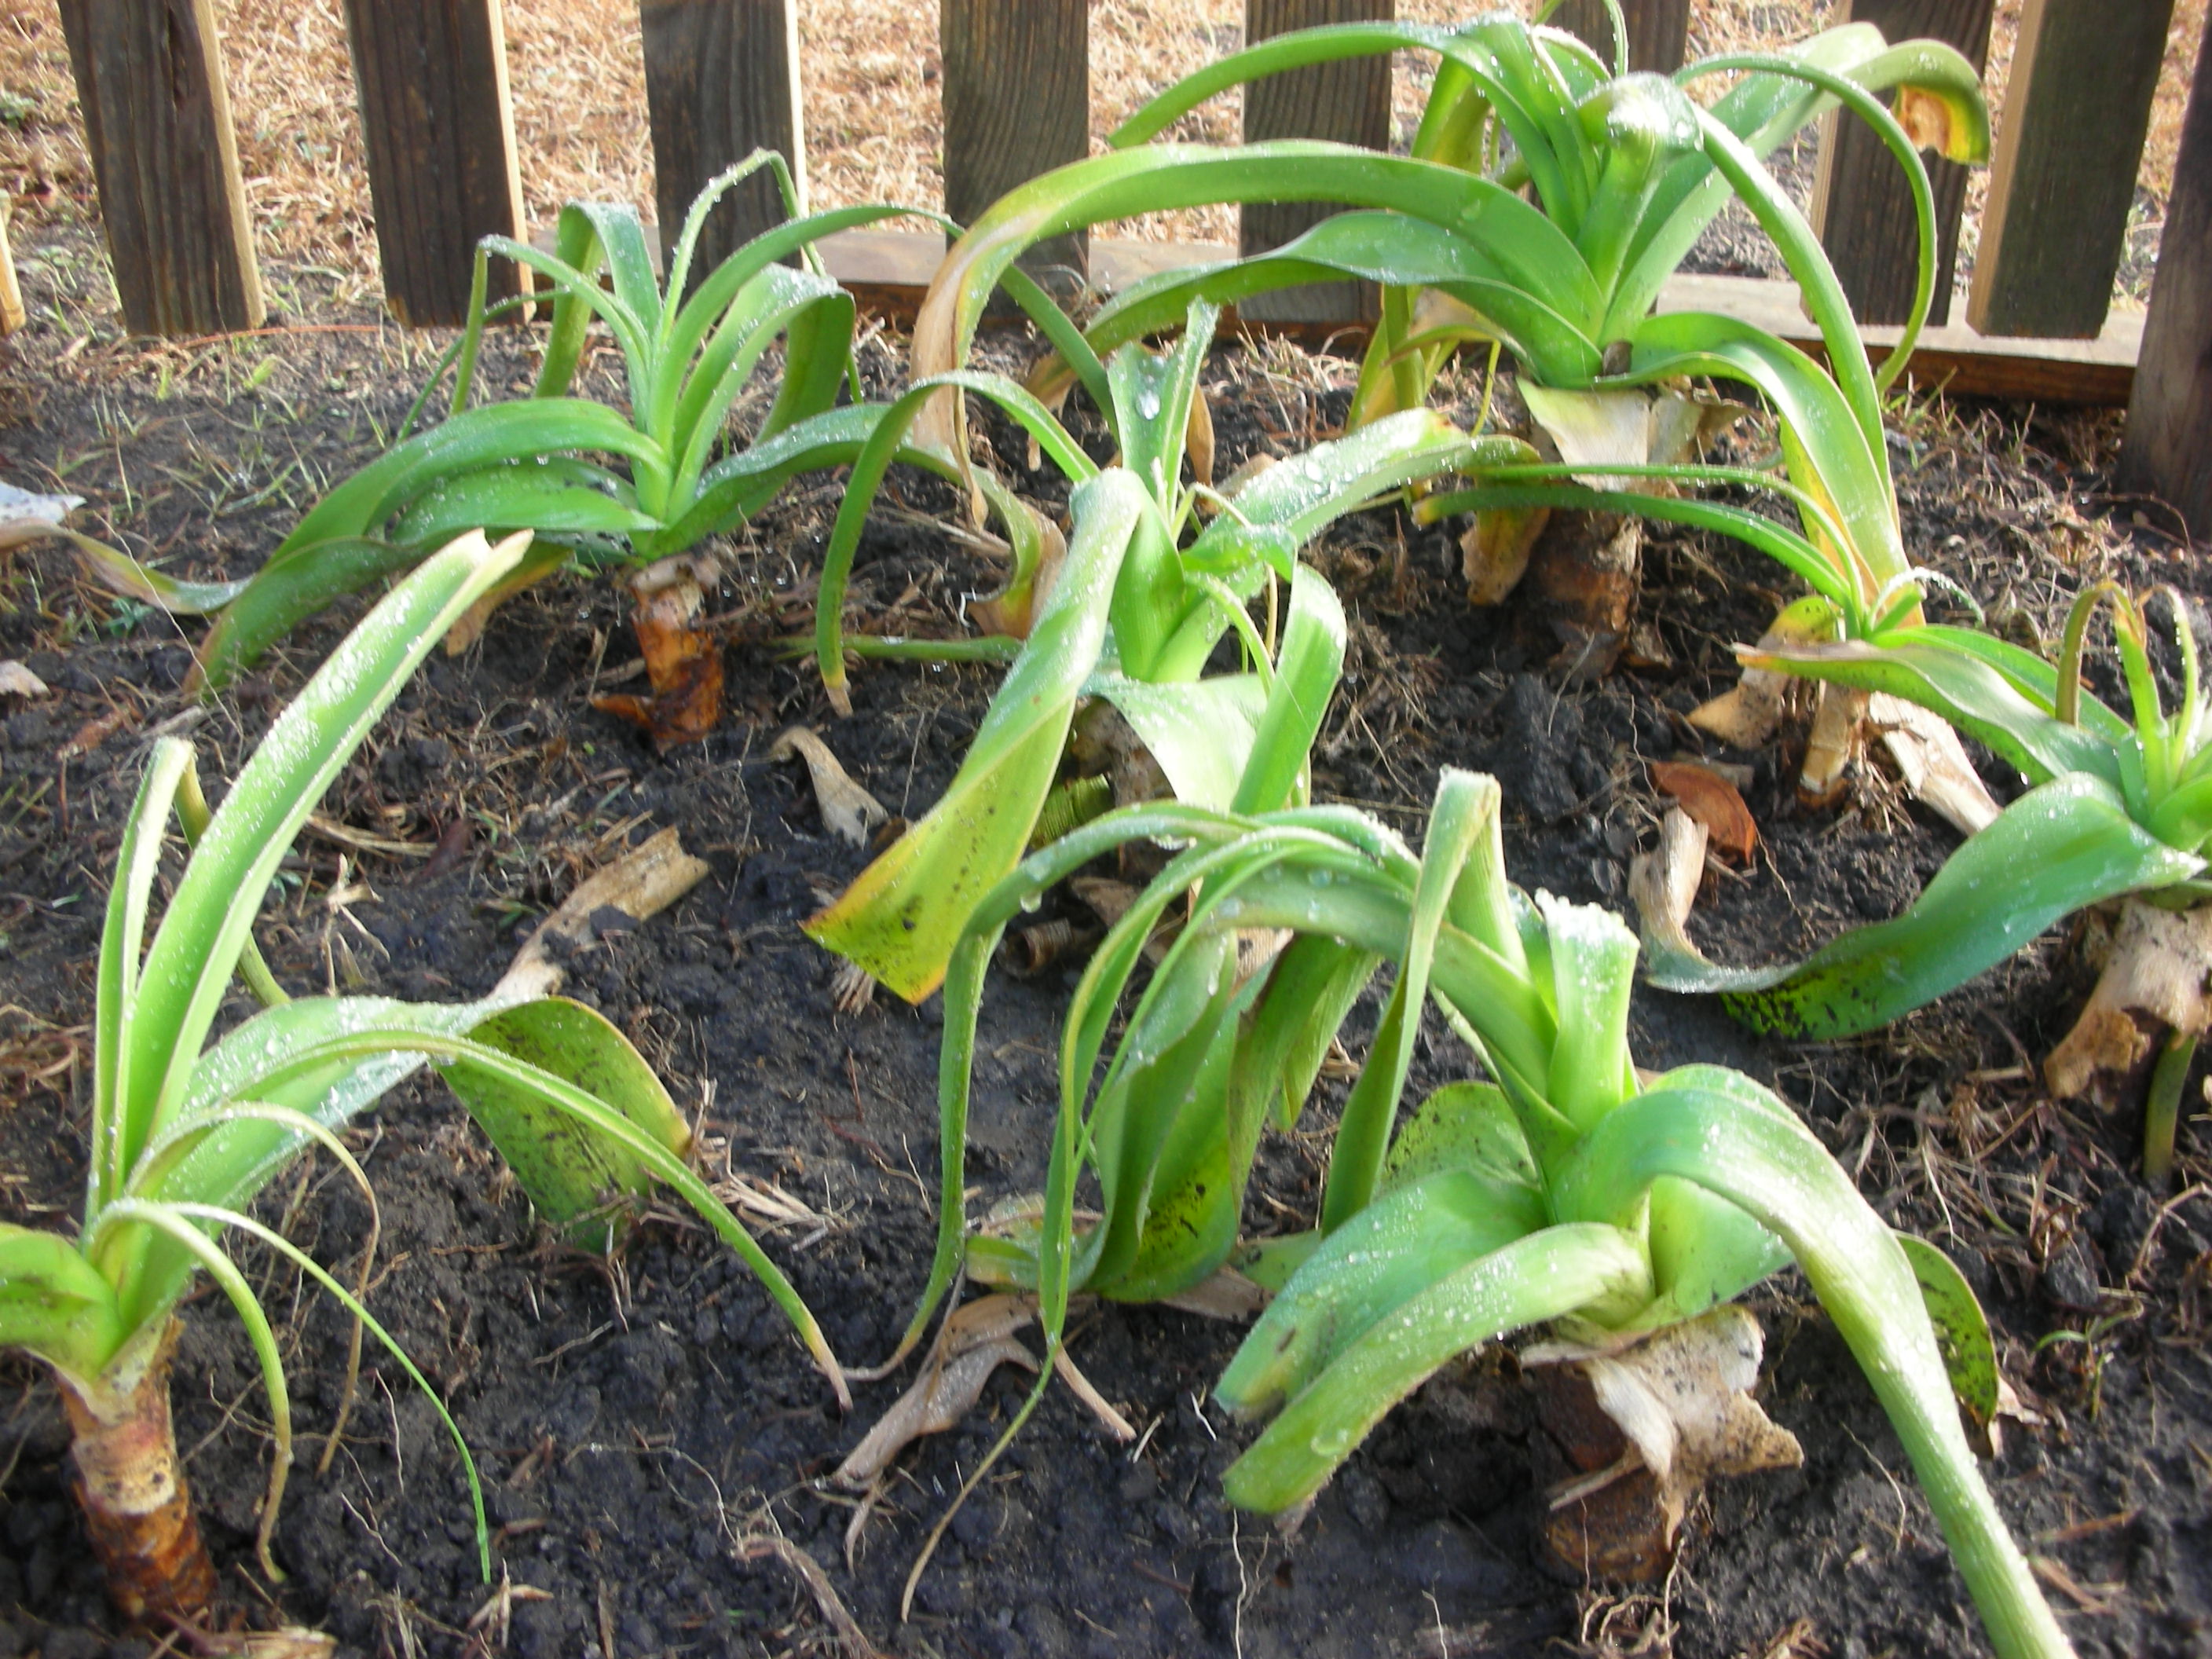
Upon my arrival, I stepped inside the gate and started digging.  The soil here is the most beautiful soil that I have ever found.  80 years of care can truly do wonders.  My shovel easily slid into this beautiful loam.  As I dug, I actually felt sorry for the bulbs that were going to have to leave this wonderful place for the hard black clay of my house.  Each turn of the shovel revealed clumps and clumps of bulbs.   After about an hour, I had harvested about 100 Grand Primo narcissus (Narcissus tazette ‘Grand Primo’) and an equal number of Oxblood Lilies (Rhodophiala bifida).  I also harvested about 50 crinums of an unknown variety. 

Time to go home

It is not really the optimal time to be gathering any of these bulbs. However, I have to harvest when my busy schedule allows.  The good thing about most of these old fashioned varieties is their hardiness.  Even though there are “better times” of the year to harvest them, you can realistically gather bulbs any time of the year.  The worst thing that usually happens if you harvest out of season is they do not bloom the first season they are transplanted.  That is a price I am willing to pay for the access to these living heirlooms. 

Harvesting

Like I mentioned before, there is definitely a right time to harvest bulbs.  For best results, you want to harvest (or divide) bulbs after their foliage has all died back.  This happens at different time for different bulbs. Grand Primo will bloom in late January and early February in our part of the world.  However, the foliage will stay bushy and green until June in some cases.  Bulbs need this foliage to stay in place as long as possible.  The foliage does the photosynthesis for the plant which the bulb then stores to produce next year’s blooms.  Spider Lilies (Lycoris  radiata) and  Oxblood Lilies (Rhodophiala bifida) are fall blooming bulbs that produce foliage that stays green for up to six months.  Because of this, it is a good idea to mark these bulbs so you will remember what you are digging when the time comes.

Dividing

Oxbloods and Grand Primos divided and ready to plant

When you dig up your bulbs, you want to be careful and not cut them.  For that reason, dig at least six inches away from the dead clump.  I stick the entire blade of my shovel into the soil on an angle toward the bulbs.  I do this all the way around the clump.  This creates a bowl shaped hole.  Next, turn over the bowl shaped mound of dirt and start removing the soil.  You will find the bulbs in clumps.  Carefully separate the bulbs with your hands.  Try to preserve as many root as you can and discard any bulbs that are soft or damaged.

At this point you have a choice.  You can replant them immediately or you can dry and store them.  I always replant immediately.  However, if you want to save them then spread them out in the sun for a few days.  After they are dry, store them in any permeable bag.  You will want to keep them in a cool, dark, dry place until you are ready to replant or share them.

Planting

Crinums from the Hueske Homestead replanted in one of my beds

Heirloom bulbs are not too particular about how they are planted.  Basically, just get them in the ground deep enough to cover them.  One rule of thumb says that they should not be planted deeper than three bulb heights.  Corms (like iris and gladiolas) should not be planted as deep.  In fact, a lot of irises like to have the tops of their corms left exposed.  Also, some bulbs like byzantine gladiolas can be difficult to determine which end is up.  If that is the case, simply plant it sideways.

Nothing is more rewarding to me in the garden than growing things that have been shared with me.  My grand parents were all gone before I was old enough to take things from their gardens to remind me of them in mine.  However, thanks to the generosity of people I can still grow things from past gardeners who loved their plants as much as I love mine.  I am so happy to be the care taker of these heirloom bulbs that have now been passed down from two gardeners of another time to me.  I will think of these charming ladies each spring, summer and fall when the bulbs they enjoyed so long ago burst forth and brighten the time that I have left on this wonderful planet.

Fig Facts

My newly planted Alma Fig

The sad little twig that you see on the left will soon grow up to be an Alma fig tree.  A friend of mine propagated it and several other varieties and then handed them out to his friends.  Thanks Tim.  I love receiving “pass along” plants.

Botanically speaking, figs are members of the ficus family.  Some research shows that they have been in cultivation in the Mediterranean area for over 4000 years.  The first figs grown in the U.S. were brought to Florida by the Spanish around 1575.  Franciscan missionaries took the fig to California where the first orchards were developed in present day San Diego.  Those early orchards were comprised of “Mission” figs.  Mission is still one of the most popular varieties in cultivation today.

Figs have been grown in the South for as long as there has been a South.  When I was a kid, everyone’s grand mother had at least one growing in their yard.  One of my favorite childhood memories is sitting at the chrome and formica kitchen table in Streetman, Texas sipping hot tea out of a saucer while eating toast and fig preserves with my Pa and MaMomma.  To this day, I think of them every time I see a fig or a jar of preserves.

My wife's alma fig preserves

Figs are very easy to grow.  They grow as well in clay as they do in sand and they can tolerate that scorching Texas heat.  Plus, they are relatively easy to care for.  They don’t need to be sprayed and they don’t need commercial fertilization.  Feed your fig by constant mulching or with a top dressing of prepared compost.  Too much nitrogen will make figs split on the tree and will cause the fruit to have a watered down taste.  Figs can take some drought but they do like frequent water.  A large fig bush should be given about 10 gallons of water per week during the really hot months.

Alma is a relatively new variety that was created by the Texas Agricultural Experiment Station in 1974.  It is a very tasty fig in a rather unattractive wrapper.  The figs tend to develop dark spots on their skins as they ripen that some say resembles a bacterial infection.  Regardless, the lovely amber colored flesh is very tasty.  It is great raw and it is well suited for canning.

Alma figs ready for canning. Note the dark brown blotches on the skin

Alma has a vigorous growth habit and it is an early producer.  It is not uncommon to get a nice crop from your first year’s growth.  Alma is not a closed eye fig.  However, it does develop a thick resin covering that keeps the dried fruit beetle at bay.  This greatly reduces the threat of on the tree souring.  Alma is a little frost sensitive and should not be planted more than 200 miles from the Gulf of Mexico.

Figs are relatively easy to propagate from cuttings.  Simply take stem cuttings from one year old growth during the dormant season.  Some people recommend treating with a rooting hormone and letting the cutting scab over before planting.  However, lots of old timers say you can just cut them and then plant them and they will be fine.  Figs can send up suckers from the ground level and these can be used as cuttings.  However, remember that figs are very susceptible to nematodes and cutting suckers is a good way to spread this problem.  Just a little FYI on nematodes.  They don’t like black clay.  So, if you are in area of clay soils, then nematodes will not be as big a concern. 

Figs can be pruned to grow like a tree.  However, this makes them a little more susceptible to freezing.  Unless you live on the coast, grow your fig into a bush.  The bushing habit will protect it from freezes.  If it does suffer some damage from a hard freeze, cut out the damaged wood in late winter or early spring.  Also, if you have a mature fig and it seems to be producing less and less each year, take your shears and open it up.  This will encourage both growth and fruit production.