The Potato Box Experiment Is A Complete Failure

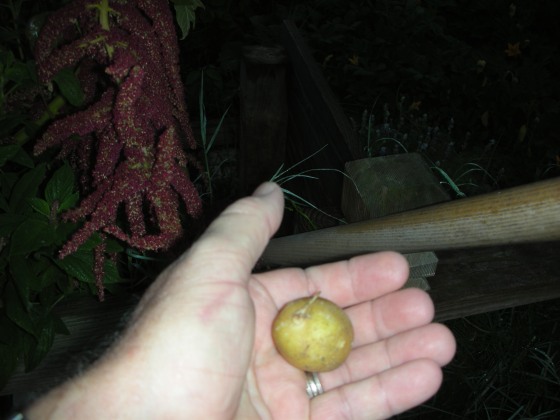
This is what failure looks like. Out of two large potato boxes, this is all I got.

Well, all of the foliage of the potatoes in my potato box died so I decided to take the boxes apart and harvest my 200 lbs of potatoes.   Imagine my shock when I took the sides down from the box growing the red La Soda’s and found — NOTHING!!!  That is right, nothing.  Not a single little potato.  So, much discouraged, I proceeded to take apart the box containing the white Keenebec’s.  I was relieved to discover that this box was not a total failure.  I found one tiny little potato, smaller than a ping pong ball.  So, I am calling both boxes failures. 

I don’t yet know what went wrong.  I followed the instructions that I found on the web very carefully.  I spent quite a bit of time, effort and money on this and it was a complete and total disaster.  I will be doing some research to see if I can get to the bottom of this mystery.

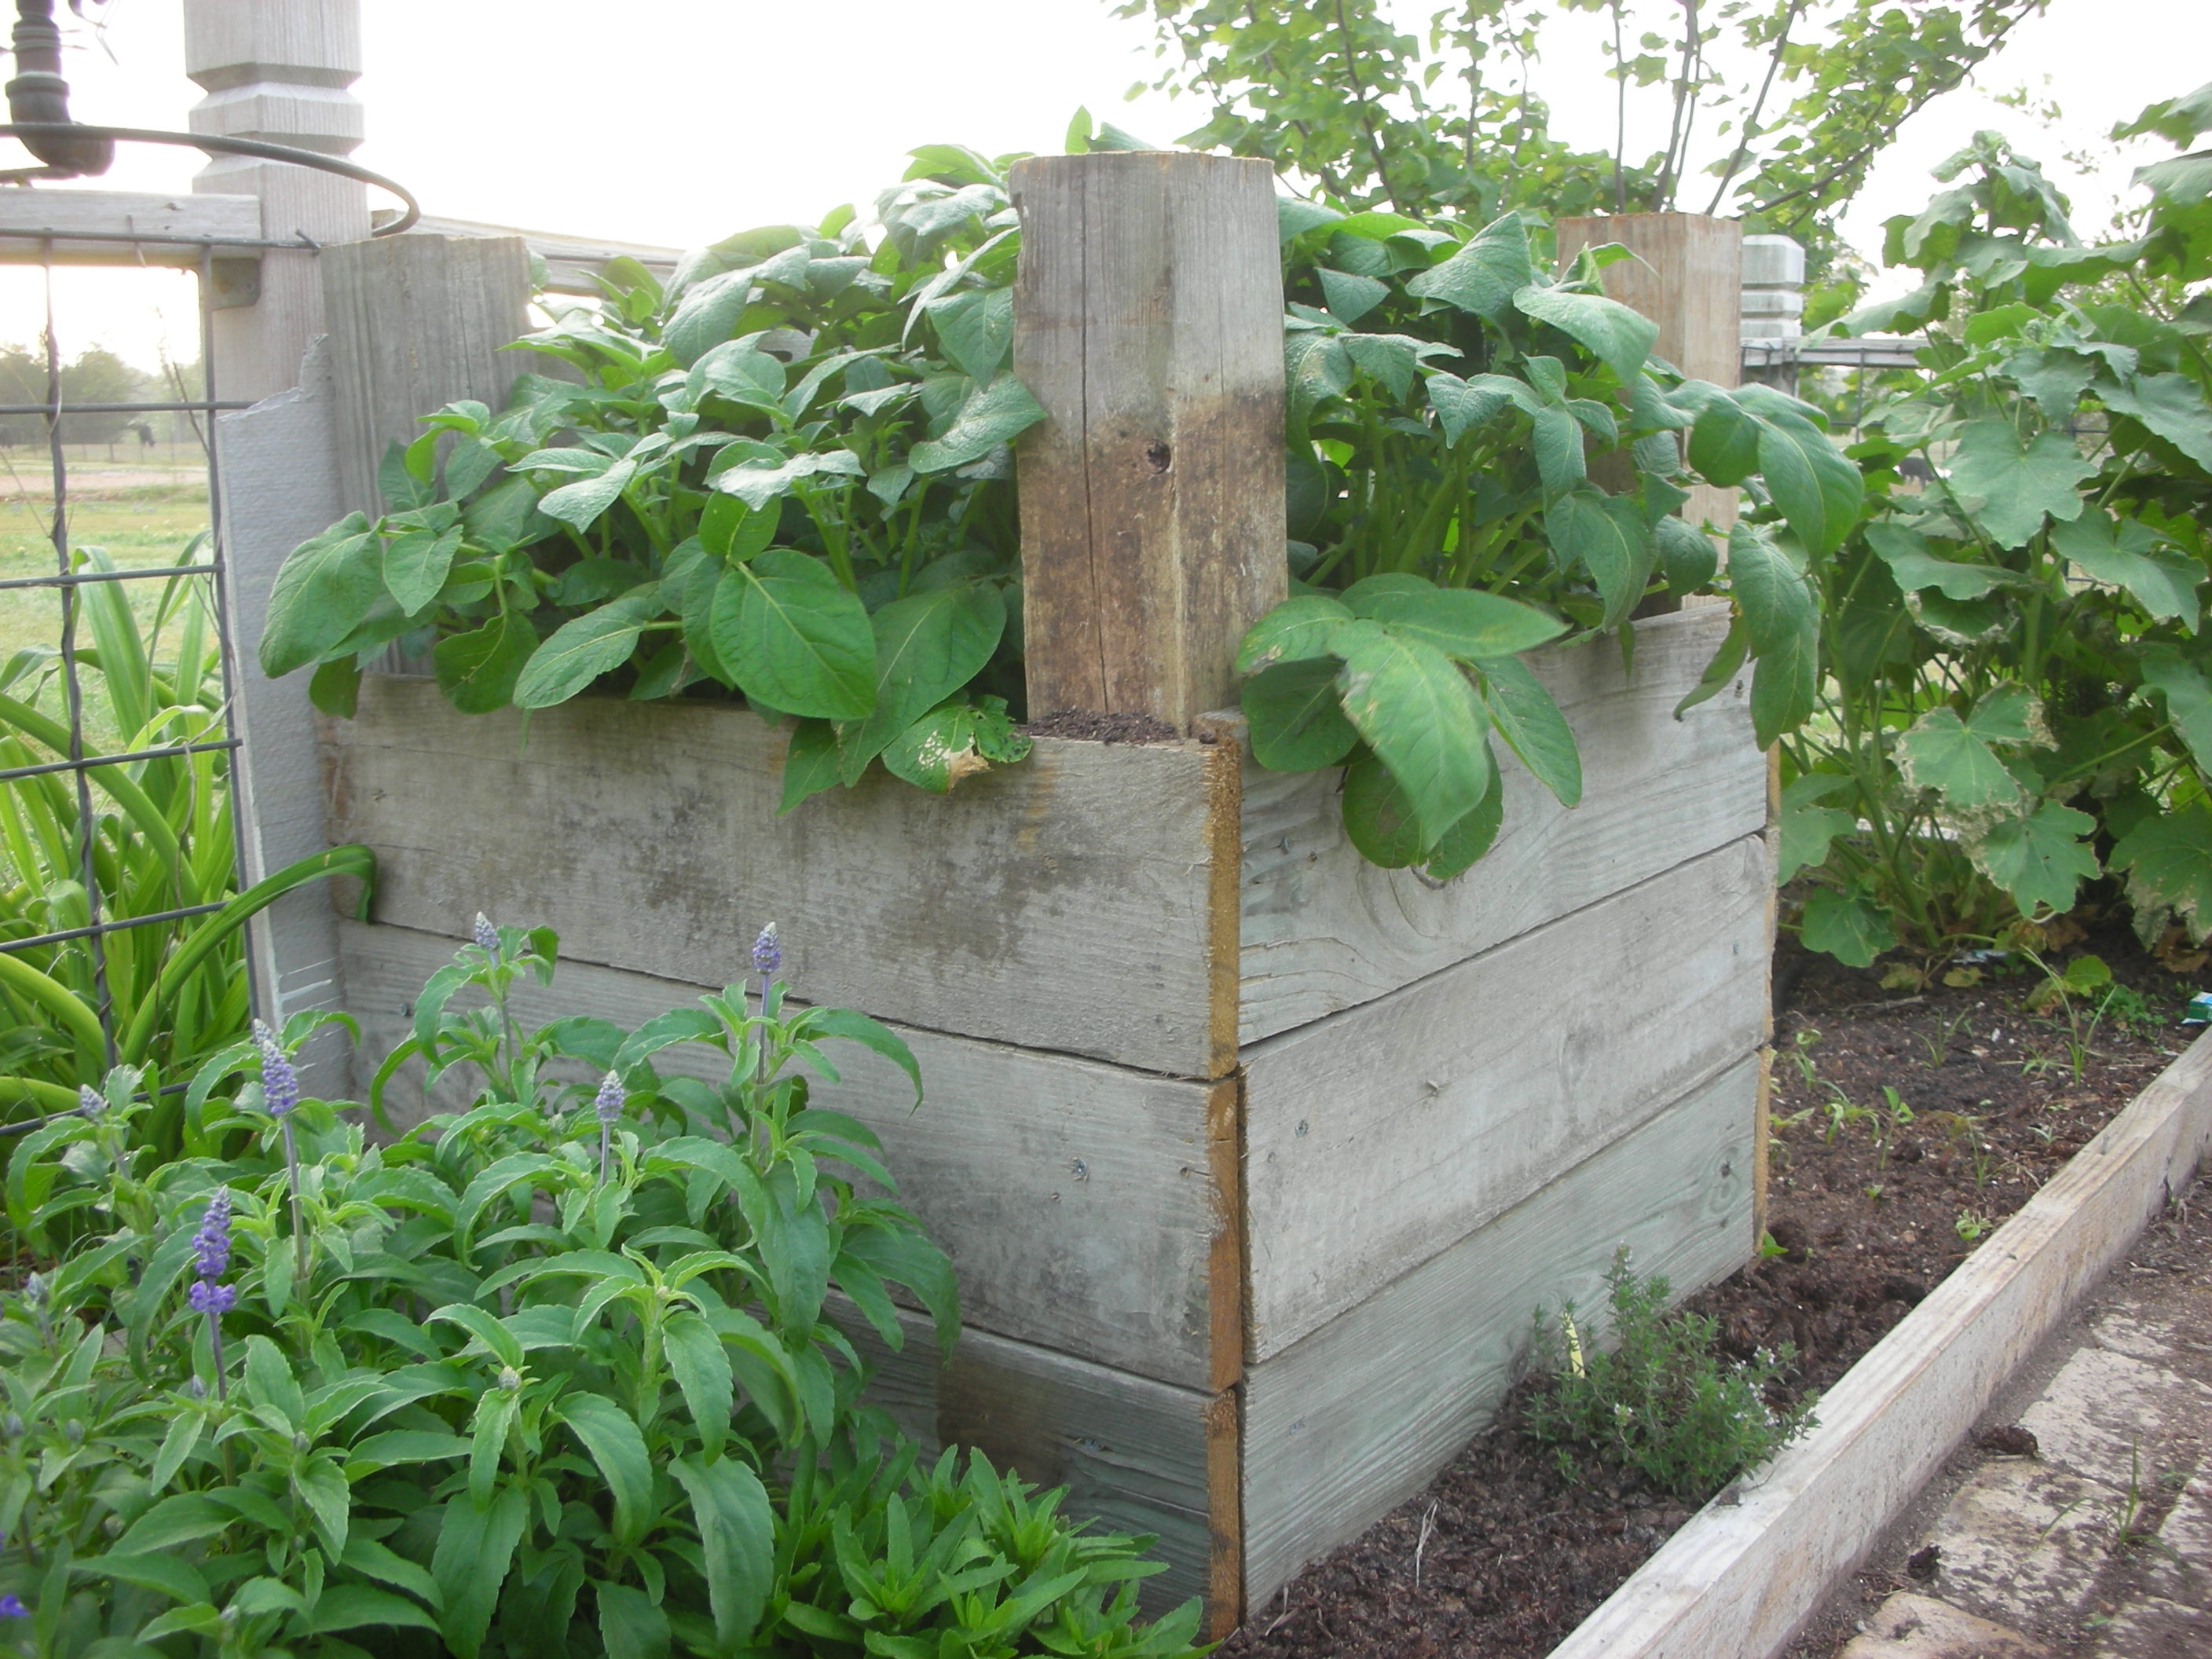
Everything looked so good in April. I really cannot figure out what went wrong.

I just cannot yet accept that this is a bad method for growing potatoes.  There are just too many magazine articles and web posts about it for it to be an unsound method.  Right now, I am going to write this off to a bad year.  My friend Cynthia Mueller tried to grow several varieies of potatoes in her BCS garden and she had dismal luck as well.  As I have talked to other gardeners I have found that this was a hit and miss year for potatoes in general.  Some folks did well, but many folks that I have talked to have not had any luck either.

I am not a quitter.  I will try this experiment again in the fall. Fall potatoes are a bit trickier than spring potatoes but I am going to try nonetheless.

Daikon

The other day I was at lunch in BCS (that is Bryan-College Station for all you non-Aggies out there) with several Masters of Horticulture.  We were talking about our gardens and I mentioned that my daikon were doing really well.  To my surprise, not a single one of these PhD Horticulturists knew what a daikon was.  I found this somewhat amusing but I guess if you do not eat a lot of Asian food, then you would have no reason to know about daikon. 

Sydney Pickle, Hannah Michna and Lindsey Pickle pull the first daikon of the year from the yupneck's garden

If you are not familiar with daikon, here is a little background.  They are a root crop much like carrots or parsnips.  In fact, the Japanese translation of their name means “large root”.  Daikon is a radish and it is a staple of Japanese food.  They cook it, pickle it, stir fry it, stew it and eat it raw.  The Chinese, Koreans and Indians also eat a lot of this spicy root.  The greens are also edible.  One reason it is so popular in the Far East is it’s storage capabilities.  Unbruised daikon can stay fresh for three months in a root cellar.  When dried, they can last much longer.  This allows the Japanese to have a ready supply of a vitamin C throughout the long winters.  There are more acres of daikon in production in Japan than any other vegetable.

There are two varieties of daikon.  One looks like a big turnip and can grow to 100 pounds.  However, the one that I grow is much more common.  Raphanus sativus var. longipinnatus is a long white root that resembles a carrot.  It has white flesh and skin.  It can grow to lengths of 36” but is most often harvested when it is between 12” to 18” long and the diameter is between “1” and 2”.  Summer diakon have a sharper and spicier flavor than fall diakon.  Also, the taste of the daikon changes as you progress up the stalk.  The hottest (and most radish-ey tasting) part is near the tip.  The flavor becomes milder as you move up the root toward the greens. 

Daikon, Chinese cucmbers and volunteer zinnias in the potager

Daikon are very easy to grow.  They like rich, loose soil and full sun.  Plant at the same time as you plant other root crops.  They actually work best as a fall vegetable but do quite well in the spring.  Since they produce roots that weigh over a pound, a small amount of space will provide you with lots of radish. 

I work with several Indian and Chinese ex-pats so I grow enough to share.  This year, one of my friends took some home and had his wife make me pickles.  They are AWESOME!!!!  I have enjoyed these pickles so much that I am including the recipe here.  It is a simple and delicious recipe that will make a perfect side for all of your outdoor summer grilling.  Hope you enjoy!

Debbie Kwan’s Daikon Pickles

Slice the daikon and sprinkle with about 1 tsp of salt. Use your hands to knead the vegetables for about 3 minutes.  Place in fridge and wait about 15-30min until water has been expelled.  Drain in a colander and rinse under cold running water, then press gently to expel extra water.

 Combine 1/2 cup sugar, 1/2 cup rice vinegar and 1/2 cup of water in a pot on low heat until the sugar has dissolved. Let cool then pour over the daikon. The brine should cover the daikon. Add peppers of your choice to make it spicy.  Let it marinate in the brine for at least 1 day before eating. They will keep in the refrigerator for up to 3-4 weeks.

Daylilies-A Month of Blooms

One of the daylilies that was passed along to me from my wife's grandmother

Very few plants in my garden give me as much enjoyment as my daylilies.  Early in April, I start watching them.  I am looking for that first sign of stalks. When I see these I know that soon, the green border around my potager will be covered in bright yellow flowers.

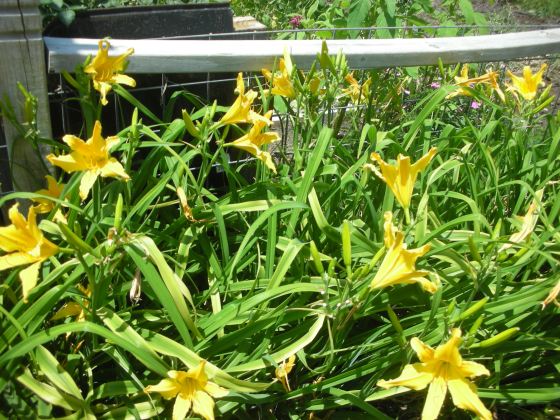
A masss of Nana's daylilies border my potager

My daylilies were passed to me by my wife’s grandmother.  Not directly, though.  A few years after she passed, we dug them up from her home place in the sandy loam of East Texas and moved them to the black clay of Washington County.  This sentence should tell you a lot about daylilies.  First, they lived at Nana’s for several years with absolutely no care.  So, daylilies are tough.  They also survived being dug out of a beautiful loamy soil and moved to a not so wonderful black clay.  So, daylilies are adaptable.  Throw in the fact that they are absolutely reliable, pest free and beautiful and you begin to understand why so many people love them.

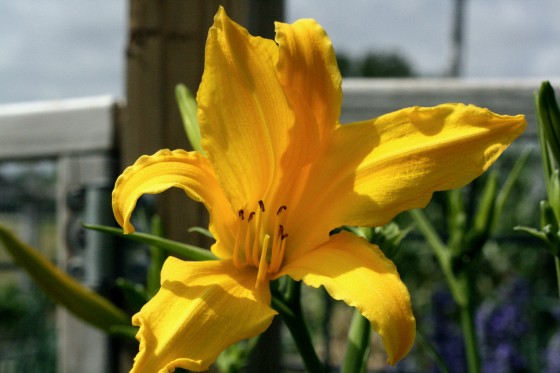
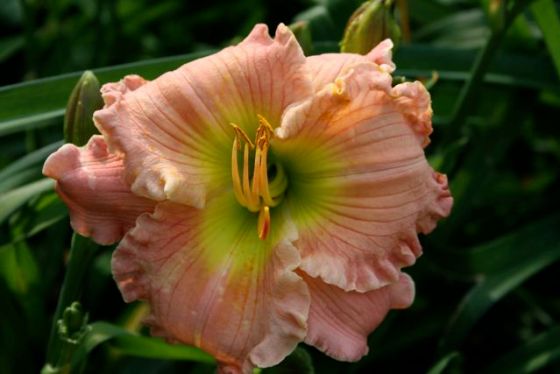
A lovely daylily bred by Chris von Kohn. You can buy this and others from him. All of his contact info is at the bottom of the post.

History – Daylilies originated in China, Korea and Japan.  They found their way to the Americas by the 1700s.  The Tawny Daylily was one of the first.  It quickly escaped cultivation and is now so common on the east coast that many think it is a native wildflower.  This flower was often planted close to outhouses and so it derived the very unfortunate common name of “Outhouse Lily”.  Daylilies began to lose their popularity in the US in the 1800s.  In 1920, the “Hyperion” daylily was introduced.  This began the resurrection of the flower as a major bedding plant in American gardens.

Despite their name, they are not true lilies.  Daylilies belong to the genus Hemerocallis and there are over 60,000 registered cultivars.  Their name is derived from Greek and literally means “beautiful day”.  Since the 1950s, the US has been the world leader in daylily hybridization.  I have a young friend at A&M named Chris von Kohn.  He has already created over 1000 daylily hybrids.  He hasn’t gotten one named yet, but he is only 22!  Chris is an up and coming Master of Horticulture and I am betting that we are going to be hearing a lot more about him in the years to come.  Thanks to the efforts of people like Chris, you can now own daylilies in every color except blue.  Some have  a strong fragrance and others have none.  There are daylilies with ruffled petals and multi-colored petals.  Some have “eyes” and still other sparkle with “diamond dust”. 

Another lovely daylily bred by Chris von Kohn. He is about to start grad school so he will greatly appreciate every order. All of his contact info is at the bottom of the post.

Planting – Daylilies are incredibly easy to grow.  Plant them in direct sun (or dappled shade) in well worked soil.  Dig a hole about 8” deep and make a small mound in the center of the base.  Spread the roots of the plant over this mound and backfill to a point where there is no more than 1” of soil over the crown.  If the roots of the plant are too big for the hole, trim them.  Water them in and then apply mulch (but not around the crown).  Water regularly for the first year.  After that, the daylily should be able to survive with minimal amounts of supplemental water.

Dividing – Daylilies reproduce rapidly.  If their clumps become too dense, they will begin to flower less and less.  Because of this, you need to divide them every two or three years.  This is best done in late summer or early fall.  Also, it is a good idea to give your plants a good watering the day before you do your dividing and transplanting. 

There are two ways to divide your plants.  The easiest is to just stick your shovel in the middle of the clump and remove half of the plant.  Since they have an extensive root system you may need to push your shovel all the way into the soil.  Use the shovel to work around the new clump and remove.  Replant in a prepared hole at the same depth as the original plant and water.  Place them about two feet apart.

Another creation of Chris von Kohn. You can buy this and others from him. All of his contact info is at the bottom of the post.

If you want to get individual plants, you can use a sharp knife to divide your clump into fourths.  Once this done, you can begin to remove individual fans.  Replant these fans like previously described.

Very few beautiful plants are as hardy or as easy to grow as Daylilies.  There are varieties that are hardy from zones 1 to 11.  Once established, they have a low water requirement and they are relatively pest free.  On top of all of that, they are incredibly diverse in color and form.  With so much to offer there is no reason for you not to grow daylilies in your own garden.

Buy Your Daylilies Here – Chris von Kohn will be selling some of his creations this fall.  They are incredible!  He is currently taking orders.  They are in bloom now so if you live in the Arlington/DFW area you can go by and pick your favorite.  He will mark it and save it for you and you can pick it up in the fall.  You can reach Chris at cvk007@earthlink.net or you can give him a call at either 817-269-7474 or 817-483-5146.   If you don’t live in the DFW area, just drop him an e-mail and he will be happy to send you pictures and then ship your plants when they are ready.

The yupneck with Chris von Kohn. He has just been awarded the outstanding senior agriculture student for horticulture by Gamma Sigma Delta, The Honor Society of Agriculture.

How to Harvest and Cure Onions

This past weekend, I pulled up 52 pounds of 10/15 onions.  Definitely my best onion harvest ever.  Now the question is, “What do I do with 52 lbs of onions”?  Since my wife and I are empty nesters, it is going to take us a while to eat all of those onions.  Especially when you take into account the fact that I just harvested an apple box full of shallots and I am still growing Egyptian Walking Onions.  I am sure we will be sharing with our kids and neighbors, but we are still going to have to preserve a large number of these onions.  Here’s how we preserve our onion crop:

10/15 onions in the potager two weeks ago

First, if you are new to gardening, you may wonder when to harvest or pull your onions.  The general rule is “Pull when the tops fall over”.  Below is a picture of what that looks like.  I believe in letting nature take its course.  I do not pull until 75% or more of the tops have fallen.  Once they fall, you can leave them in the ground for a week to ten days.  This starts the natural curing process.  However, do not leave them in the ground much more than ten days as that makes them susceptible to soil borne pathogens that can cause mold and rot in storage.  Just a little note,  I have heard several people say you have to cure onions before you can eat them.  This is not true.  Onions can be eaten at any time in their growth cycle (tops and all).  You only have to cure onions that you want to preserve.

The same onions from the first photo after their tops have fallen over

Once you have pulled your onions, spread them out in the sun.  Make sure they have room between them for air circulation.  I put mine on an old screen door up on saw horses.  The length of time varies.  If you pull them on a dry, hot day in Texas, then a few hours should be sufficient.  If it has rained recently, the onions moisture content will be higher and you will need to leave them out until the roots become noticeably harder than when they were harvested. 

Once they have completed this initial drying period, place them in a dry, shady place to allow them to complete the curing process.  Many people put them on their porch.  If you do not have room on your porch or in your garage, put them outside on a board or screen door to keep them off of the ground.  Place a sheet over them for shade.  Do not use plastic or canvas as this traps moisture.  You can cut the tops off at this time if you wish but if you do, leave about one inch of top on the onion.

Placing the onions on an old screen door. Allow plenty of space around them so they will cure properly.

While they are drying, turn them every few days to make sure they are drying evenly.  This part of the process can take two or three weeks.  You will know they are ready when the outer skins are papery and the roots are dry and brittle. 

Once your onion’s have cured, you can place them in mesh bags (or braid their tops together) and hang them in the garage for a little more drying.  If you are going to put them in a root cellar where humidity is high, you want to make sure they are as dry as possible.  Properly cured onions can keep for several months.  Check them often and discard any that are becoming soft.  If you see any sign of sprouting, eat them immediately, replant, or discard.

Blooms in the Potager

Over the past year I have slowing been shifting the focus of my potager from veggies to herbs and flowers.  Because of this, the potager is now lovelier than it has ever been.  Here are a few pics of some of the things that are blooming (or beginning to) in my little kitchen garden.

First up are the poppies.  I got the seeds from Carol Ann Sayle at Boggy Creek Farm in Austin.  As you can see, they are beautiful.

Here’s another shot

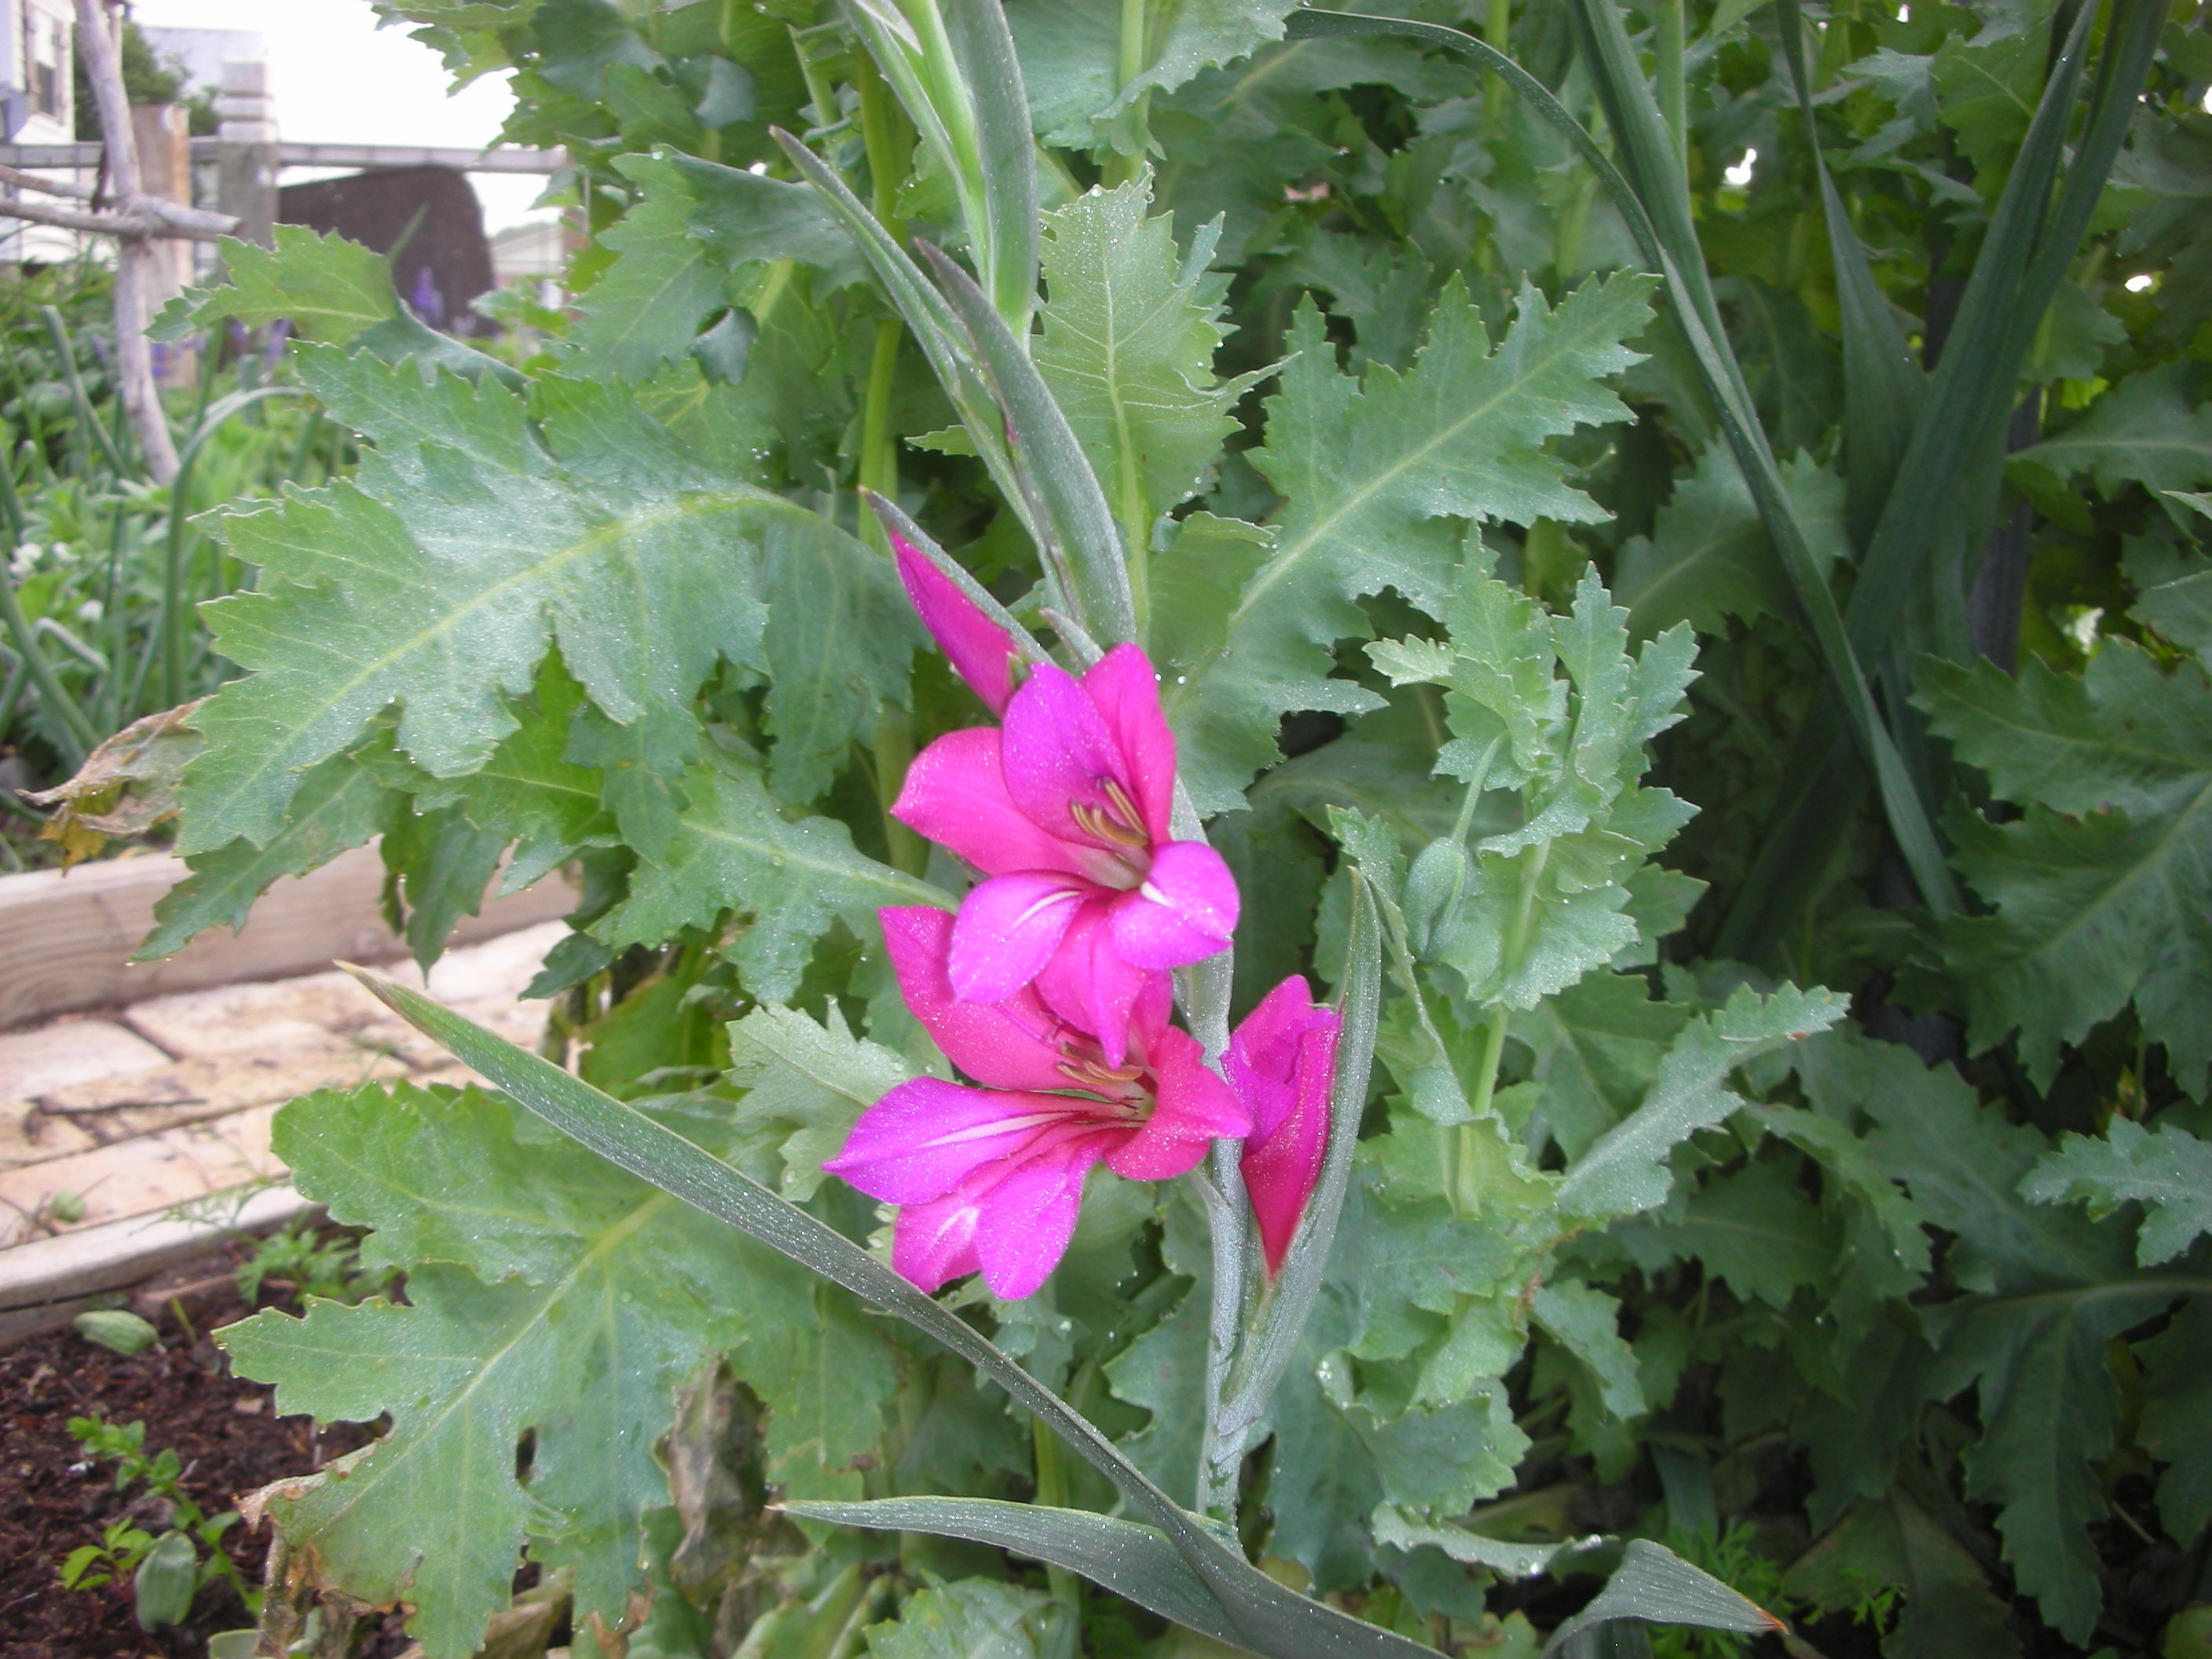
Mixed in with the poppies are some Byzantine gladiolus. 

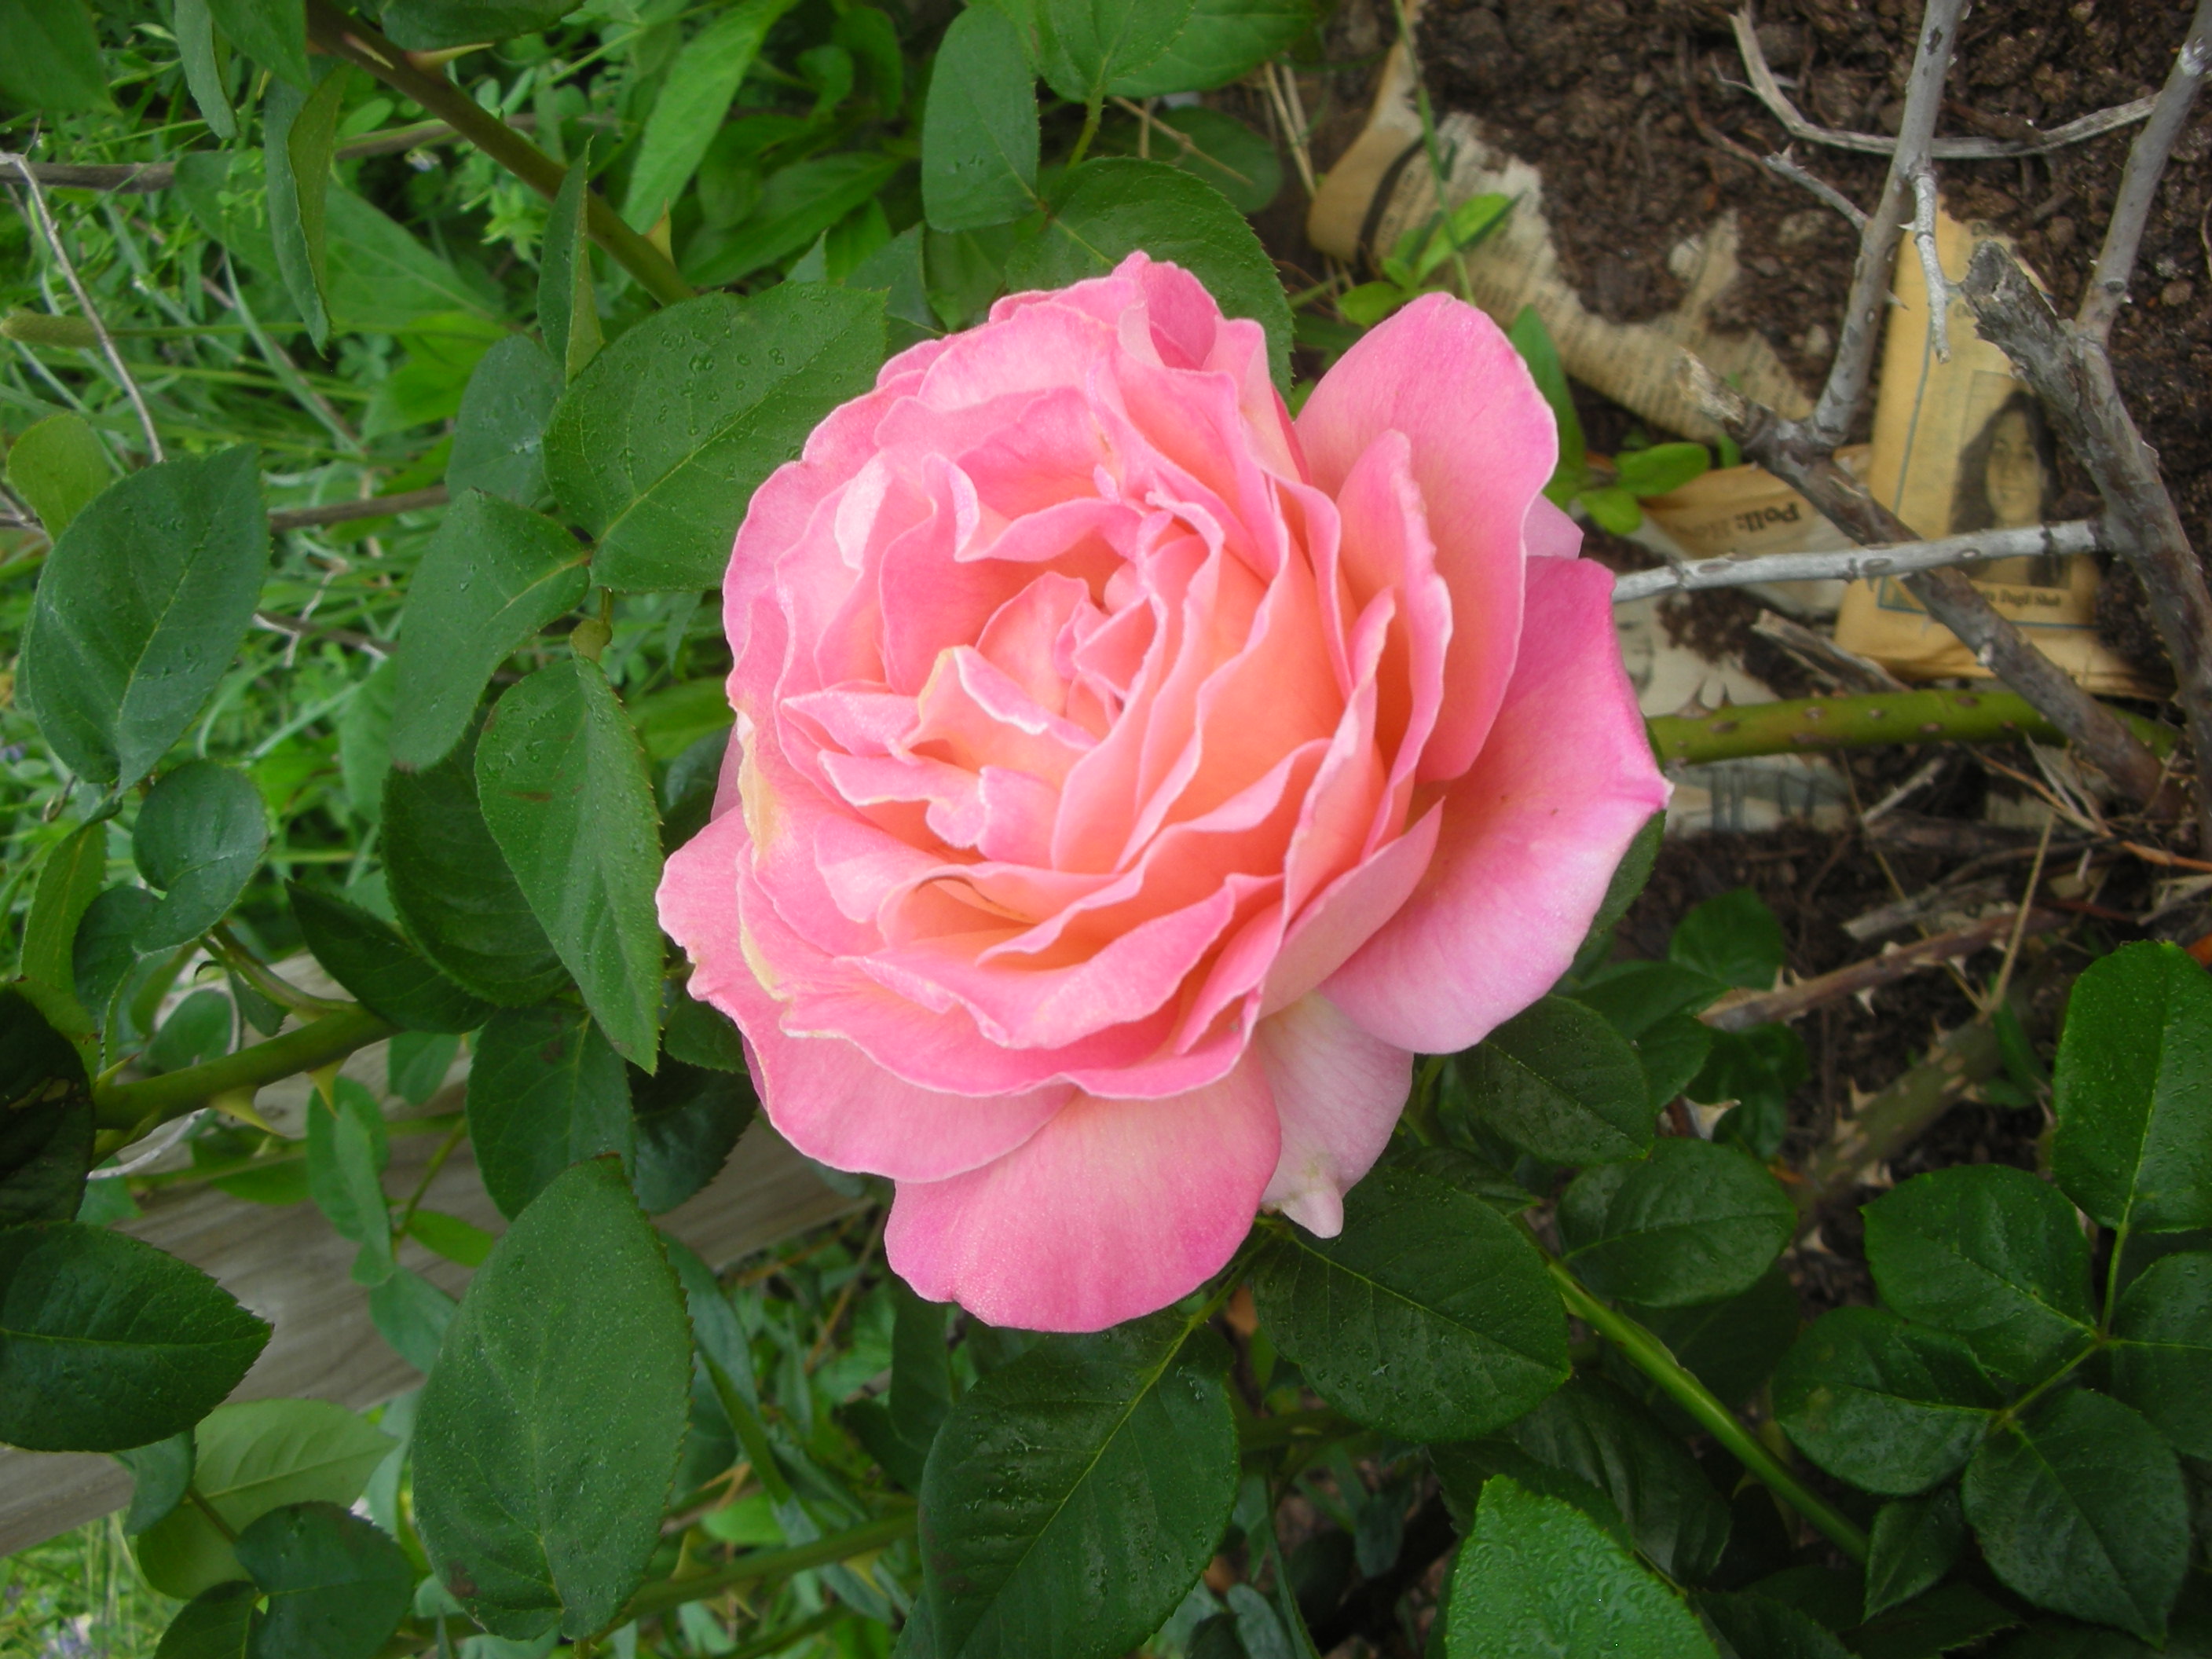
Here is an un-named rose that I got from my sister.  She lost her battle with ALS two year’s ago.  Everytime this rose blooms I think of her and smile.  Since we don’t know what it is, we call in “Ginna’s Rose” in her honor.

My “Victoria” salvia is thriving after the harsh winter.  There is lemon grass in the white pot behind it

I bought these and they were labeled “strawflower”.  They look alot like dianthus to me.  Whatever they are, they are lovely and they last forever as a cut flower.

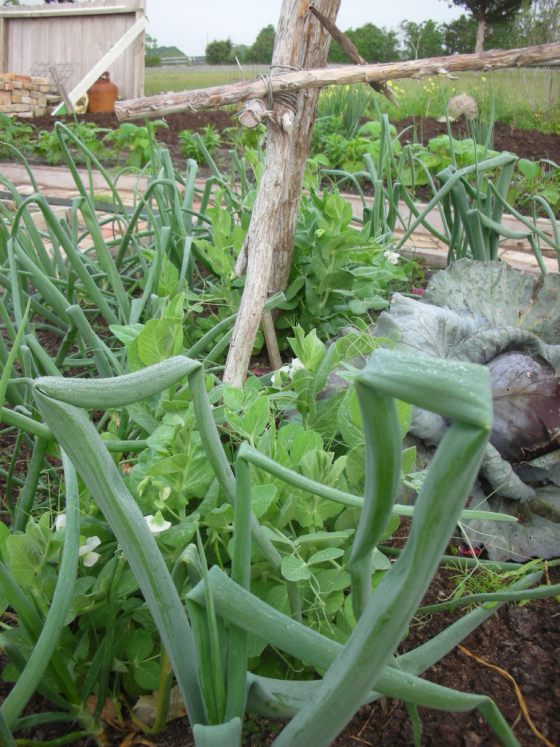
There are still a few veggies in the potager.  Here are some 10/15 onions, purple cabbage and English peas for the trellis

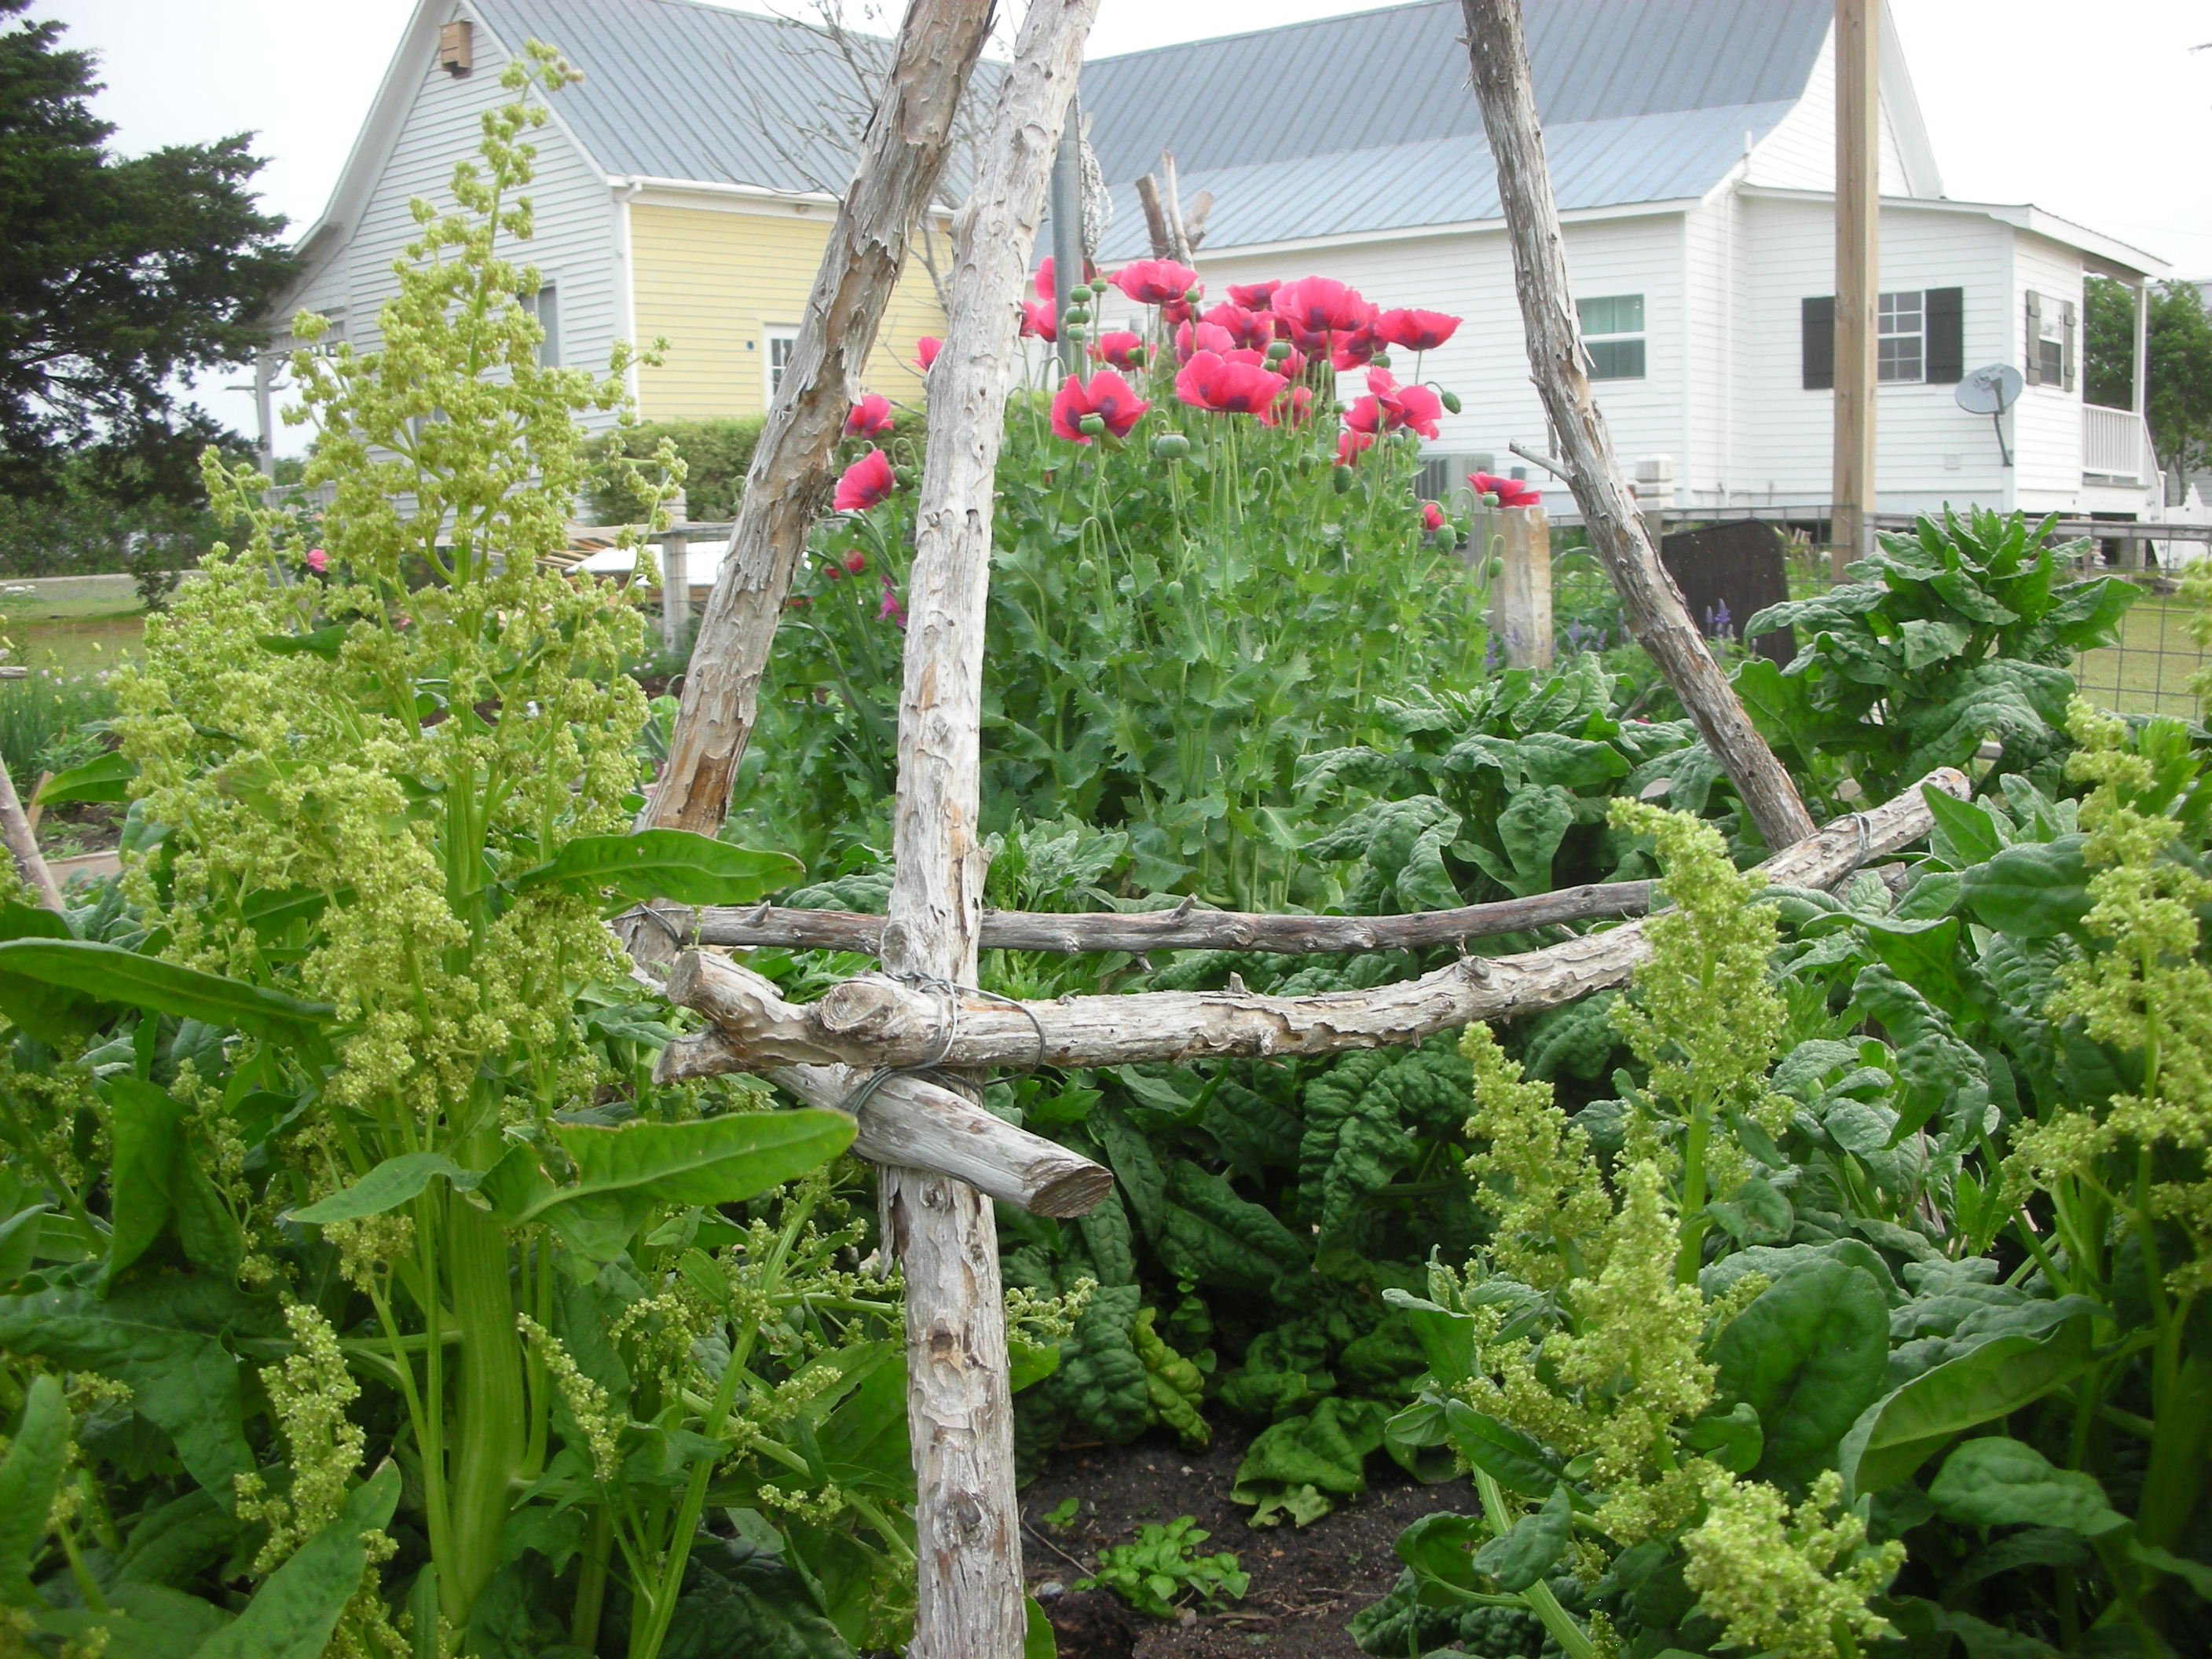
Here is what happens when you let spinach bolt.  I had never let it go this far before but I thought it made an attractive shot. 

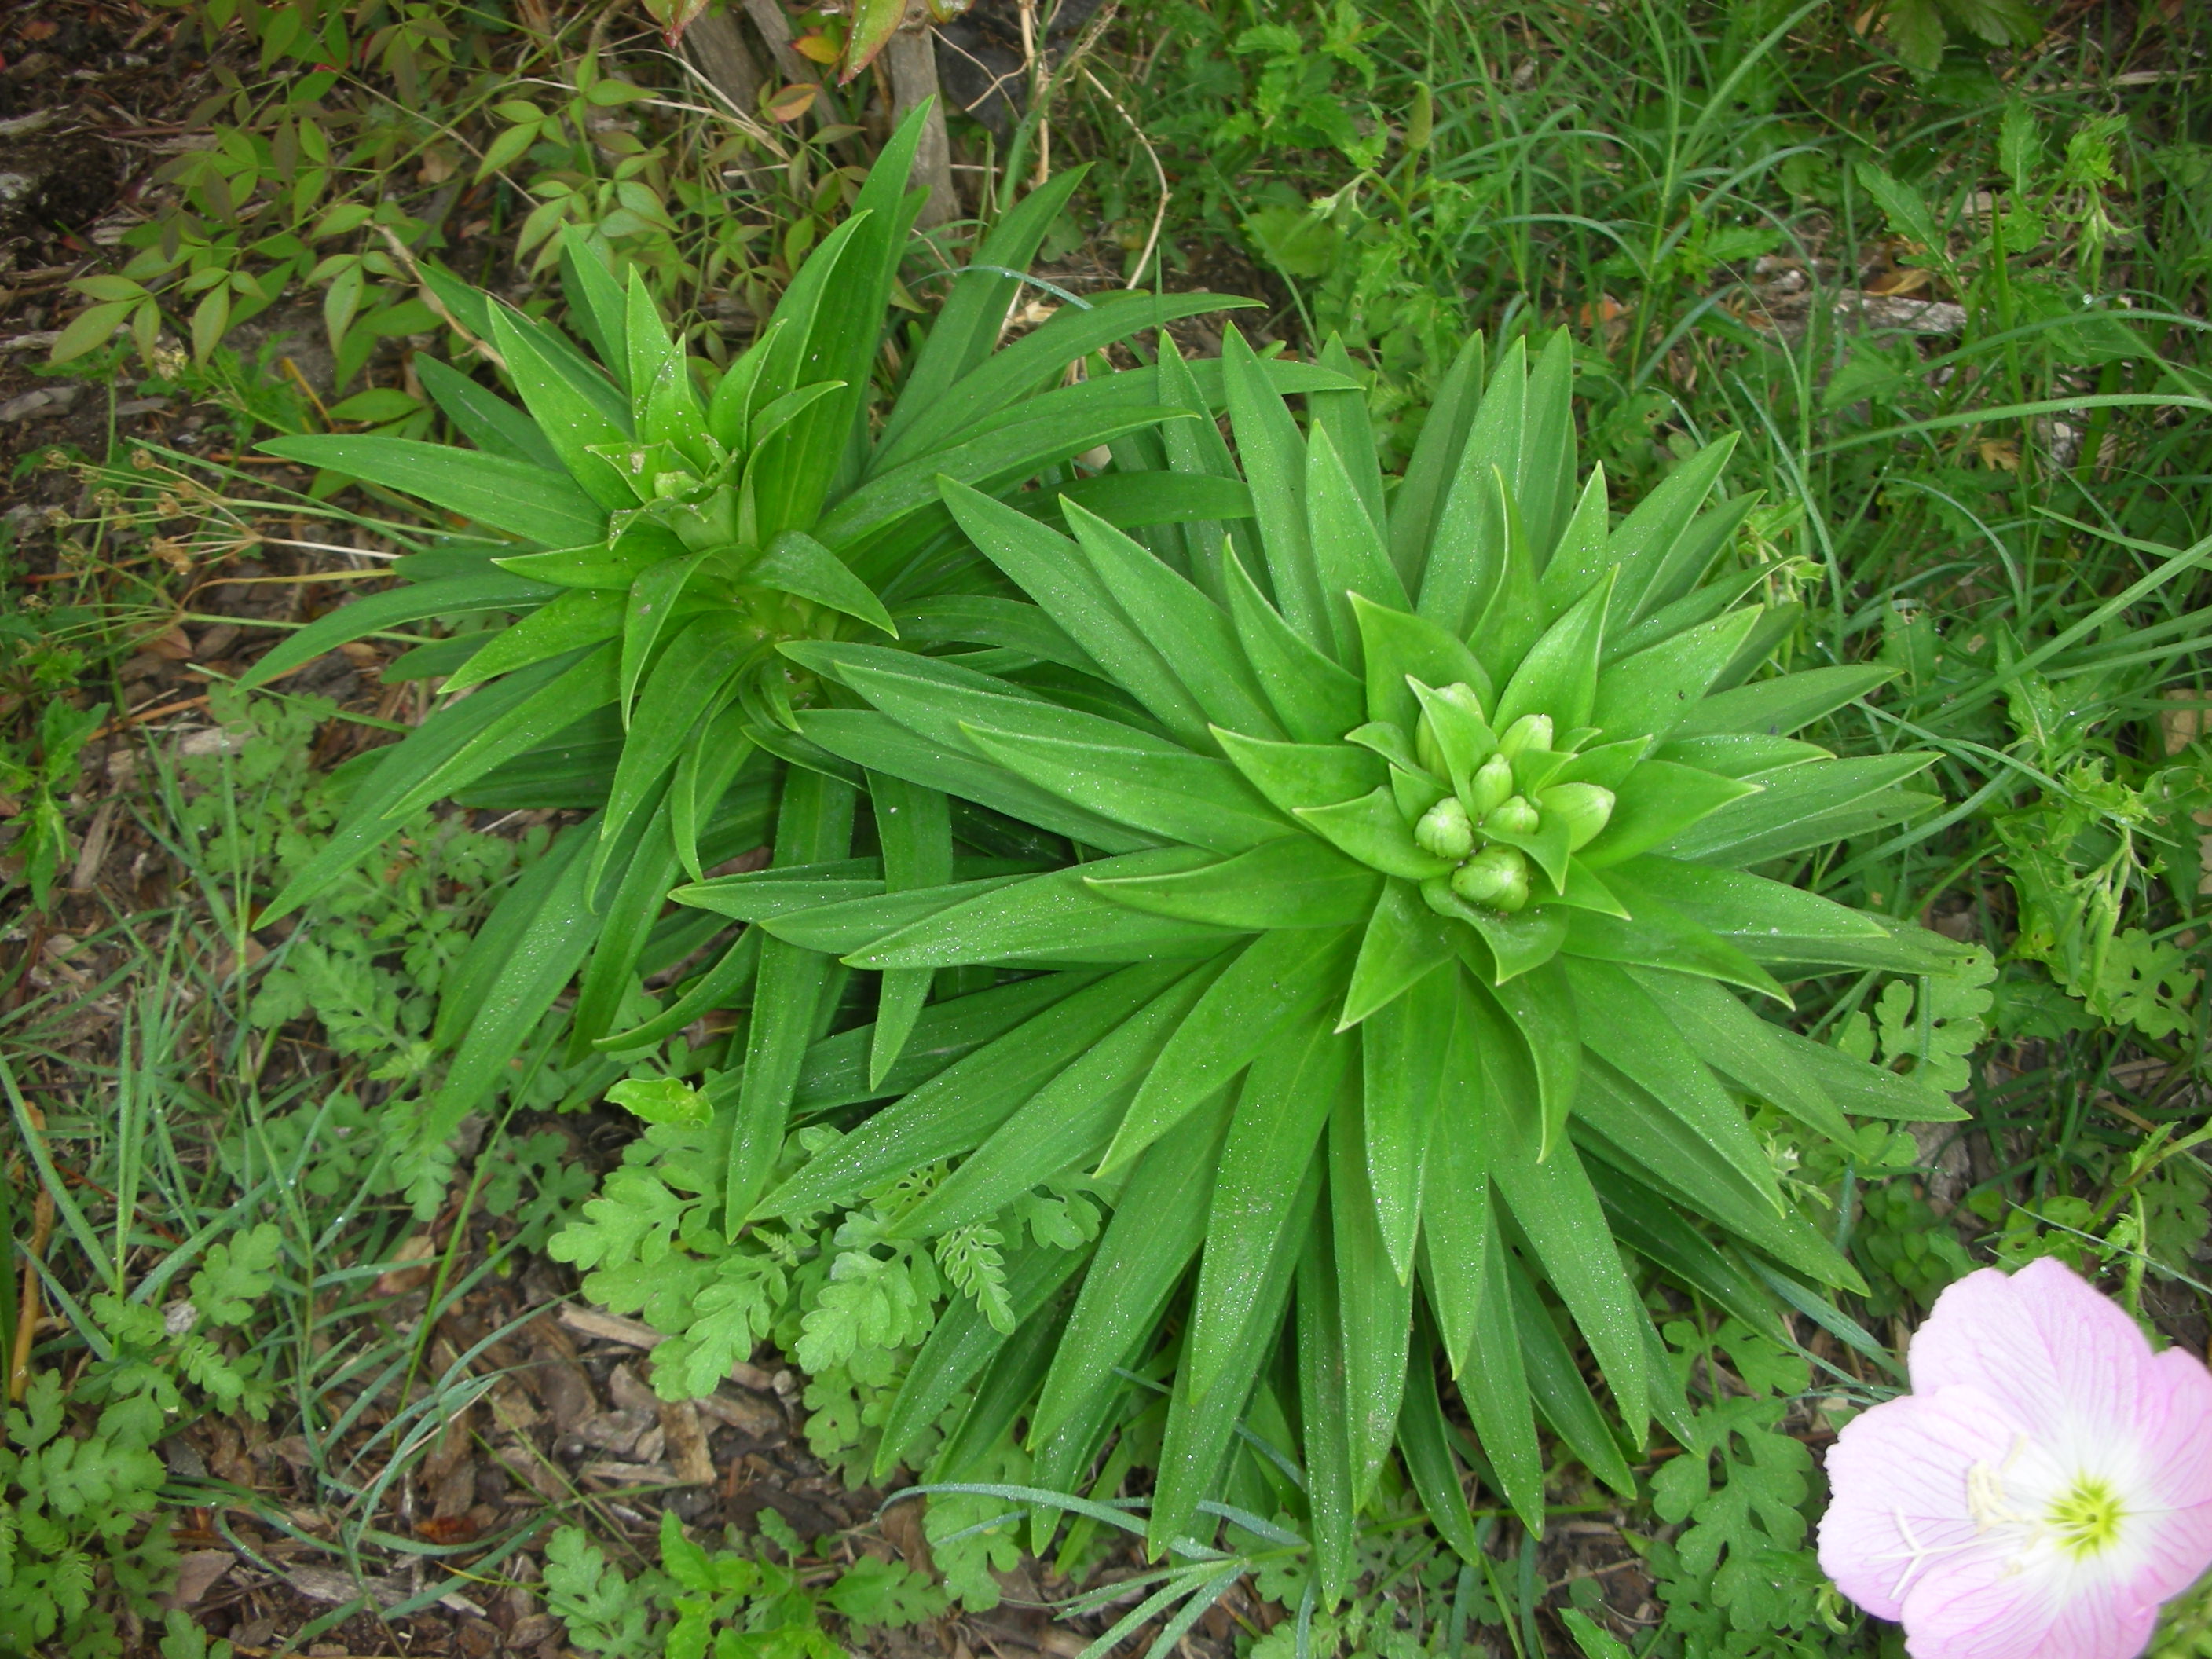
Here are some Easter lilies that may actually bloom by Easter

And finally, a lovely spring bouquet from the potager (if you say that with a french accent it rhymes )

Building a Potager

I have a problem.  Actually, I have two BIG problems; black clay and coastal Bermuda grass. These two things have been a pain in my gardening side since the first time I tried to till a portion of an old coastal field and turn it into a vegetable garden. I live on a patch of blackland praire in Washington county Texas between Brenham and Burton.  Over the years I have tried everything to tame the grass and improve the clay. All of my efforts have fallen woefully short. The clay is still either sticky or hard as a rock, and the grass always returns.

Two years ago, I began experimenting with raised beds. I tilled up the clay and added about four inches of mushroom compost. This improved things somewhat but I still could not keep the grass out of the rows, and ultimately the beds. At this point I should point out that I try to be an organic grower. I am not yet 100% weaned off of my traditional ways, but I am now using about 90% organic methods to try and control my weeds and bugs.

My first raised beds

Last year, the additional organic material really started to pay off. The vegetables were great. I simply planted and applied a heavy layer of hardwood mulch. Then I declared war on the weeds and that sticky mud that invariably happens when you water around black clay. I laid down weed paper in the rows and covered this with bricks. I also tilled in beds around my garden fence. I filled those beds with daylilies and petunias and large planters. I also added the weed paper and hardwood mulch to these outside beds. The bricks worked great for controlling the mud. But the Bermuda came back with a passion. Evidently Bermuda and many other weeds, enjoy a little organic matter as much as the tomatoes.

I was now thoroughly frustrated with my grass problem. However, I did note my two big successes. The additional organic material was definitely paying off and the bricks had solved the sticky mud issues. Now I was determined to figure out how to get the weeds under control.

I started reading and I came upon two concepts that I hoped my help me solve both of my problems: square foot gardening (the Mel Bartholomew method) and potagers. Mel Bartholomew and his method of creating super rich soil and close quarter plantings seemed to hold some promise. As I read more about both topics, I began to feel that combining Mel’s ideas about soil and close quarter plantings with the French concept of a kitchen garden might finally give me dominion over the weeds and the mud.

A real French potager

The term potager comes from the French term jardin potager. The potager is designed to provide all of the vegetables, herbs and flowers for a household. The potager is not just functional; it is expected to be beautiful as well. Because of this, annual and perennial flowers are grown right along with the vegetables. Plants in the potager are often selected as much for their form and texture as they are for their nutritional value.

Another thing that I have learned about gardening (or any other endeavor for that matter) is that it helps to have a plan. Since the creation of my potager would require an investment of time, talents and money, my wife insisted I have a detailed plan. I was lucky on this one. I am currently taking a Landscape Design class with Casey Krueger at Texas A&M. With his help, I created a very respectable and doable design for my potager.

Day 1 – Armed with my plan and an army of future son-in-laws (I have four daughters so I really do have a small army of future son–in-laws), we literally dug-in and started to build. First, we built the forms for my raised beds. This required a few carpentry skills, a few basic math skills, and a lot of manual labor.
Day 2 – Since the beds were now in place, we began to dig out about five inches of soil from the bottom of all of the walk paths. After this was done, we covered the walk paths with approximately 8 layers of newspaper and five inches of decomposed granite (take that weeds!). We then laid the bricks. Once the bricks were in place, we added a thin layer of decomposed granite to the top and used a broom to work the granite dust into the gaps between the bricks. After a good watering, the unplanted potager was ready to go.
Day 3 – This was the day for soil preparation and planting. To prepare the beds I used a modified version of Mel Batholomew’s formula. Since my clay has no problem holding water, I left out the suggested vermiculite and peat moss. What I did add was compost peat, cotton bur compost, farm style composted cow manure, mushroom compost, and an alfalfa and humate mix. I bought all of these items from the Plants N Things nursery in Brenham, Texas. We mixed all of these ingredients together on a couple of big tarps. Once it was mixed we wheel barrowed it into the raised beds. Finally, we used my Mantis tiller to mix it all into my existing soil. Now it was time to stick things in the ground. I planted tomatoes, squash, watermelon, and bronze fennel that I had purchased from the Texas A&M Horticulture Club’s Annual Plant sale. I also planted Contender bush beans, Swiss chard, sunflowers, apple and egg gourds, Chinese long beans, and Hyacinth beans for the trellis. One bed stayed intact throughout the build. In it I have onions, shallots, radishes and lettuces. Once all of the seeds are up I will again put down about six inches of hardwood mulch.

My unplanted potager

I am very excited about the promise my new garden. I am hopeful that the granite base and the bricks will keep the weeds and the mud at bay. I also believe that if a few weeds do pop up in the raised beds they will be easy to pull. Remember how I said I was about 90% organic? Well I hope to keep that percentage. However, after all of the time and effort that went into this potager, I have decided that organic or not, at the first sign of a weed invasion I am buying weed killer!

A version of this article was published in the May 2010 issue of “Hort Update” (http://aggie-horticulture.tamu.edu/newsletters/hortupdate/2010/may/)