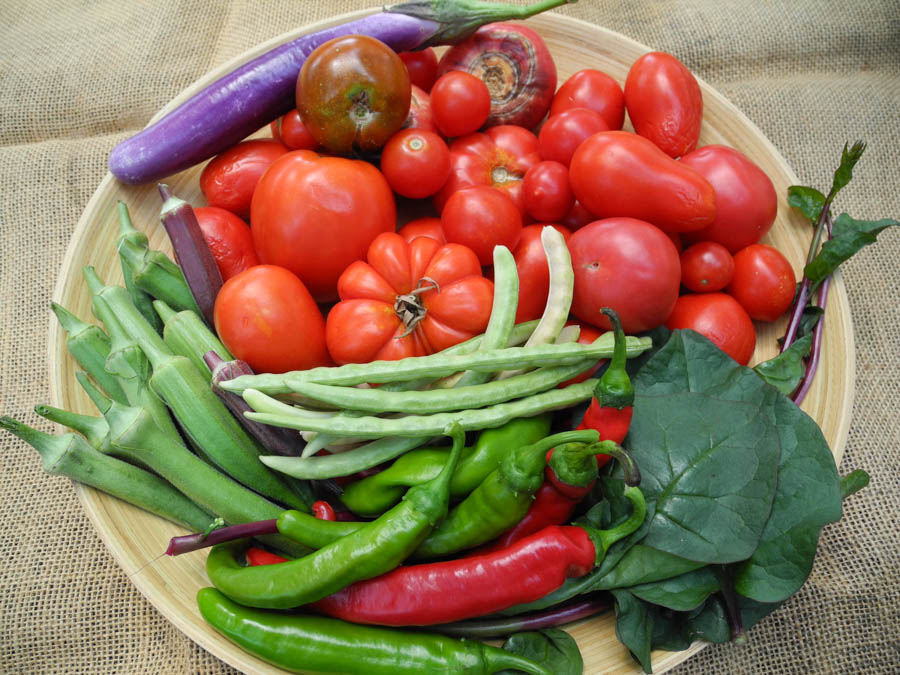
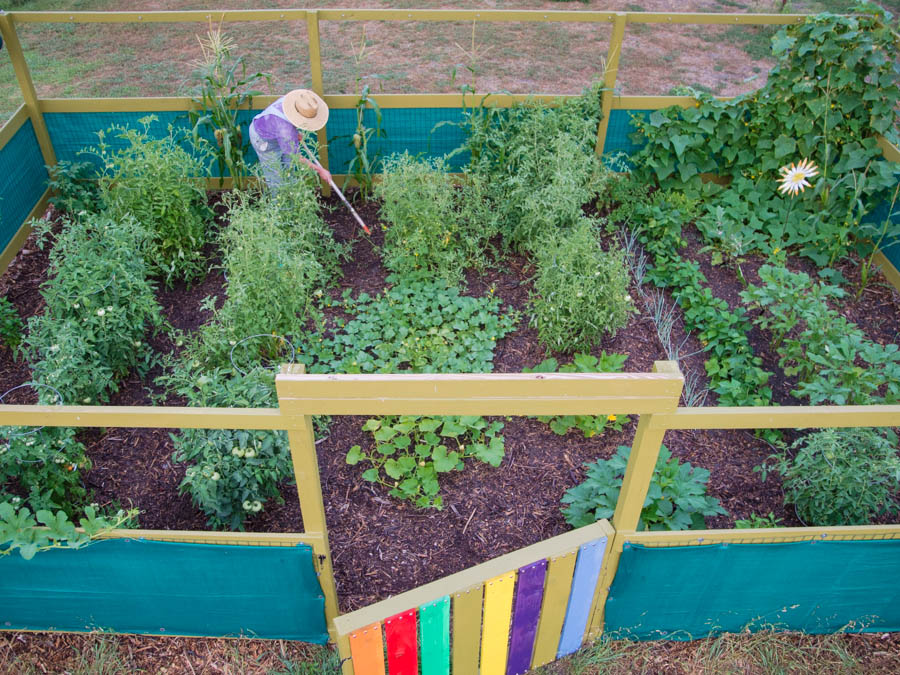
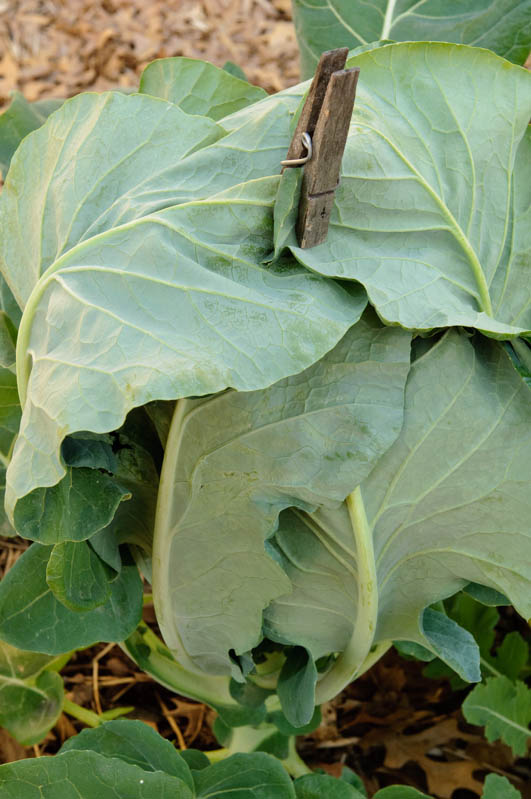
Below are several easy and tasty recipes that will allow you to get the most out of those late season summer veggies that are still producing. Photo by Patty Leander
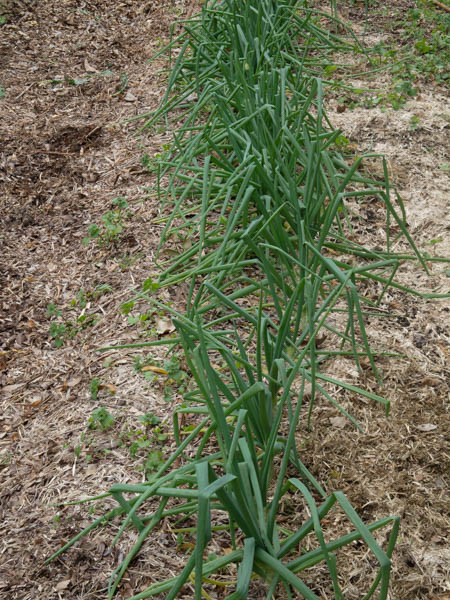
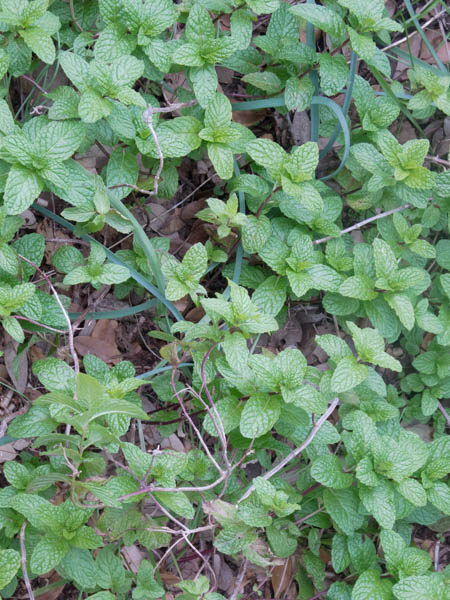
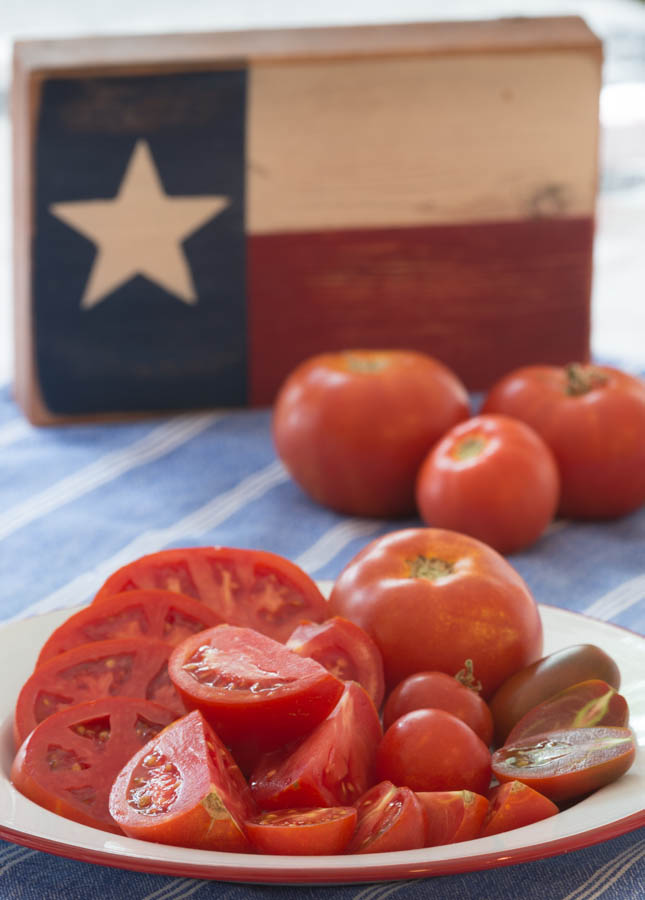
It’s the end of August, the kids are back in school, 100 degree days are still in the forecast and here in Central Texas we are experiencing the end-of-summer-lull in the vegetable garden. The bounty of the spring garden has passed and we are not quite revved up for fall, but for now the heat-loving (or in some cases heat-tolerating) mainstays in my garden include okra, Malabar spinach, Southern peas, hot peppers, yardlong beans, tomatillos, cherry tomatoes and eggplant. The Northern half of the country may be boasting a summer harvest of juicy, ripe tomatoes and fresh picked sweet corn, but bless their hearts, they were still waiting for the soil to warm up on Mother’s Day and before you know it they’ll be pulling out their jackets and snow shovels again! Yet we lucky Texans will soon have another opportunity for cucumbers, green beans, tomatoes and squash followed by a round of broccoli, cauliflower, beets, peas, greens and more to finish out the year. It’s good to be Texan.
Since “grow what you eat and eat what you grow” is the vegetable gardener’s motto here are a few of my favorite recipes for enjoying the current harvest.

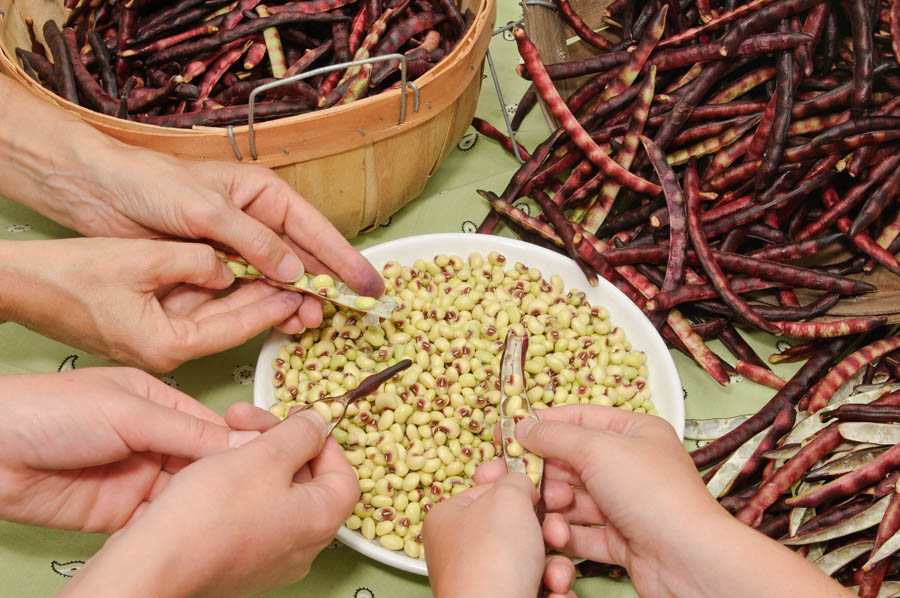
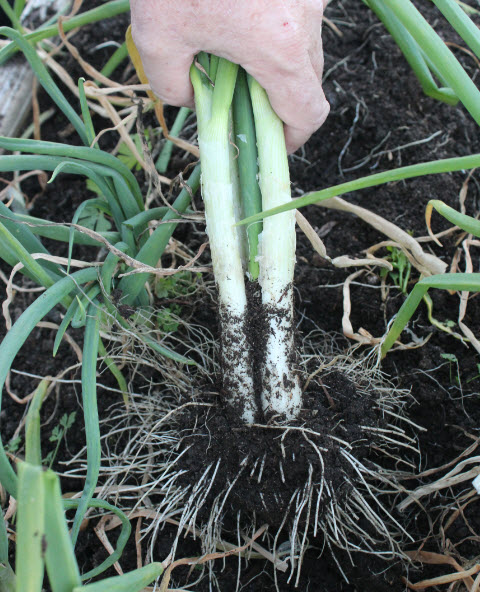
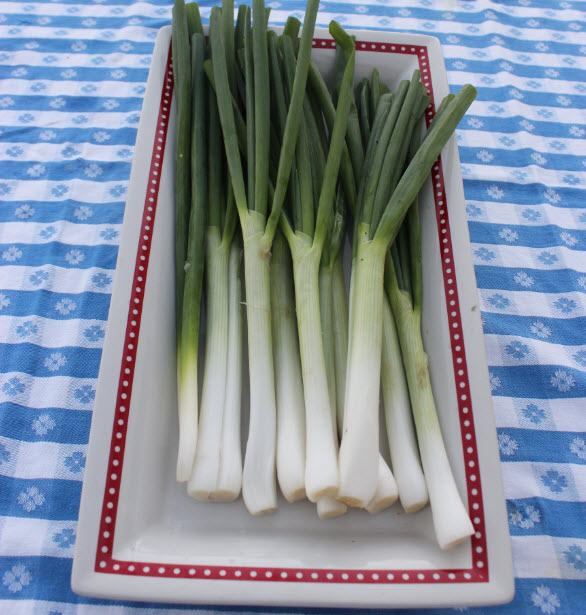
Many hands make light work when shelling southern peas
Fresh Southern Peas
These heat- loving peas are so versatile – enjoy them fresh, freeze some for later or dry them on the vine for winter storage. When cooking a fresh pot of peas harvest and snap a few immature pods to add to the pot the last 15-20 minutes of cooking.
2 slices bacon, chopped
½ cup chopped onion
3-4 cups shelled cream, crowder, black-eyed, purple hull peas
2-3 cups water or chicken broth
½ tsp sugar
½ tsp salt
½ tsp pepper
Cook bacon until crisp. Remove from pan. Sauté onion in drippings. Add remaining ingredients and simmer 45-60 minutes, until peas are tender, adding more liquid if necessary. Season to taste. Serve with crumbled bacon and hot cornbread. Yield: 4-6 servings

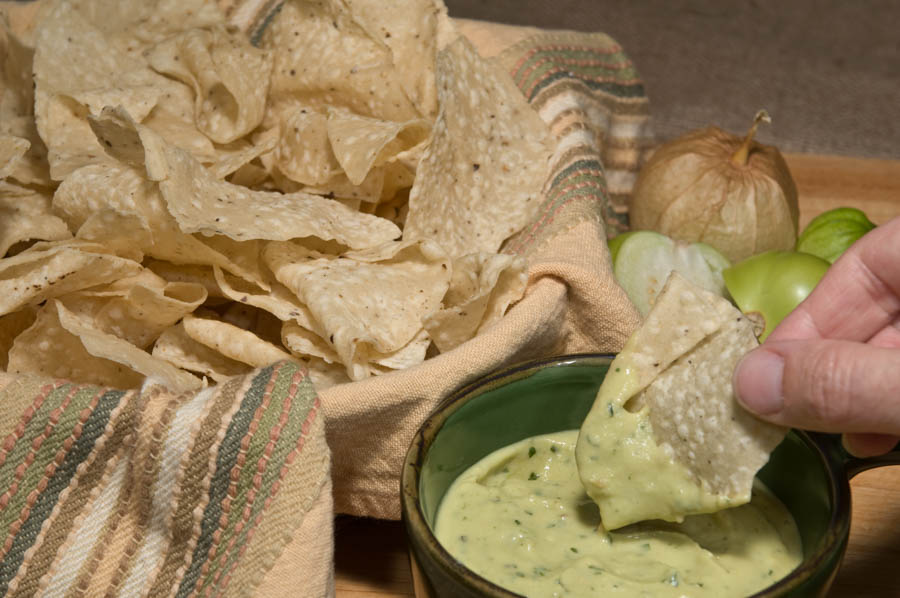
You can make the world famous Ninfa’s Green Sauce at home with your late season vegetables. Photo by Bruce Leander.
Ninfa’s Green Sauce
Recipe courtesy of The Original Ninfa’s on Navigation in Houston, Texas.
3 medium green tomatoes, coarsely chopped
4 fresh tomatillos, husks removed and chopped
2-3 jalapeños, coarsely chopped
3 garlic cloves, chopped
3 medium avocados
3 sprigs cilantro
½ tsp salt
1 ½ cups sour cream (no disrespect to Mama Ninfa but I use half this amount, and sometimes even substitute yogurt)
Combine tomatoes, tomatillos, jalapeños and garlic in a saucepan. Bring to a boil (tomatoes will cook down and release liquid), reduce heat and simmer 15 minutes. Remove from saucepan and cool slightly. Peel, pit and slice avocados. Place all ingredients in a blender with avocados. Add sour cream and blend until smooth. Spoon into a large bowl, cover with plastic wrap and refrigerate. Serve in small bowls as a dip for tortilla chips. Refrigerate leftovers.

Vegetable quesadillas are a great, lower cal way to use your late season veggies with a Southwestern flair! Photo by Bruce Leander.
Vegetable Quesadillas
1 mild pepper, diced
2 zucchini/yellow squash, diced
1 tablespoon oil
1 cup fresh corn kernels
2 small tomatoes, diced
¼ cup cilantro
1 tablespoon lime juice
4 flour tortillas
2 cups cheddar cheese, shredded
Heat oil in skillet and sauté peppers and squash 3-4 minutes. Add corn and cook 2 more minutes. Stir in tomatoes, cilantro and lime juice and season with salt and pepper. Set aside. Heat one tortilla in a non-stick skillet until lightly browned. Flip tortilla and top with ½ cup vegetable mixture, then sprinkle with ½ cup cheese. Top with second tortilla and carefully flip over. Heat 2-3 minutes, remove from pan, cut into 4 wedges and serve. Yield: 2-4 servings

Yum, yum, yum…if you have an aversion to slimy okra be sure to try this – no slime at all, I promise! Photo by Bruce Leander
Grilled Okra
Toss whole, dry okra pods in olive oil, season generously with salt and cracked pepper. Grill 10-15 minutes, until slightly charred and tender.

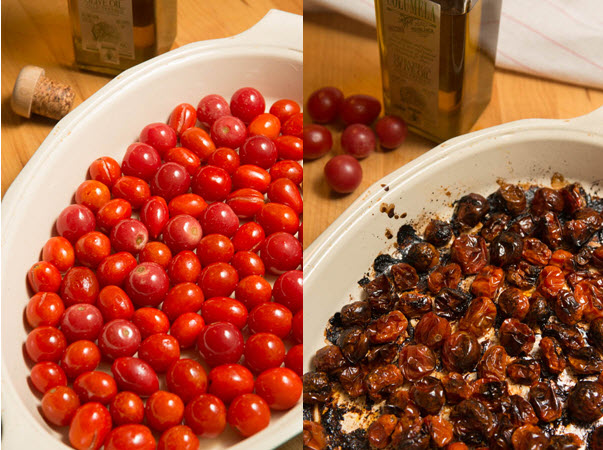
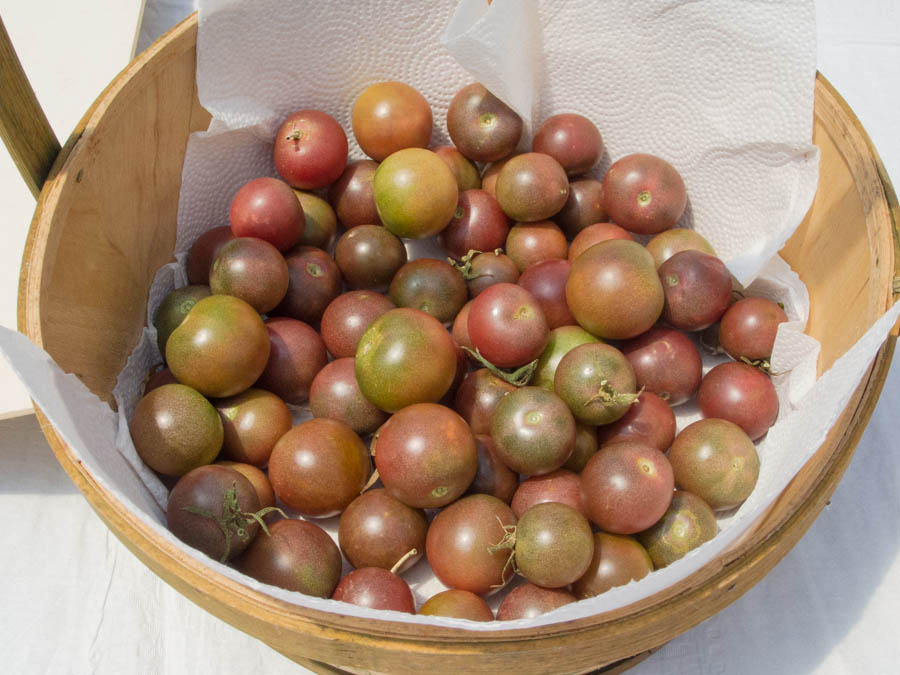
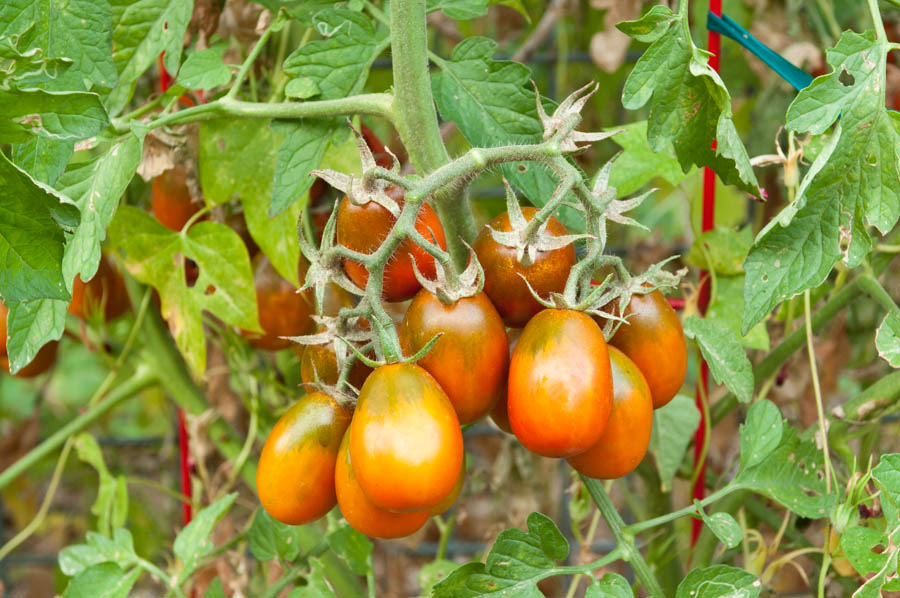
Roasting tomatoes really brings out their flavor! Photo by Bruce Leander
Roasted Cherry Tomatoes
Roasting tomatoes brings out an amazing, concentrated flavor – these beauties can be used in sauces, salads, sandwiches or simply as a savory snack. They don’t last long around my house, but they can be stored in the refrigerator for 2-3 weeks or frozen for up to three months without compromising the flavor.
Toss whole cherry tomatoes generously in olive oil, season with salt and pepper, and roast 4-6 hours at 300°.

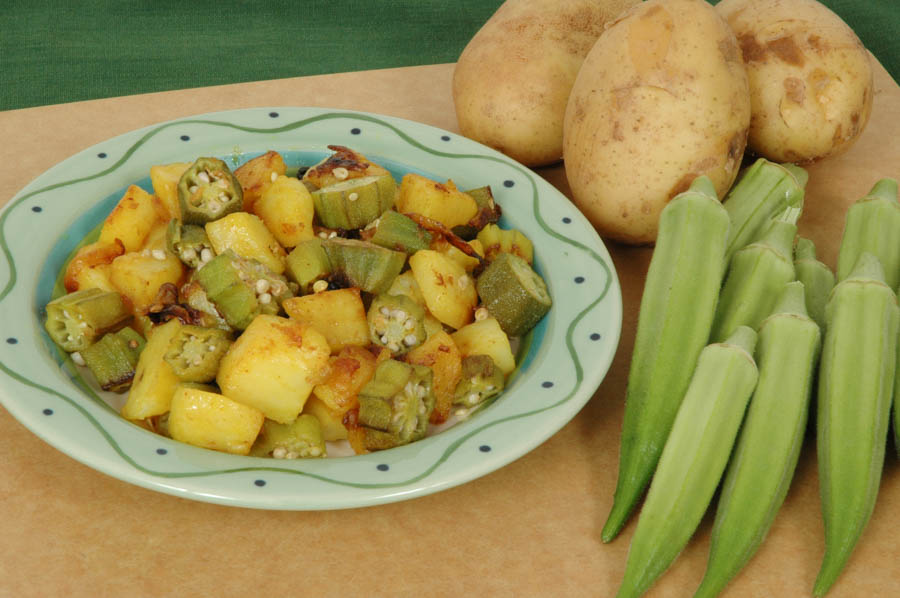
Spice up your summer with this Indian classic! Aloo Bhindi is another way to use your okra and the last of those spring potatoes. Photo by Bruce Leander
Aloo Bhindi
Potatoes and okra cooked with fragrant Indian spices.
2 tablespoon canola oil
2 medium potatoes, sliced
1 lb okra, sliced
1 medium onion, sliced
1 teaspoon salt
1 teaspoon coriander
1 teaspoon salt
½ teaspoon cumin
½ teaspoon garam masala
½ teaspoon turmeric
½ teaspoon cayenne
Heat oil in a large skillet. Add potatoes and cook until lightly browned,
5-10 minutes. Add okra and onion and cook gently over medium low heat
10-15 minutes. Add salt and spices. Mix gently, remove from
heat and cover pan. Let sit 5-10 minutes to absorb flavors before serving.

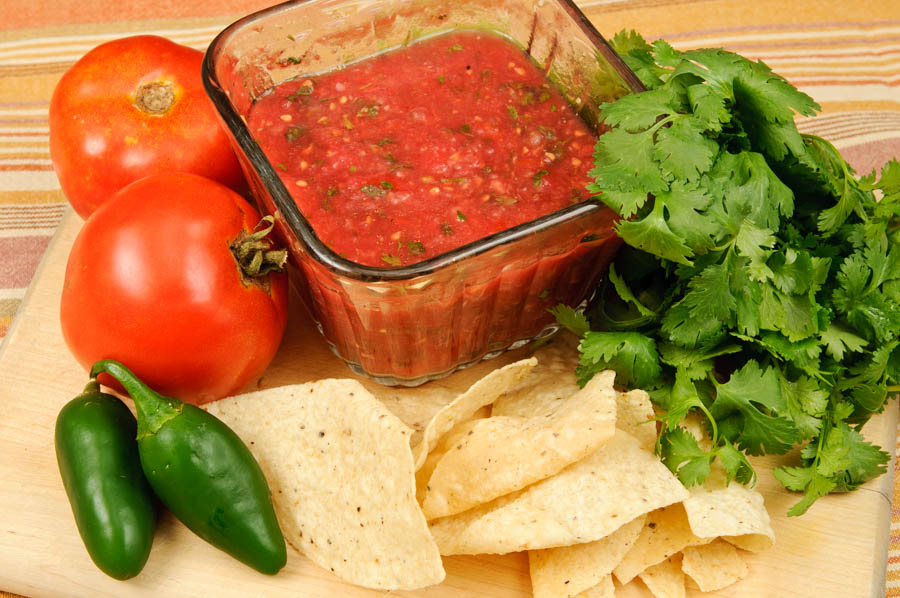
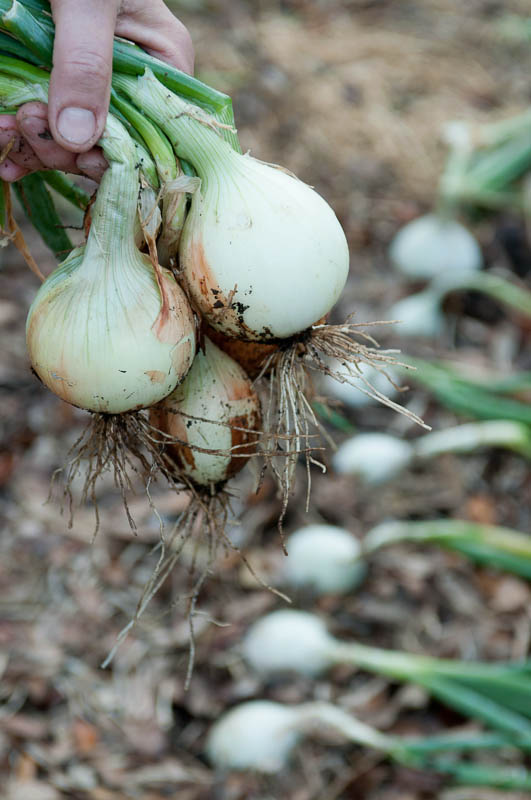
The really is nothing better than fresh salsa. In fact, I know several gardeners that grow nothing but onions, peppers, tomatoes and cilantro so they can enjoy this treat fresh and then can it for later. Photo by Bruce Leander
Salsa
4 fresh tomatoes, chopped (peeled and seeded if desired, but I usually don’t)
2-3 jalapenos, chopped
1 onion, chopped
1-2 cloves garlic, smashed
1/4 cup cilantro
1-2 teaspoon salt
1/2 teaspoon pepper
1/2 teaspoon cumin
2-4 tablespoon lime juice
1/2 teaspoon sugar
Chop the onion, jalapenos, garlic and one tomato in a blender or food
processor. Then add the seasonings and the remaining tomatoes, and blend
till it seems right. This is personal taste. You can leave it chunky but I
usually blend out most of the chunks. Then I taste and usually end up
adding more tomatoes, lime juice and sometimes another jalapeno. I let it sit a
bit and then go back and taste and adjust seasonings if necessary. It gets a little redder and a little spicier as it sits.
** You do not have to use a blender/food processor. If you prefer, finely chop the first five ingredients by hand, then stir in the seasonings and adjust to your taste.

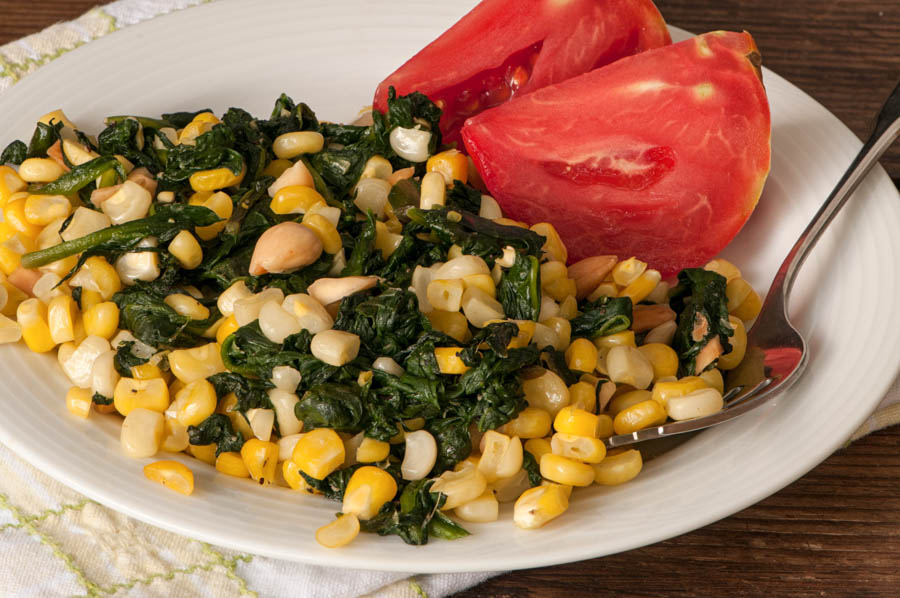
This corn recipe is another great way to enjoy your productive and heat loving malabar spinach. Phot by Bruce Leander.
Corn and Malabar Spinach Sauté
It’s hard to resist the fresh sweet corn that shows up at the supermarket this time of year. Pair it with your home-grown Malabar spinach for a quick and easy side dish. But don’t stop there – sauté sliced okra, zucchini, peppers and/or onion before adding corn and Malabar spinach.
1 tablespoon butter or olive oil
4 ears of sweet corn, husked and cleaned
1 clove garlic, minced
2 or 3 handfuls of Malabar spinach, coarsely chopped (it will cook down by almost half)
Salt and pepper to taste
Cut corn kernels from the cob. Sauté corn and garlic in a medium skillet for 4- 5 minutes. Add Malabar spinach and a tablespoon of water, cover and cook until wilted, 3-5 minutes. Season with salt and pepper and serve with Tabasco sauce, pepper vinegar or your favorite chopped herbs. Yield: 4 servings
BTW, this post has been shared on The HomeAcre Hop Be sure to check it out. It is full of great posts from homesteaders across the web.