Last week my wife and I left blogging and gardening behind and headed to New England for a little R&R. It was so cool and lush and beautiful. I saw lots of beautiful landscapes and vegetable gardens. I have to admit, everything up there was so pretty I had serious “garden envy”.
If you are a gardener then you know that July is the best time to leave your gardening chores behind for a while. The temperatures right now are so hot that even the bugs and the weeds have decided to take a break. Even though it is hot and dry there is still a lot that can be done in the July Texas Garden.
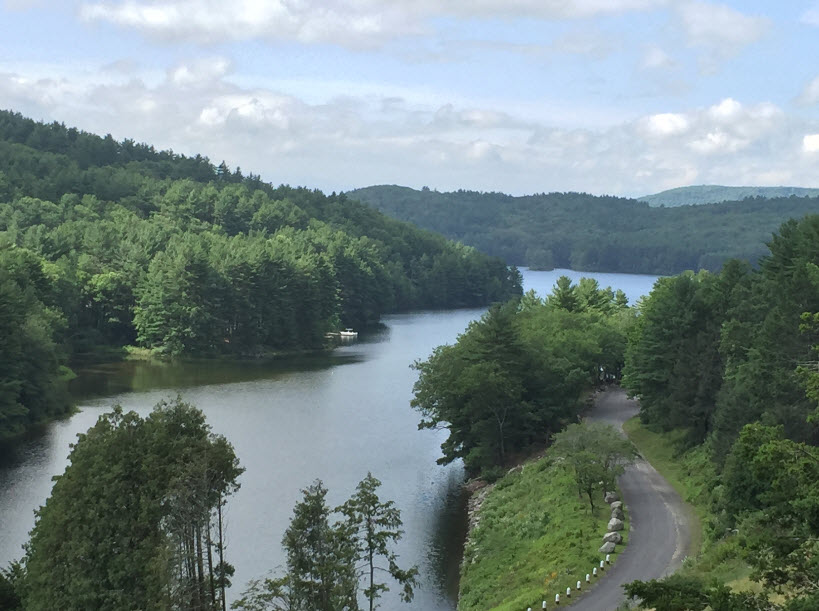
Sally and I spent a week in the Berkshires. It was so lovely and so cool!
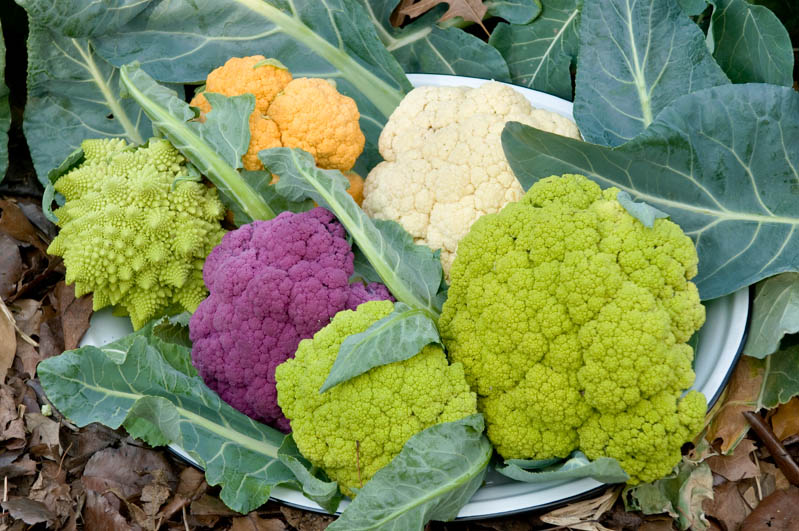
Vegetables
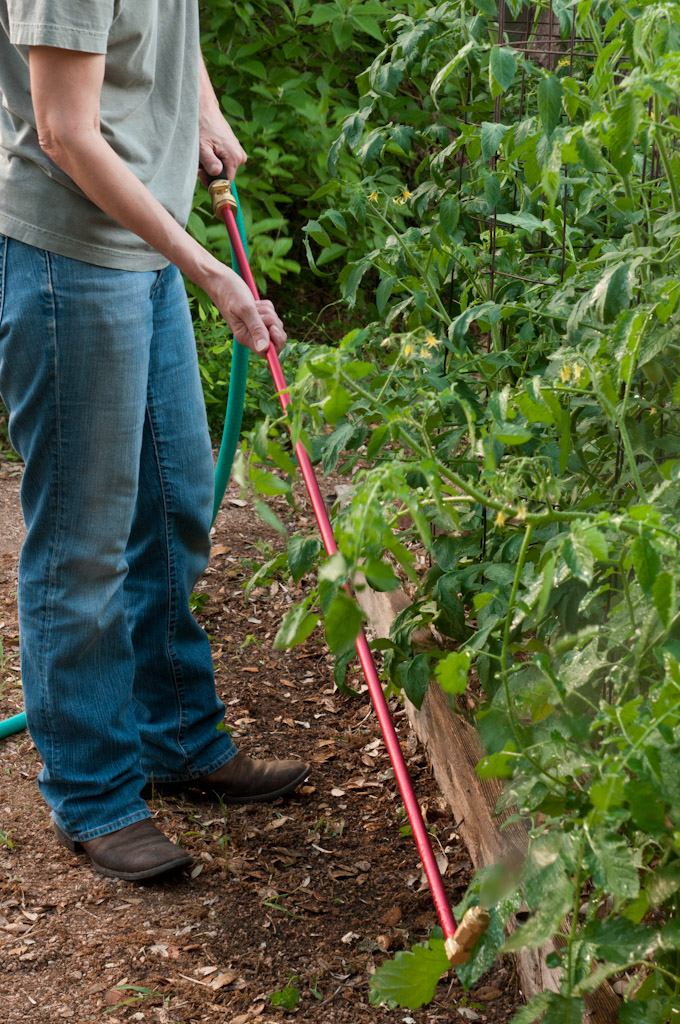
- Water correctly– It doesn’t matter how much rain we got in the spring, our gardens need watering now. Water deeply and more frequently. Use drip or soaker hoses if possible. Soaker hoses typically put out about an inch of water per hour. In this heat you may need to apply an inch of water every second or third day
- Stay Cool-This morning at my house it was 84 degrees at 8;00 am. If you are going to work outside take care to avoid heat exhaustion or dehydration. Patty Leander wrote a great post a while back about keeping cool in the Texas heat. Click on the link to read all of her tips: No Rest for the Weary-Summer Gardening Chores by Patty Leander
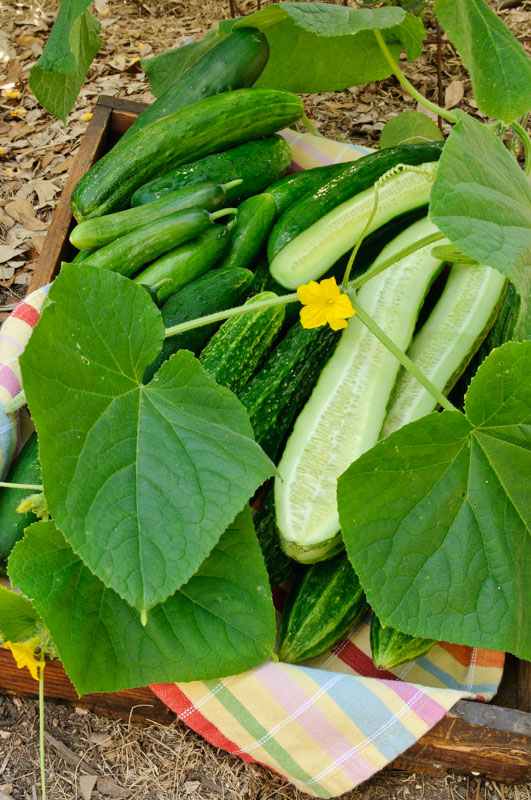
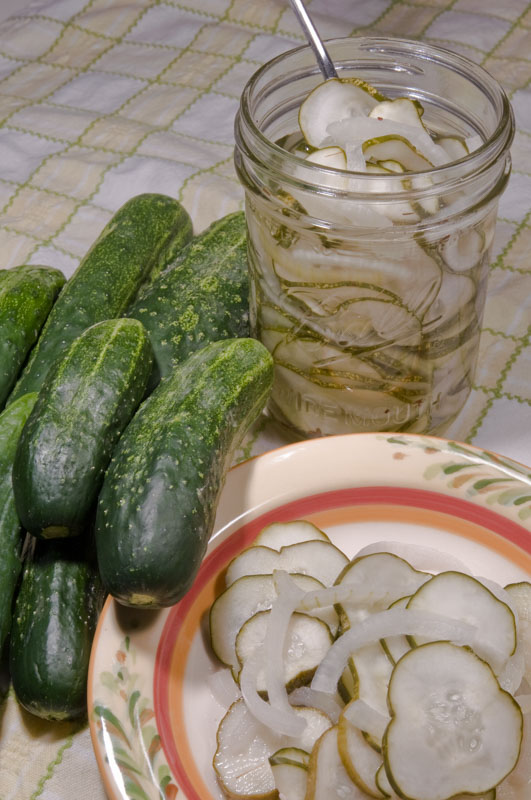
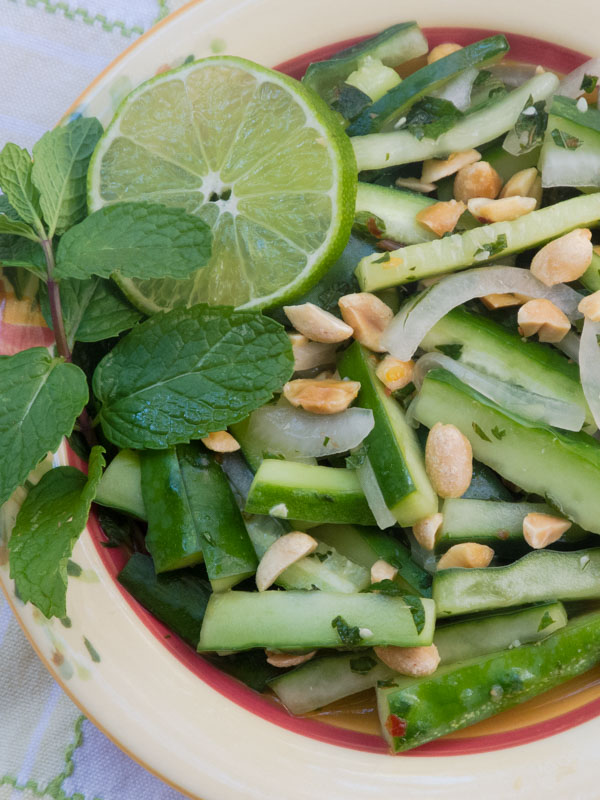
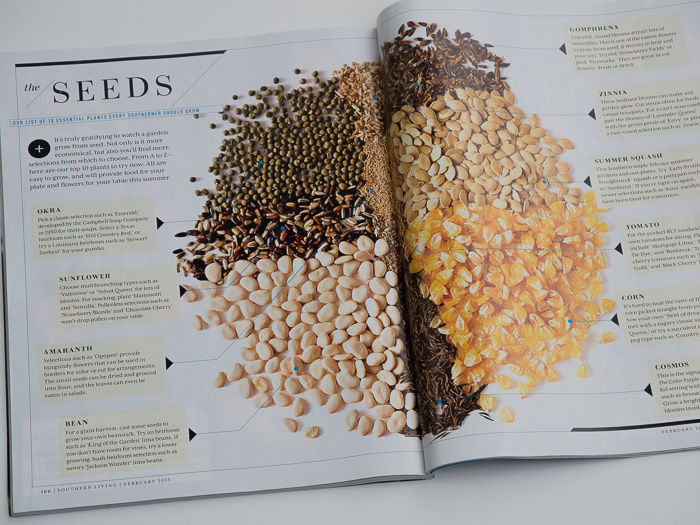
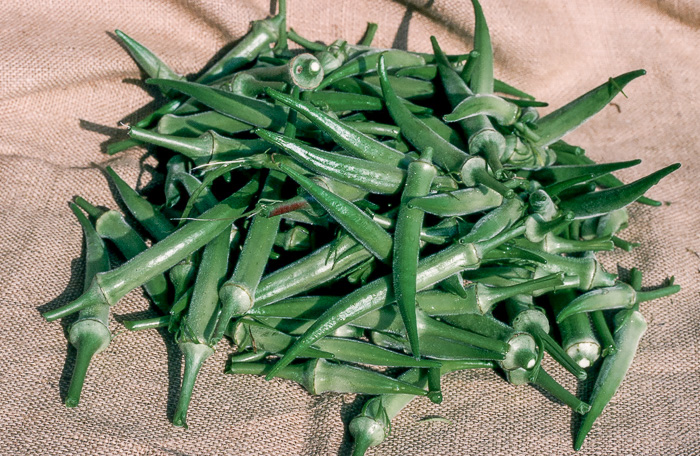
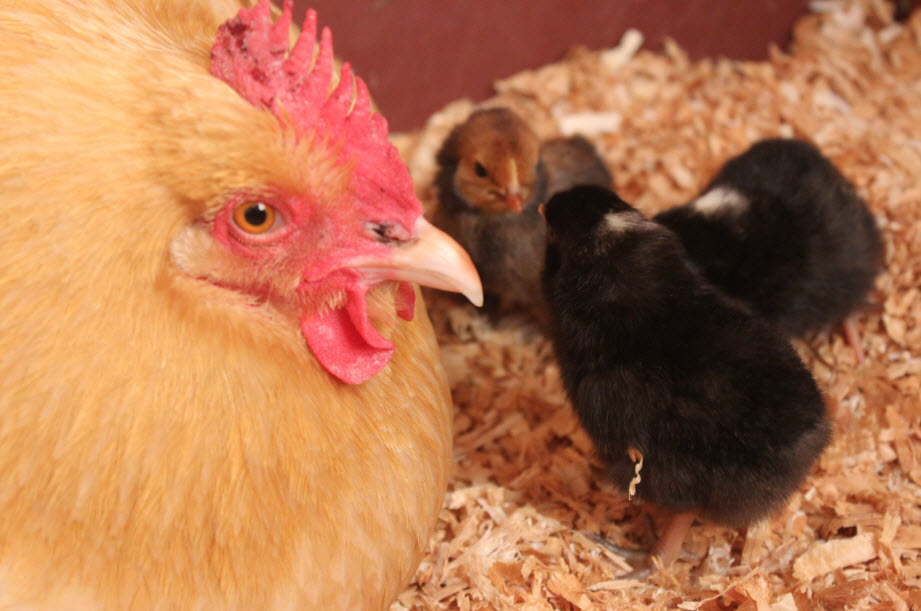
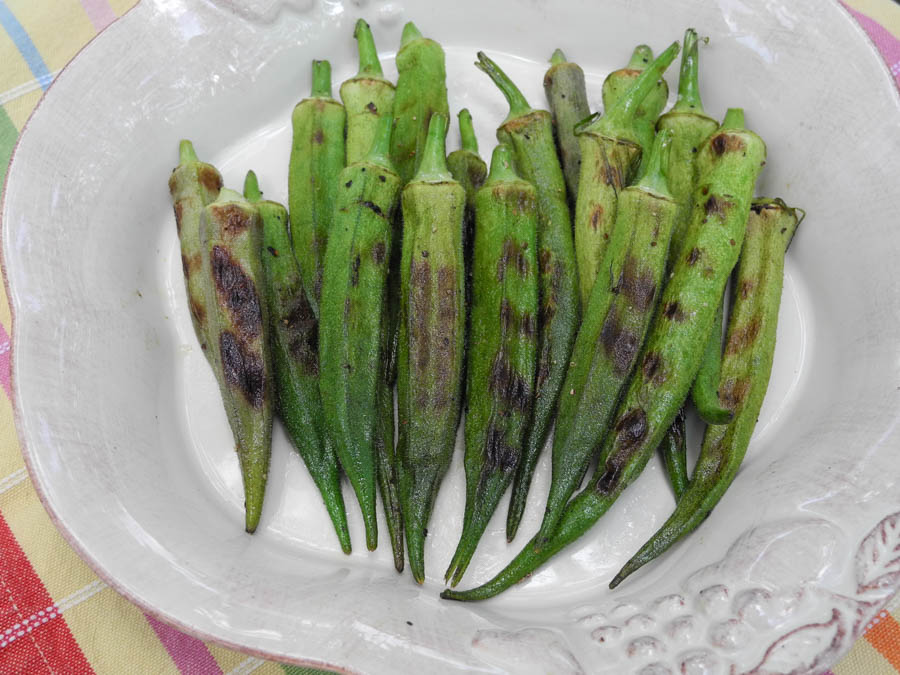
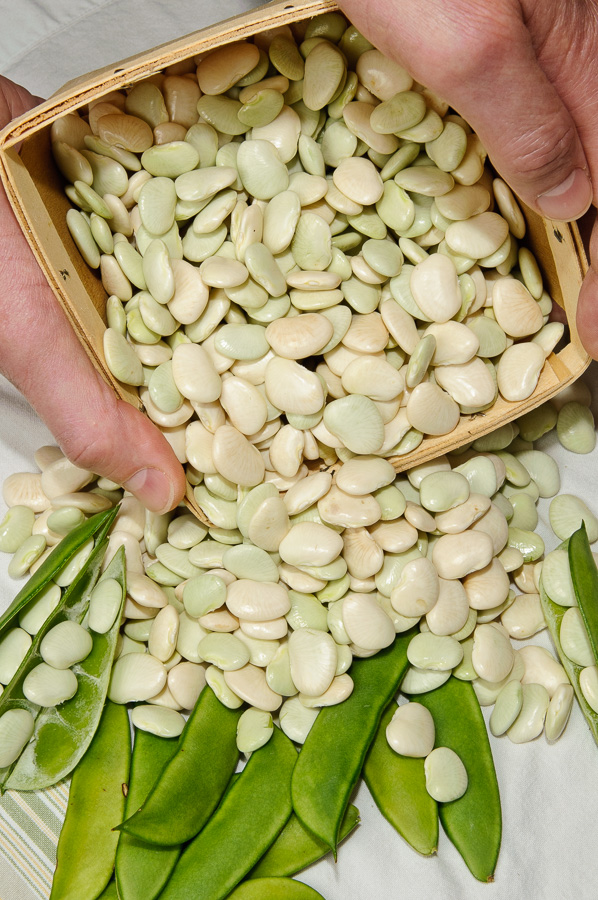
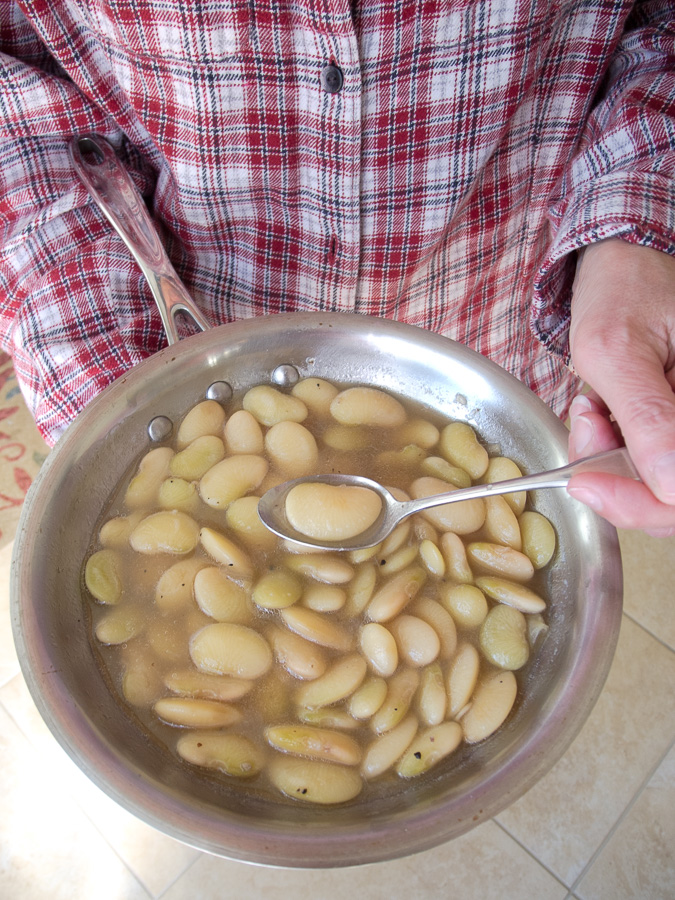
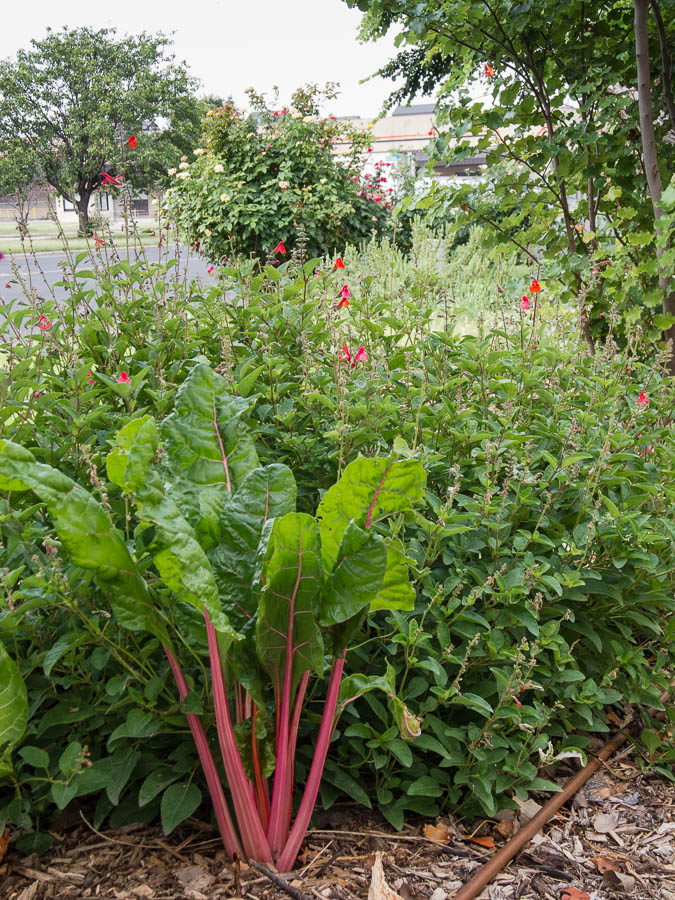
- Harvest okra, Southern peas, Malabar spinach and other heat loving veggies often– Some of these heat loving veggies are still producing. Pick often
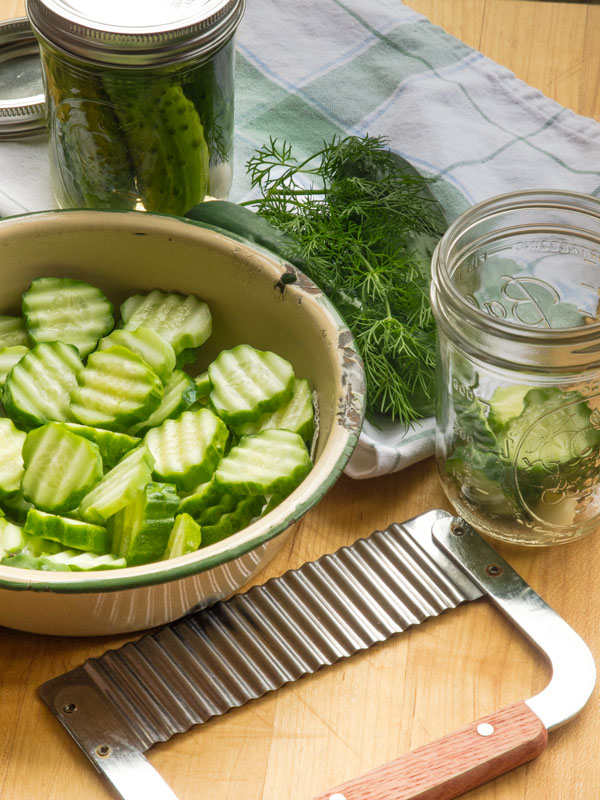
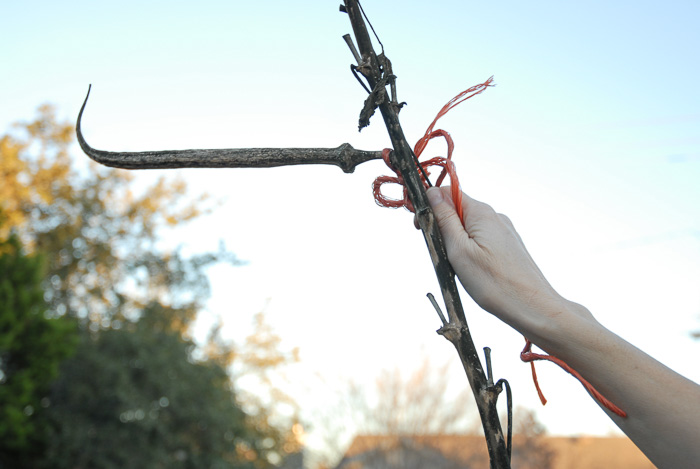
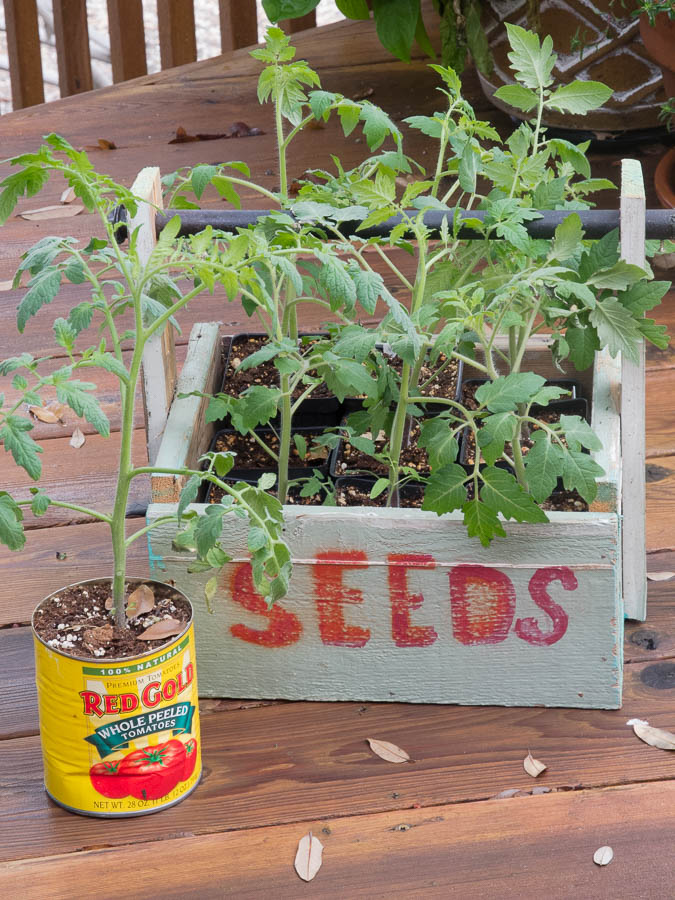
- Prepare beds for fall – This weekend I will pull out all of my spring cucumber vines. Once they are gone if will begin preparing the row for fall planting. I remove all remaining weeds. I also remove my old hay mulch and take it to the burn pile. The old hay is full of bugs and their eggs. Next I cover the entire row with about three inches of compost and then I cover everything with fresh hay. Come planting time I will push back my hay mulch, give the row a light till and then plant

I have never been to New England. I was impressed with all of the quaint cottages and lush landscapes.
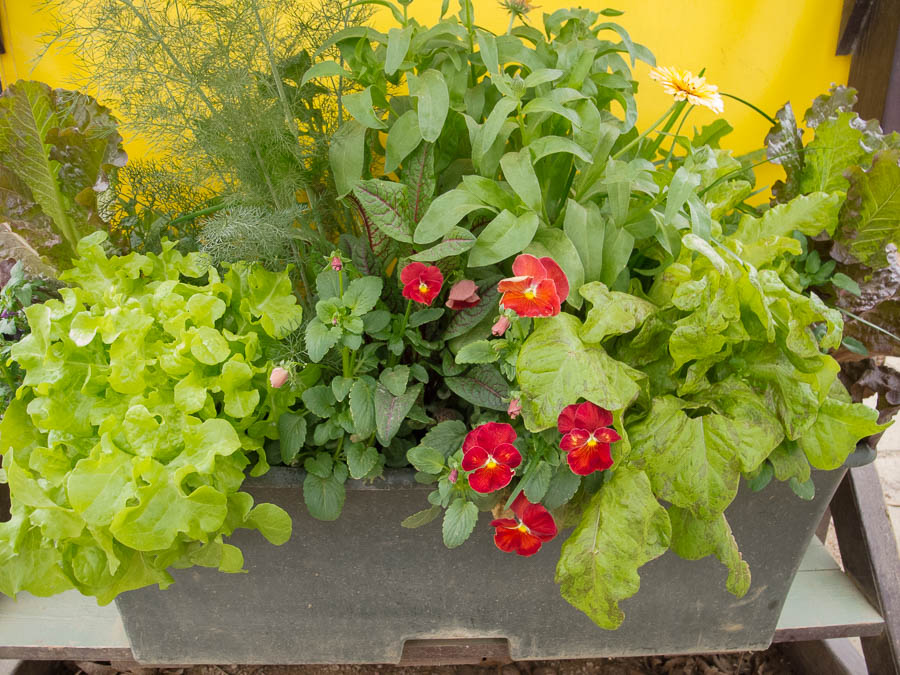
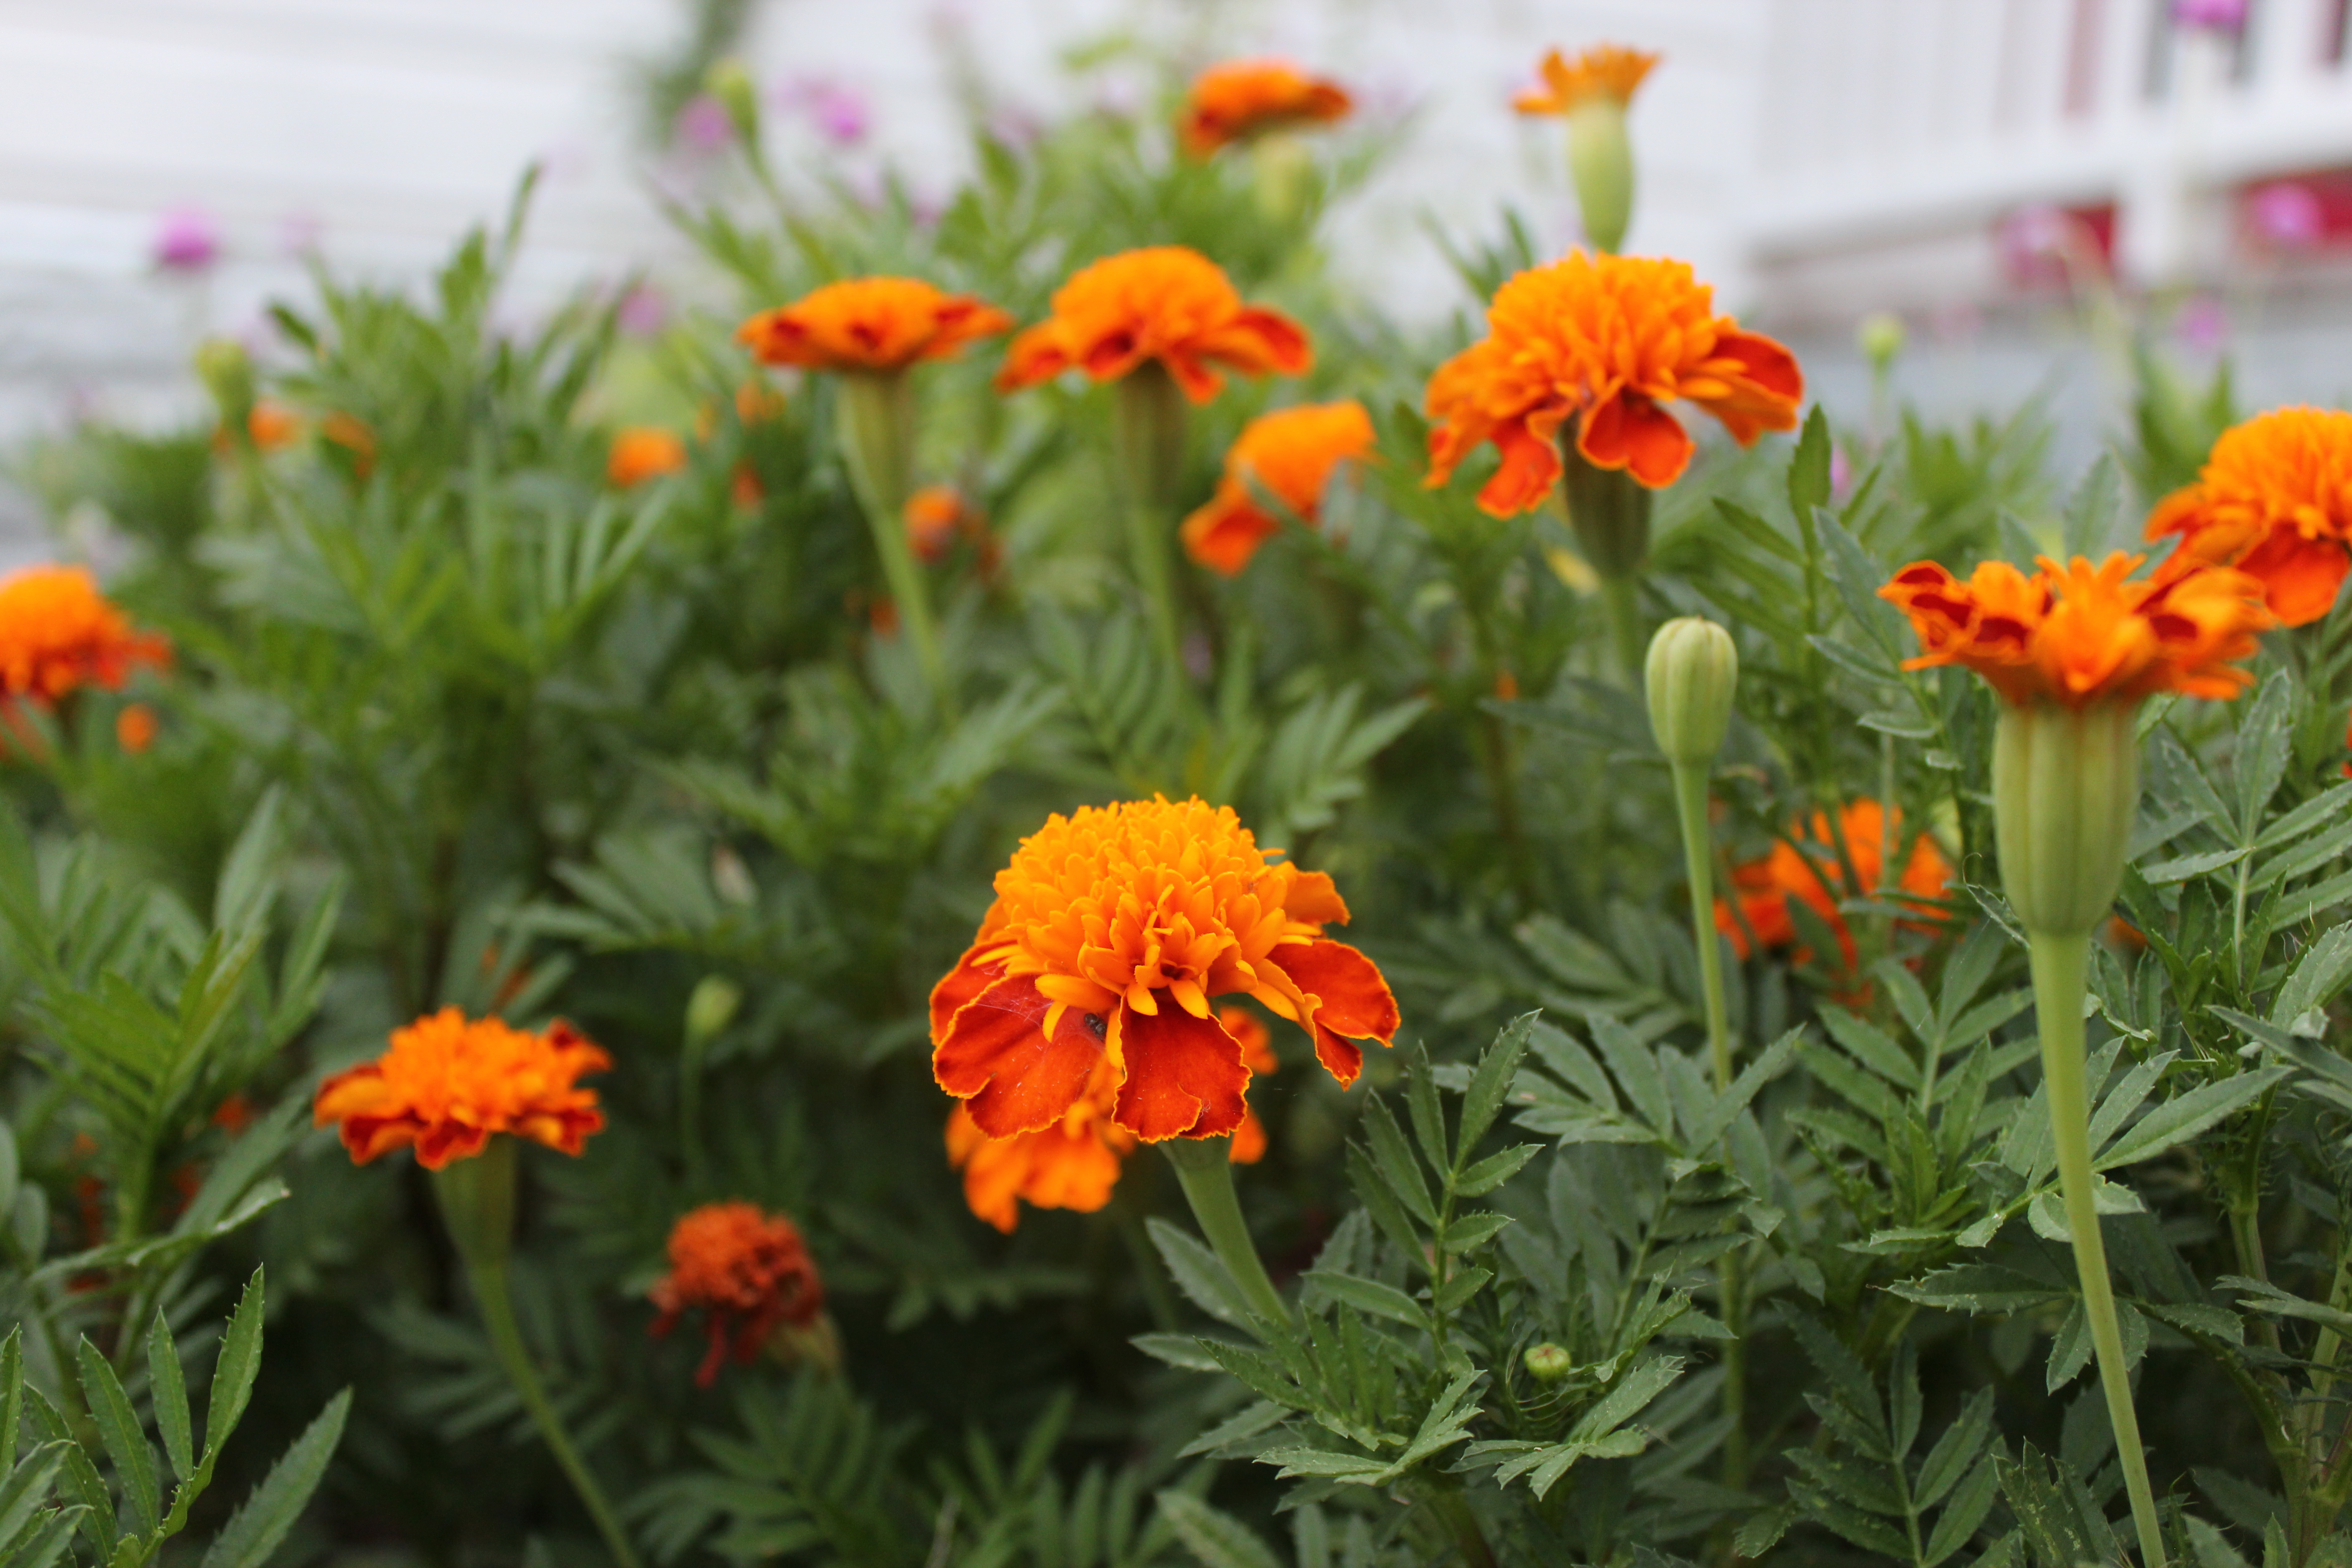
Ornamentals
- Water correctly and water frequently – If you see yellow or brown leaves, curled leaves, spotted leaves, etc. on your ornamentals, there is a good chance they have some water stress. The general rule of thumb in Texas is water deeply every five days. During July and August you may need to up your frequency to every second or third day
- Mulch, mulch, mulch!- I generally mulch my beds with finished compost. This gives me a two in one benefit. Mulch conserves water and by using compost you feed your plants at the same time.
- Control aphids and white flies – Use a strong blast of water to the underside of leaves or apply a mild horticultural oil like neem
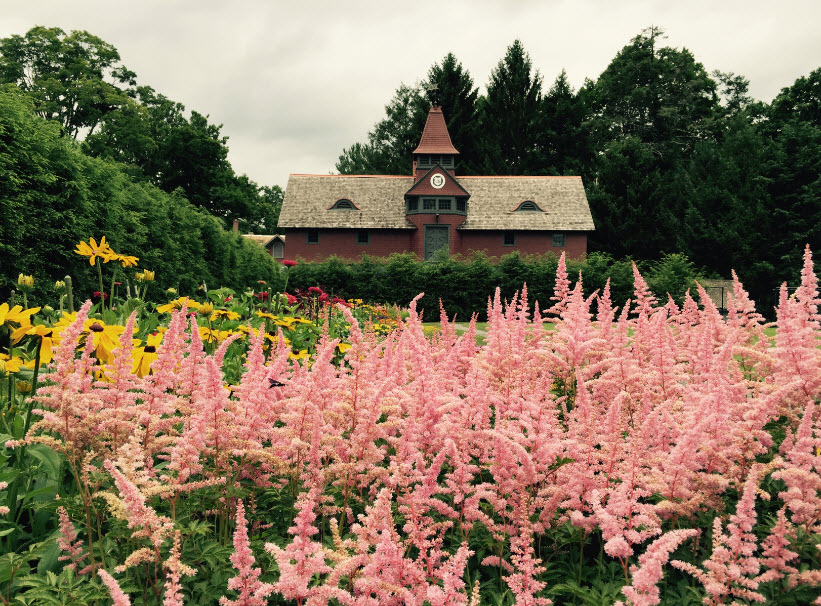
We visited the FDR house, museum and library. This is his horse stable. Wish I could have been one of his horses!
Trees and Lawns
- Water, water, water! – An inch of water every five days may not be enough for St. Augustine and Bermuda. Walk on your lawn. If your grass does not bounce back and fill your footsteps quickly you need to water. Trees and woody shrubs need frequent, deep waterings; especially ones that were planted in the last two years. Check out this article on tree watering from Denton County Extension Agent Janet Laminack – Tree Watering Basics by Janet Laminack
- Lift up the height of your mower deck – If you have been mowing at 3” raise it to 3 ½”. Taller grass will keep it and the soil cool
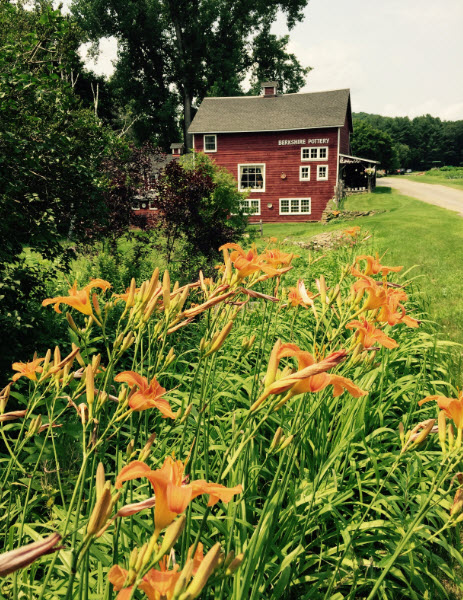
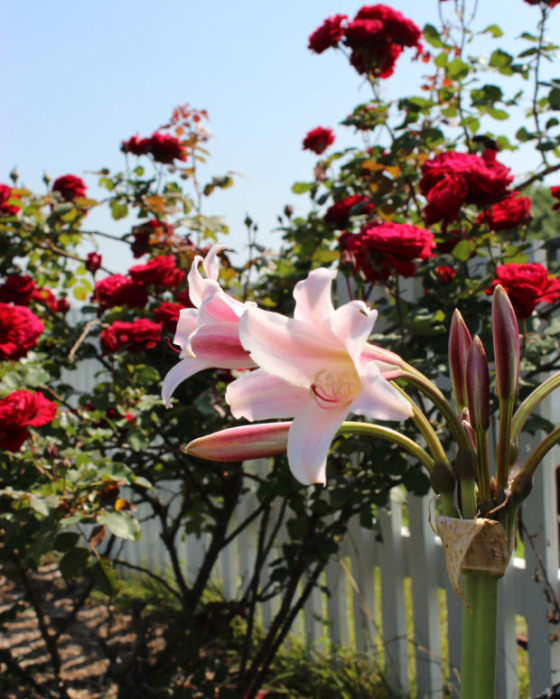
It is believed that these orange day lilies are the descendants of the first day lilies brought to the Americas. They grow, and spread, with abandon which has led to their common name of “ditch lilies”.
I share these posts on Our SimpleHomestead Blog Hop. Be sure to stop by. The “hop” has tons of great information from gardeners and homesteaders all over the world!