I love my little potager. It is truly the best gardening gift that I have ever given to myself. Not only does it provide my wife and I with all of the veggies, herbs and flowers that we need, it allows me to constantly experiment with plant selection and design concepts. Even though I want to produce as much food as possible in my small space, it is just as important to me that the beds of my potager are as attractive as they are functional.

Shallots and cauliflower in my triangular beds
Every August and February, I get out my graph paper and sketch out where I want to plant the several varieties of plants that I am going to grow. I pick plants that are tall and plants that are small. I will find plants that have interesting textures or colors that will break up all of the “green” in the beds. Even though I try several different varieties in each design, the one plant that I use in each and every one of my garden designs are shallots.
Shallots are the perfect plant for the potager. They are highly productive, easy to care for, have very few issues with disease or pests and their upright foliage is the perfect border. I use shallots in my designs much like most folks use mondo or lariope in their flower beds. Last year, I used them to line the fronts of my exterior beds. This year, I am using them as a middle planting in my triangular beds. The design for my triangular beds is based on the “Thriller, Filler and Spiller” design model. The beds will be made up of three different types of plants. I have selected cauliflower for the “thriller” component of the bed. I love the large scale and course texture of cauliflower and it will contrast nicely with the upright form of the shallots that I am using as my “Filler”. The outside border will have different varieties of leaf lettuce and spinach acting as the “Spiller”.

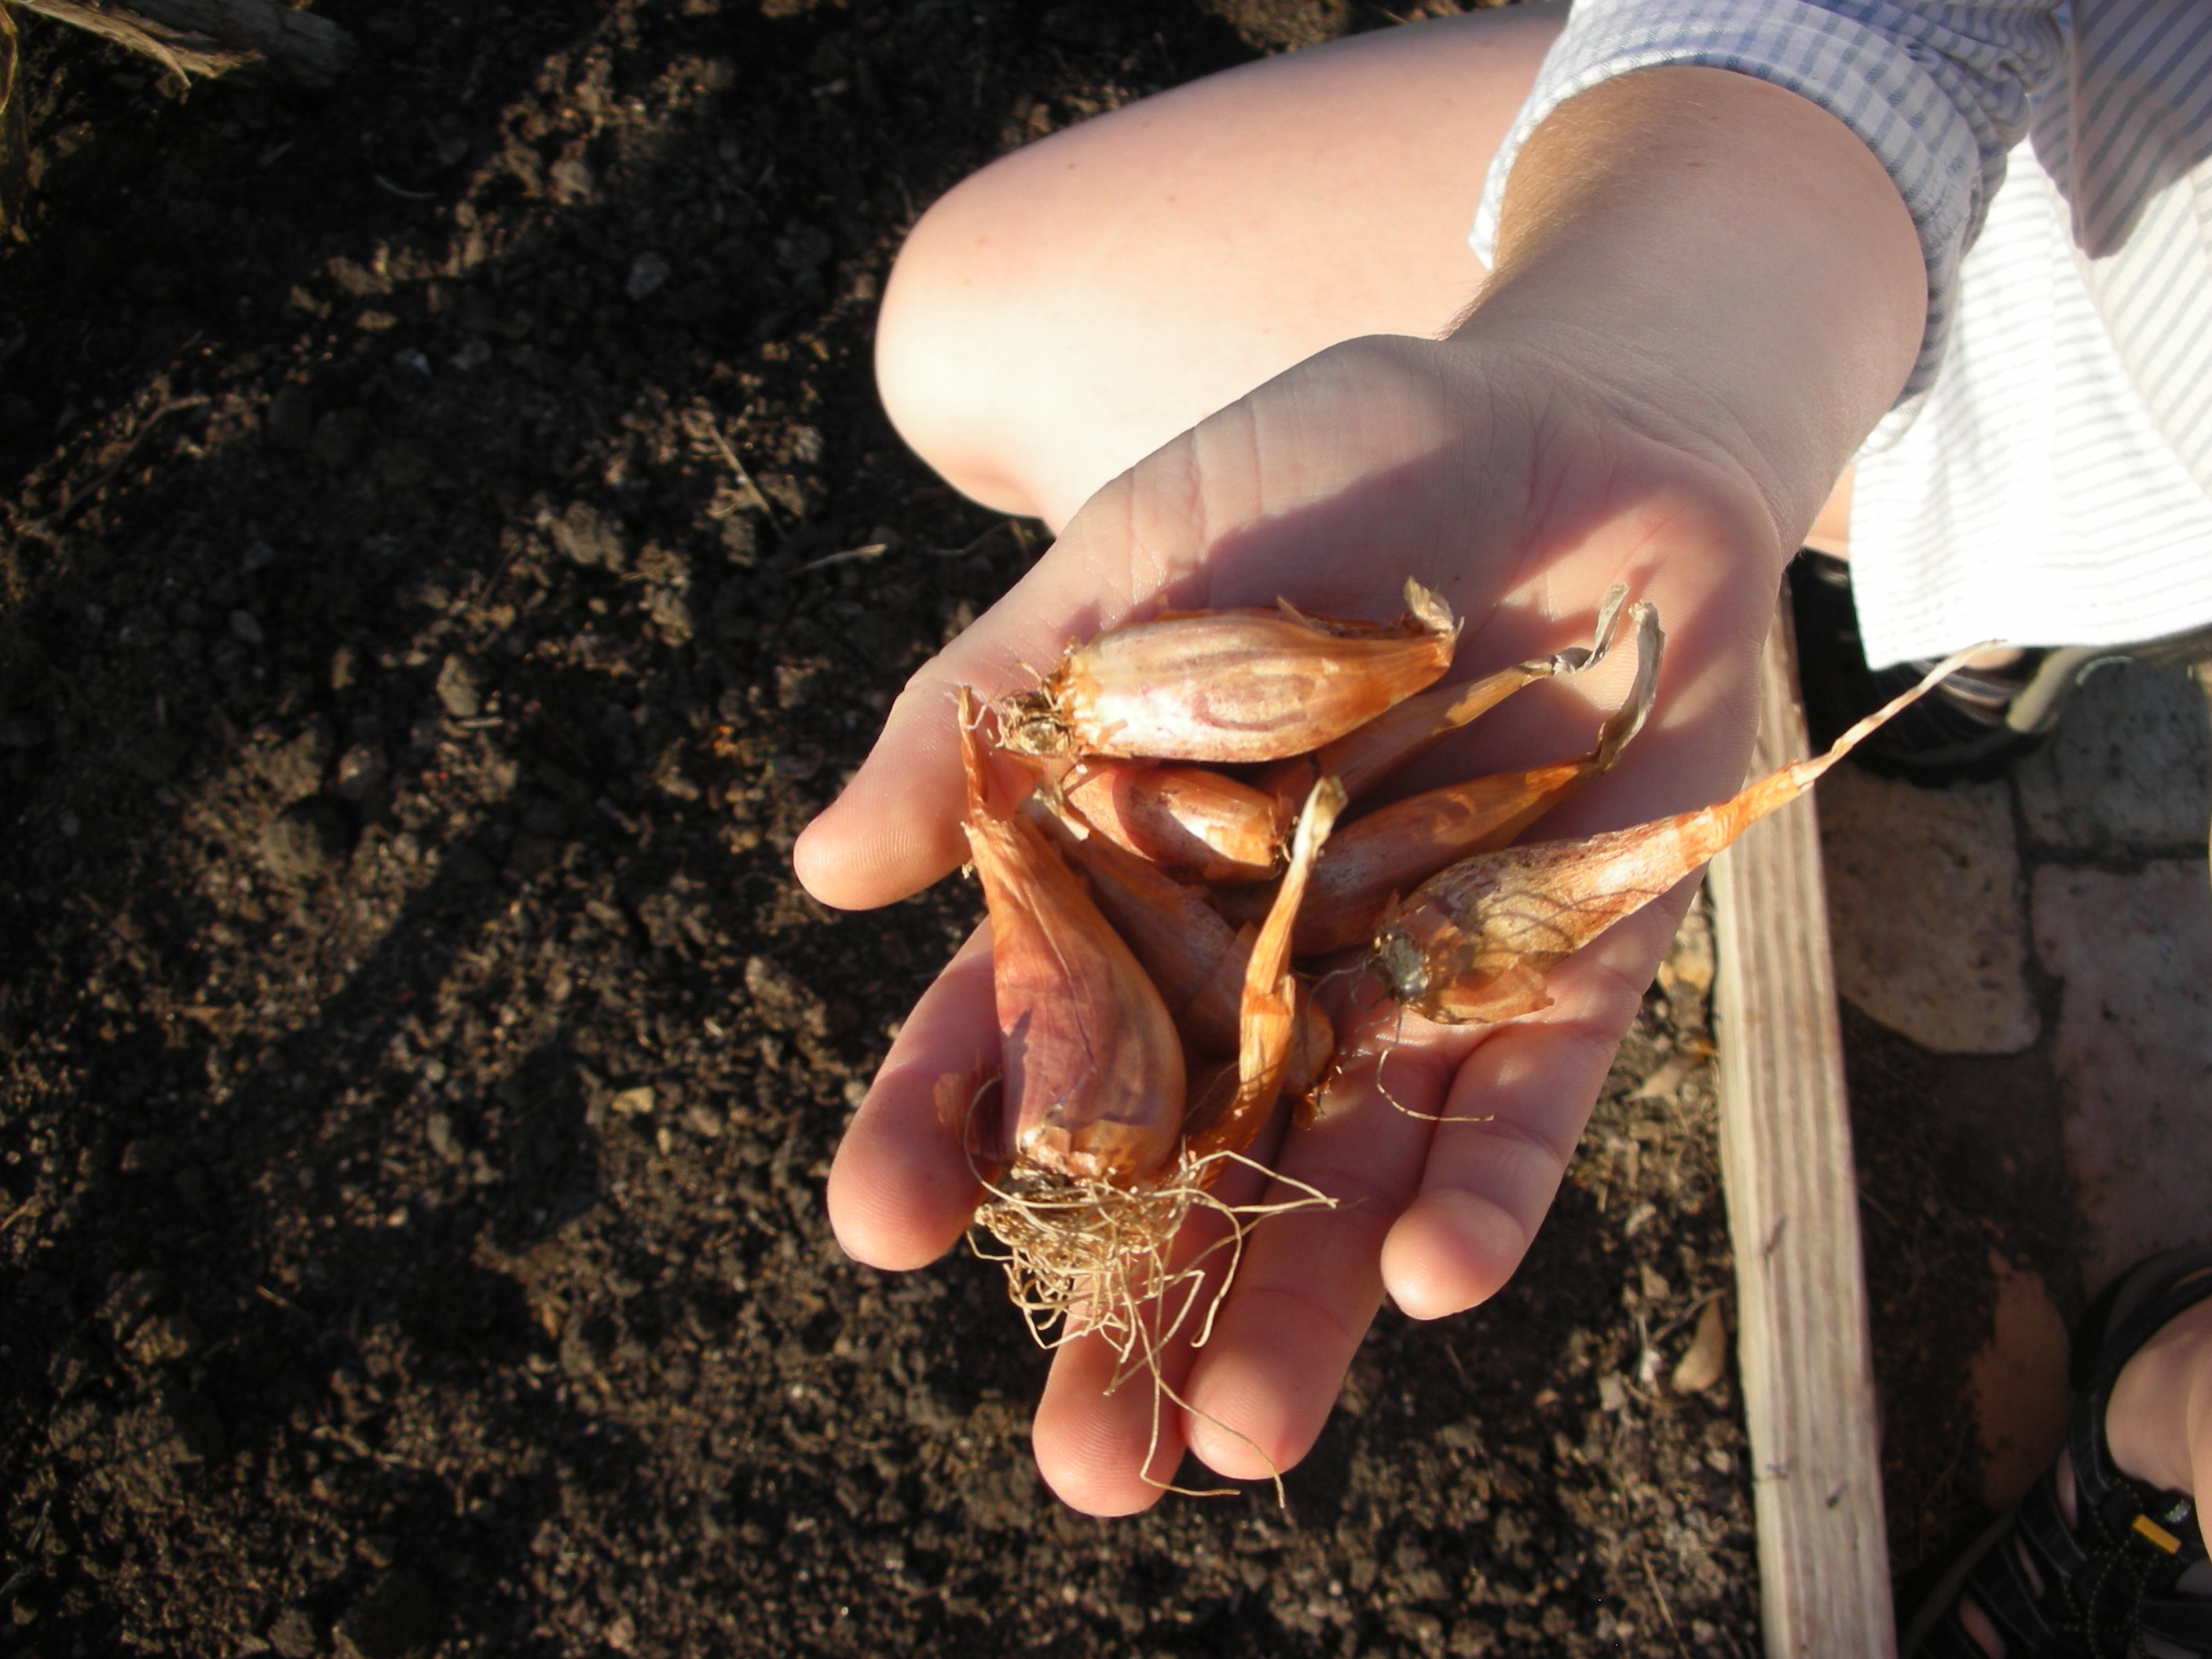
A handful of shallot "offsets". Some folks call the offsets bulbs. Whatever you call them, stick them in the ground just deep enough to cover the neck.
Background – Shallots (Allium cepa var. aggregatum) are often called dividing onions. They grow in clusters of offsets that make them look somewhat like garlic when harvested. Technically a perennial, they will continue to “divide” as long as they are left in the ground. Because of this, I never harvest all of my shallots. I always leave a few in the ground until I am ready to replant in the fall. This year I pulled up a single clump that had 43 offsets. Additionally, shallots are extremely cold hardy. Last winter was brutally cold by Texas standards. It got down to 18 at my house and we had several days below 24 degrees. Still, my shallots thrived.
I got my original shallots from Plants and Things nursery in Brenham. They are the only folks in the area that carry shallots. In fact, they grow them in their own garden on the back of the nursery property. This year, I needed a few more shallots to finish my bed design so I stopped in and visited with Mary Stolz. She told me that the shallots they sell came from a start she got several years ago at a Master Gardener’s event. Through the years, those few starts have yielded enough for them to be able to eat all they want and still offer plenty to their customers. In spite of this year’s drought, they have harvested three wash tubs full of these tangy little onions. That should tell you a lot about how prolific and reliable these small, bulbing onions are.

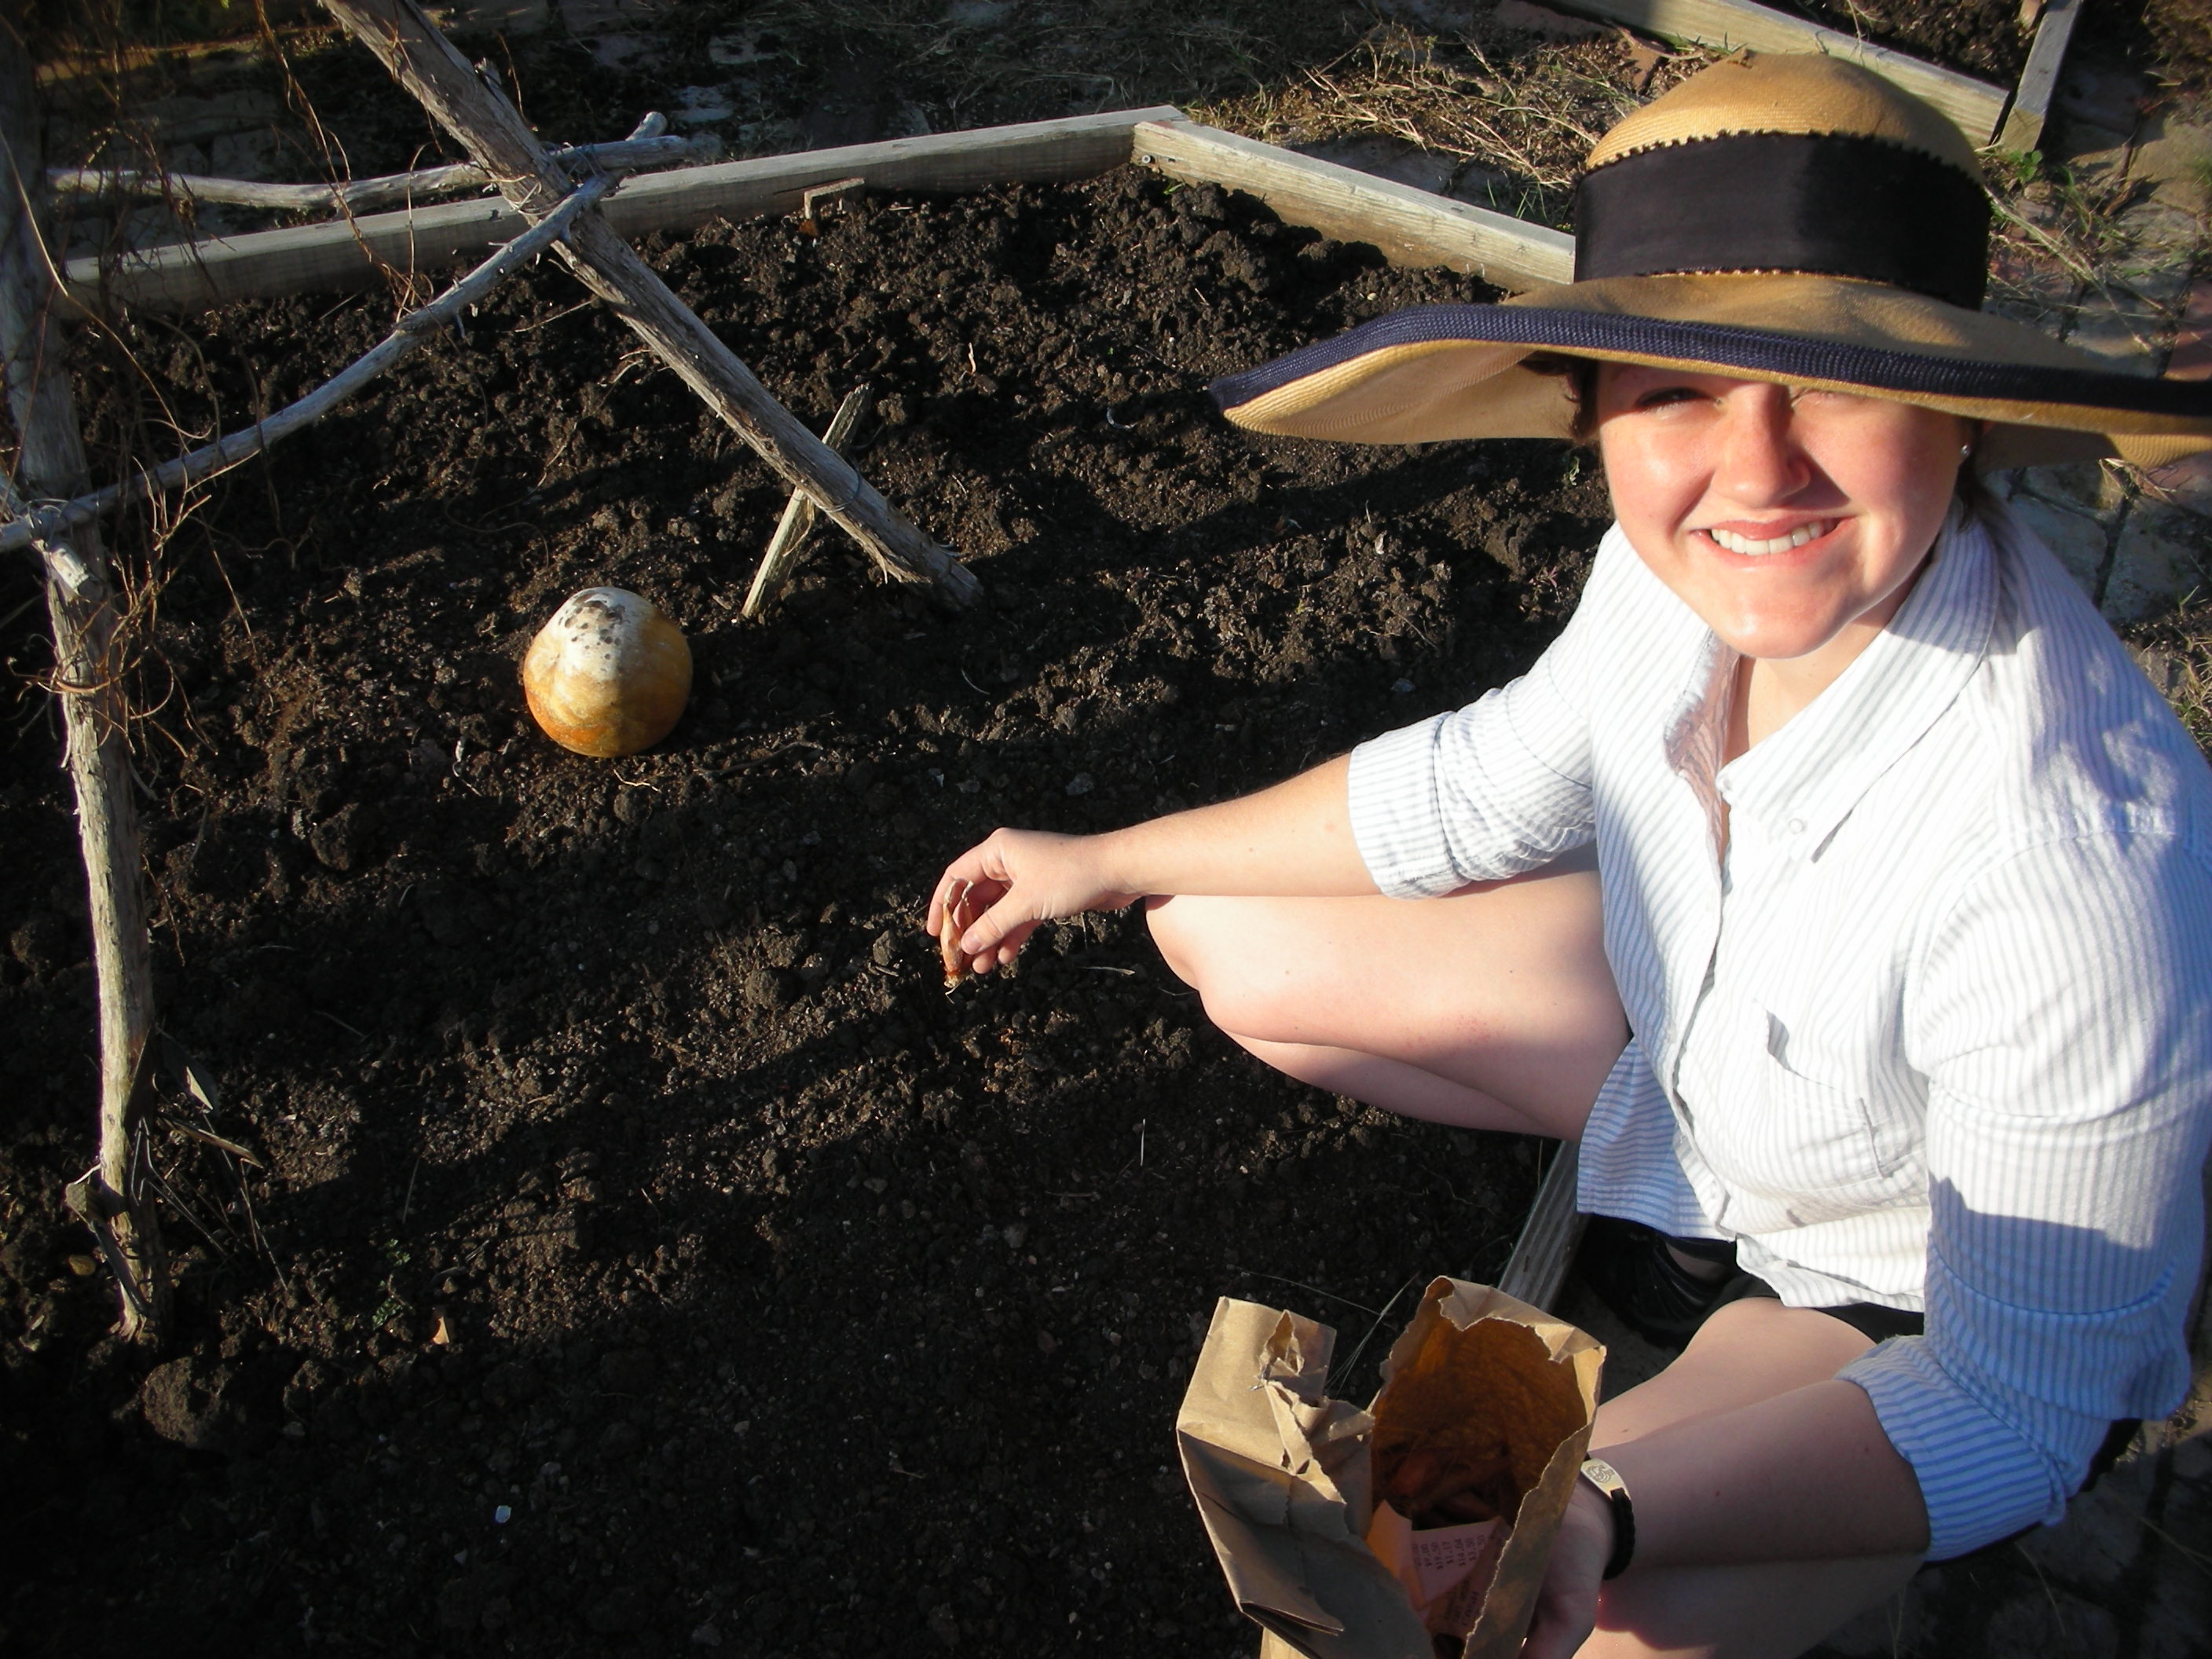
The yupneck's youngest daughter planting shallots in the potager. The round thing in the background is a fully ripe tatume' squash that I am drying for seed.
Planting – Shallots are grown just like regular onions (except you don’t have to worry about any day length issues). Plant them in the fall for an early summer harvest. Do not plant them in soil that has been recently manured. Shallots should be planted with the root scar down and the pointy end up. Stick them in the ground deep enough to just cover the top of the offset. Now all you have to do is water and weed. Some folks suggest pulling the soil back from their base once the roots set, but I have not found this to be necessary.
Harvesting/Curing/Preserving – Just like “regular” onions, the tops of the shallots will “fall over” when they are ready to harvest. However, you do not have to wait until they are fully mature to enjoy them. My wife and I use young shallots just like we use “green onions”. The tops are excellent chopped into a salad and the young offsets have a very strong flavor that I enjoy raw.
Since shallots are actually onions, they can be “cured” for later use. Cure your shallots just like you would cure any other onion (click the link to read the details of how to do this). The only difference in curing them, as opposed to regular onions, is that you need to divide your clumps into individual offsets before you cure them. Cured shallots can last up to six months if kept in a cool, dark place.
Another advantage that shallots have over regular onions is their ability to withstand your freezer. My wife and I chop up several small Ziploc baggies full of shallots and then stick them in the freezer. This makes it very easy for us to use them later in eggs, soups and casseroles. They do lose a little of their texture when frozen but they maintain that spicy flavor very well.
Store bought shallots are very expensive. If you eat a lot of shallots, then they are one of the few vegetables that you can grow and truly save money in the process. Because they are so productive, carefree, tasty and ornamental, shallots have earned the title of the only vegetable that has a guaranteed spot in my fall garden. Why don’t you stop by Plants and Things today and give them a try in your own garden?


