Have you seen the picture on Pinterest and Facebook that says bell peppers with three lobes are “male” peppers and those with four lobes are “female”? Well, it is very popular right now and very, very false. This is one of those times where you can’t believe everything you read. All peppers (and all of their family members-tomatoes, potatoes and egg plants) come from plants that produce flowers that have both male and female parts. These flowers are called “perfect” flowers in the botanical world. Because of this, there is absolutely no need for “male” or “female” fruits. Each little flower has all it needs to produce a fruit full of seeds that will in turn grow into plants that produce more “perfect” flowers. While there are plants out there that do produce only male or only female plants, bell peppers are not one of them.
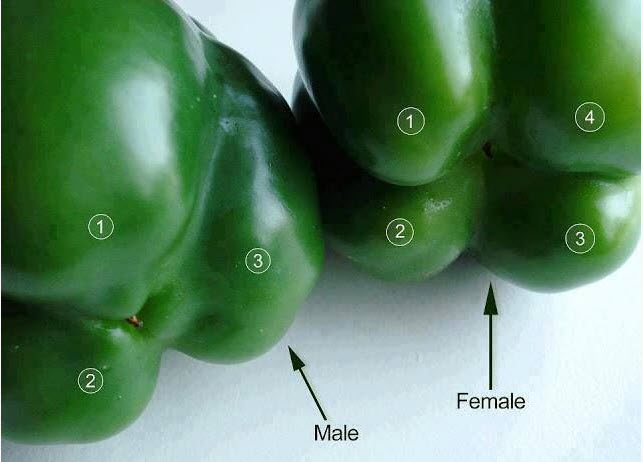
I don’t know who originally posted this, but it is 100% incorrect.
This is just one of many false “horticultural facts” that I see on the internet. I could literally do an entire post on them. However, I am going to move away from this and tell you some real, verifiable facts about bell peppers. First, bell peppers are the most commonly grown pepper in the United States. According to the National Nursery survey, 46% of gardeners grow them every year. Second, according to the same survey, bell peppers are the third most popular vegetable grown in American gardens. Third, the bell pepper is the most consumed pepper in America. According to the Agricultural Marketing Resource Center, Americans eat 9.8 pounds of them per year. And finally, bell peppers are the only peppers in the genus that do not produce capsaicin. Capsaicin is the compound that makes most members of the genus Capsicum hot. In my opinion, it is this missing capsaicin that makes these peppers appeal to so many Americans.
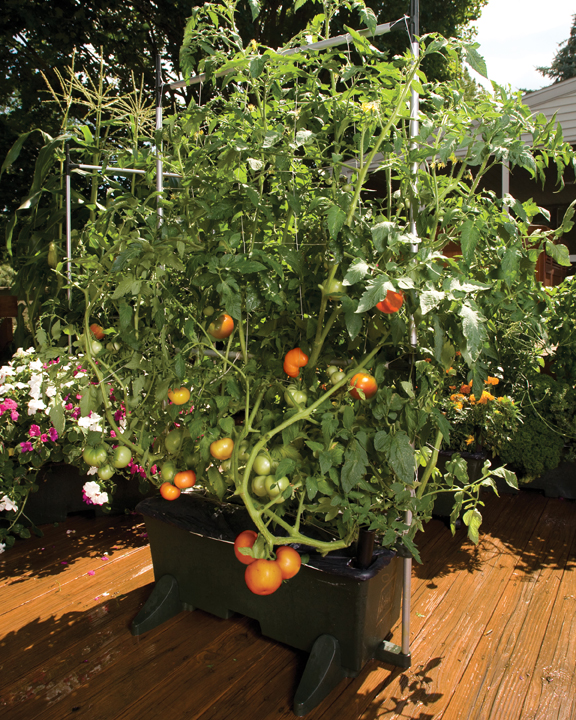
Bell Peppers are relatively easy to grow and they are relatively pest free. They have the longest growing season of any of the annual vegetables that you will plant. Transplant them as soon as the threat of freeze has passed and you will be able to harvest fruit until the first killing frost.
Big Bertha did great in last year’s garden!
In my opinion, the hardest part of growing bell peppers is finding the right variety for your area. Through the years I have grown many different varieties. Some have been much more successful than others. Some of the better ones for my Zone 9 garden have been “Big Bertha”, “Blushing Beauty” and “California Wonder”.
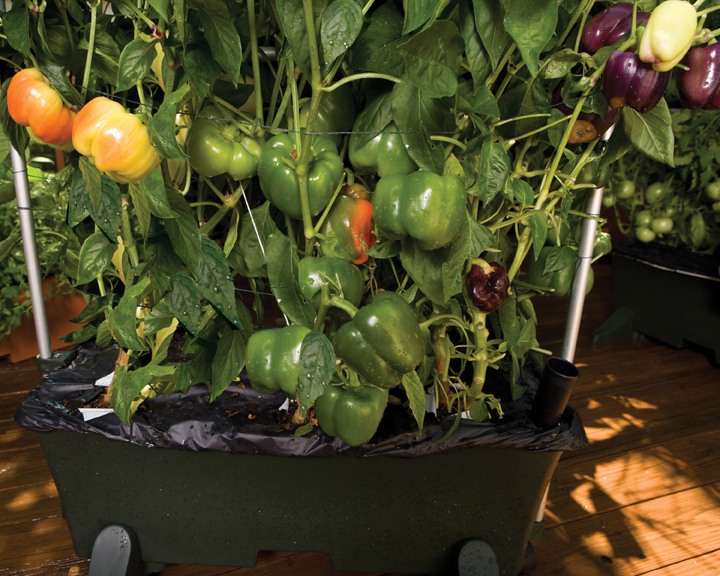
This year, I am growing a variety called the Better Belle Hybrid. I ordered my seeds from Tomato Growers Supply (http://www.tomatogrowers.com/) in January and grew my own transplants. I ordered “Better Belle Hybrid” because (according to their website) it is a thicker walled and earlier producer than the original Better Belle. It is a vigorous, long season producer of green fruit that will turn red on the vine. Basically, I ordered it because it claims to have everything going for it that I look for in a bell pepper.
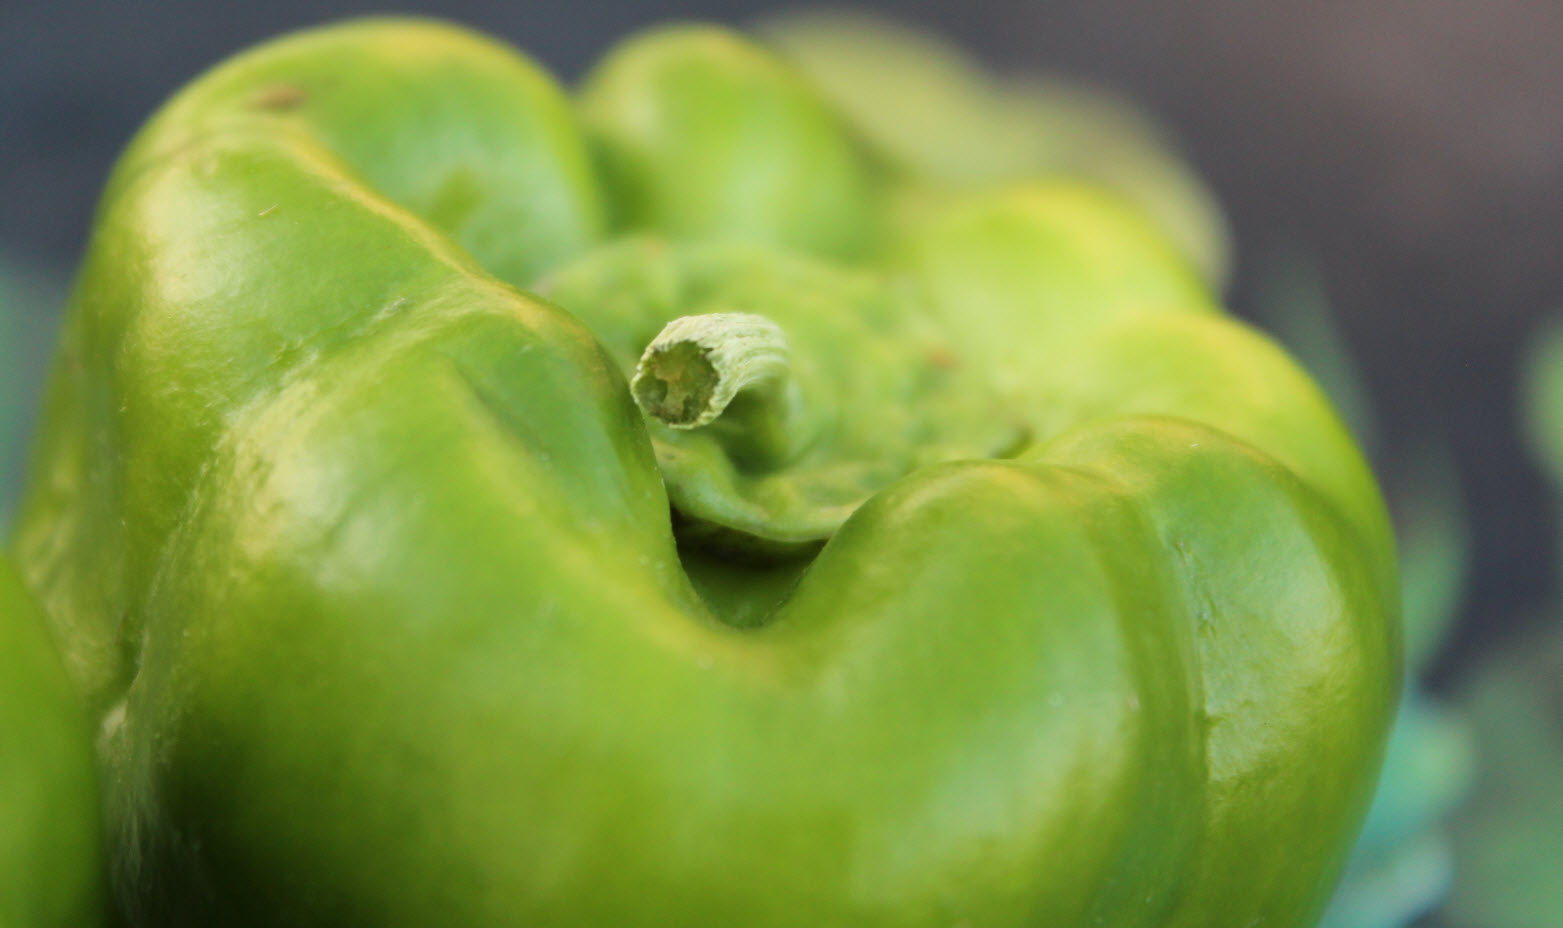
Bell pepper foliage can be brittle. Because of this I never “pull” the peppers off of the vine.
Growing – Bell peppers require full sun so place them in the sunniest part of your garden. They also need at least an inch of water per week. When it gets really hot, I up that to about an inch every four days. Bell peppers love rich, loose, well-draining soil that has been thoroughly worked with compost. If you want to ensure the biggest, firmest and most thick walled bell peppers consider adding dolomite (rock dust that is high in calcium and magnesium) to the soil before planting. If the soil, sun and water are right, you can expect to start harvesting your first peppers 45 to 60 days after transplant. Bell peppers are always the first pepper to produce in my garden. Peppers will produce well until temperatures go above 90F, then their production will fall. However, if you add more organic material at this time and continue to water, your peppers will continue producing right up to the first freeze. In fact, my plants generally produce more in the fall than they did in the spring.
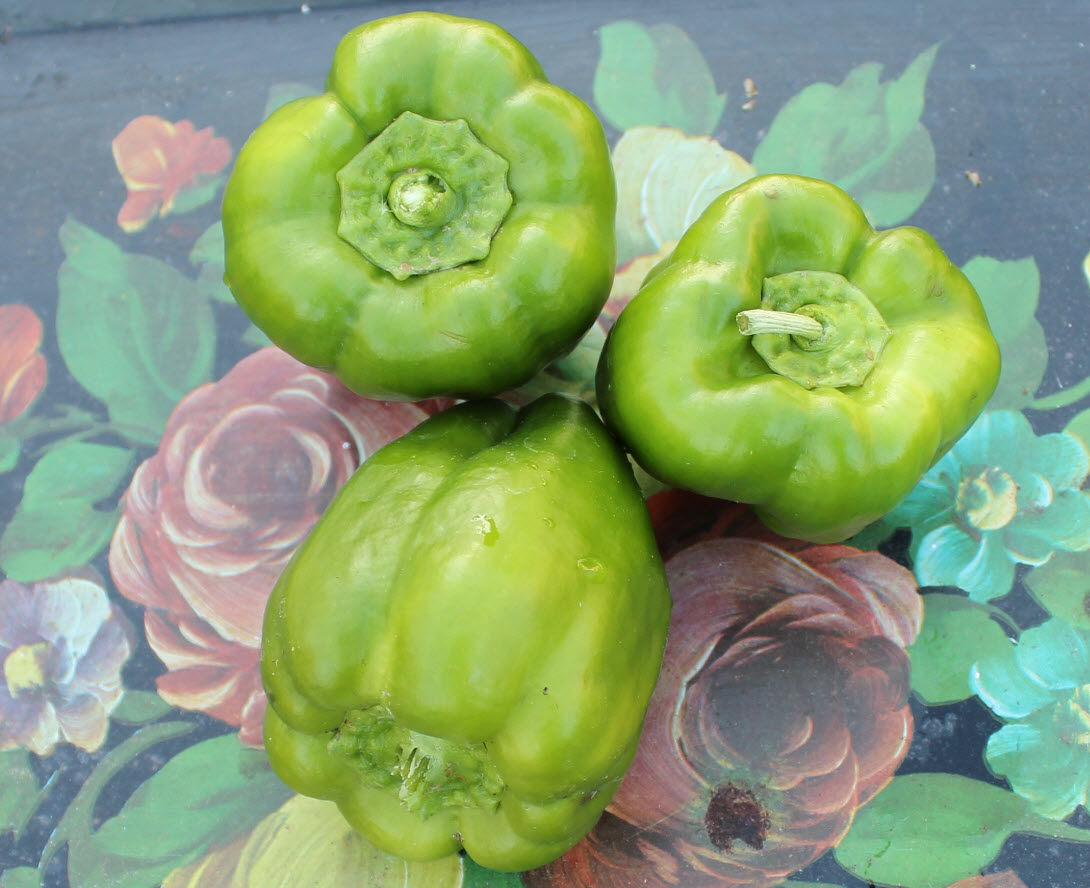
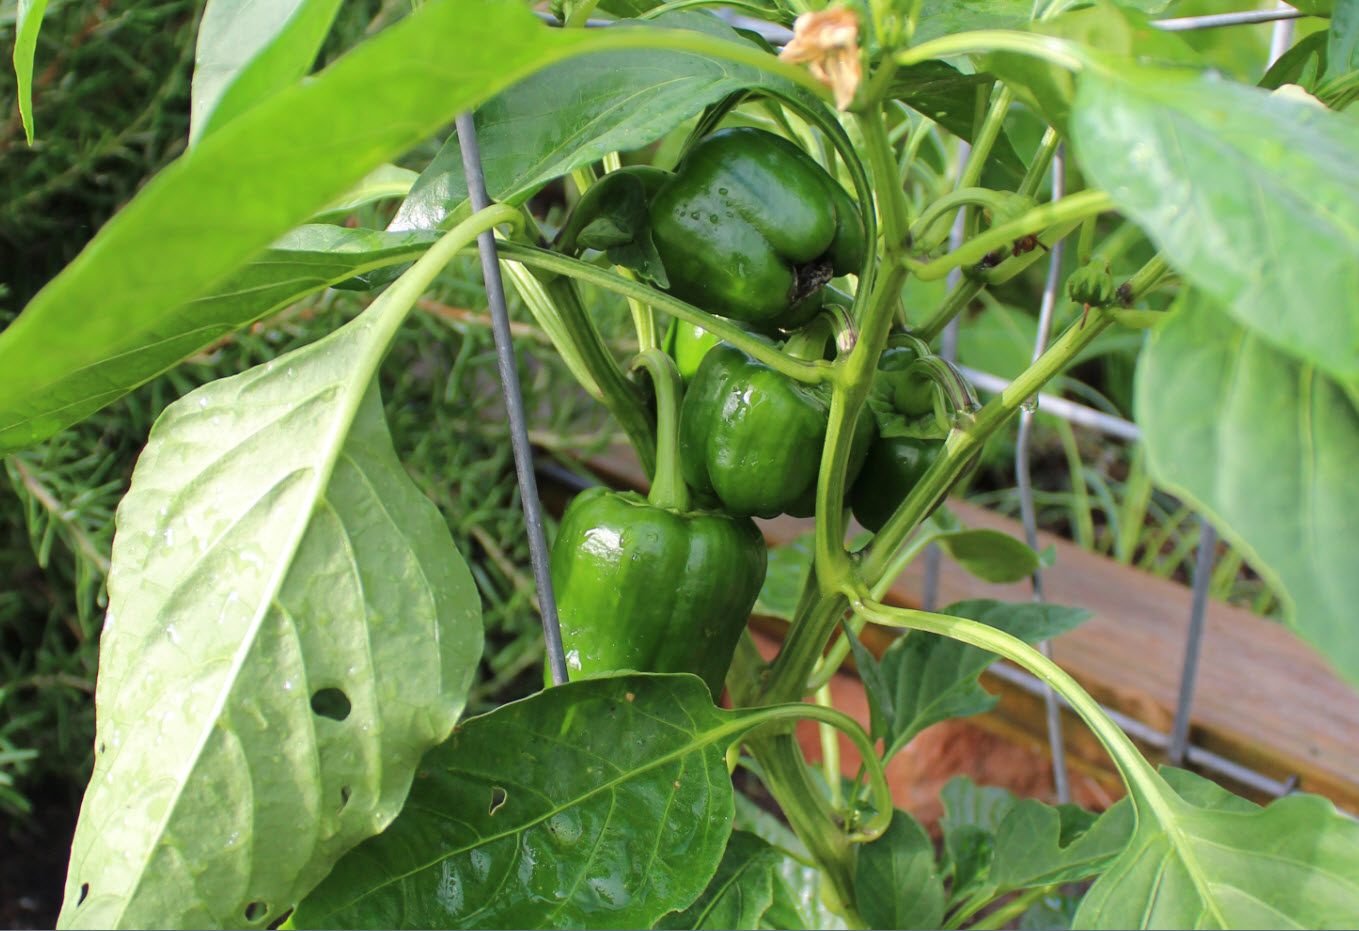
Last year I planted my bell peppers on April 13. These three bells were my first harvest on June 2. That is just 50 days from transplanting to harvest.
Harvesting-Bell peppers can be harvested anytime they look like a bell pepper. However, they are immature at this point. That is no problem unless you want red, yellow or orange peppers (depending on variety). To get these beautifully colored peppers you will have leave them on the bush until they change colors. Just be aware that the longer you leave the pepper on the bush, the more pests it will attract.
A ripe bell pepper will snap right off into your hand when it is ready to be picked. However, the limbs of pepper plants are brittle. If you try and pull a pepper before it is ready you can get a lot of foliage along with your pepper. For this reason I always use a sharp pair of shears or scissors to harvest my peppers.
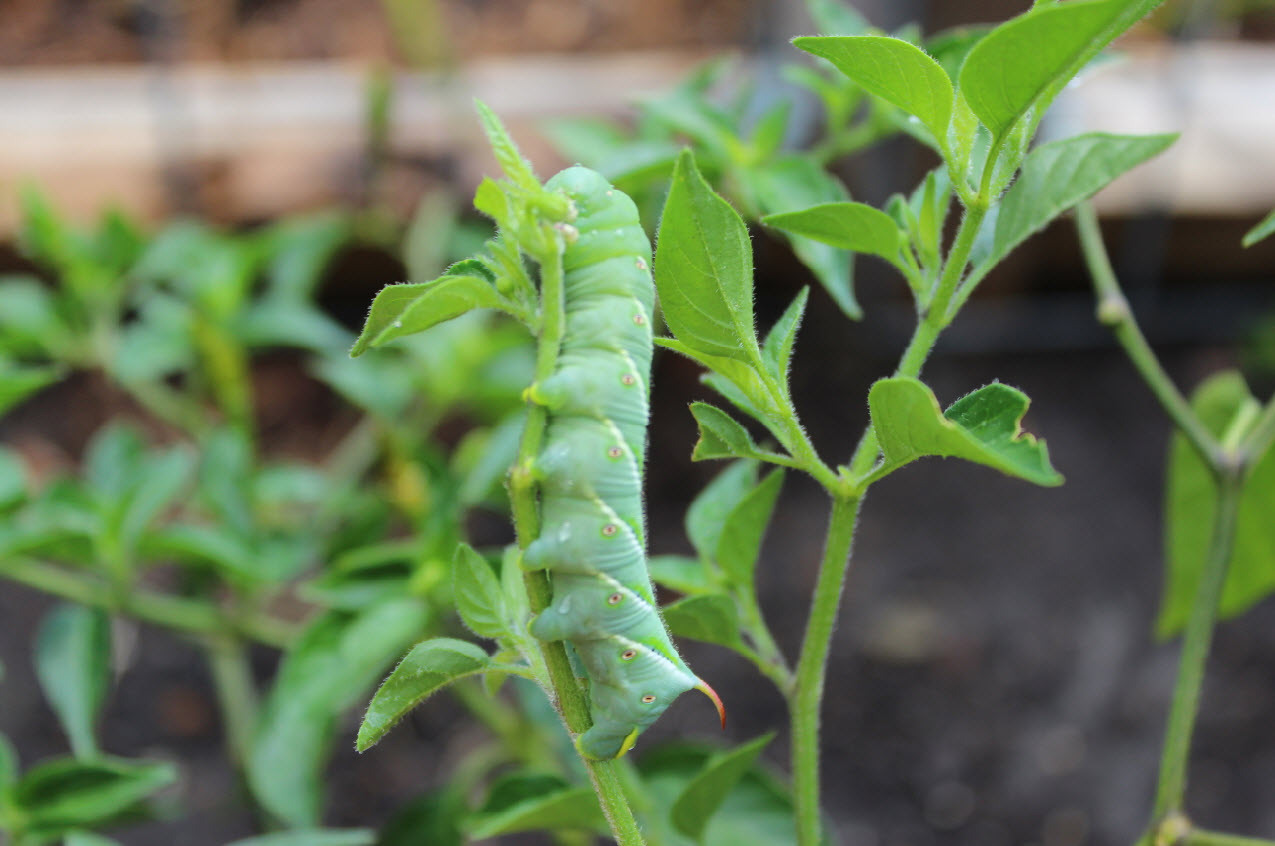
Hornworms ca n decimate peppers, tomatoes, potatoes and egg plants
Pests-Aphids, cutworms and hornworms can all be a problem for peppers. Aphids can be controlled by regularly applying a good shot of water to the underside of the leaves. Cutworms can be controlled by “wrapping” the stems of the young plants in cardboard. Simply cut a toilet paper or paper towel roll into three inch sections. Split these up the sides. Loosely wrap this around the base of your plants after transplant. Stick an inch or so of the tube into the ground and leave an inch or so above ground. Hornworms are always a double problem for me. I know they can wipe out my tomatoes, peppers and potatoes. However, they are the immature form of the hummingbird moths that I love to watch feed on my datura. Regardless of my fondness for hummingbird moths, I pull all hornworms that I find and quickly squish them. If you have a bad infestation you can apply BT but is only effective if applied when the caterpillars are small.

One of our favorite bell pepper uses. Slice thick, saute, and drop in egg. Top with cheese and more sauteed peppers