A couple of years ago we adopted two pairs of Peking ducks – sort of. In reality the ducks adopted us. The children of a deceased friend put her ducks on the 56 acre lake behind us. Soon after the ducks arrived on the lake they started showing up at our house. At first they simply waddled up to the house, ate whatever fell out of the bird feeders and then went home. However, it wasn’t long until they discovered the chickens (and all the food they wasted) and their visits grew longer. Now, two years later, these ducks are an adorable part of our daily routine.
We truly love our adorable, adopted ducks
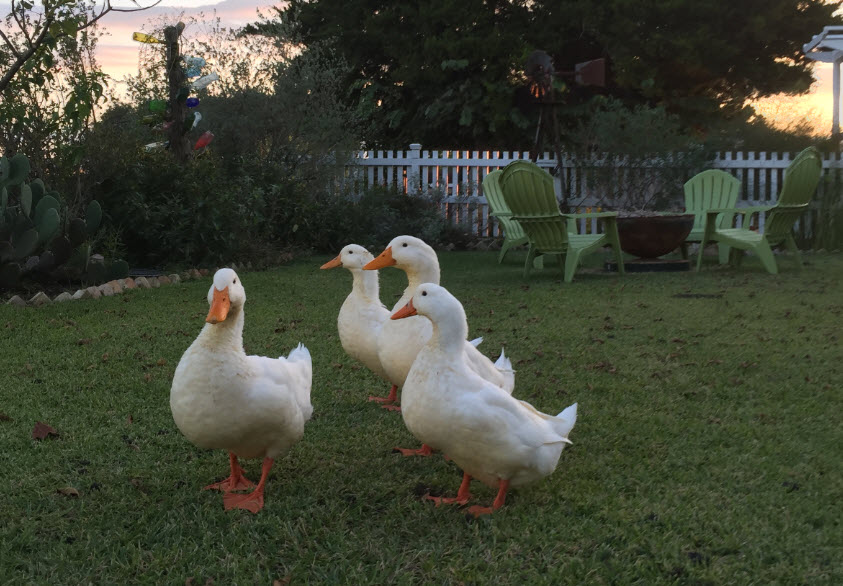
Each morning around daybreak the ducks line up single file and waddle up to our house from the lake. They spend their days hunting bugs, eating bugs, breeding (they do a lot of this in the spring), laying eggs and finally resting. Our favorite duck behavior happens each time we drive up to the house. When they hear our car coming they run quacking to the driveway. They sit outside the car and they quack and quack and quack and wiggle their little tails until we follow them to the coop and feed them. After their evening meal they lounge around a little more and then finally line up again and waddle back to the lake. Yes, my wife and I have really fallen for our adopted ducks. Their goofy antics are just downright enjoyable to watch plus, their love for bugs and nut grass (I have heard they love to eat nut grass but I have not actually seen them do it), makes them just as practical and useful as they are adorable.
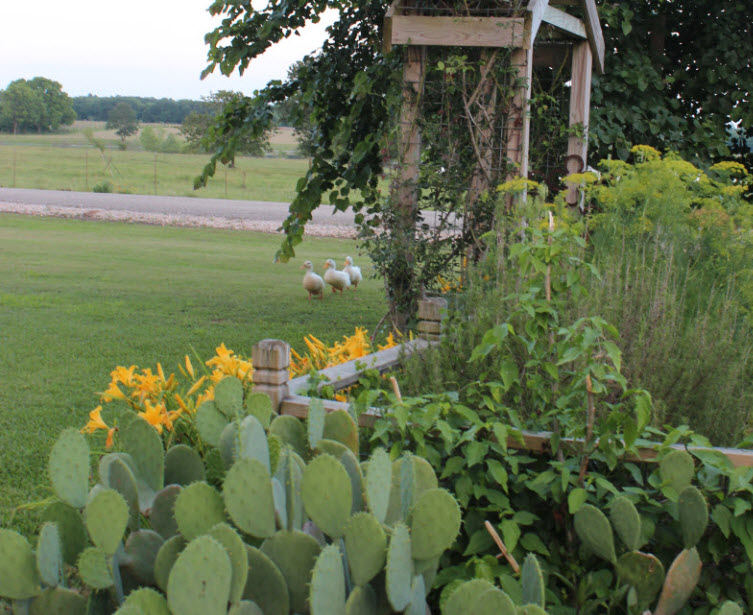
Each morning our adopted ducks march up from the lake in a single file line
While I am sure this will bring some comments, we have slowly come to the realization that ducks are much better pets for gardeners than chickens. Don’t get me wrong, we still love our chickens. However, if you love your gardens and you have free range chickens you will quickly understand why I have come to this conclusion.
Over the past three years I have been shocked to learn just how much damage chickens do to gardens. Most of the articles I read before we got our chickens mentioned their “digging and scratching” behavior. However, the articles I read kind of glossed over this. Some tried to sell the behavior as “soil aeration” and other made it sound cute. Let me assure you, it is not cute. The first thing a chicken does when it leaves the coop in the morning is head to your vegetable garden or flower beds to dig and scratch and dig and scratch and dig and scratch some more. While I had hoped that my chickens would be different, they were not. A chicken is gonna do what a chicken has to do. So, after three years of fighting to keep them from destroying my gardens, I am throwing in the towel. I have finally accepted the fact that chickens and gardens really do not mix.
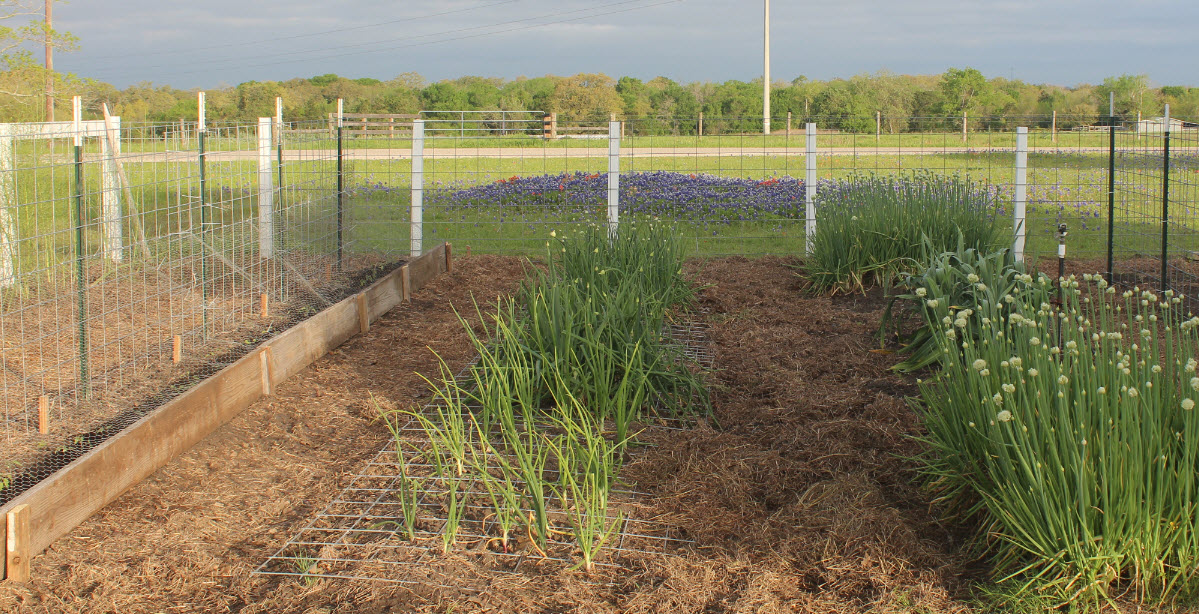
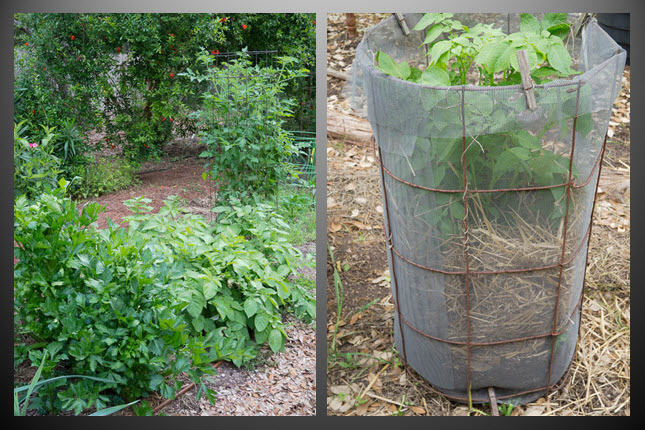
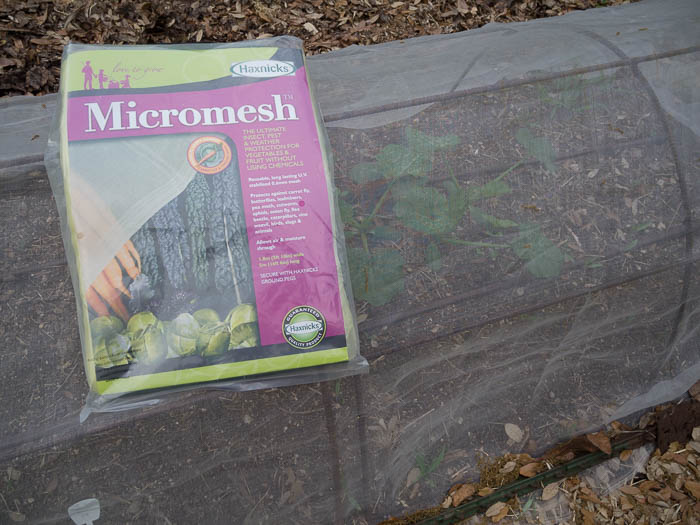
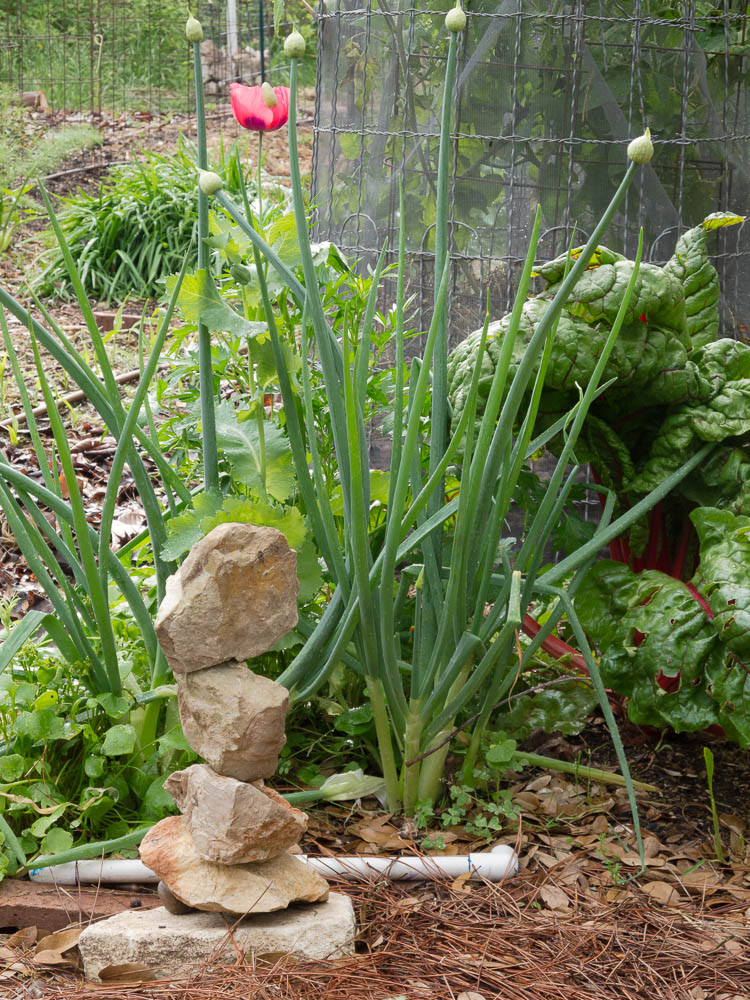
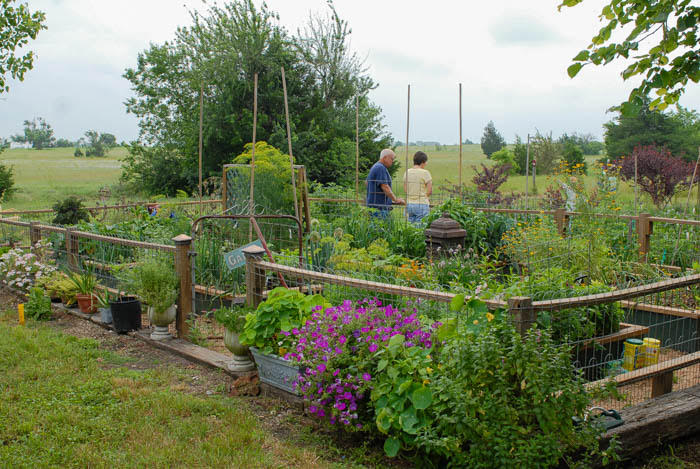
Here you can see some of the defensive measures I have empoyed to try and prevent my chickens from digging up everything in my garden
Over the last three years I have watched our chickens turn newly tilled and mounded rows in flat, shapeless messes. I have seen them eat freshly planted seeds, new sprouts and dig up every ornamental and vegetable transplant I set out. I have also watched them kick fresh mulch out of my beds almost faster than I could put it down. I quickly learned that if I was going to have free ranging chickens and lovely gardens I would literally have to change the way I gardened.
Despite the head aches they caused me, we really loved those silly chickens — so I adapted. For the past three years I have built fences, I have covered my freshly planted rows with chicken wire to keep them from scratching and I have built wire frames to protect transplants and new sprouts. While I understand this is what chickens do, I have finally arrived at the point were I am tired of trying to beat them. The good new is, ducks don’t do any of these things. All they do is roam our gardens and eat our bugs. Because of that, if I switch to ducks for my free ranging pets, I will never again have to cover my freshly planted rows or build wire frames or temporary fences. In short, if I confine my chickens and let my ducks roam free I can garden they way I used to.
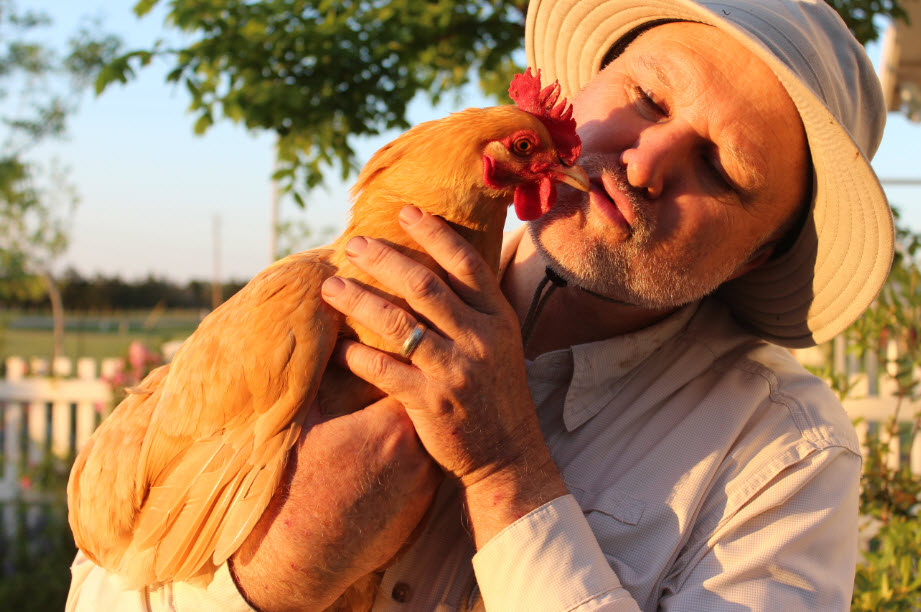
Sally and I love our chickens! However, since they are so destructive I am afraid their free ranging days are coming to an end
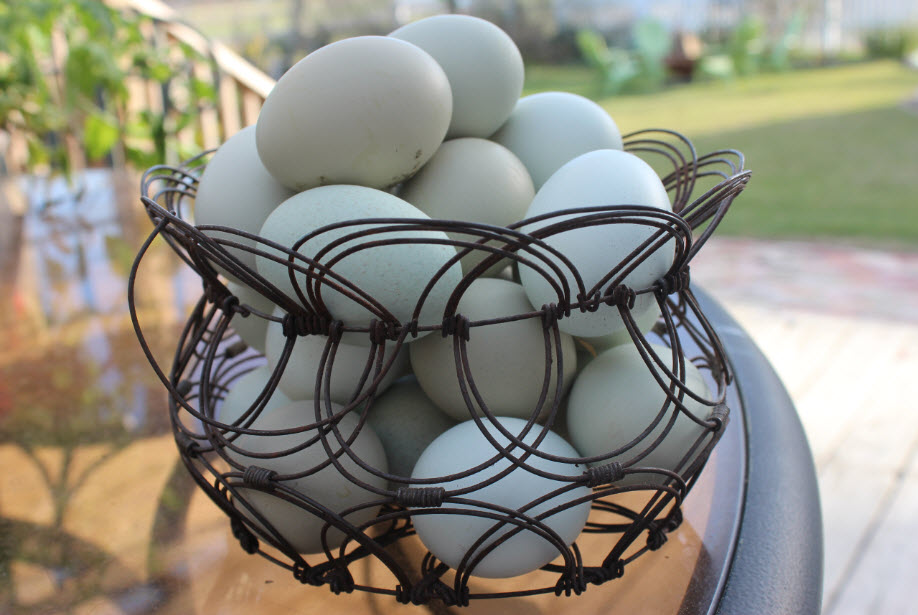
Before these four adorable birds literally arrived on our doorstops, my wife and I knew absolutely nothing about ducks. However, since they adopted us, we have become such big fans of these gentle, affectionate and somewhat goofy birds that we have decided to let them be our only free ranging bug catchers and keep our chickens confined to the very lovely and luxurious coop and yard that I built for them when we got them. If you are a gardener (and I assume you are since this is a gardening blog) and you are considering raising chickens, I highly recommend investigating ducks too. You can raise and house them in almost the exact same way as you raise chickens. They lay pretty decent eggs (which make wonderfully dense and moist cakes) and they eat your garden pests without destroying your plants or garden beds. I have also heard they love nut grass! If that turns out to be true then everyone I know should get themselves a whole flock of ducks!!!
I share these posts on Our SimpleHomestead Blog Hop. Be sure to stop by. The “hop” has tons of great information from gardeners and homesteaders all over the world!
Don’t feel too sorry for the chickens that will soon be confined. They have a very nice coop, run and yard that is more than adequate for their needs