So long summer, fall has arrived
Summer has released its grip, hundred-degree days are gone till next year (we hope!) and being outdoors is invigorating rather than exhausting. The transition to fall here in Central Texas is complete. We got a taste of chilly temperatures recently with a couple of nights that dipped into the 40s but overall the weather looks great: 70s and 80s during the day with lows in the 60s. The weather may seem idyllic right now but the days are getting shorter, the sun is less intense and as the season progresses plants can grow at an agonizingly slow pace. This is often referred to as the fall factor.
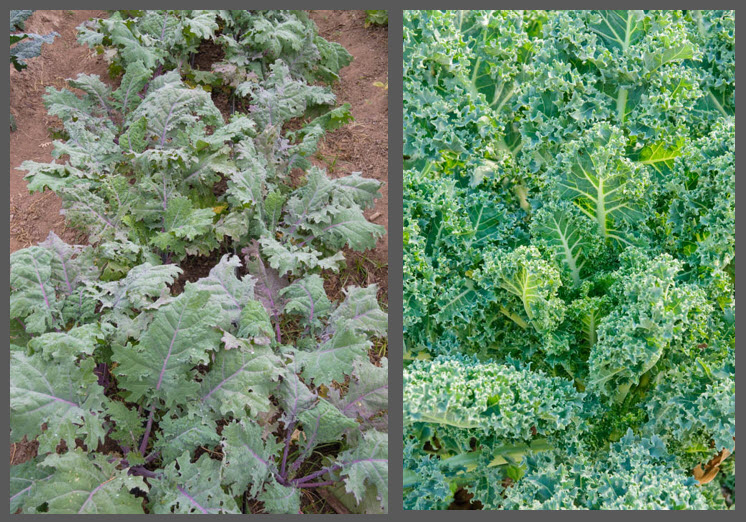
‘White Russian’ (left) and ‘Winterbor’ kale can handle frigid temperatures that plummet into the 20s
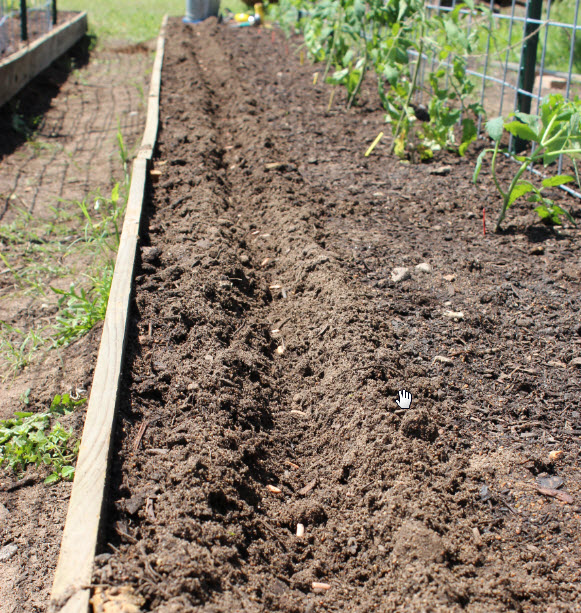
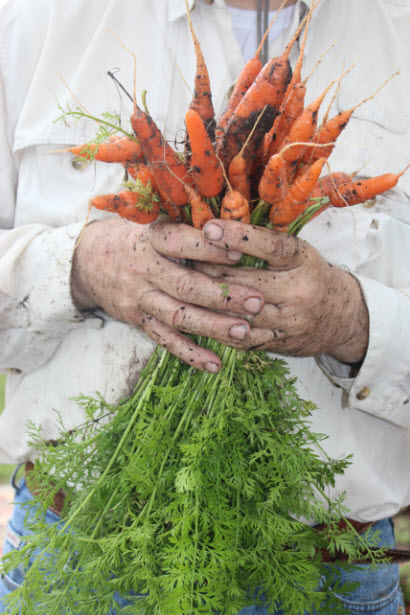
Leafy greens, including spinach, collards, mustard, kale, Swiss chard and Asian greens, are easily transplanted now and should do fine since their leaves can be eaten at any size, but broccoli, cauliflower and cabbage are more particular and may not have enough time to head up before freezing weather arrives. Quick-growing varieties of radishes and turnips can be seeded now though slow growth means it may take an extra week or so to reach harvestable size. It’s been my experience that carrots planted this late in the season will likely stall during the coldest part of winter but will take up growing again as the days grow longer in January and February. So much is dependent on the weather.
Established plantings of kale, collards and mustard seem to handle freezing weather just fine
That said die-hard gardeners will be seeding and planting all winter, covering crops with frost blankets, fighting blustery winds, cussing and arguing with Mother Nature as they go. Been there, done that. Frankly I’m a cold weather wuss so I do most of my planting in late summer and early fall (in the heat, sweating and cursing) and hope to harvest most of my crops in November and December. I grow plenty of kale, collards and mustard since they ask little of me over the winter, but by Christmas I’m ready to curl up with my seed catalogs until mid-January when I’ll take advantage of the occasional warm and sunny days to prepare for late winter and early spring planting. Experimenting is always fun and is a great way to learn what grows best in your microclimate and also gives you an idea of how much work is required. Over time you’ll settle on an approach that works for you.
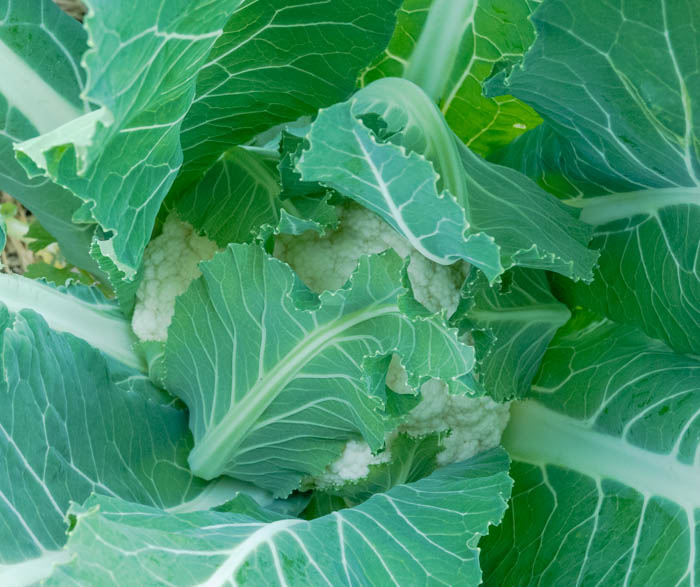
Pull the leaves around white cauliflower to keep it bright white
Keep your crops growing vigorously with a regular dose of water soluble fertilizer every 10-14 days. The key to a successful head of broccoli or cauliflower is to grow a big plant with big leaves before the head even begins to develop. White varieties of cauliflower should be shielded from sun exposure to maintain their snow-white color. Some varieties are self-blanching, meaning their leaves wrap around the head to protect it from the sun, but otherwise tie up the large outer leaves with a rubber band, a clothespin or string. As cauliflower and broccoli reach maturity monitor their development closely and harvest the heads while the buds are still tight.
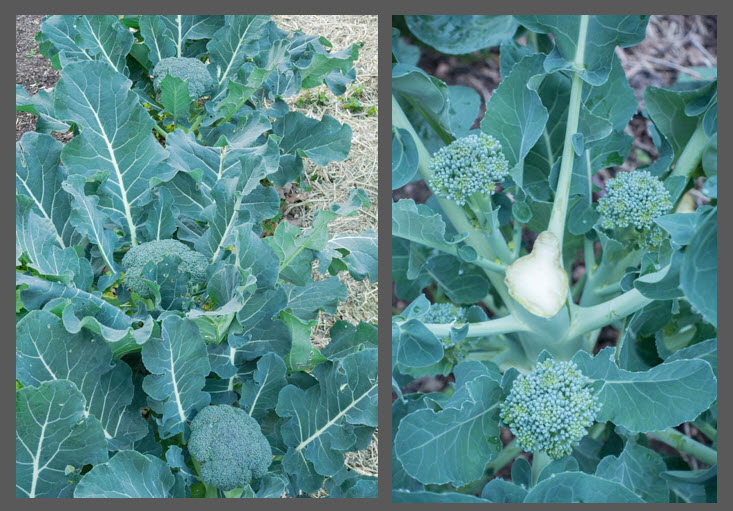
Broccoli produces a main head and then continues with an encore of side shoots
Once the main head of broccoli is harvested you will be rewarded with numerous (and delicious) side shoots. Cauliflower only produces one head and once harvested spent plants can be removed from the garden. Before you toss the plants remove and trim any leaves that are in good condition – they can be added to the pot when cooking collard and mustard greens. If you missed the window for planting broccoli and cauliflower this fall don’t worry, you will have another chance in the early spring season of 2018.

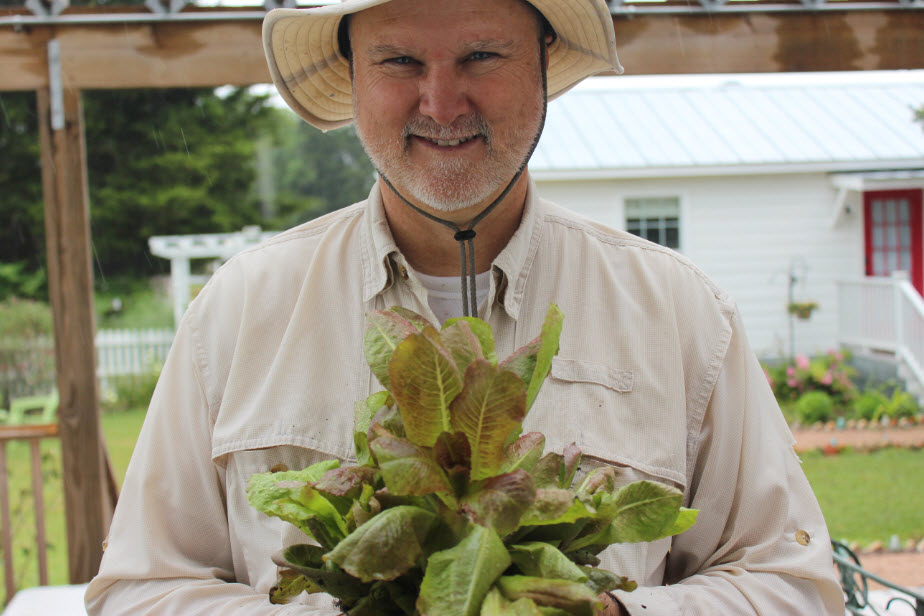
Lettuce can go in as transplants or seed can be broadcast and harvested as baby leaves
Lettuce can be grown from seed or transplants. It is a quick-growing winter crop and there are many colorful varieties to choose from. The tiny seed requires light to germinate so scatter the seeds over the soil, press down lightly and mist daily. Don’t plant a whole row at once unless you really, and I mean really, love lettuce. Tender, succulent lettuce just isn’t a good candidate for canning, freezing or drying, so it is best to plant a few seeds or a short row every week or two for a continuous harvest. Combine seed from a few different varieties and broadcast for a homegrown mesclun mix. Lettuce also grows great in a pot or other container. While collards and kale are sturdy enough to handle freezing weather – their flavor actually improves after exposure to frost – lettuce plants will benefit from row cover protection if the temperature is going to drop below freezing.
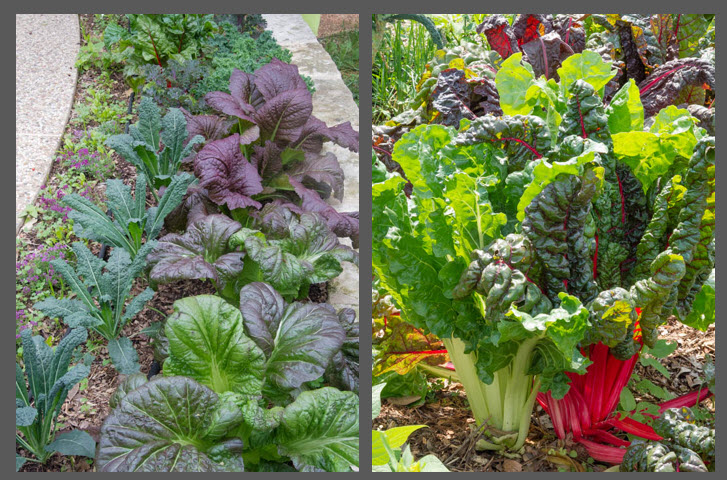
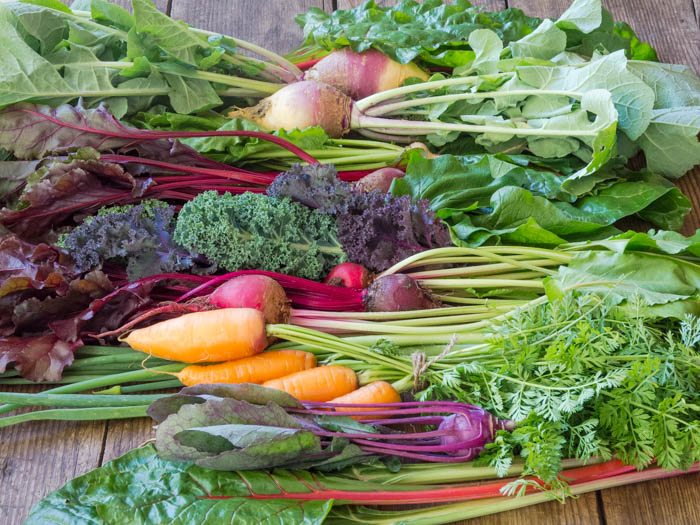
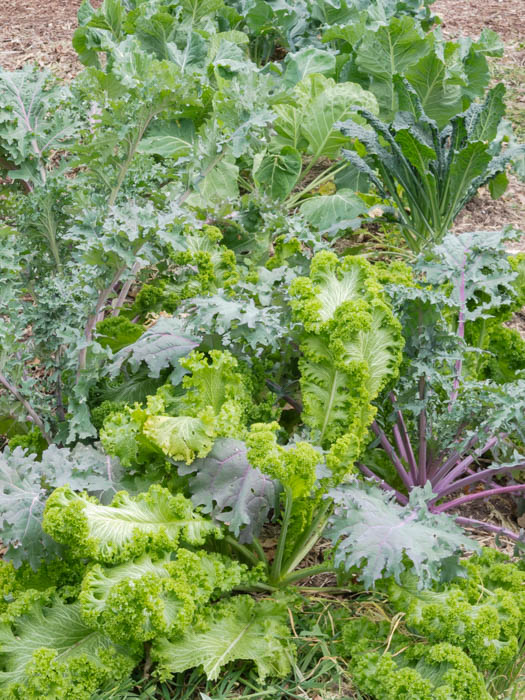
Purple mustard and Swiss chard add texture and color to the landscape.
Swiss chard, spinach, collards, kale and other leafy greens can be grown through the winter with minimum care; you can harvest a few outer leaves a couple of times a week and the plant will keep growing from the center. The young leaves are great for salads or sautés and larger leaves are good in soups and stews. Pretty up your edible landscape with pockets of leafy greens in brilliant hues. ‘Osaka’ purple mustard, ’Toscano’ kale and ‘Bright Lights’ Swiss chard are all outstanding varieties. Culinary herbs and cool-season annuals like violas, dianthus, snapdragons, pansies, stock and alyssum also add color and fragrance to the garden.
If you have not grown vegetables before, now is a great time to take advantage of fall’s cooler temperatures, increased precipitation and best of all – fewer insects. Once you experience the satisfaction and pride of growing your own tasty, nutritious, home-grown vegetables, you may find yourself looking for additional gardening space in spring!