Caladiums do well in the shady, sub-tropical yards of Texas and the Gulf South because they originated in the shady tropical forests of Amazon Basin in South America. While these beautiful foliage plants have a reputation as shade loving plants, breeders have developed several strains that do well in part to full sun. Today there are more than 1000 named cultivars of caladiums for growers to choose from.
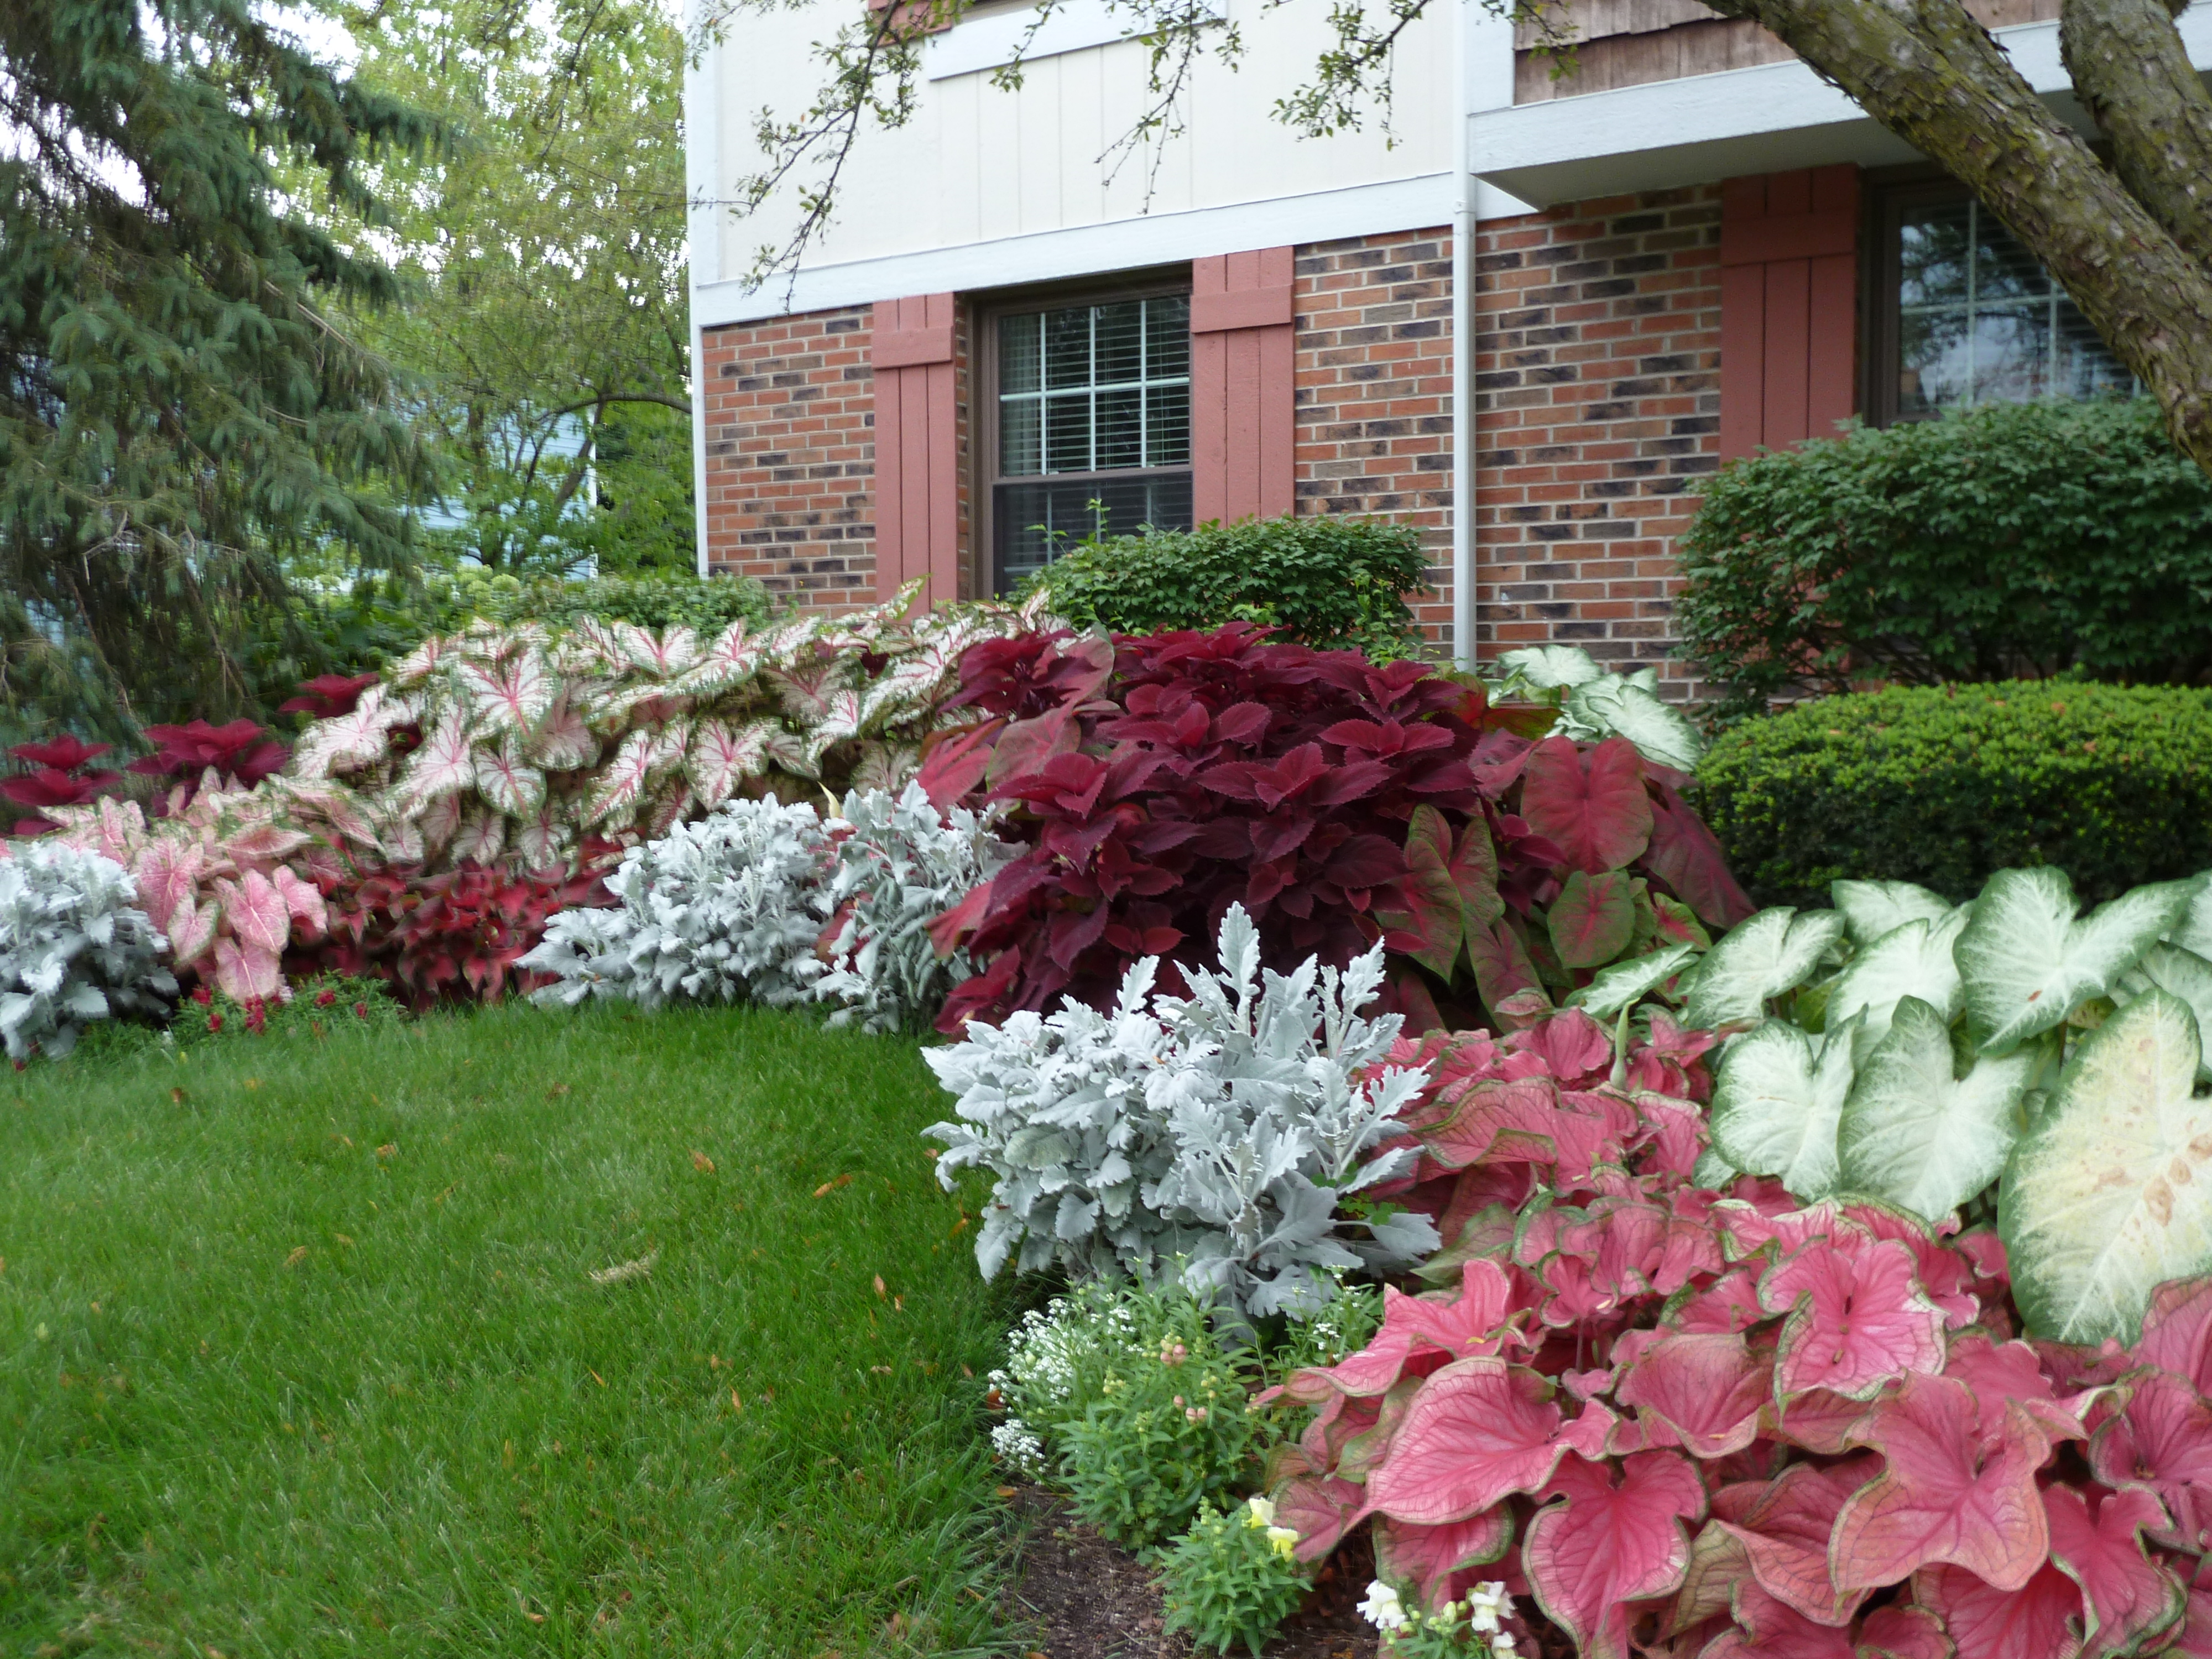
Caladiums make a lovely statement on their own, but they also play well with other perennials. Thanks to Classic Caladiums for sharing these lovely pictures.
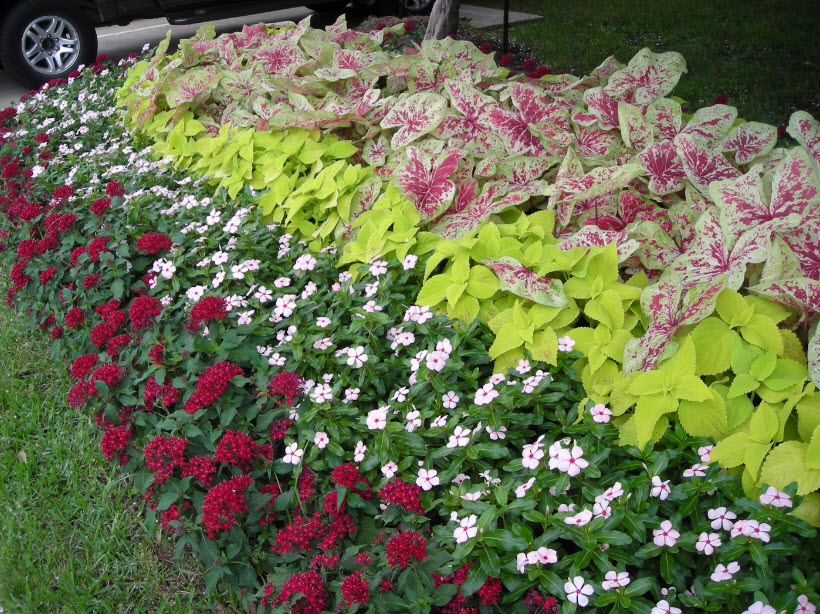
While the color patterns are quite varied, caladiums come in three distinct types and each performs slightly different. Before planting your caladiums decide which type will best fit your need. Fancy leaf caladiums produce large heart shaped leaves. Most of these varieties like the shade and do best when planted in the ground. These large scale plants make a huge impact when massed around a tree trunk, combined with perennial shrubs or mixed in beds with impatiens and begonias. Strap leaf caladiums produce smaller plants with smaller foliage that is shaped more like a “spear point ” than a heart. However, smaller does not mean less beautiful. Strap leaf caladiums take the heat and sun better than the fancy leafed varieties. Because of this they are a great choice for those of us in the more tropical parts of the South and they also work well in containers. They also do extremely well in the ground, especially in areas that get six or more hours of sun. Dwarf caladiums have heart shaped leaves but do not get as large as the fancy leafed varieties. While beautiful in their own right, they pair well with the strap leaf varieties. All three types of caladiums can be planted and cared for in about the same way.
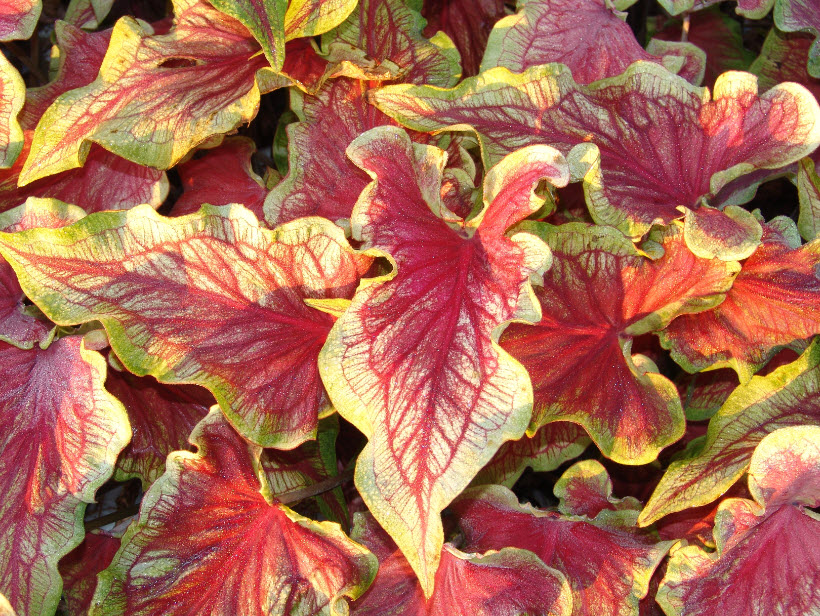
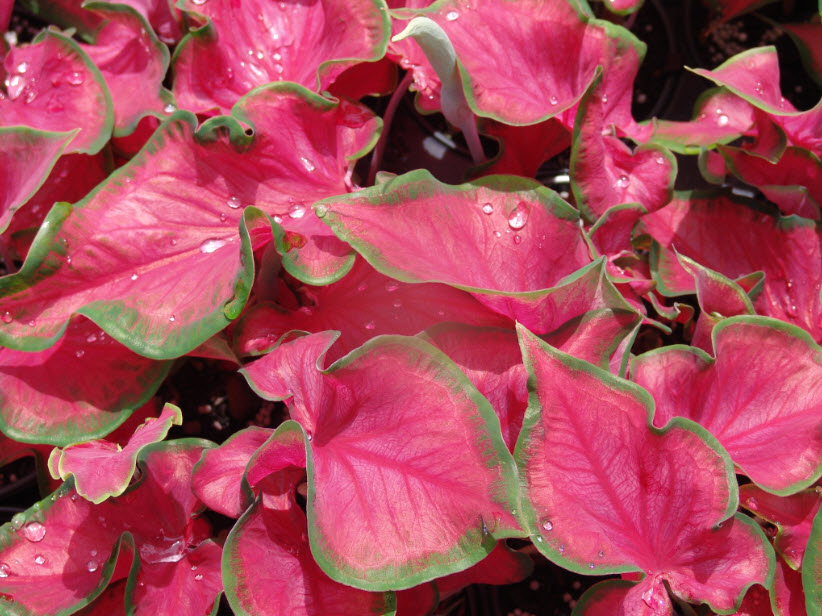
Tiki Torch is a Classic Caladium creation that can withstand full sun. Thanks to Classic Caladiums for sharing these lovely pictures.
Your caladiums will do best if planted in some shade, especially the fancy leaf varieties. Caladiums planted in deep shade will actually get taller than those that are planted in dappled shade or sun. While all caladiums appreciate some shade, most can take more sun than they are given credit for. In fact, almost all commercially grown caladiums are grown in fields under full sun. Caladiums grown in full sun will produce more vibrant colors. However they will also require more frequent watering than those grown in shade. If caladiums receive too much sun they can develop small holes along the veins and brown around the edges. For this reason it is best to try and select a spot where the plants will get no more than 6 hours of sun a day. It is better if this sun comes in the morning. The hot evening Texas sun is hard on all plants. It is especially hard on these large leafed beauties.
Caladiums also pair well with many annuals. I really like the pairing here with the chartreuse coleus. Thanks to Classic Caladiums for sharing these lovely pictures.
If you are buying caladiums for the first time you need to realize that almost all caladiums are infected with one or several viruses. While these viruses will not stop the tubers from producing well the first year, the size and color of subsequent years growth will diminish with each succeeding year. To avoid this, ask your retailer if they buy their bulbs from Classic Calidiums. Classic Caladiums has spent considerable time, effort and money to develop bulbs that are as disease free as possible.
When selecting where to plant your caladiums remember that caladiums like rich, moist, well-draining soil – but they don’t like to stay wet. Caladiums also like organic matter as much as the next plant, so mix in some finished compost about a month before planting. This will also help drainage if you have heavy clay soils. Caladiums grow best in slightly acidic soils. Because of this they will benefit from a monthly sprinkling of bone meal. If you use commercial fertilizers, be gentle. Too much nitrogen will damage the tubers and affect the color of the foliage. Slow release fertilizers like Osmocote work well.
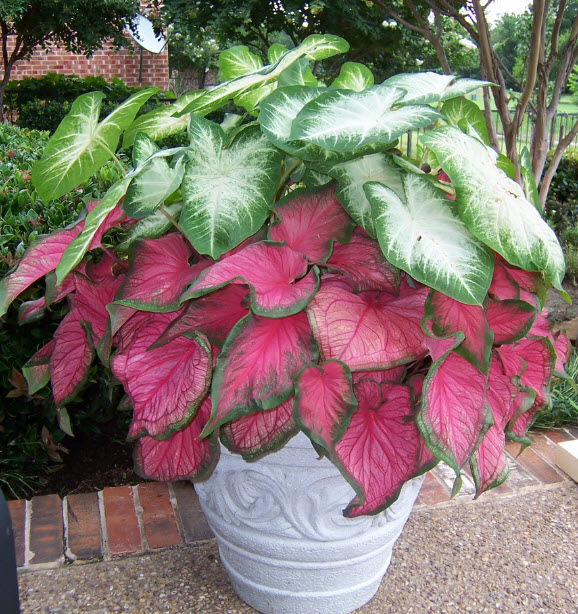
Caladiums make excellent potted plants. Thanks to Classic Caladiums for sharing these lovely pictures.
If you are planting in containers, select a good quality potting mix. While there are many mixes out there you want one that has a good amount of peat in it. If the mix also has perlite or vermiculite in it, all the better. All of these components increase the soils water holding capabilities. That will be very important in July and August when you are trying to keep the soil moist in our 100 degree temperatures. You should also mulch with pine needles or other high quality organic mulches to help regulate water loss.
If you are planting in containers, or you just want to get a jump on the season, you can purchase potted plants. You can also get a jump on the season by starting your tubers inside four to six weeks before the last frost date. If you are going to grow from dormant tubers look for firm roots that feel rubbery when squeezed. Spongy roots are damaged and should be avoided.
Caladiums have one or more eye that is noticeably larger than the others. These eyes will produce larger shoots than the other eyes. If you want a nice rounded plant where all of the leaves are uniform in size, you will need to remove these. De-eyeing is a relatively simple process. You can take a small, sharp knife and remove about an 1/8th to 1/4th inch of material from the center of the large eye. This is not brain surgery so you do not have to be incredibly accurate. You just want to remove enough tissue to destroy the eye. When doing this, be careful not to damage any of the surrounding smaller eyes. If you damage too many eyes you will defeat the purpose. Improperly de-eyed bulbs produce straggly plants.
Mass caladiums like “Sangria Leaves” together to make bold color statements in your beds and borders. Thanks to Classic Caladiums for sharing these lovely pictures.
Caladiums tubers are generally sold by size. If you have a choice, which you may not, (the garden center that sells me my tubers only sells one size) buy the largest tubers they have. These will be called Number 1’s. Quite simply, bigger bulbs perform better. However, that doesn’t mean the smaller bulbs will not do well for you.
Once you have selected and de-eyed your tubers you are ready to plant. Caladiums should be planted after all chances of frost have passed. Even then you don’t want to plant them until the soil has warmed to at least 55 degrees. If caladiums are planted too early they will rot. Many caladium growers will tell you that you should never plant before Mother’s Day.
Plant your caladiums eye side up 1 ½ to 2 inches below the soil. This is the same for both in ground plantings and in containers. With smaller tubers it is often difficult to decide which side of the tuber is up. If you cannot determine which side is up don’t worry too much about it. Caladiums will grow regardless of which side you put down in the hole. If the bulb is upside down it will just take longer for it to sprout.
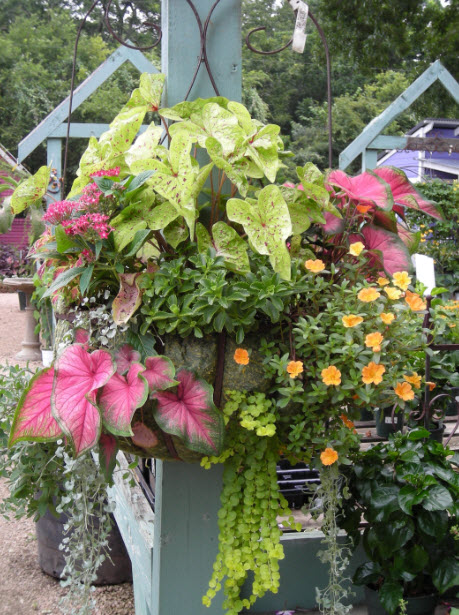
Add caladiums to your potted arrangements to making stunning floral displays. Thanks to Classic Caladiums for sharing these lovely pictures.
One of the wonderful things about caladiums is how little maintenance they require. Once you have planted them, all you have to do is keep them moist. Because it gets so hot here, keeping soil moist can often be a challenge. Because of this it is a very good idea to mulch your caladiums. Earlier I mentioned mulching with pine needles. As pine needles break down they will help lower the pH of your soil. This is good as caladiums prefer a pH of 5.5 to 6.5. However, if you don’t have ready access to pine needles, use any good organic mulch. The important thing is applying enough mulch to cut your water loss. Many people grow their caladiums in pots or hanging baskets. Since both of these containers can dry out very quickly it is very good idea to deeply mulch them. Regardless of how you grow or how much you mulch them, be aware that for optimal performance you will want to keep an eye on your soil moisture. Caladiums do not like wet feet but they also should never be allowed to completely dry out.
Like other bulbs, corms and tubers caladiums are perennial. However, they are perennial with a catch. If you live south of Interstate 10, you can leave your caladiums in the ground year round, especially if you mulch. I live just north of that line. Since we had such a mild winter this year I probably could have left mine in the ground this year. However, I didn’t. Each fall I dig my tubers up and then store them for use next year.
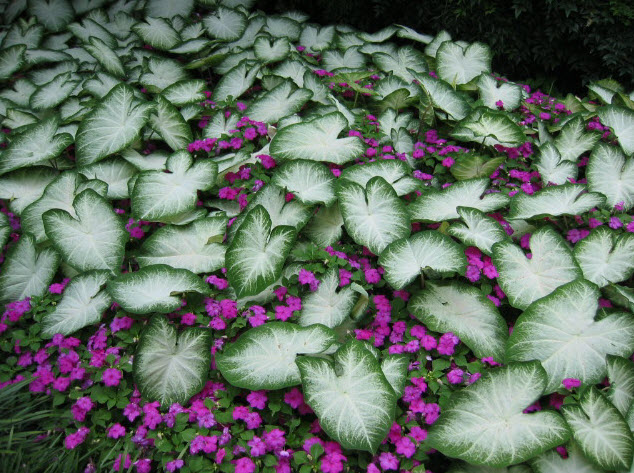
“Aaron” looks lovely with impatiens. Thanks to Classic Caladiums for sharing these lovely pictures.
Most people dig their caladiums in late September or early October. You will know it is time when the colors in the foliage begin to “fade” and the stalks begin to noticeably droop. When this happens, take your spade or shovel and carefully remove the tubers with the leaves still attached. Once you have them out of the ground find a covered place to lay them out and let them dry for several days. Sometimes five days works but sometimes it takes up to two weeks before the leaves dry up and turn brown. When the bulb is ready for storage the leaves will easily separate from the tuber exposing a dry and cured node where the leaf was attached. Once the tubers are dry you can store them in sand, sawdust or peat. Try and keep them around 60 degrees throughout the winter.
Few plants are as beautiful and carefree as caladiums. These tropical plants are ideally suited for the Texas climate. Even though they have a reputation for being shade lovers, breeders are constantly developing new varieties that make these reliable and pest resistant beauties available to a wider range of gardeners. If you have never grown them before now is definitely the time to give them a shot. New production methods and a certification program from Classic Caladiums will ensure that the tubers we buy this year will continue to thrill us now and well into the future.
I share these posts on Our SimpleHomestead Blog Hop. Be sure to stop by. The “hop” has tons of great information from gardeners and homesteaders all over the world!