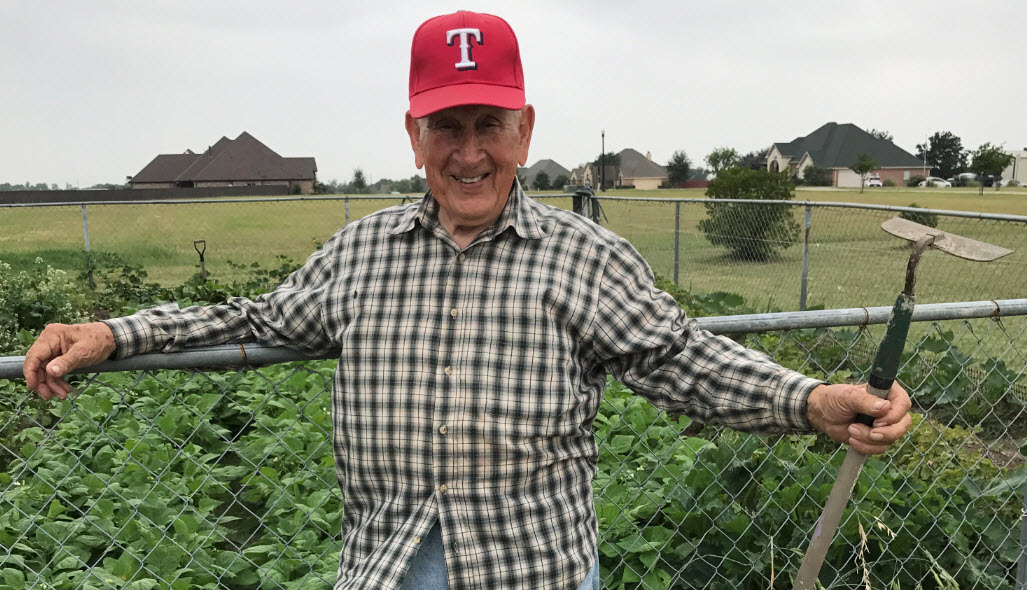
John Boswell is an organic gardener from Waxahachie. He has been growing vegetables for just about all of his 92 years
A few weeks ago I headed out to Waxachie to interview John Boswell. John is an outstanding vegetable gardener that has been growing food for over 80 years. That is not a typo. John is 92 years young and each spring he plants and grows a garden that is bigger than most men half his age would attempt to grow. John is an organic grower that uses barnyard waste and other organic fertilizers to improve the fertility of his soil and also help his black clay drain.

John gardens in black clay that he continually improves with the addition of compost.
Years gardening: 80+. John grew up in Missouri during the depression. Gardening was not a hobby, it was how his family survived. In addition to feeding them, John’s dad was able to make a few dollars selling produce. He literally does not remember a time in his young life that the garden was not a part of his daily routine. When he got old enough he joined the Navy. He served in the Pacific as a medic during World War II. John wound up in San Antonio and retired from the hotel industry. Except for a few years, he has kept a garden his entire life.
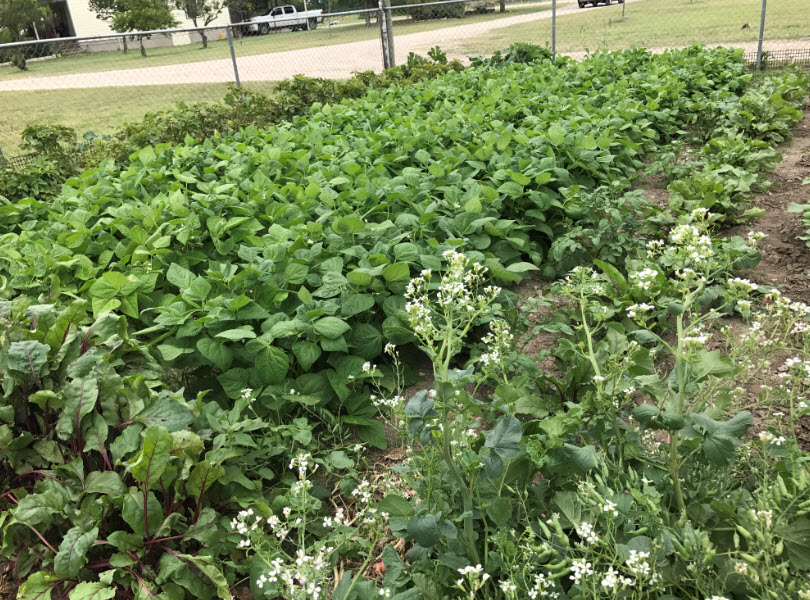
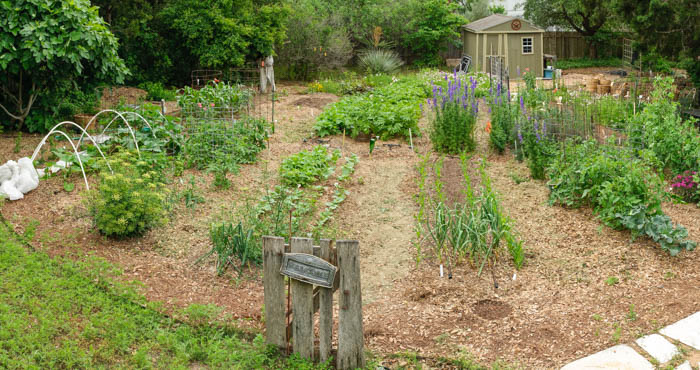
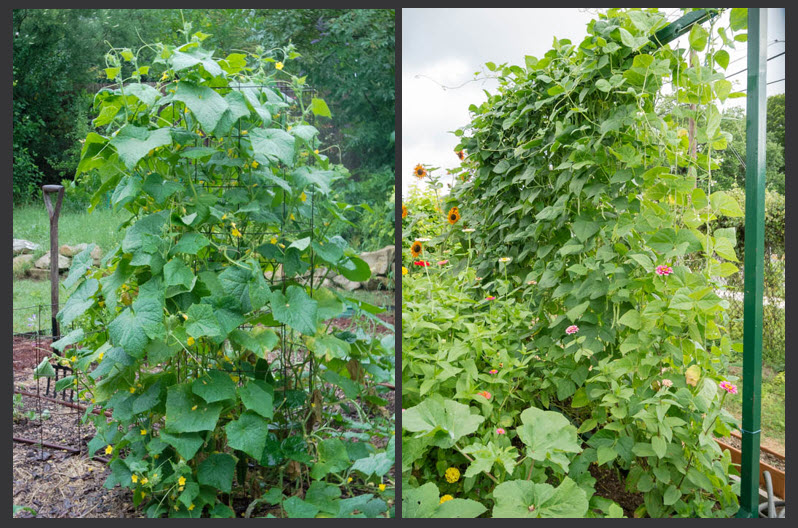
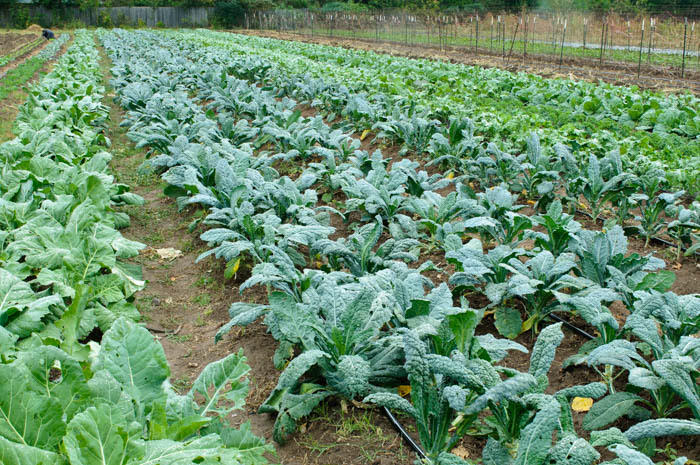
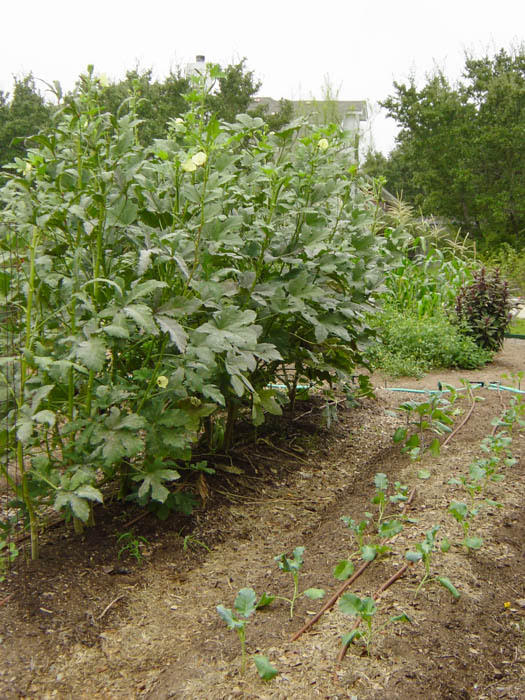
This is only half of John’s amazing garden!
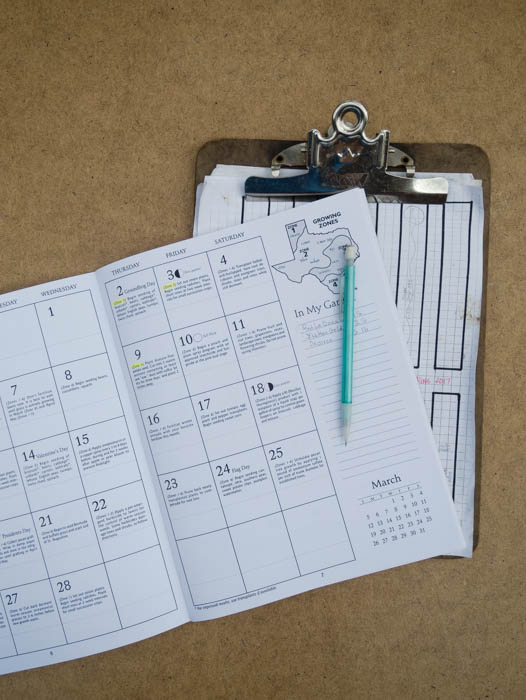
Years in this plot: 5 years
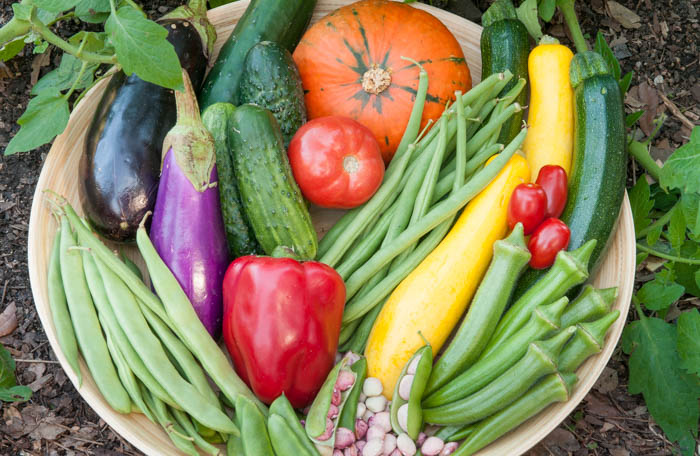
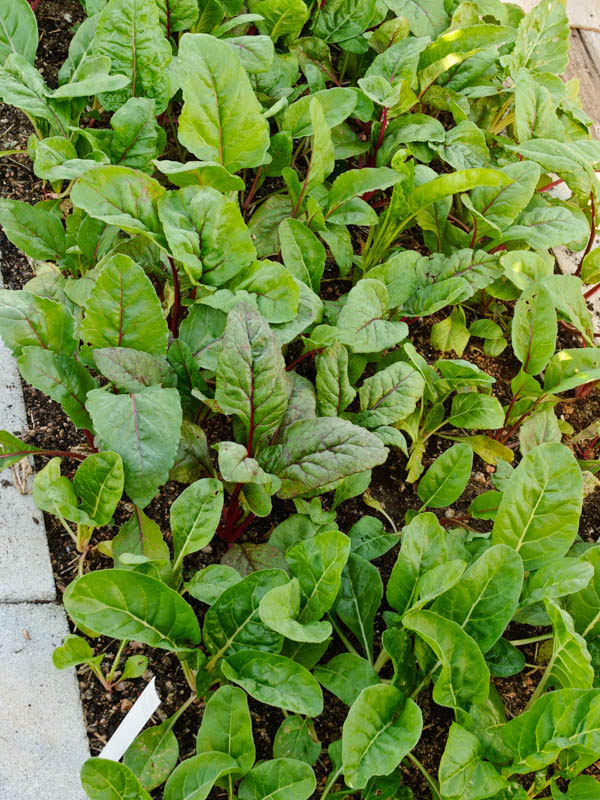
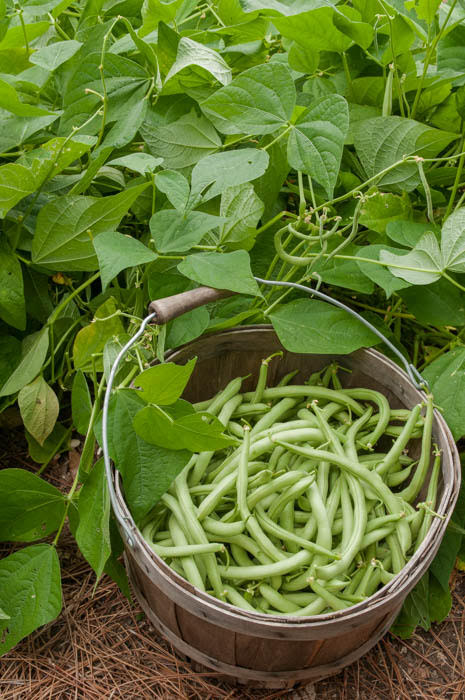
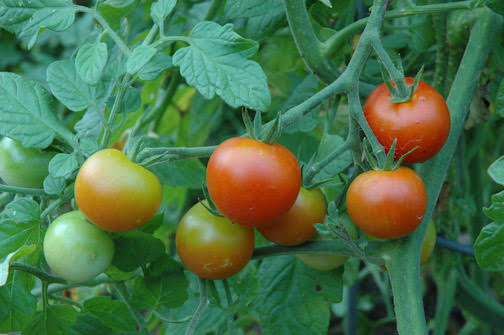
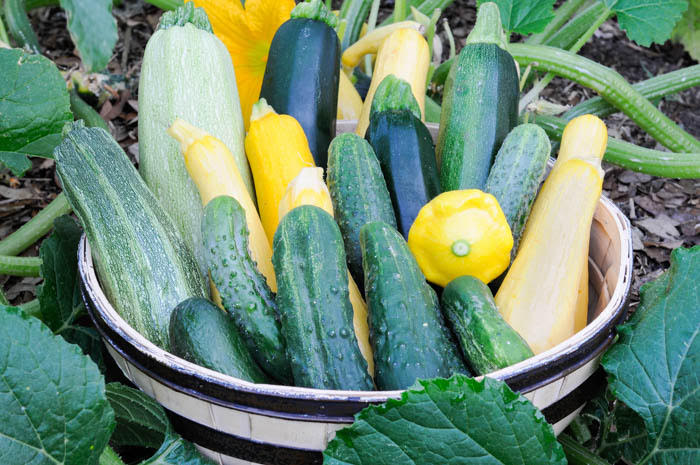
Favorite crop: John loves pickled beets so he grows lots of them. He also loves to grow zucchini, red potatoes, 1015 onions, tomatoes (Celebrity and Porter), cabbage, Blue Lake bush beans and an unnamed heirloom melon.
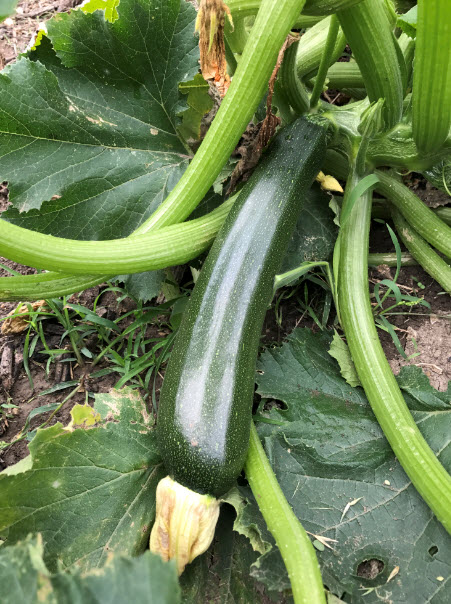
John loves growing beets but zucchini is a close second
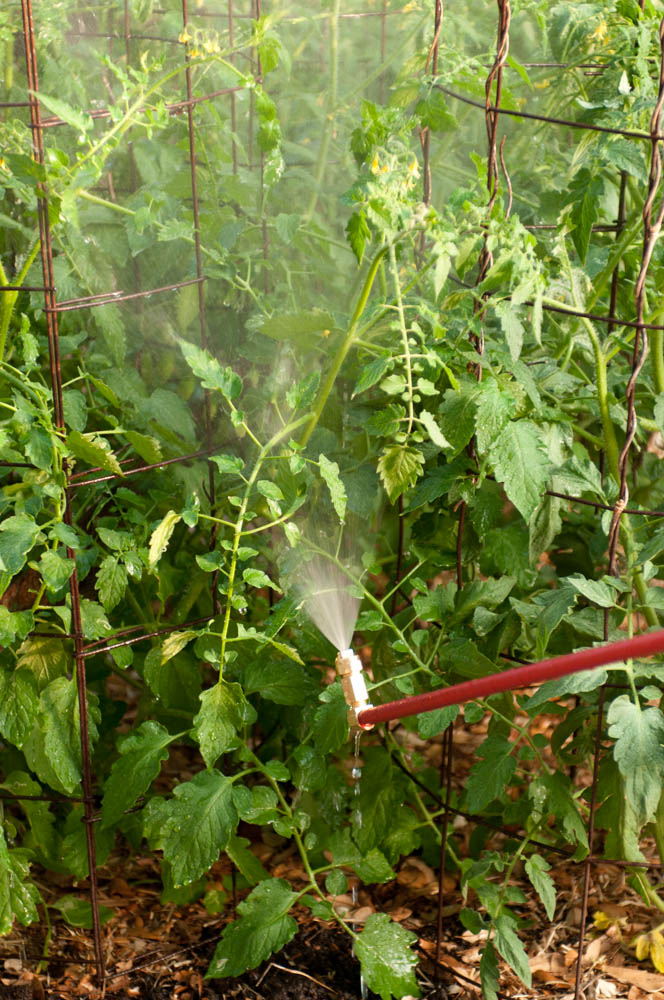
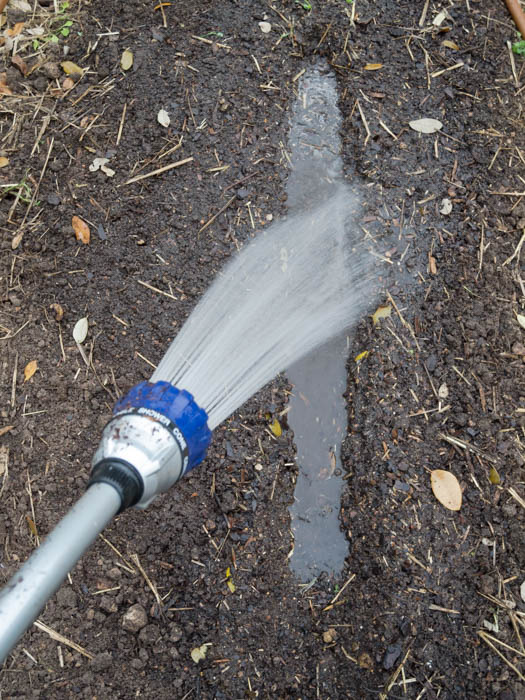
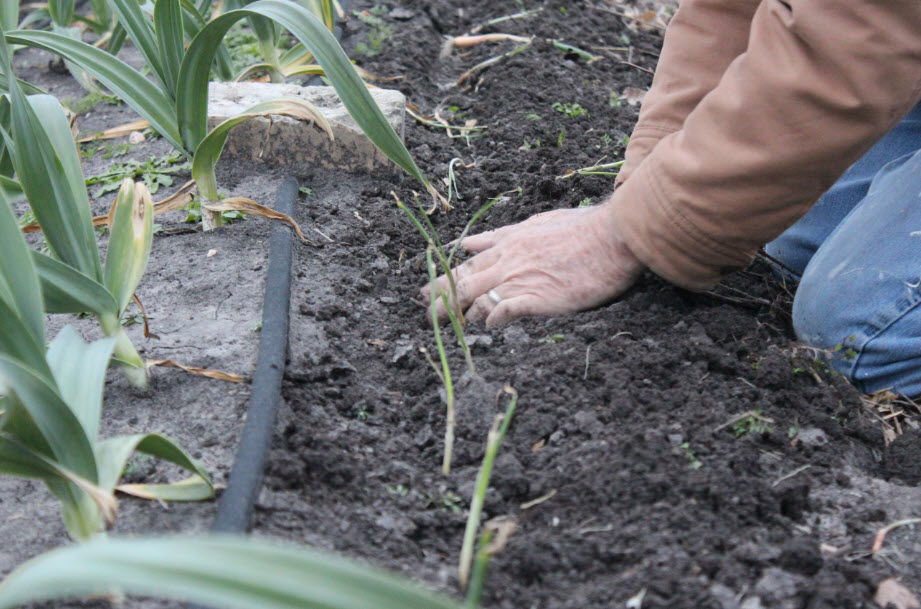
Best tips: Set up and use a low water system. John uses drip tape and emitters to apply just the right amount of moisture to the base of most of his plants. For his beans, John set up three sprinkler heads and uses them to water a 5’ to 6’ wide row of Blue Lake green beans.
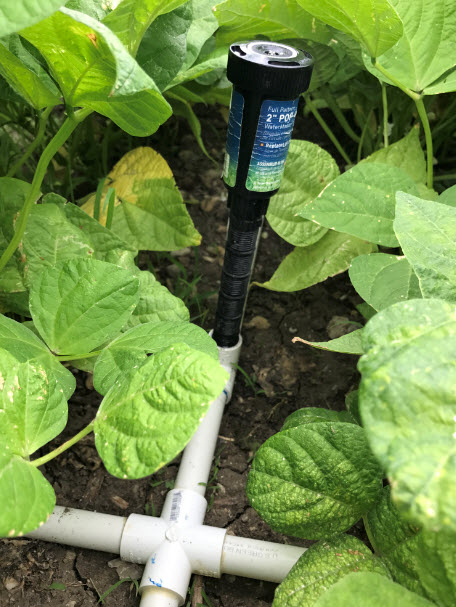
John built his own irrigation system for the garden PVC and off the shelf sprinkler heads
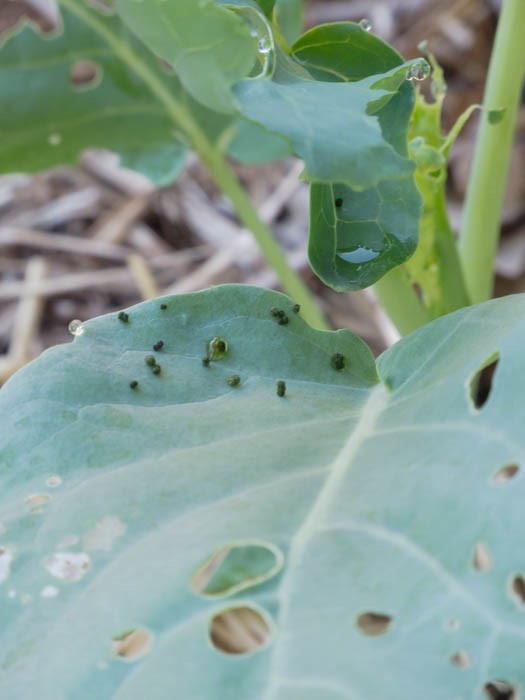
Pest control: While John doesn’t have too many bug problems he tells an interesting story about controlling potato bugs back on the farm in Missouri. His family used to keep a bucket full of horse manure and water. They would use a tin can with holes punched in it to water their potatoes. According to John, this manure tea grew great potatoes and they never ever had a problem with potato bugs.
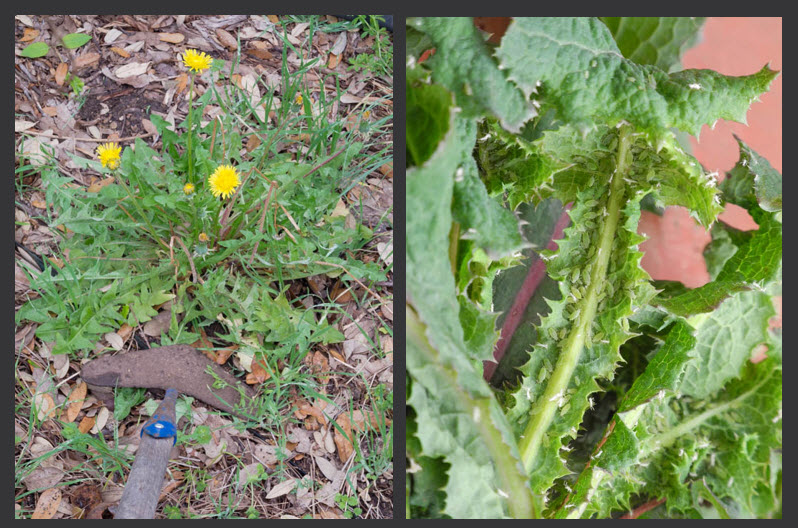
Weed control: John does not believe in spraying herbicides to control weeds. Instead, he has set up his garden in a way that allows him to keep the weeds under control early in the season with just his hoe. As the weeds get more aggressive in the summer he slowly lets most of them go. He believes the weeds provide shade and cooling that his late season vegetables seem to enjoy.
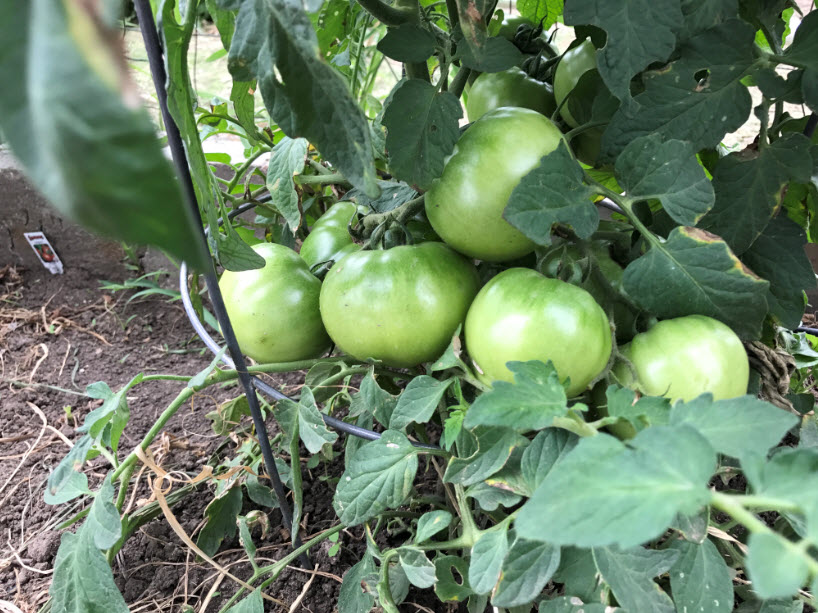
John’s favorite tomatoes are Celebrity and Porter
Biggest challenge: Rabbits. His garden draws in rabbits and other four legged pests. John has done everything he can to keep furry critters out of his beds. Unfortunately, no matter how much wire or screen he puts up the animals still manage to get in.
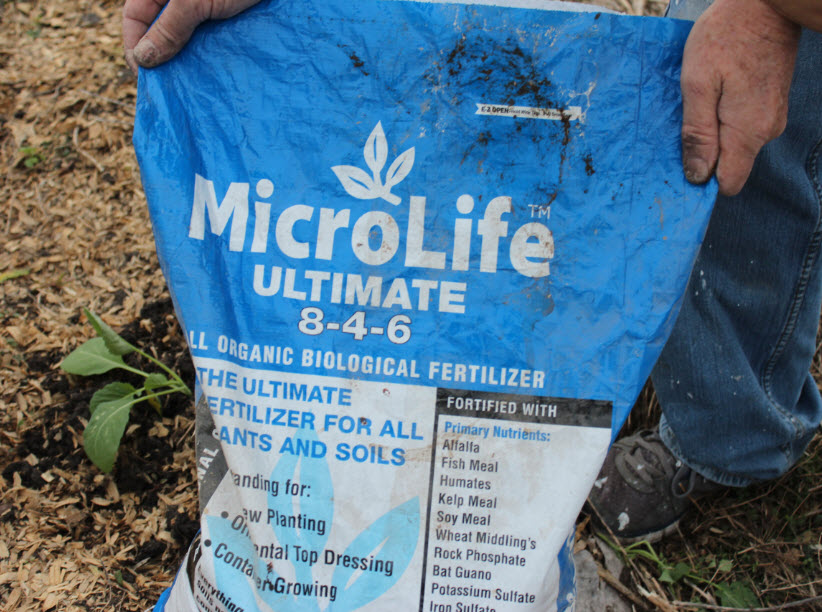
Favorite amendment: Compost and “Barnyard” soil.
Do you preserve: Yes. He loves pickled beets so He grows and cans a bunch each year. He shared a jar with me and I can tell you, he really knows how to pickle a beet!
Favorite advice: John recommends that you constantly work to improve your soil. Even though his garden plot was once a chicken yard, he brought in an entire trailer load of “barnyard” waste and tilled it into his garden. Each year he adds more compost to his garden in late fall.
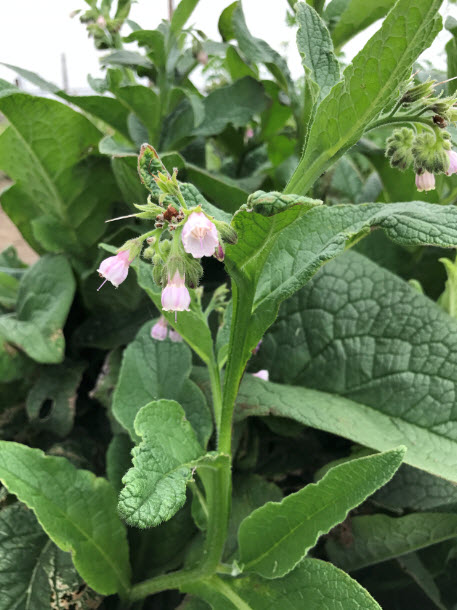
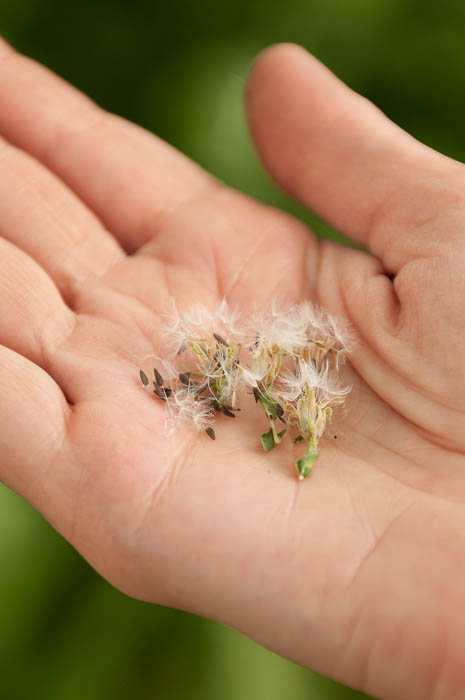
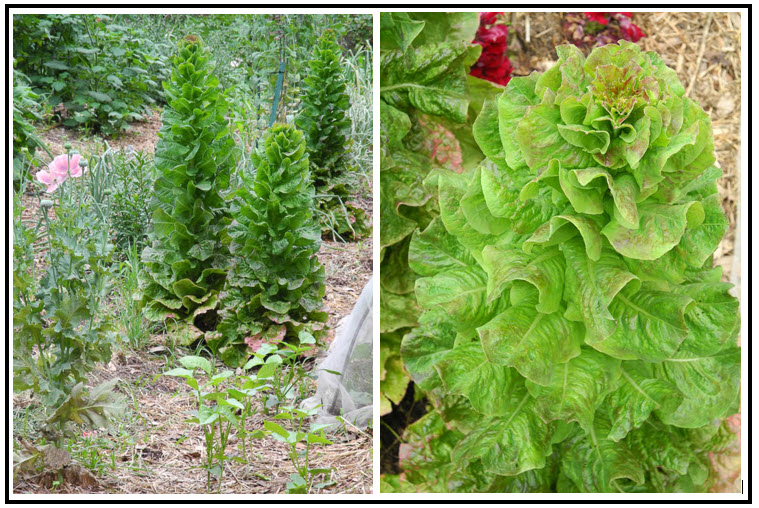
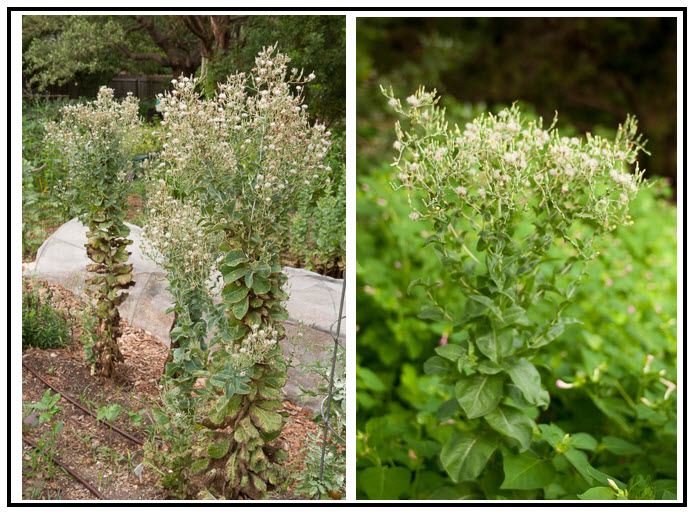
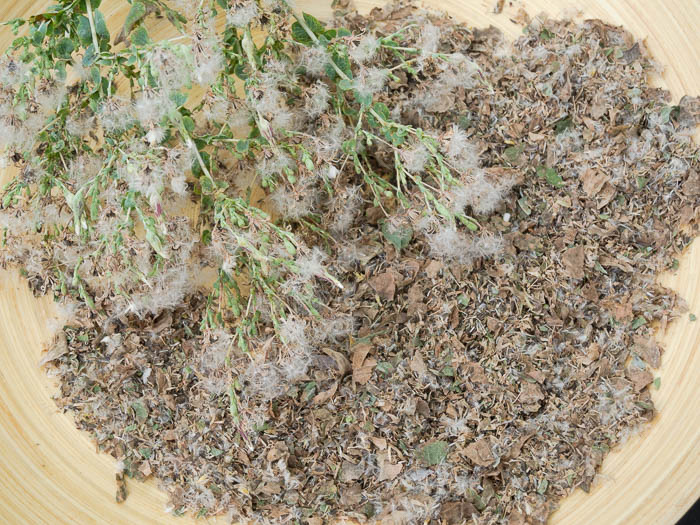
One of the more unusual things that John grows is comfrey.
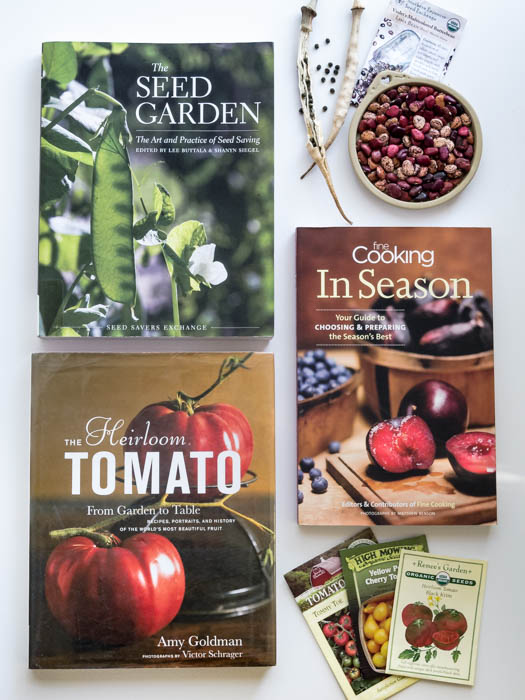
I share my posts on The Simple Homestead Blog Hop. Be sure to stop by and check out all the amazing things these gardeners and homesteaders are doing!