I love this sign that Harry has hanging in the back of his garden
Over the next twelve months we will be visiting with 12 gardeners from all over Texas. They will be sharing some of the knowledge that allows them to garden successfully in our beloved, but climatically challenging state. I have a masters degree in horticulture and I have gardened for years. However, most of my gardening knowledge came from visits with other gardeners. I hope these monthly visits will provide you, and me, with a few tips and tricks that will help us all become better gardeners.
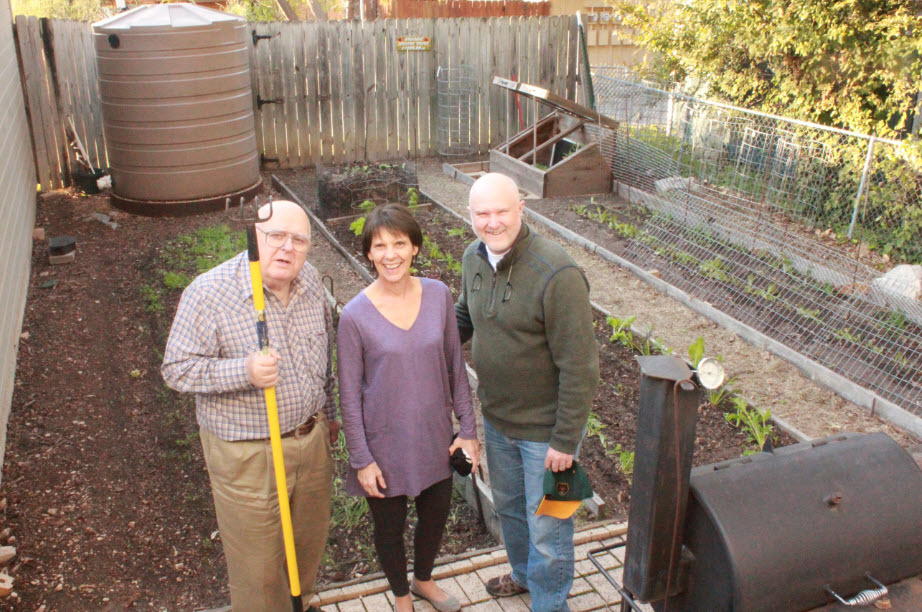
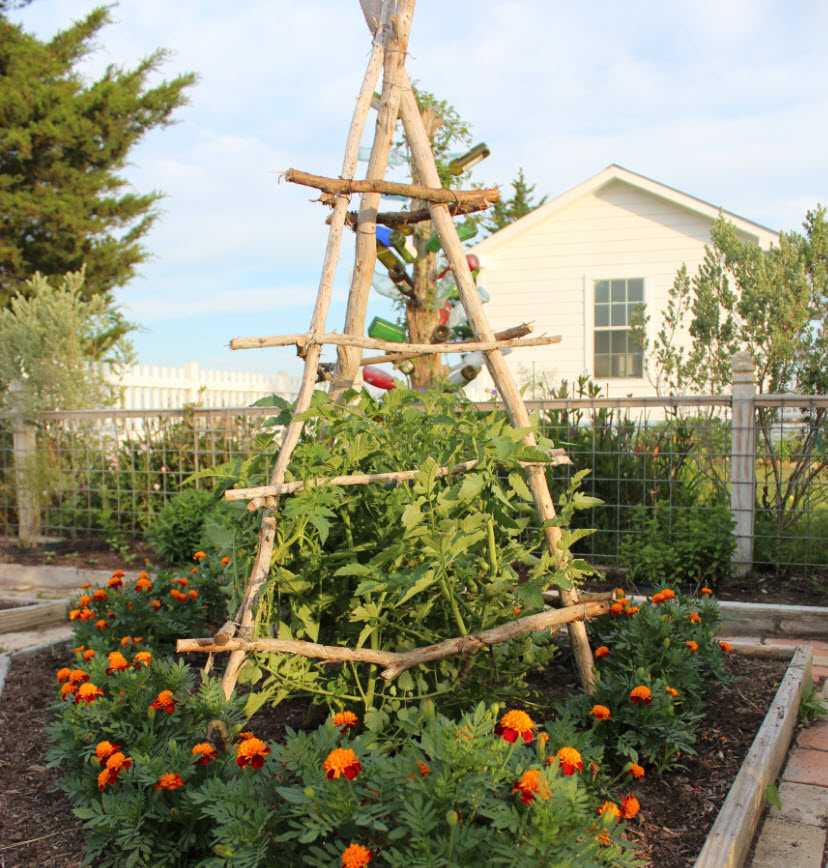
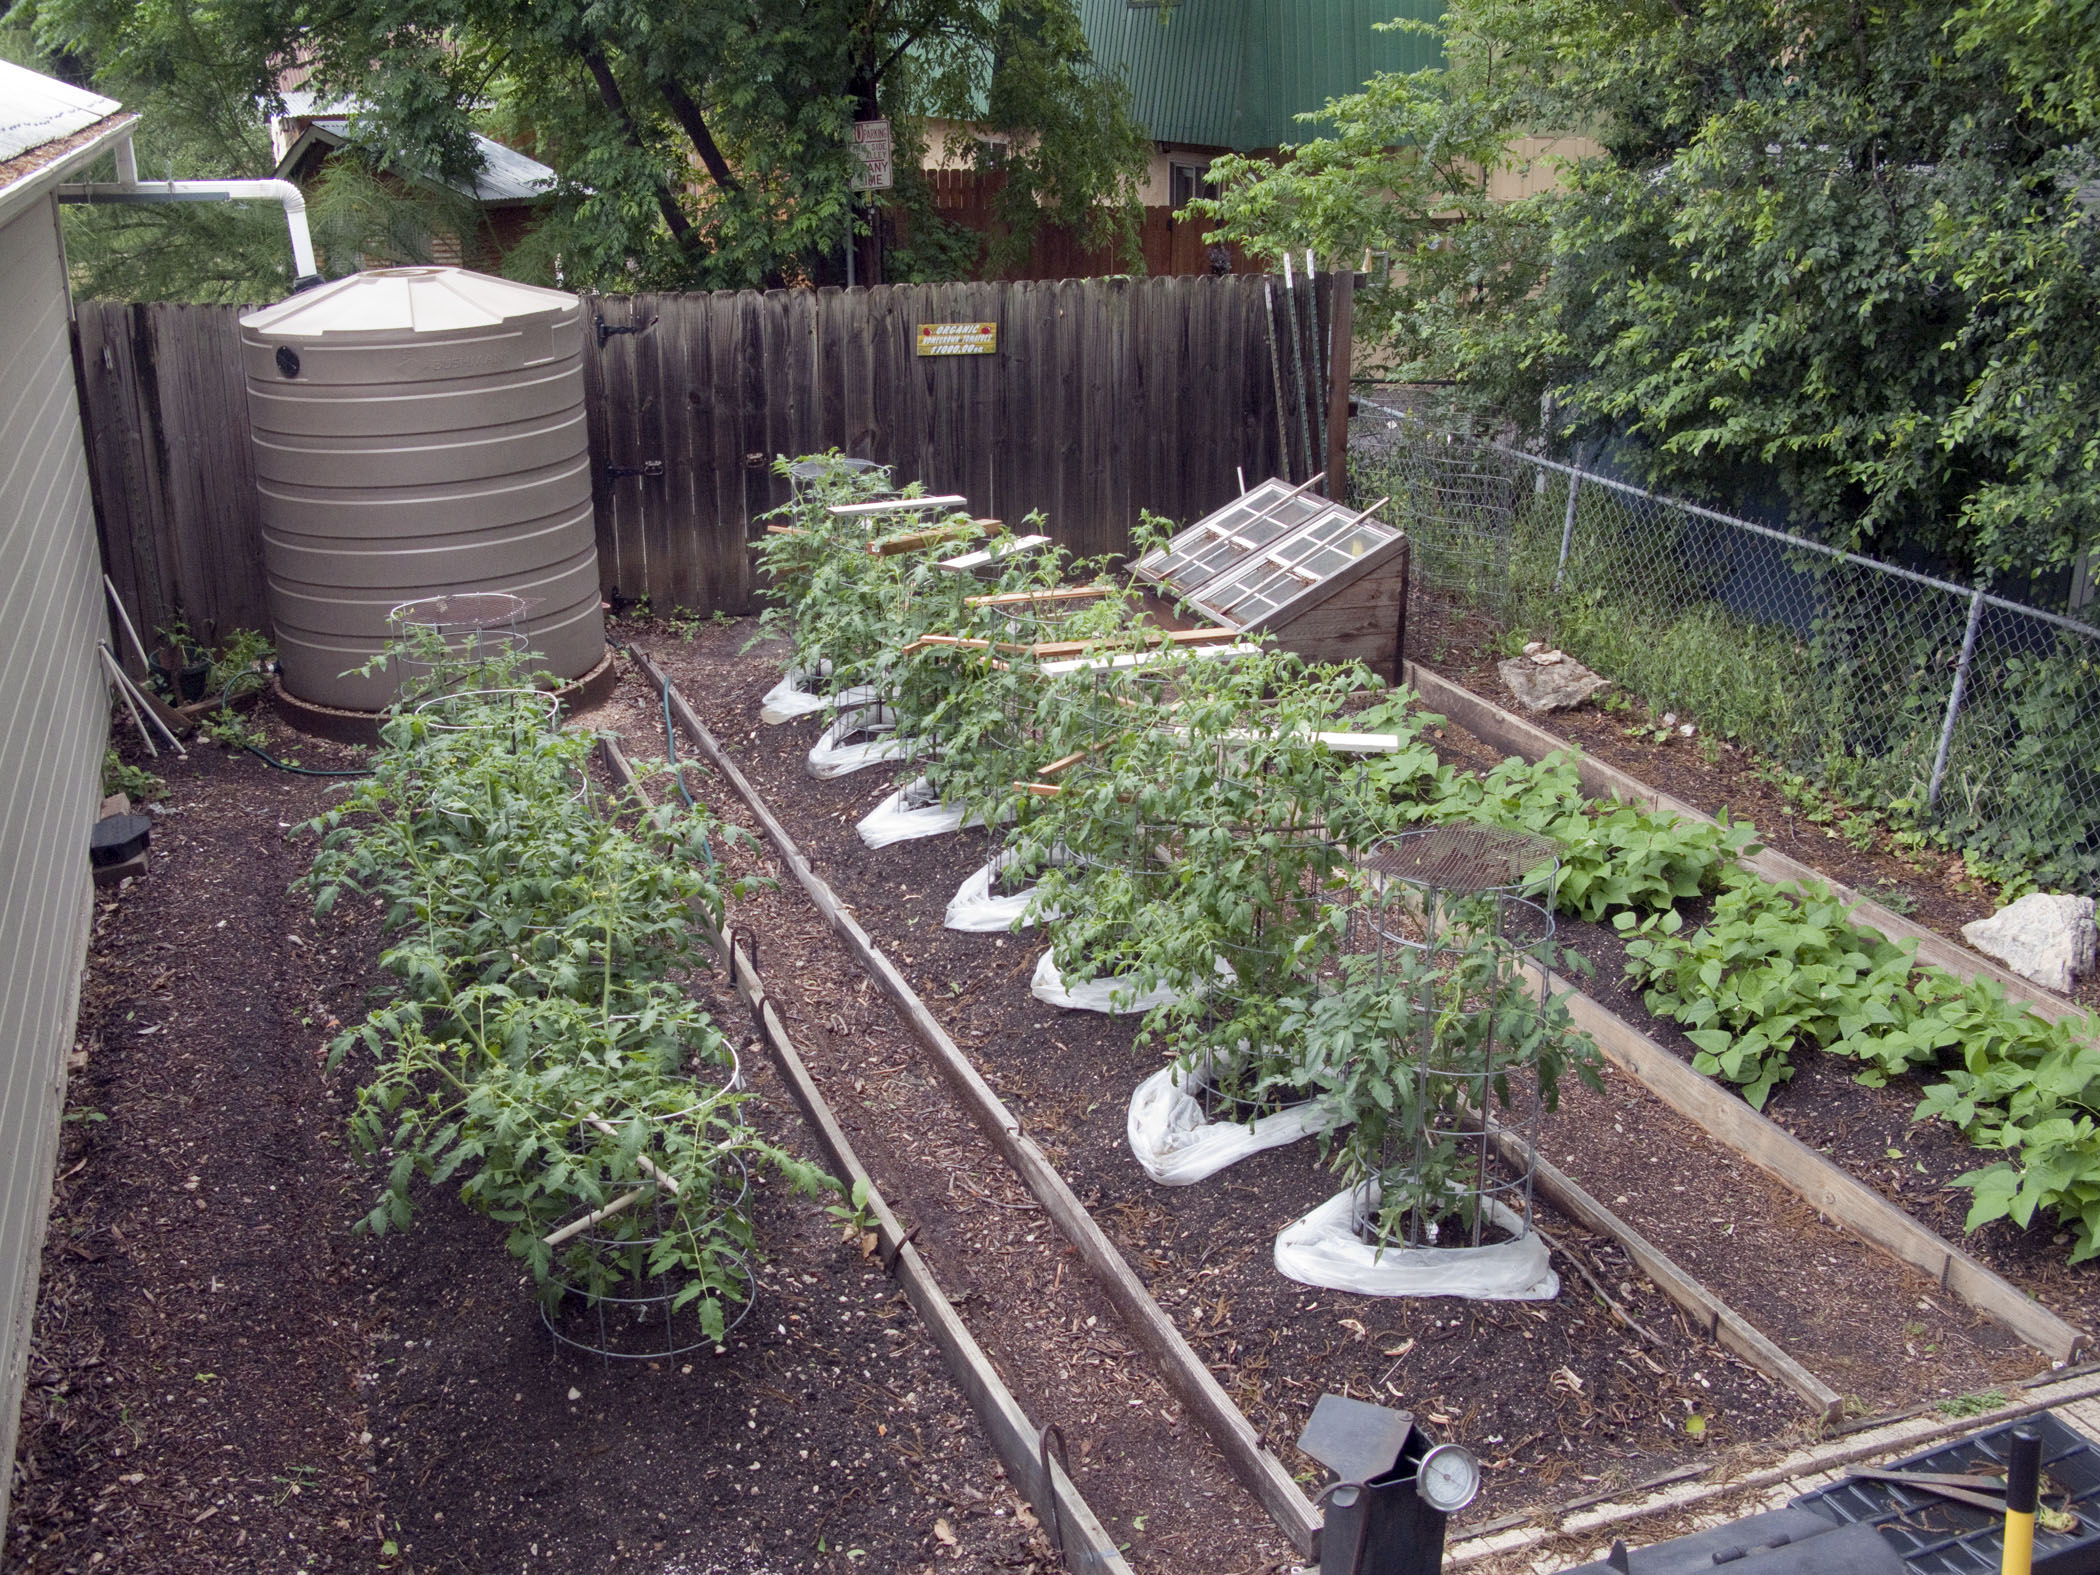
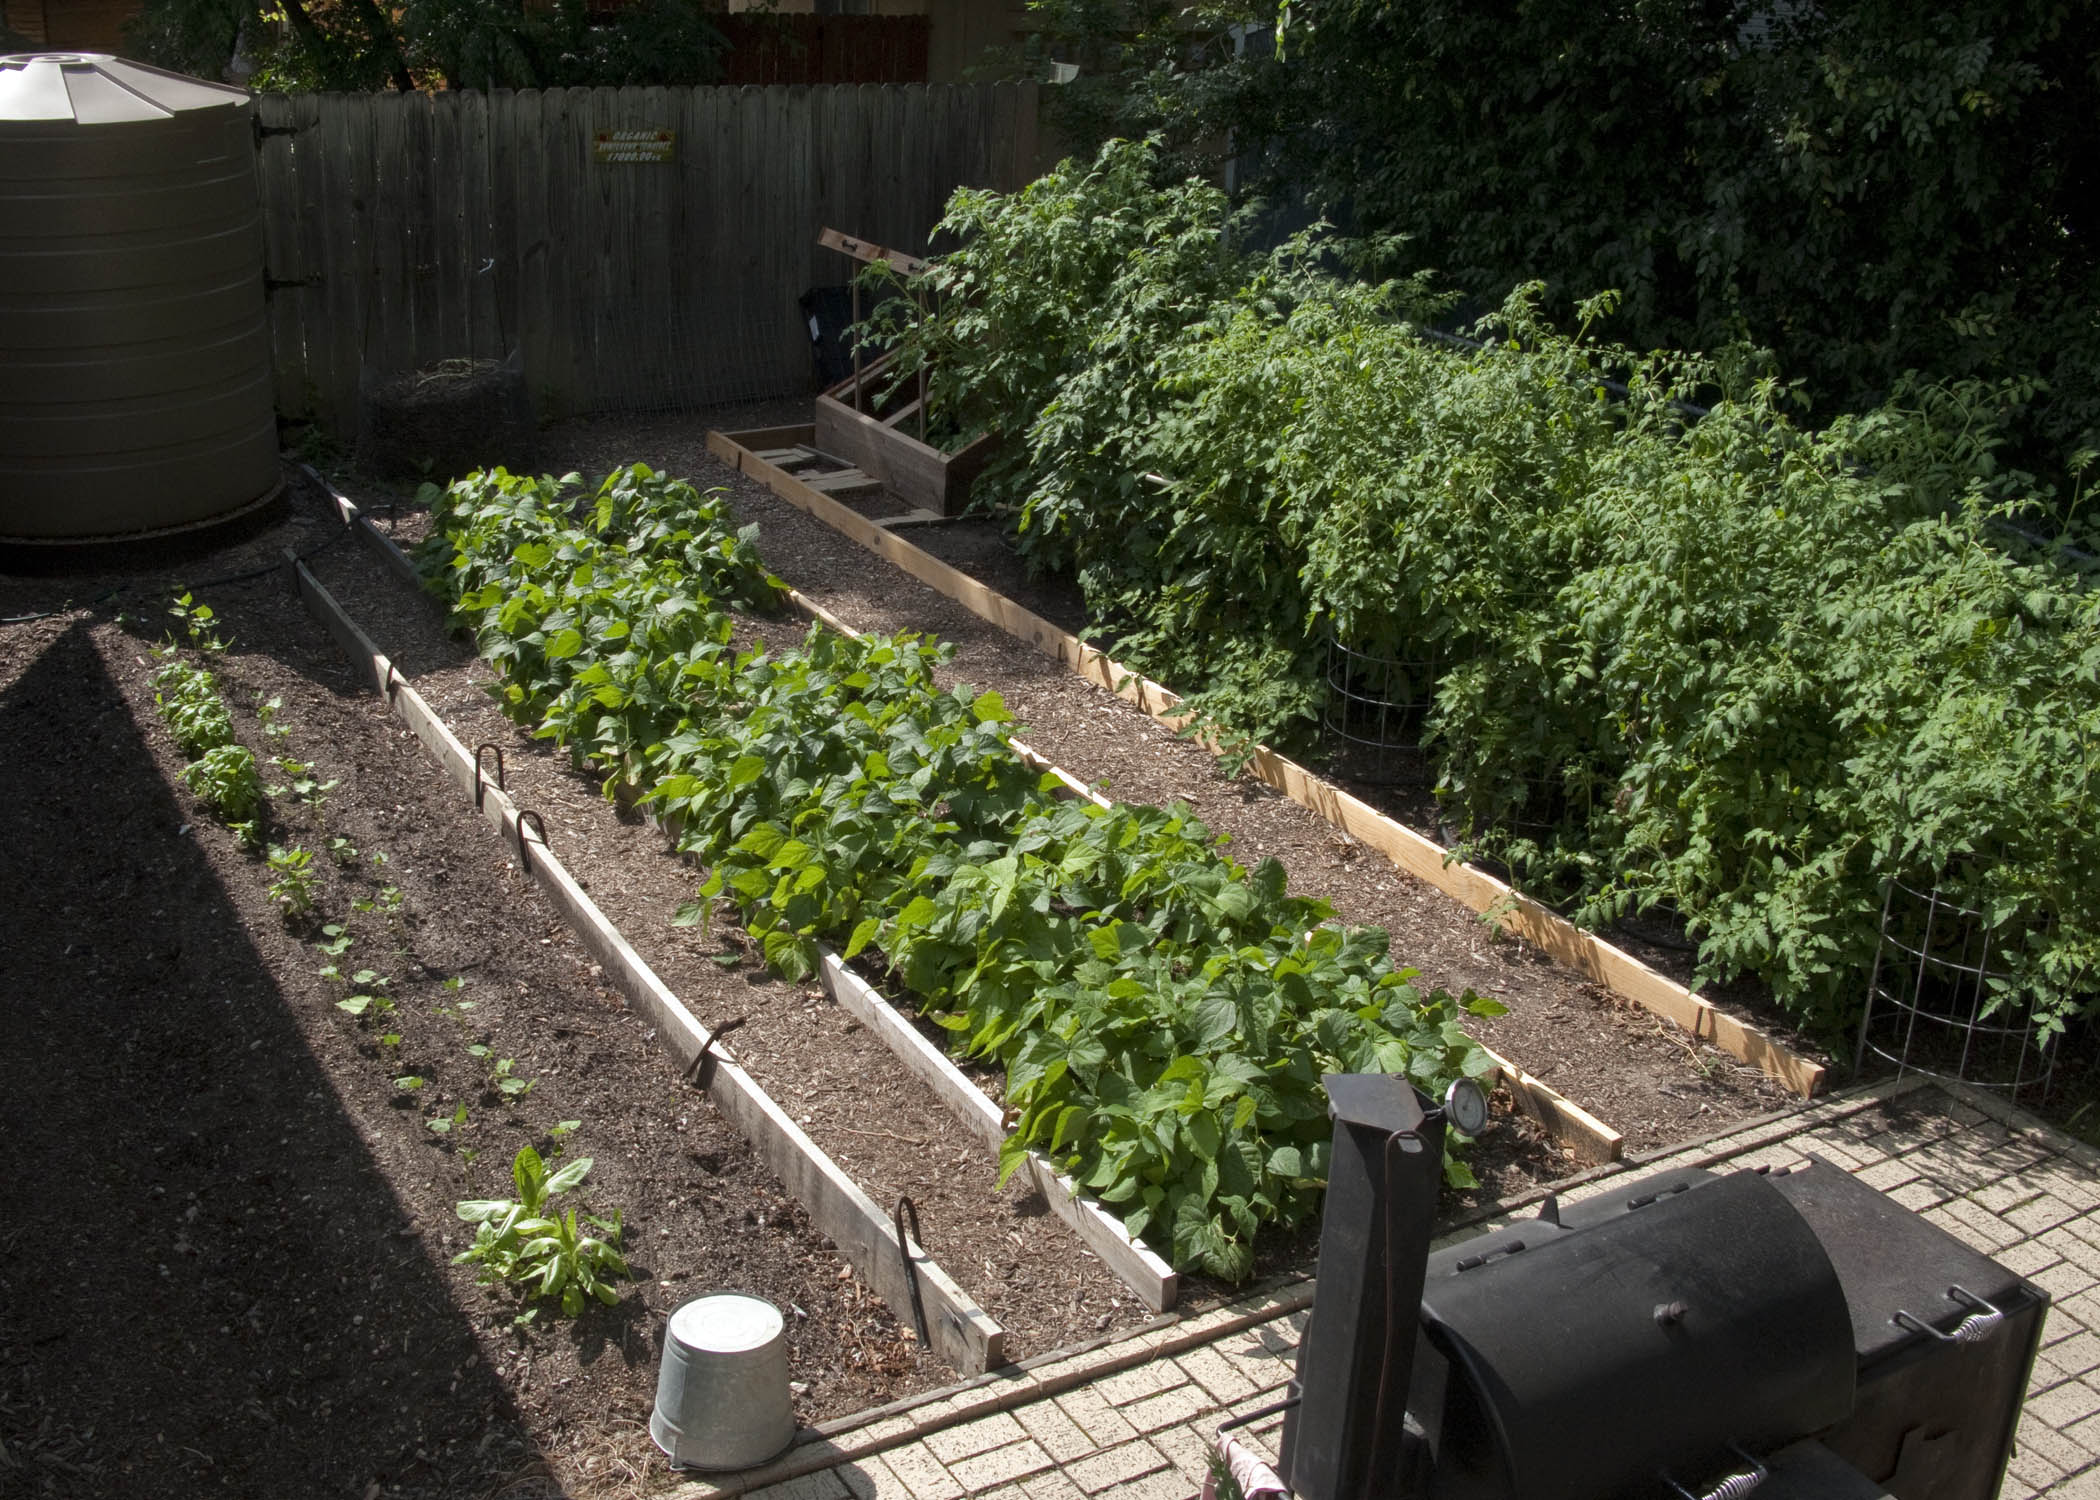
Patty and I visited Harry Cabluck and his incredibly well done garden earlier this month. We were blown away by how well done it was. Always humble, Harry gives much of the credit for his garden infrastructure to his good friend Tom Lupton.
Our first gardener is Harry Cabluck. Harry gardens in the back yard of his central Austin home. While his garden is not the biggest I have ever seen, it is one of the neatest and most well managed gardens that I have ever been in. Harry was gardening organically long before it was “cool”. He collects rainwater for irrigation, makes tons of compost, has the nicest cold frame I have ever seen and grows tomatoes from seeds (click here to read how Harry grows his tomato transplants) and then grafts them onto other tomatoes that he has grown from seed.
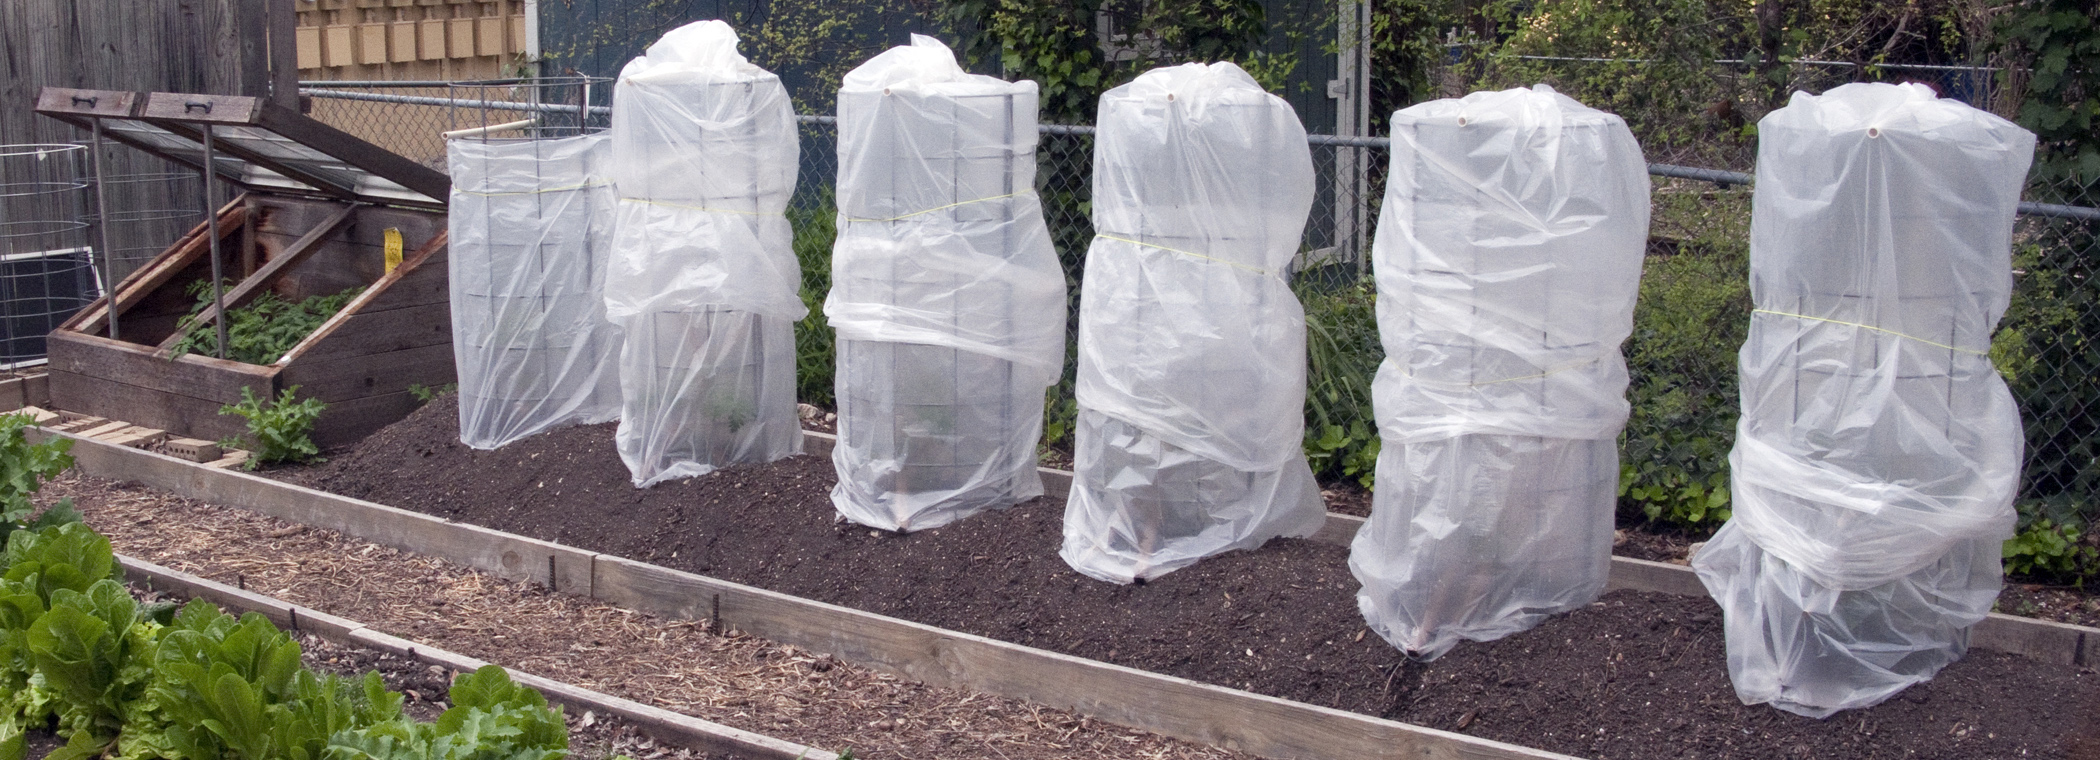
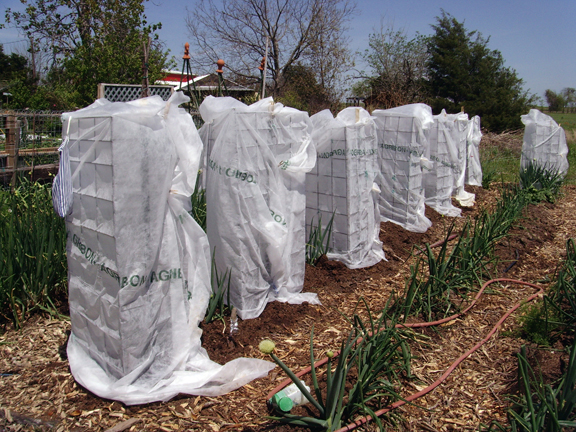
Garbage bags over tomato plants Thursday, March 19, 2015, in Austin, Texas. ( Photo/Harry Cabluck)
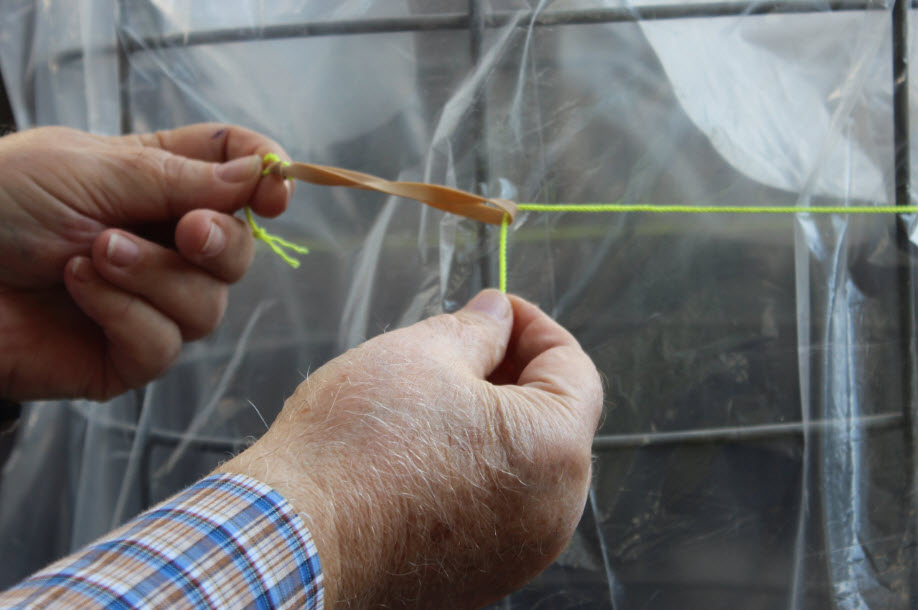
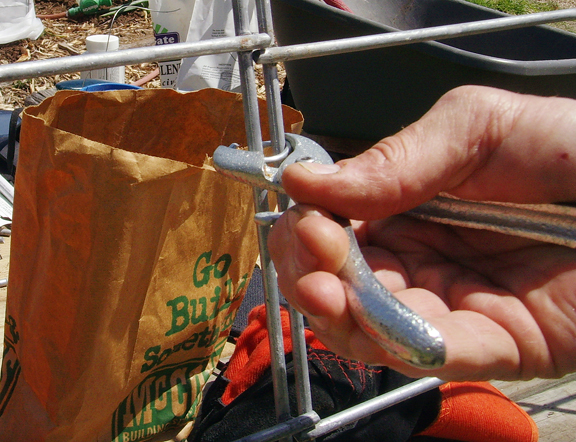
Harry uses a piece of string and a rubber band to quickly and effectively secure his garbage covers to his tomato cages
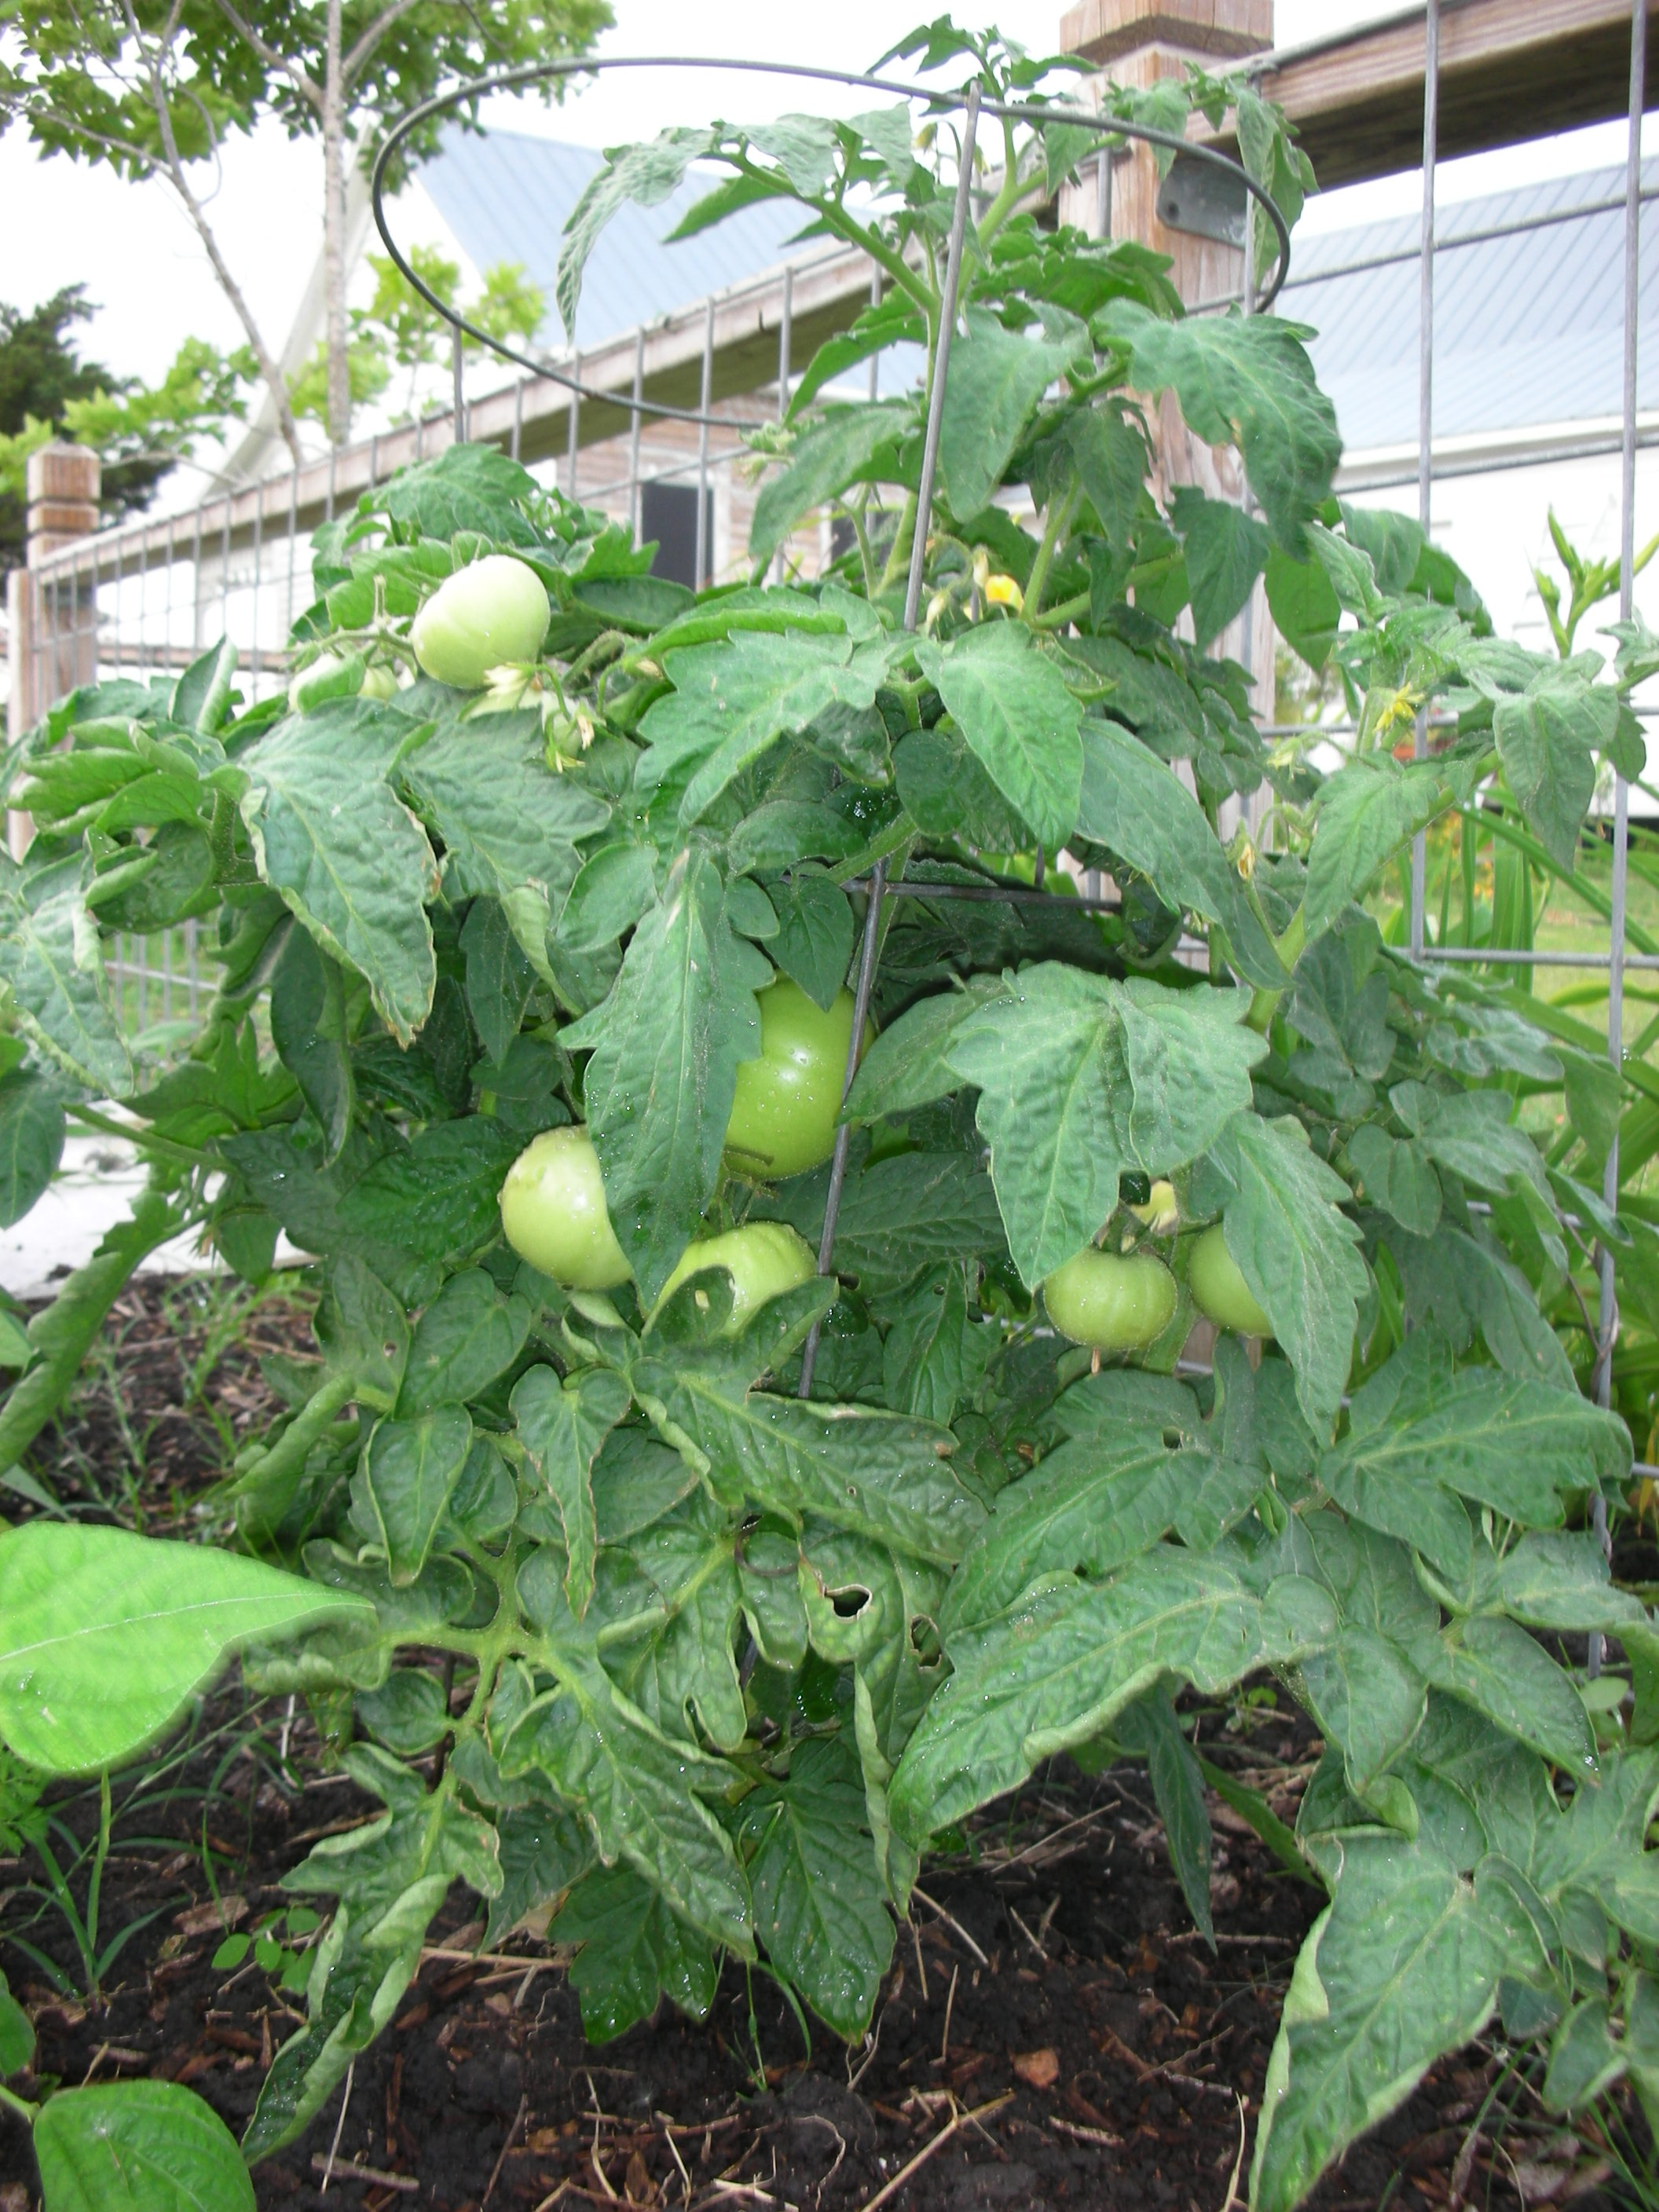
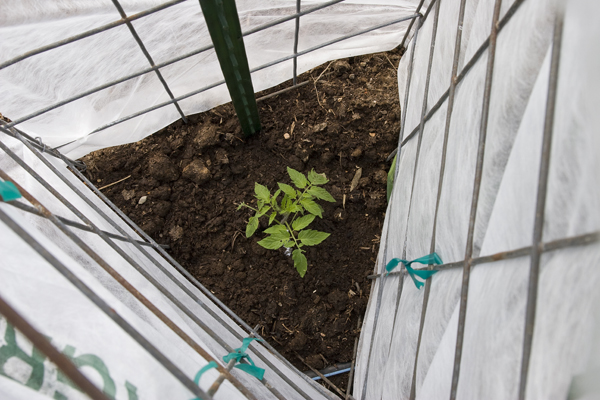
Harry gives his beloved tomatoes a head start by growing them in an ingenious cage method that he developed. As early in March as he can, Harry plants the tomatoes he started in January in his neatly bordered beds that are extremely well worked with compost. He then takes a 55 gallon trash can liner, splits the end and bunches it around the tomato plant. Then he uses his heavy duty cages to anchor the the trash bag in place. To keep his trash bag liner secured to his cage he uses an ingenious string and rubber band fastener that is incredibly effective and easy to use. With bags in place he is able to easily pull the bags up over his frame at the earliest sign of cold weather, high winds or heavy rain. I was so impressed with this cage method that I seriously considered changing the way I grow tomatoes! Now let’s hear more from Harry:
Cabluck garden on Tuesday, May 13, 2014, in Austin, Texas. ( Photo/Harry Cabluck)
Name: Harry Cabluck
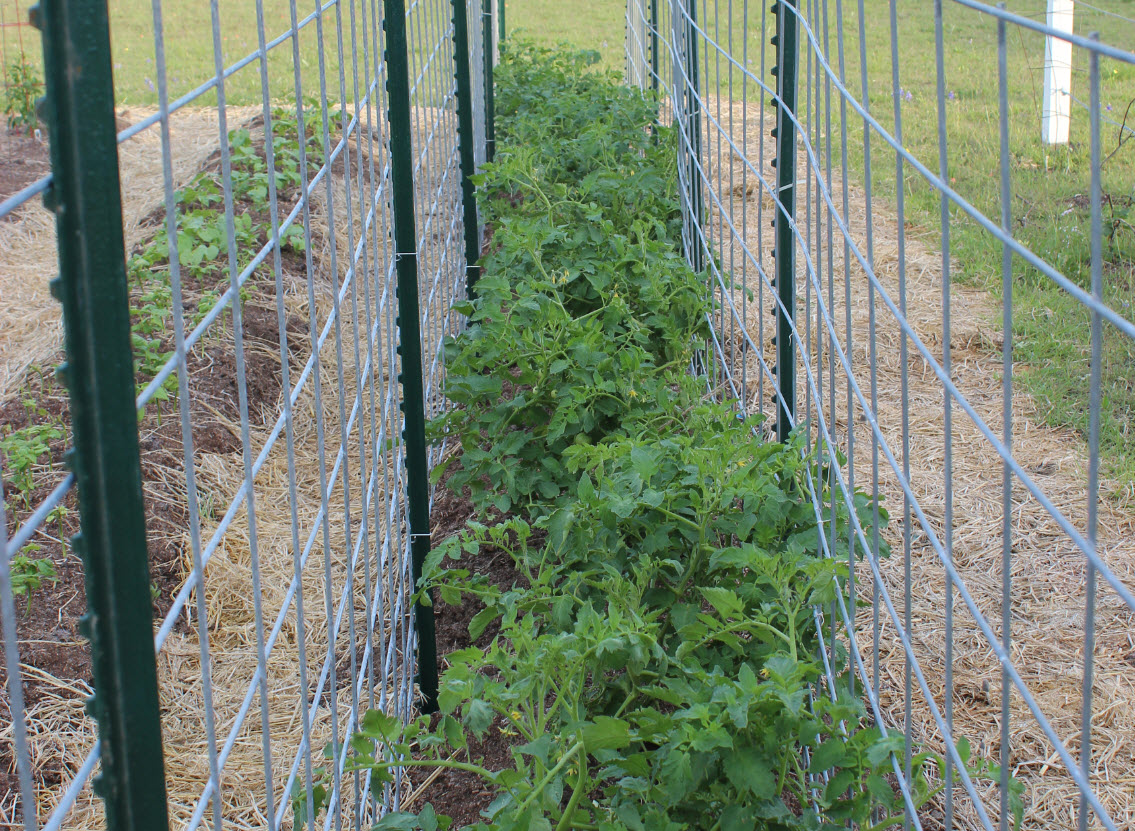
Location: Central Austin. **City garden of three 100-sq. ft. raised beds. We rotate a plot holding 12-15 tomato plants a year.
(Photo/Harry Cabluck)
Years gardening: 43+. First gardened as a child in late 1940’s. My mother had a green thumb and a source for manure, as her father was a dairy farmer. As an adult we have had small plots in Dallas and larger plots in Pittsburgh, Pa., and Columbus, Ohio. We made good use of our Troy-Bilt 6 hp rototiller. Often improved the soil in these gardens by importing soil, manure and/or spoiled hay.
Years in this plot: 20. **Our backyard was once the corral area for a nearby home. When we moved in it was black gumbo clay that would hold ankle-deep water for a few days after each rain. De-ionized the soil with gypsum. Built multiple compost piles 20-feet long before starting to plant in 1995.
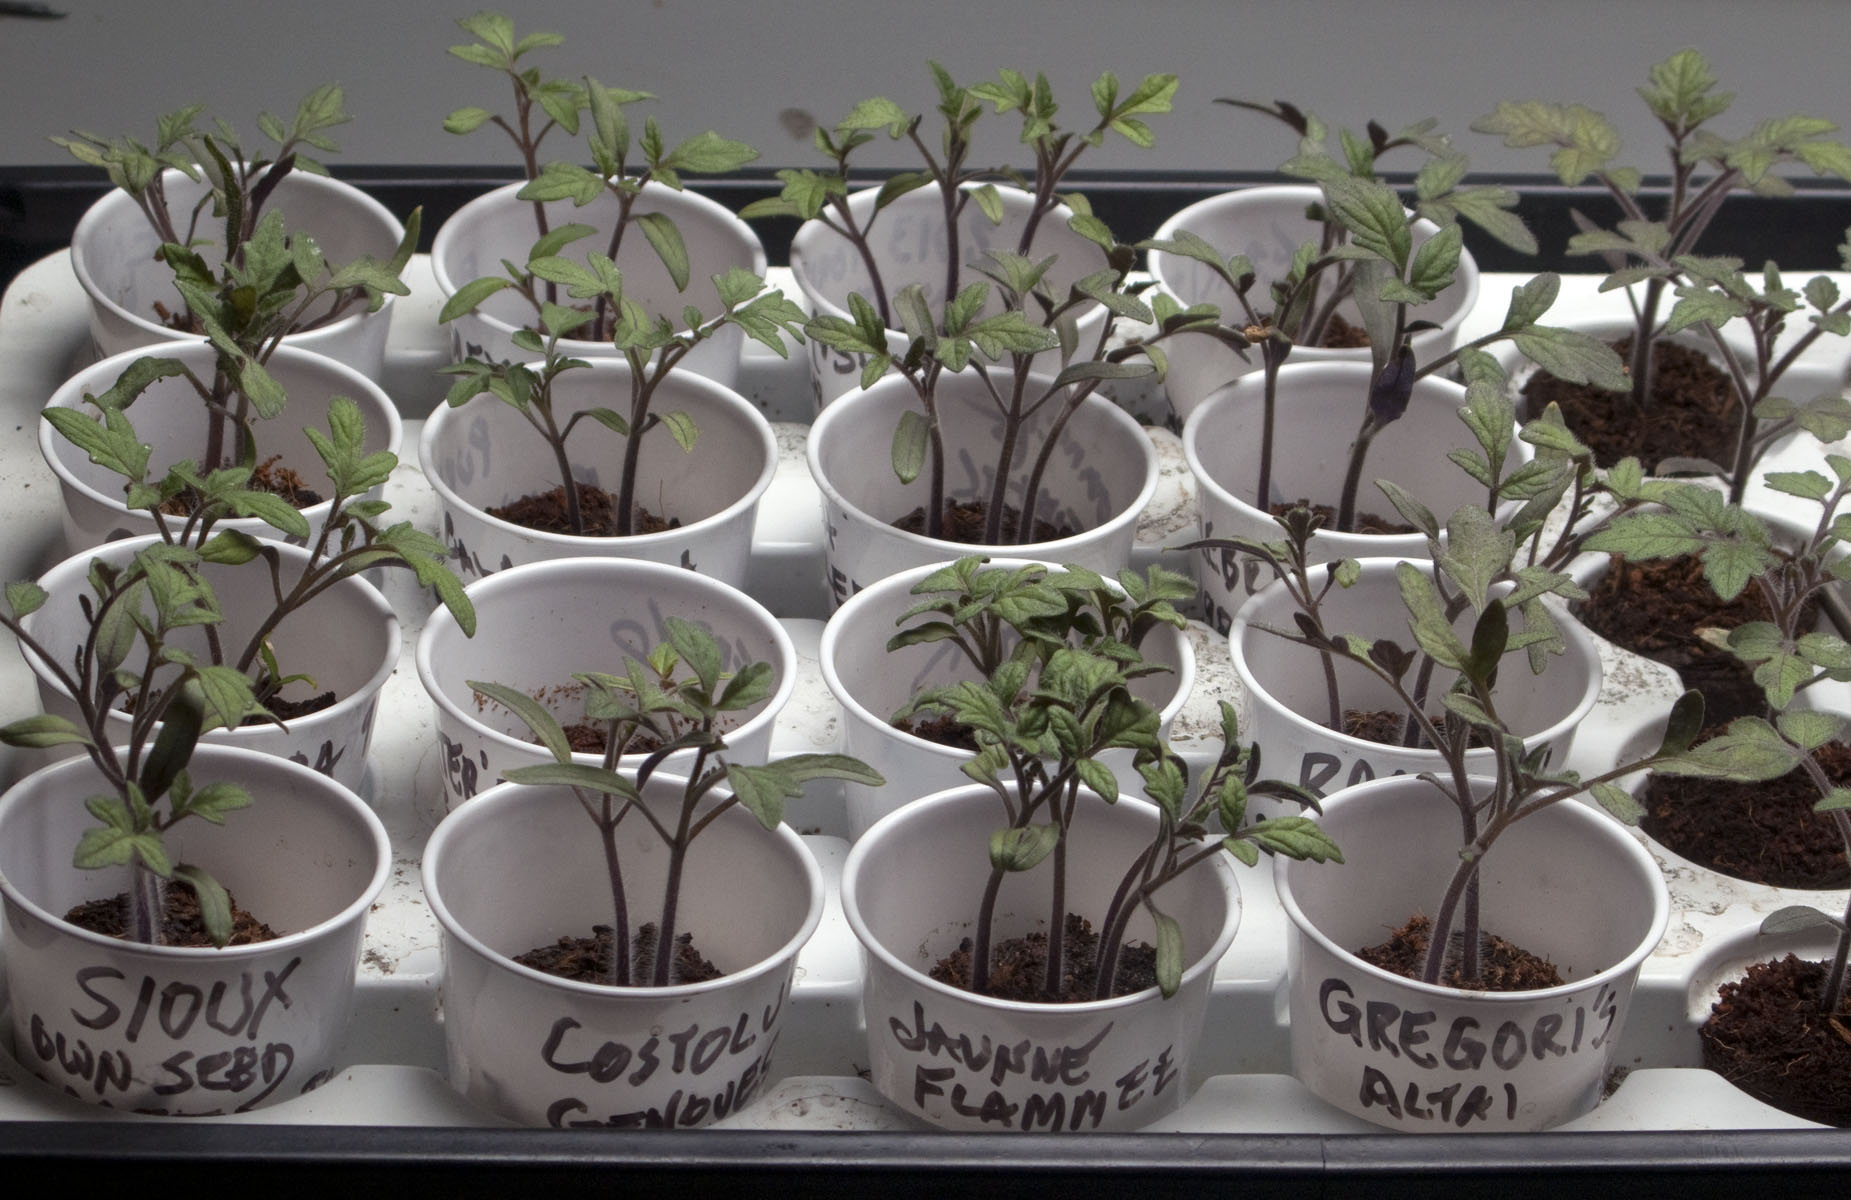
Tomatoes under lights Sunday, March 2, 2014, in Austin, Texas. ( Photo/Harry Cabluck)
Favorite crop: Tomatoes. Usually start 60 seeds in trays under lights in the garage in January. This is the first year to use LED’s instead of T-5 or fluorescent lights. Hope to yield 36 heirloom/hybrids along with 18 rootstock for grafting. After starts in trays become root bound, transplant to four-inch pots. Some 12-15 pots stay under lights, the remaining pots are moved to the cold frame. Sometimes need to run an extension cord and heating pad to cold frame. Usually give away the tomato plants that are not planted in our garden. Crop rotation includes basil, green beans, arugula, spinach, marigolds. January crops include greens, carrots, elephant garlic, shallots, gumbo onions. Would like to attempt parsnips. Have never had good luck with sweet peas.
Best tips: Make good garden dirt.
Compost!!! This year’s compost pile of ground leaves, mixed with kitchen scraps, cottonseed meal, bat guano and molasses, seems to be the best ever. In previous years used cooked barley malt (byproduct of brewery) mixed with coffee chaff (byproduct of air roasting). That stuff needed to be turned at least once daily, as it would putrefy.
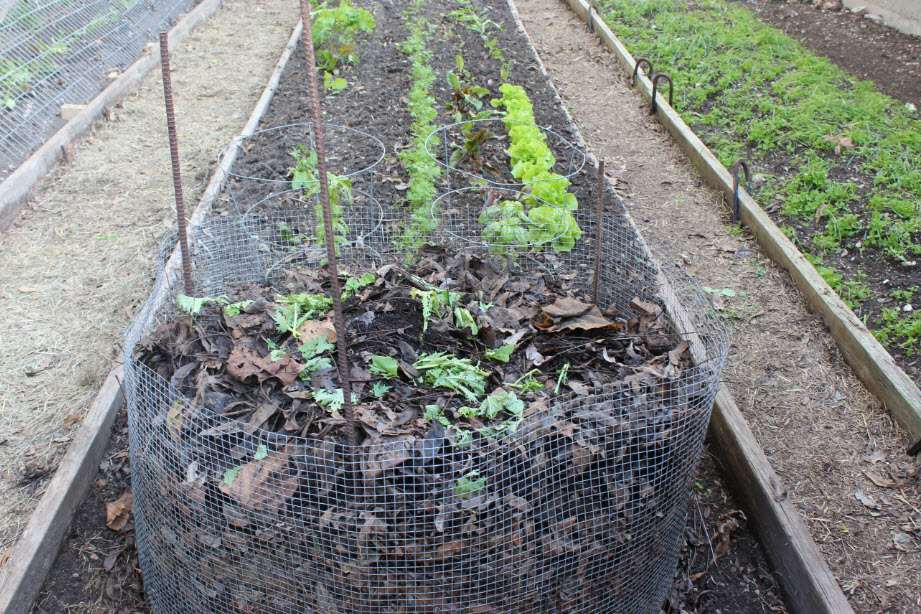
Harry composts directly in his beds
Although not necessary, we get great results using our cold frame and 800-gallon rainwater catchment. A two-inch rain on our 20X20-foot garage roof will fill the tank. It is usually empty around July 4.
Make use of store-bought soil for seed-starting and transplanting. Happy Frog brand seems best. Don’t waste time and money on cheap tomato cages. Read Bill Adams’, “Texas Tomato Lover’s Handbook.”
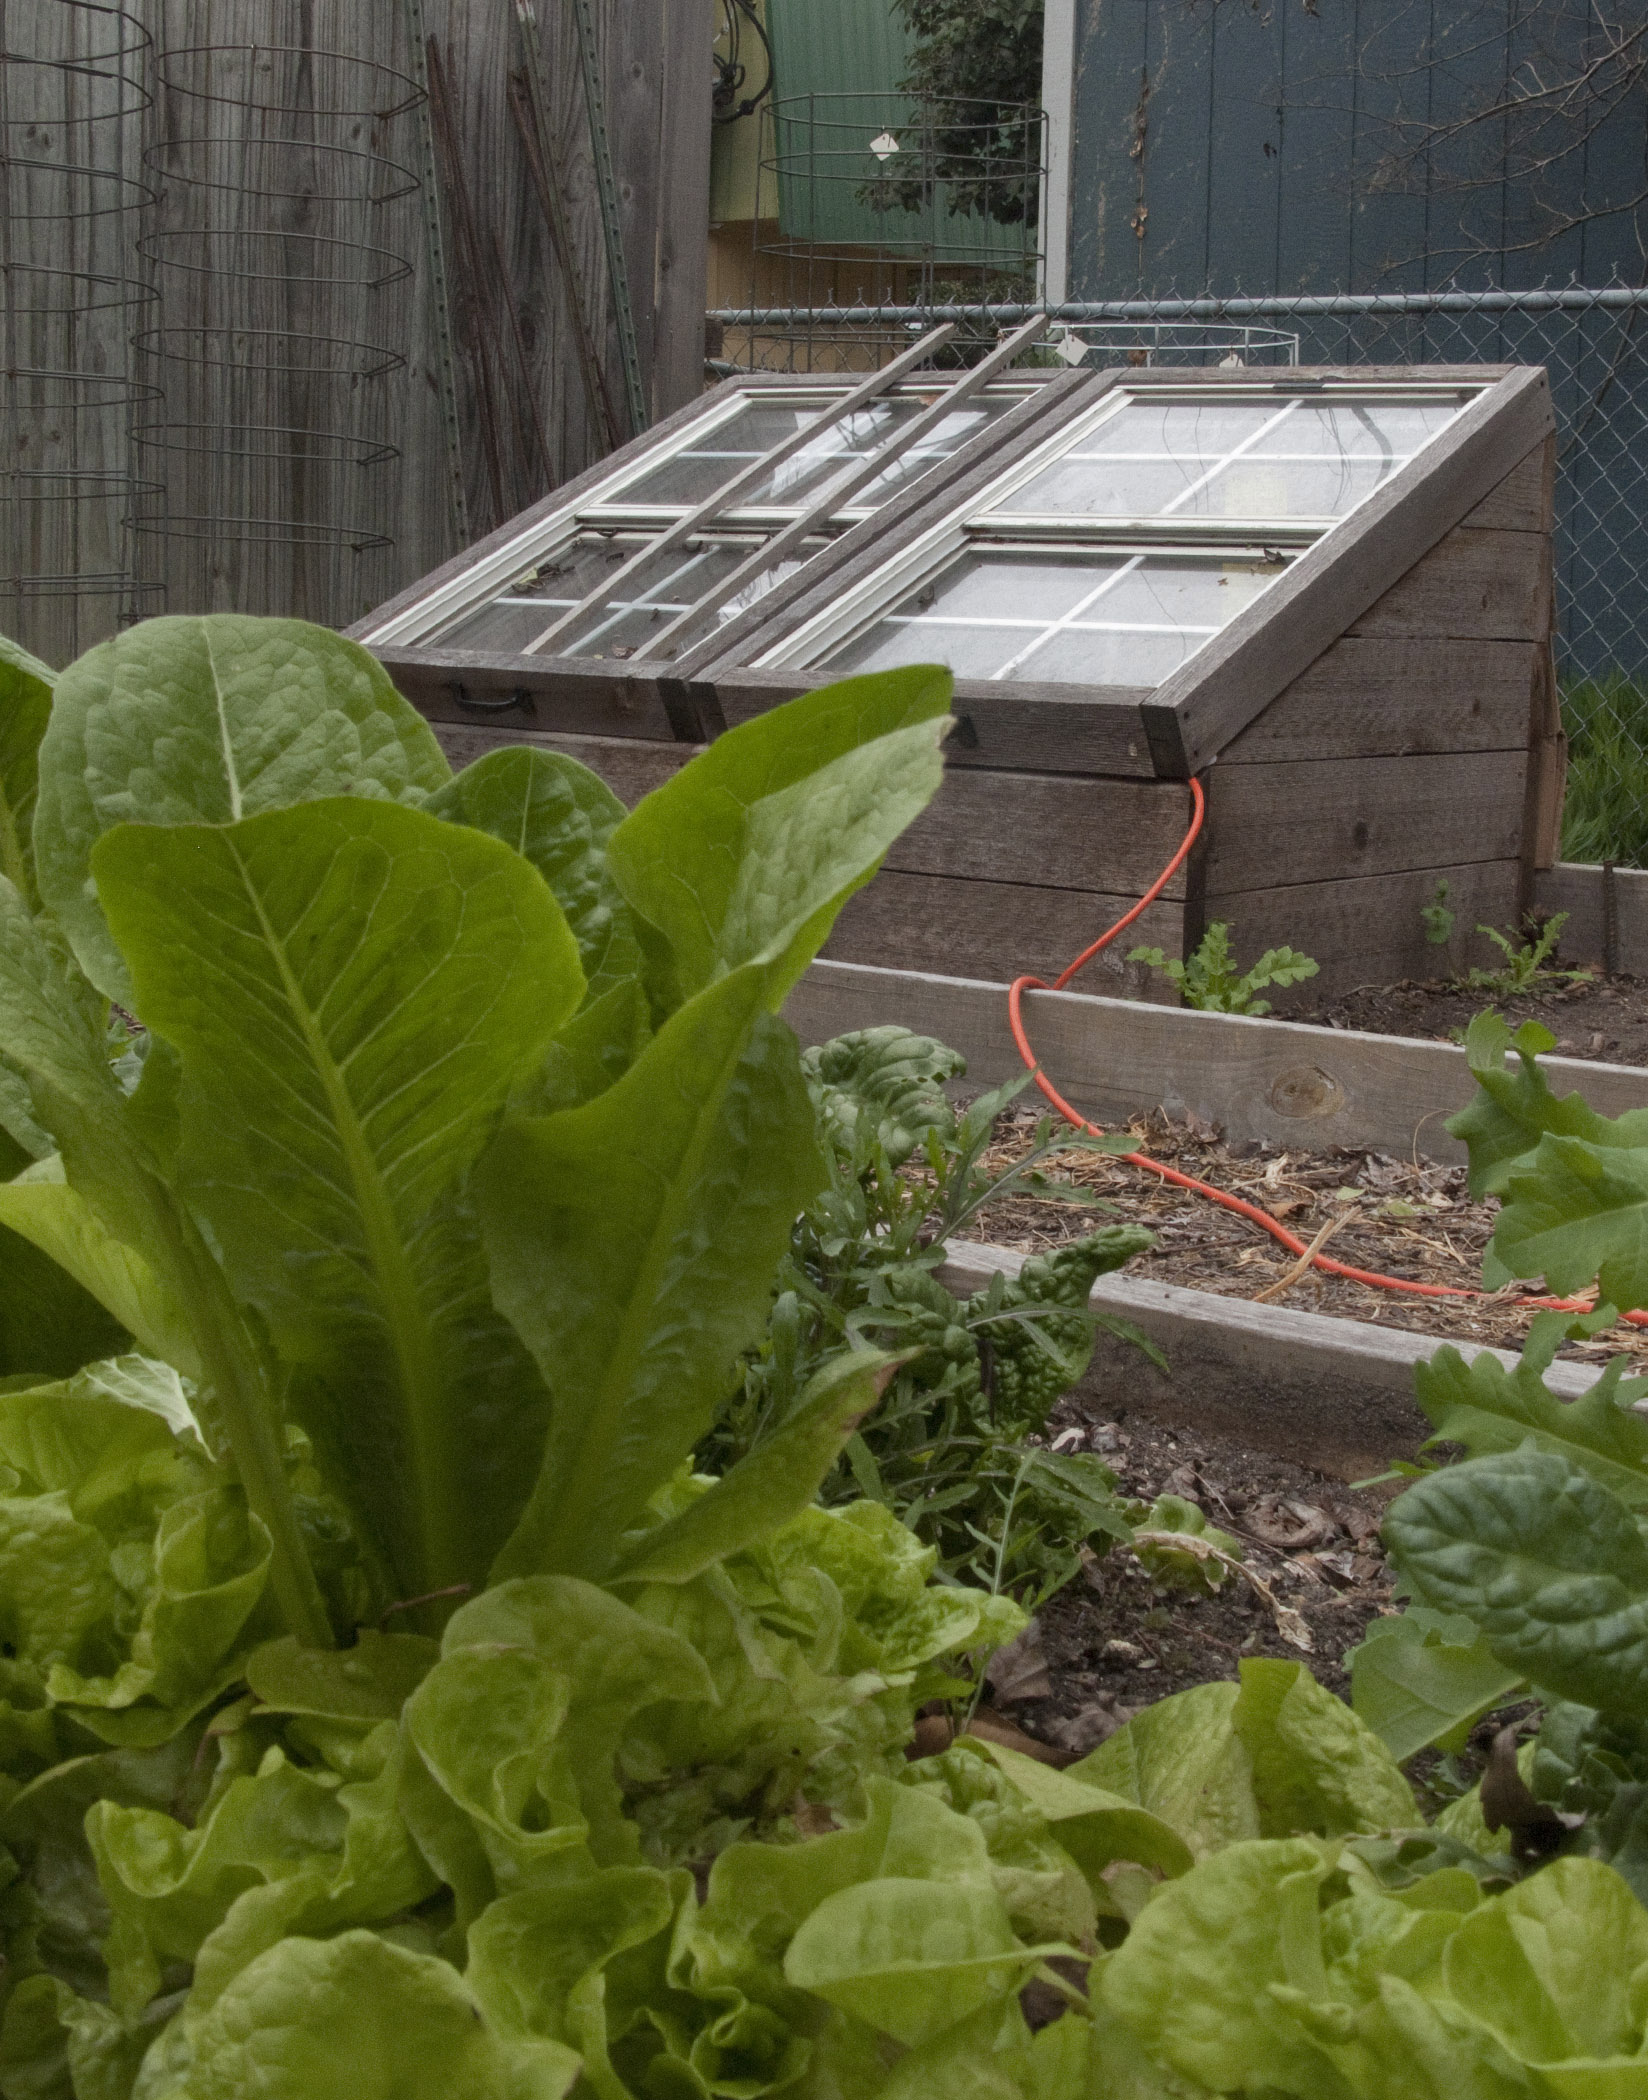
Cold frame in Cabluck back yard garden Saturday, March 7, 2015, in Austin, Texas. ( Photo/Harry Cabluck)
Pest control: Havahart traps for varmints. For bugs, mix a one-gallon cocktail containing 50-squirts Tabasco, one ounce of liquid seaweed, one ounce molasses, one ounce fish emulsion, dash of dishwashing liquid…when necessary add BT. I love my Hudson sprayer.
Weed control: We control weeds by cultivating and mulching regularly. **Best stuff seems to be wood chips. Long-tined rake, six-inches wide, four tines.
Biggest challenge: Thwarting the squirrels and leaf-footed bugs. **Would like to have a moveable pergola, because a hoop house is always a challenge to erect and doesn’t look good.
Favorite amendment: Cottonseed meal AND anything with trace elements…especially glauconite, WHICH seems to help blossoms set fruit in heat and cold.
Do we preserve: No. **Not large enough garden, small yields.
Favorite advice: Have a good friend who has great ideas. ***Thanks to Tom Lupton.
What would you like to do better? Would like to learn more about tomato biology. How to ensure more tomato blossoming and fruit set and how to improve brix.