The World’s Most Expensive Beans

I am currently growing the world’s most expensive green beans.  While the beans aren’t really anything special, they have already cost me well over $100 this spring.  My super expensive green beans are a variety of flat bean called Navarro.  Bill Adams introduced me to these beans a couple of years ago and I like them so much they are now the only variety I grow.  Well, let me rephrase that.  Navarro flat beans were the only beans I was growing – until the bunny showed up.

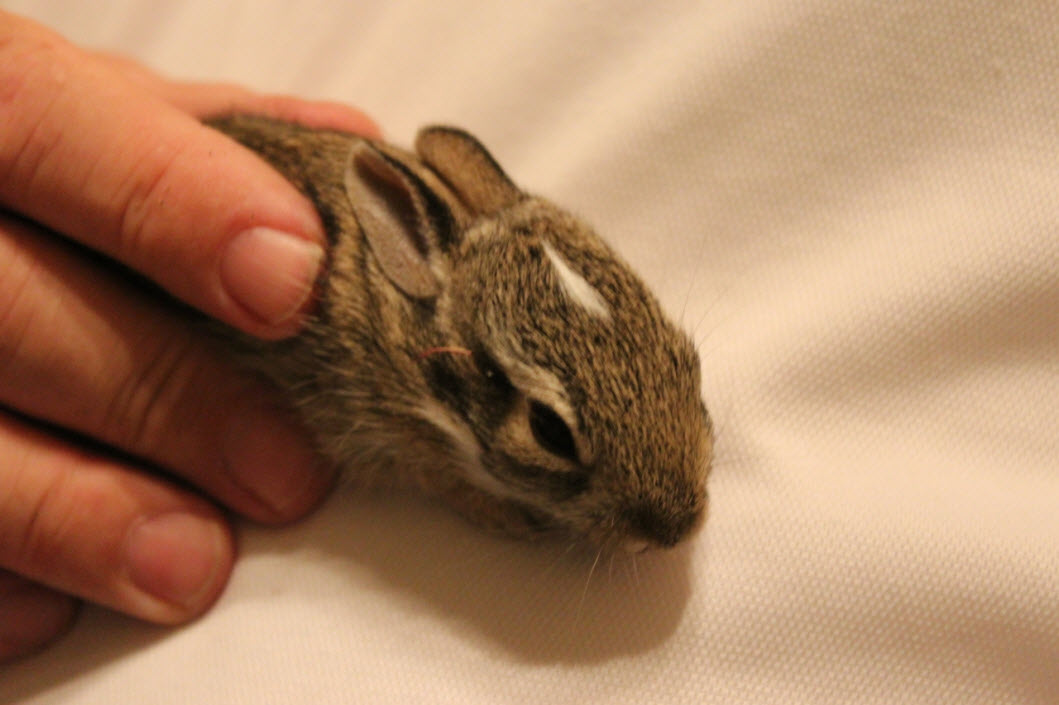
I saved this little bunny a few years ago. maybe it grew up to be our afternoon visitor

Most evenings, my wife and I sit out in the yard with her father and watch the seasons change.  About a year and a half ago an unusually friendly cotton tail started showing up and visiting with us.  The rabbit would hop right up in front of us and then graze on my St. Augustine.  Within a few weeks we discovered this friendly bunny was a girl.  Before long we had two very sociable cotton tails joining us every night.

I think you see where this is going.  We got attached to the bunnies.  Unfortunately our friendly little bunnies did what they do and before long I could no longer grow green beans in the garden.  I am not kidding.  Last spring, I planted my 35 by 4 foot bed of Navarro flat beans three times.  I harvested exactly zero beans.  Then in the fall I planted again.  You guessed it, no beans.

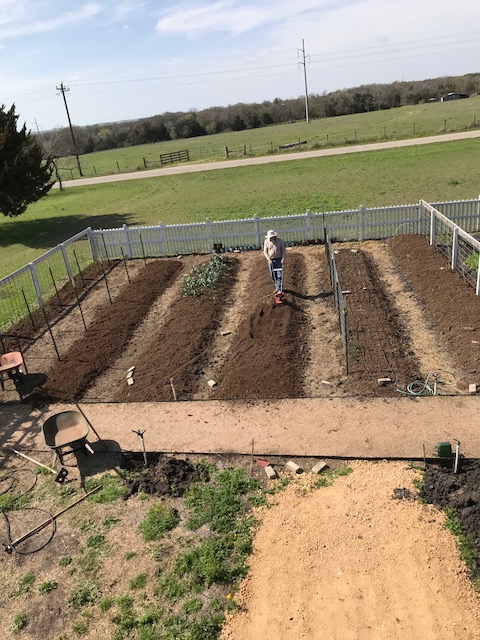
Getting my garden ready for my first attempt at growing under cover.

Since I have discovered that my wife is a HUGE fan of cotton tails, I have been forced to invest in some (expensive) hoops and nets that will allow me to grow my beans and allow her to continue watching the bunnies.  I have never grown anything under cover before.  So, instead of getting upset, I am looking at my new hoops as both an investment and a learning opportunity.

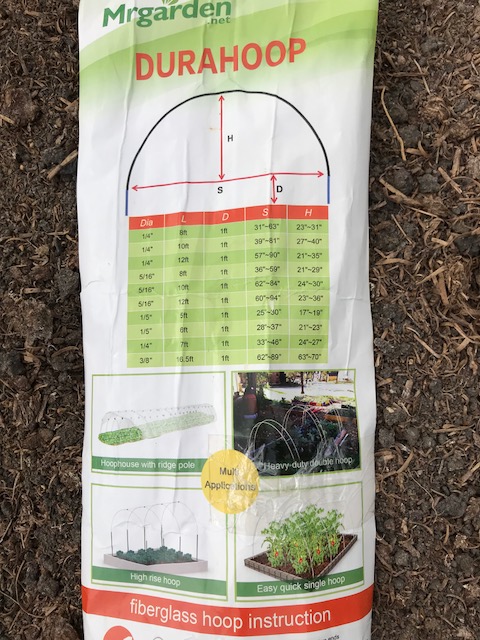
I am pretty happy with my fiberglass hoops from Mr. Garden

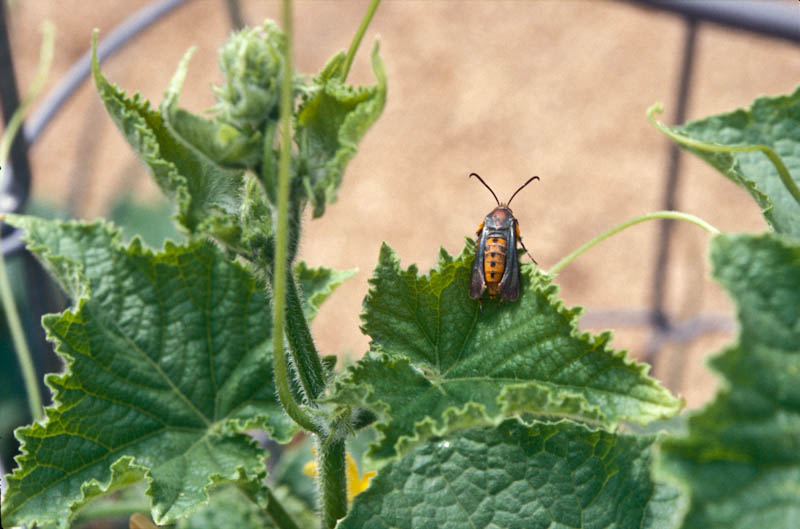
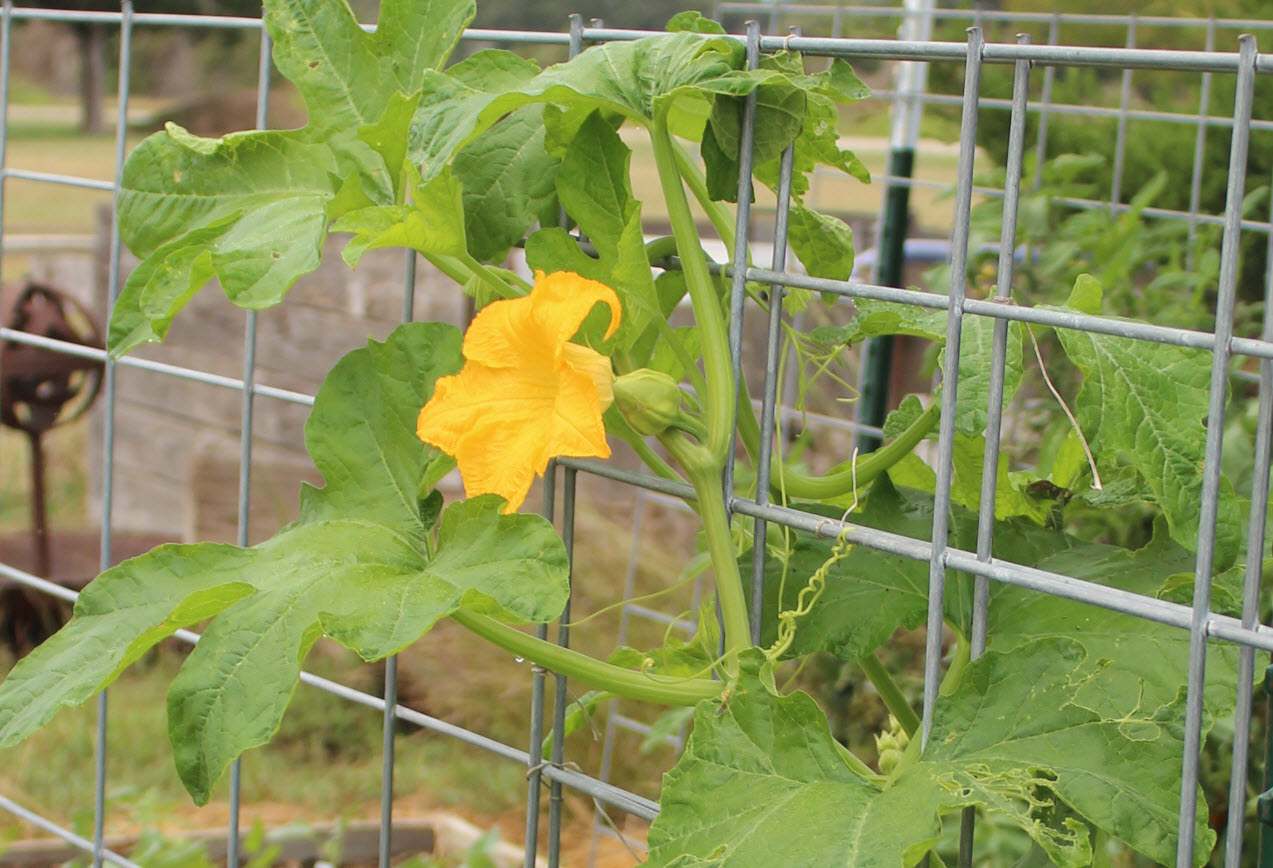
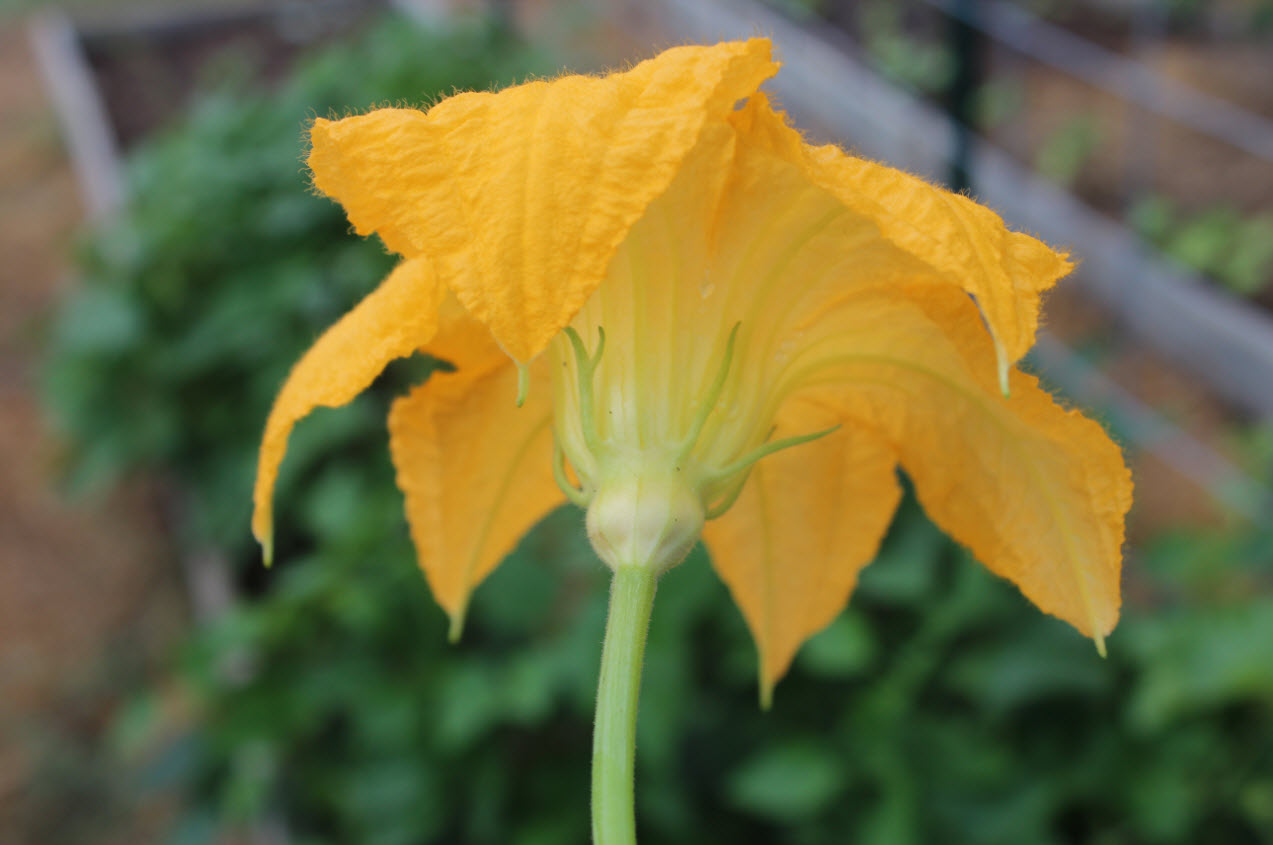
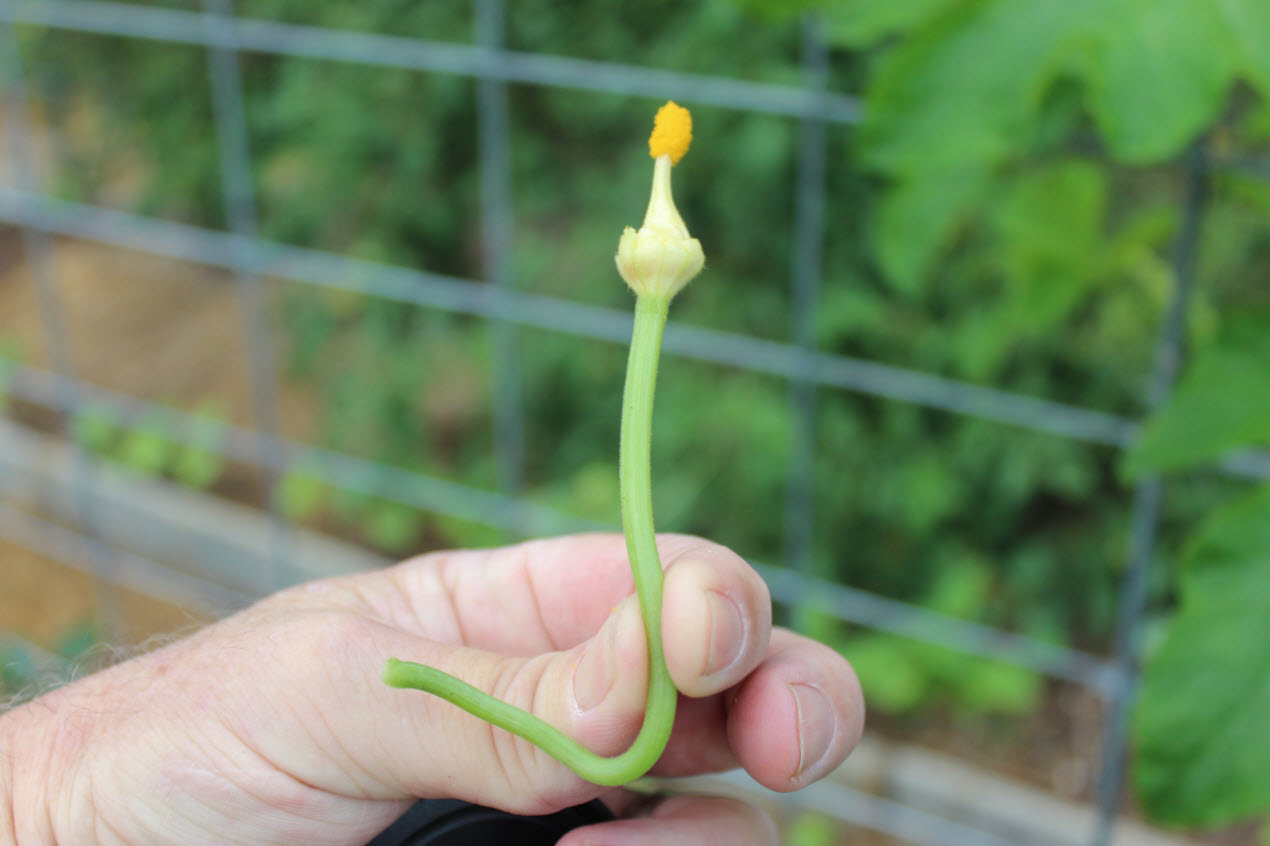
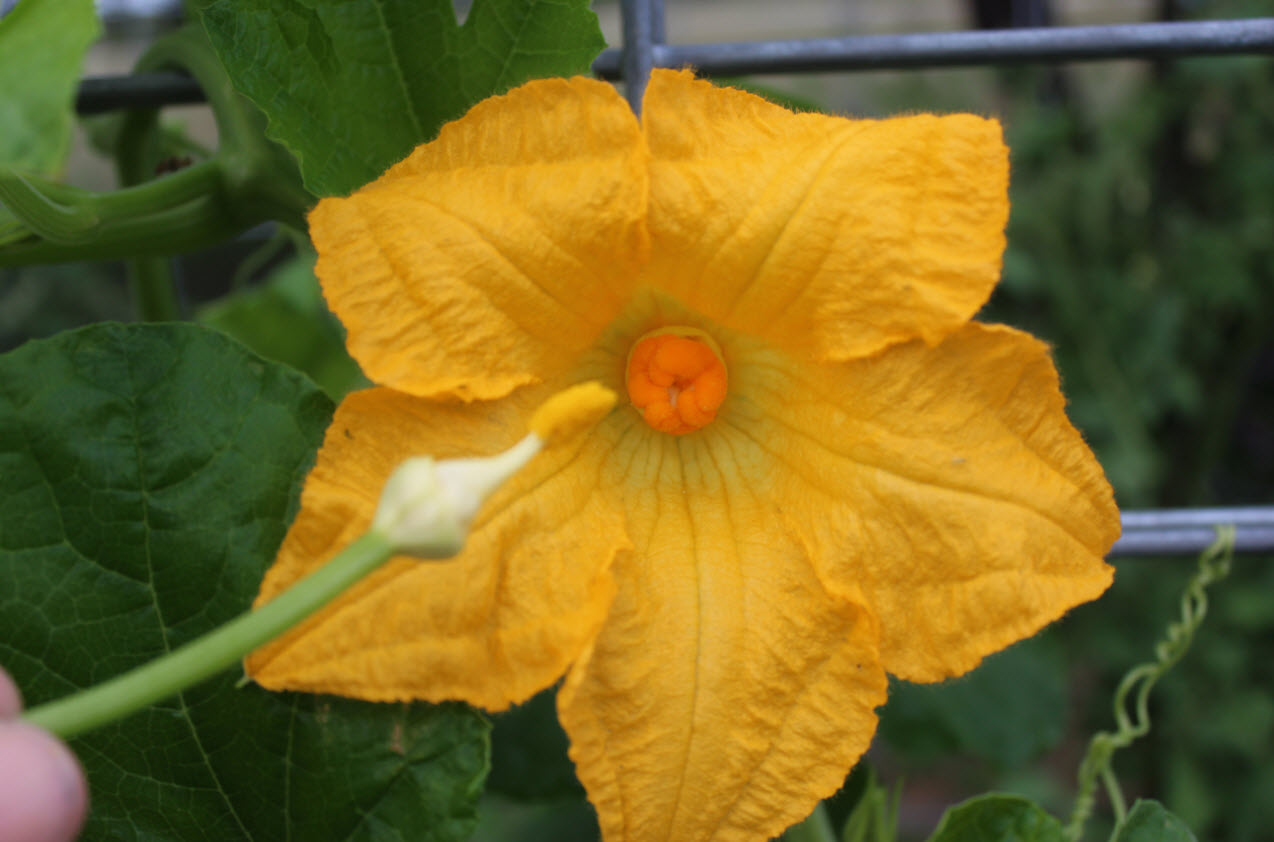
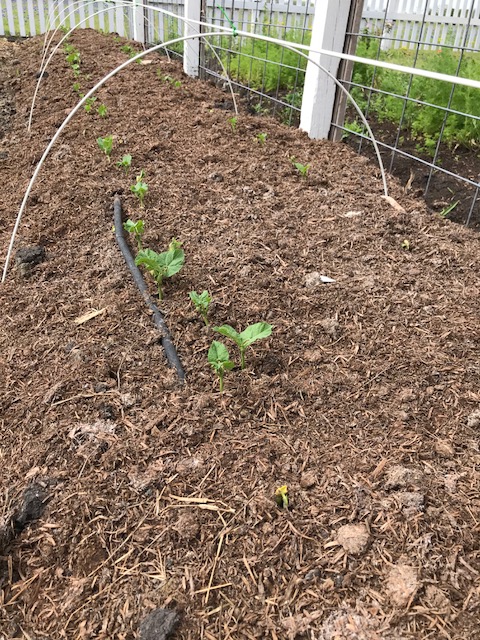
While I am complaining about the bunnies, I am pretty excited about learning how to grow under cover.  Bunnies aren’t the only pests in my garden.  In fact, until this spring, the squash vine borer had forced me to give up growing zucchini and yellow squash.  Thanks to my new hoops I now have a full row of beans and half a row of both squash planted.

Right now I am in the honeymoon phase of growing under cover.  I bought two products from Amazon to build my hoops.  The actual hoop is a six foot long fiberglass pole called the DURAHOOP by Mrgarden.net.  I bought 20 of the hoops.  (https://smile.amazon.com/gp/product/B01FCQR41E/ref=oh_aui_detailpage_o01_s00?ie=UTF8&psc=1).  So far I have been very pleased with this product.  The thin, flexible fiberglass rods are very easy to use.  The only down side is the fiberglass part.  Because they are fiberglass you need to wear gloves when handling them.  I did not and I got lots of painful and itchy fiberglass shards in my hands.  Other than that, they worked perfectly.  I used my tape measure to create two identical arcs at each end of my row.  Then I ran strings on both sides and placed the other arcs five feet apart.  I then ran a single rod over the top of the arcs and tied them all together with zip ties.

I believe zip ties are the greatest invention ever! I use them for everything, including tying my hoop frames together.

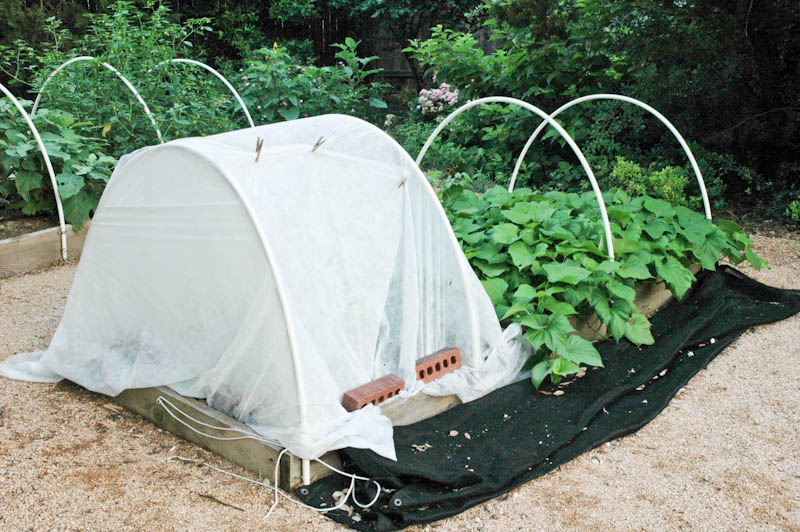
Once the hoops were assembled I covered them with Summer Lightweight Garden Fabric from Green Valley Supplies (https://smile.amazon.com/gp/product/B076CSX774/ref=oh_aui_detailpage_o01_s01?ie=UTF8&psc=1) .  This product is designed to allow in water and light and add a little shade as it (hopefully) keeps the bunnies and vine borers away from my young plants.  The fabric is eight feet wide and 45 feet long.  My wife and I stretched the fabric over the hoops, then bunched the extra fabric up on the sides and held that down with rebar.  At the ends we gathered the fabric together and closed it with zip ties.  We held these bunched ends down on the ground with bricks.

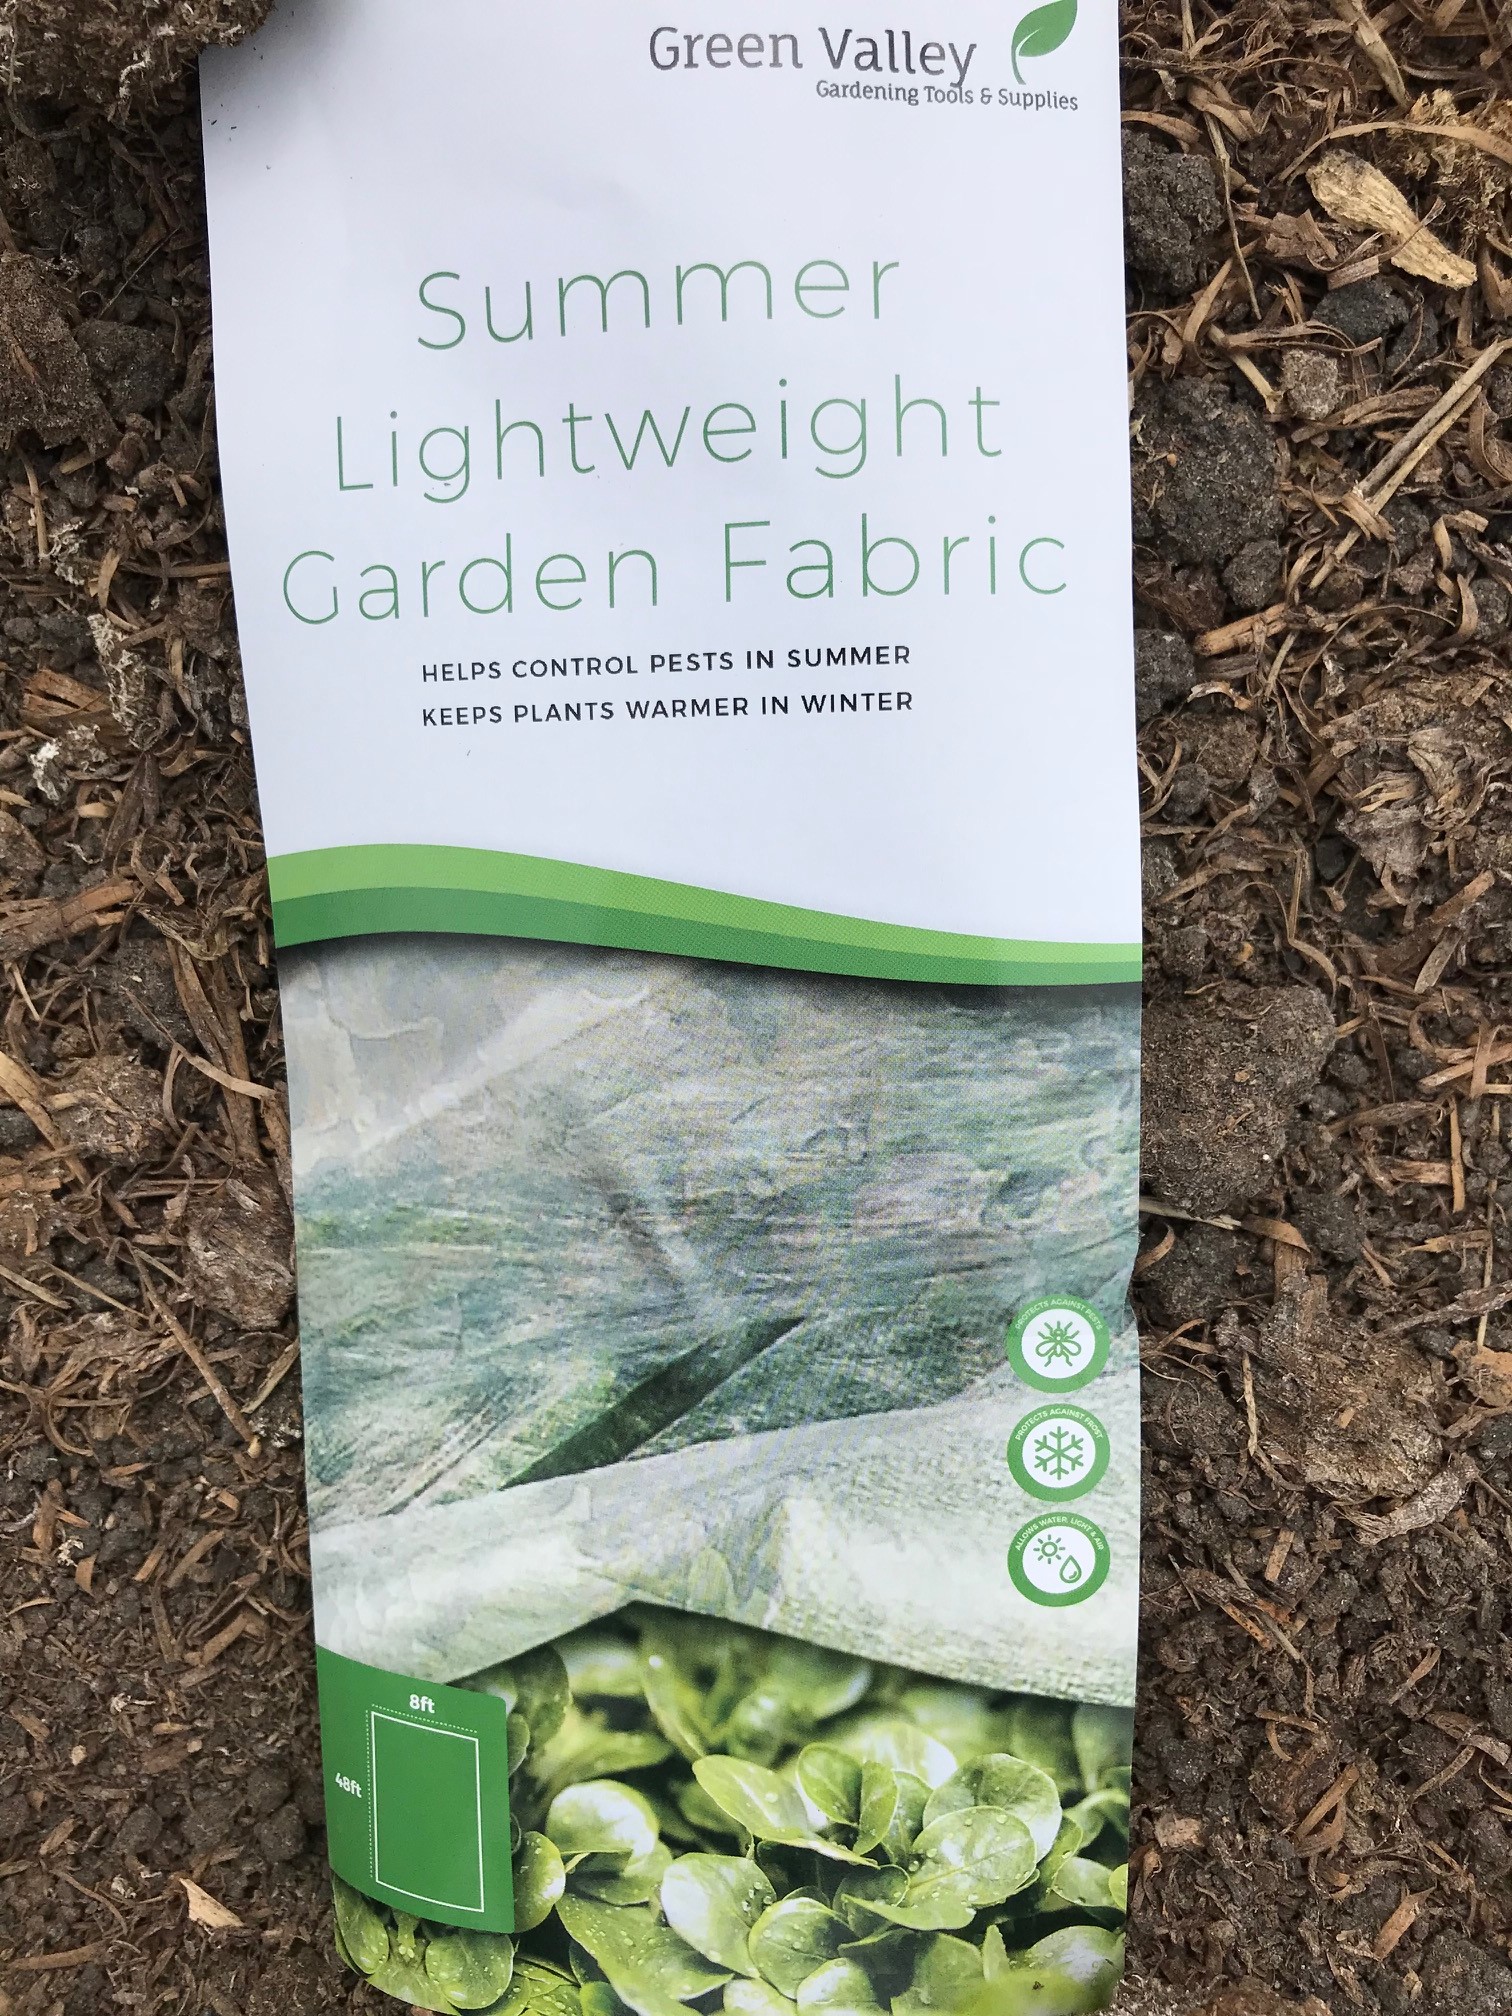
My row cover is from Green Valley Supplies. While it is a little fragile, I have high hopes it will do what I need it to.

I have to admit, I am a little disappointed in the row cover.  While I think it will work, it was kind of fragile.  The zip ties that we used to tie the frames together poked two holes in the fabric that resulted in tears.  Since I have not used row cover before I am not sure if all row cover performs like this or if I should have been more careful assembling my hoops.  Regardless, I am fairly confident that the row cover will keep the bugs and bunnies away.

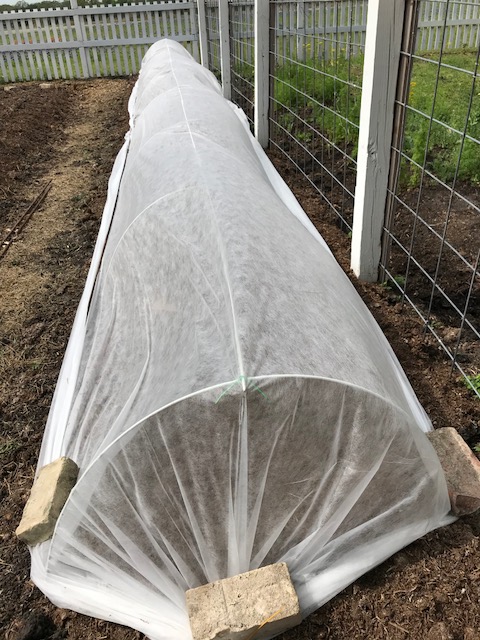
I am very excited about my row cover experiment. We have had 18 mph winds this week and they have held together beautifully.

Since this is my first attempt at growing under cover, my basic plan is to grow the beans and the squash under the fabric until they flower.  I have heard that once the plants get this big they can usually survive both the vine borer and the rabbits.  However, if this is not true, be sure to leave me a comment.  Like I said, this is an experiment and I would love to hear any and all tips from any of you that have been successful with this.

BTW, bluebonnet season is now in full swing in Washington County.  If you look forward to riding around and taking pictures of our state flower, then the next two to four weeks will be spectacular.  Happy spring y’all!!!

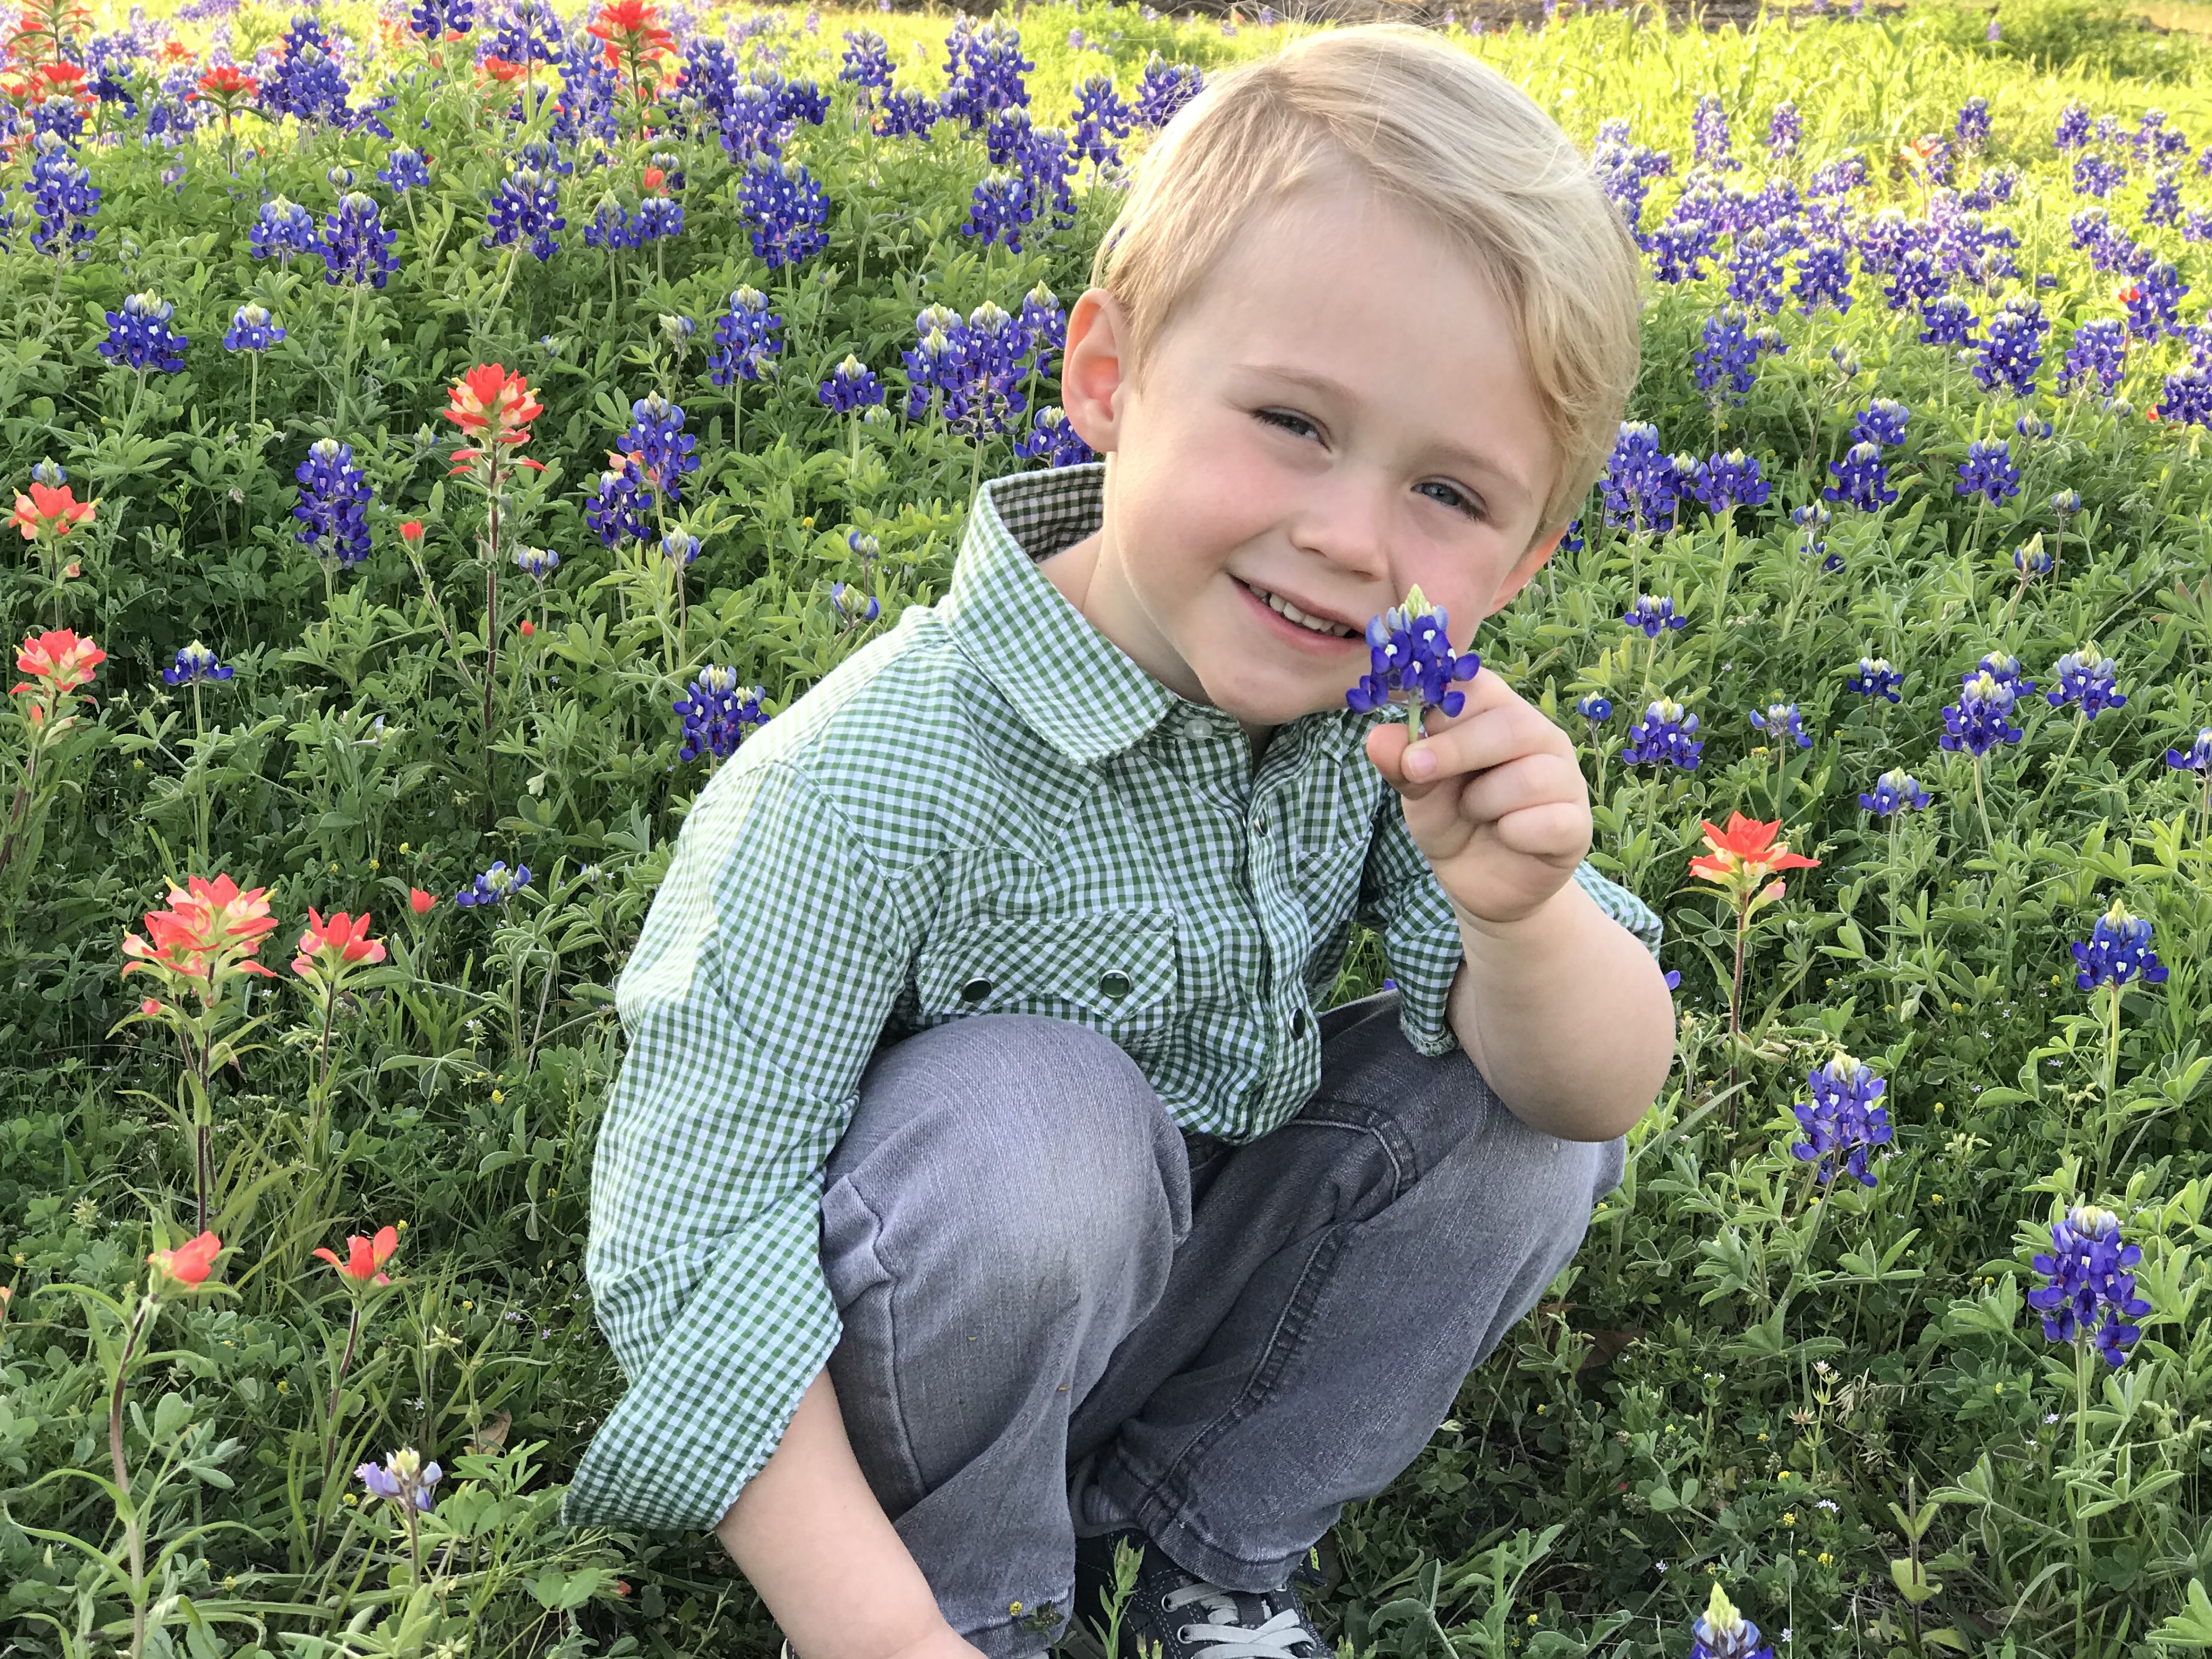
Our grandson came for a visit this past week. We could not resist taking a few pictures of him in the bluebonnets!

I share my posts on The Simple Homestead Blog Hop.  Be sure to stop by and check out all the amazing things these gardeners and homesteaders are doing!

Hand Pollinating Squash

A squash vine borer moth in Patty Leander's garden.  Photo by Bruce Leander

A squash vine borer moth in Patty Leander’s garden. Photo by Bruce Leander

Squash vine borers are just horrible in my part of Texas.  Because of this, it is almost impossible to get a great crop of any of the standard summer squash varieties grown in our area (yellow crookneck, zucchini or patty pan).  As I talk to people, I get more questions about how to control this destructive little pest than any other.  Quite frankly, if you are an organic grower, there is not much you can do to beat the borer besides growing your plants under row cover (if you are not organic, Sevin dust does a fairly decent job of keeping borers away, but it needs to be applied every four or five days).  If you properly grow under row cover you will definitely stop the vine borer.  However, you will also prevent bees and other pollinators from reaching the plants.  Because of this, if you want any fruit, you will be forced to pollinate your plants by hand.  Luckily, hand pollination of squash plants is very easy to do.

A female acorn squash flower in my garden

A female acorn squash flower in my garden.  Notice the small, developing acorn squash under the flower.

Flower Identification – Hand pollination of squash blossoms requires no special skills or tools.  All you have to do is be able to identify male and female flowers.  On squash, this is very easy to do.  Female flowers will always have a tiny fruit under the flower. 

Up close view of the stigma of a female acorn squash flower

Up close view of the stigma of a female acorn squash flower


Male flowers grow on a long narrow stem.  You can also tell the two apart by looking at the reproductive organs found in the center of the flower.  The female flowers contain the stigma.  The stigma generally looks like a flower in its own right.  It has several “bumpy structures” that cluster around a central opening.  Anthers (male parts) look a lot like the thing my wife uses to apply eye shadow.

Up close view of the anther on this male squash flower

Up close view of the anther on this male squash flower

The long narrow stem and abscence of fruit identify this as a male squash flower

Hand Pollination – When growing under row cover you will need to pollinate as soon as the flowers begin to open.  When this happens, roll back your cover and find a male flower.  Cut it off where the flower stem meets the main stem of the plant.  Next, gently remove all of the petals from the flower.  Once the petals are gone you are left with a stem and exposed anther that is about 4” to 6” long. 

The anther and stem of the male plant will be used to "paint" the pollen onto the stigma of the femal

The anther and stem of the male plant will be used to “paint” the pollen onto the stigma of the female

Now find a female flower and use your stem and anther to “paint” the stigma in the center of the female flower.  Gently rub the anther over the stigma a few times.  Then go on to the next female flower.  Each anther can be used to pollinate approximately five flowers.

"Painting" the stigma

“Painting” the stigma

Caution – A fellow gardener once told me that they were crushed to find a vine borer trapped under their row cover after they had hand pollinated.  If this happens to you don’t worry.  While it is best if you can keep your squash plant bug free for its entire life, a mature squash plant can usually “outgrow” a worms infestation if the eggs are not laid until after pollination occurs.  Because of this, many gardeners that grow under cover often remove the cover completely when the pollination is done.

If you want to keep the cover on throghout the life cycle, work with a buddy and pollinate in the late afternoon (borers are most active before noon).  Roll back the cover and quickly harvest several male flowers.  Put the cover back in place as you strip the petals from the male flowers.  When you have all of the anthers exposed quickly pull the cover back and pollinate all of the female flowers at one time, then quickly put the cover back in place and anchor the sides to the soil. 

Squash being grown under cover in Patty Leander's garden.  Photo by Bruce Leander

Squash being grown under cover in Patty Leander’s garden. Photo by Bruce Leander

This method of hand pollination is a great tool to master and you can use it for all of your cucrubits.  If you do it right, I am convinced it will increase your yields  This fall I grew acorn squash.  Since we have been short on bees, I did a small experiment.  I hand pollinated half of my vines and let nature pollinate the other half.  I got almost a 100% yield from the flowers I pollinated.  Mother Nature was only successful about half the time.

Controlling Squash Vine Borers (Melittia cucurbitae)

A squash vine borer moth in Patty Leander's garden. Photo by Bruce Leander

In my mind, squash vine borers are kind of the nut sedge of the insect world. They reproduce like crazy and they are very difficult to control. Very few pests in the garden are as dreaded and damaging as the squash vine borer.  While aphids make your leaves look ugly, squash vine borers make your whole plant die!

A close up of the grub like larvae of the squash vine borer. Photo by Bruce Leander

Since we have had such an unusually mild winter, many people have planted early.  Because of this, their squash is now at a perfect state of maturity to be attacked by these  pests.  So, I thought I would take this opportunity to give a few tips on controlling them.  While there are both organic and commercial pesticides out there , the best way to control these pests (in my opinion) are your growing practices.

Squash Nine Borer eggs. Photo by Bruce Leander

First, if you want to stop the problem before it begins, grow your squash under floating row cover. If you put row cover around your plants when they start to vine, you can prevent the borer from laying its eggs on your vine.  Cut a fairly large piece of row cover so it can expand as the plant grows.  Anchor the edges in the soil with dirt, boards or bricks; anything that will create a seal and prevent the moth from getting to the base of your plant. Be aware that if you put row cover over your plants before they pollinate, you will have to pollinate by hand.

Squash being grown by under row cover in Patty Leander's garden. Photo by Bruce Leander

If row cover and hand pollination are more than you want to deal with, watch for the adult borers in your garden. You can hear them buzzing if you are close. However, if you can’t be outside, you can place yellow sticky traps around your plant. Since they are attracted to the yellow (like the squash flowers) the moths will get trapped and let you know they are in the area. Once you know they are there, look for their eggs on the stems and under the leaves that are close to the base of your plant. They are pretty small and reddish brown in color. Once you find them, pull or scrape them off with your fingernail or a sharp knife.

A healthy zucchini. Photo by Bruce Leander

If you see little bumps forming on the base of your vines, you have an infestation.  You can take a razor blade and cut into the infected area. If this doesn’t kill the larvae, remove it and then tape the cut with floral tape or pack with soil. If done soon enough, the plant will recover and produce as normal.


If your squash wilts and does not recover in the morning, there is a very good chance you have the squash vine borer. Photo by Bruce Leander

Because effective control of this pest is so hard to do, try planting squash varities that are not as affected by the borer. I grow tatume’ squash and it has no problems with the bugs. Also, do not plant in the same place year after year. They larva pupate in the soil under the plant they killed so every year move your squash as far as possible from where it was grown last year.

Some squash varieties like "Tatume" are not bothered by the squash vine borer.

If you are not of the organic mindset, there are a few chemicals out there that do a pretty good job of controlling borers.  The most common and readily available is Sevin Dust.  Sevin works pretty well against the moth.  However, it has a very short effective period so if using it, apply weekly.  Also, the chemical Methoxychlor (trade name include Marlate, Chemform and Methoxy-DDT) is very effective and relatively safe.  Methoxychlor is very popular in greenhouse applications because of its relatively low level of toxicity.

Nothing is more disappointing than seeing your beautiful squash reduced to a pile of shriveled of green stuff in two or three days.  Squash vine borers have broken more hearts than any other bug I know.  Because these pests are so destructive it is important to be alert and stay on top of them.   The best way to control an attack is to stop it before it starts.  So, go to garden regularly and watch for any sign of the pest.  With a little diligence you can keep this bug from depriving you of all of the wonderful summer squash.