This year, we started a new Christmas tradition at the yupneck’s house– bottling homemade wine. Bottling our wine was the very exciting conclusion to a process that started six months ago.
Wild grapes mature around July 4th in our part of the country. So, while other folks were celebrating our nation’s birthday with hot dogs and hamburgers, my wife and I were out picking five gallons of Mustang and Muscadine grapes. Both of these grapes grow in abundance over the fences and fence rows of our county.
The recipe we used is an old Czech and German recipe that has been used in our area for well over one hundred years. This recipe was passed on to us by Marvin Marberger of Brenham. Mr. Marberger has been making wine for more years than he cares to remember. He is pretty famous around here for his wine and we were very lucky to have his help. I promise to do full post on the actual “making wine” part in the summer. For now, I am going to focus on the end result.
Our wine sat and fermented on our enclosed back porch for six months. You know your wine is ready when there are no more bubbles going through the air lock. Our wine stopped bubbling a couple of months ago. We let it sit until Christmas just to make sure it was indeed ready. You see, if you bottle before the fermentation process is complete, then fermentation in the bottle can force out corks or make the bottles explode. That would be a bad thing, so that’s why we let it sit for so long.
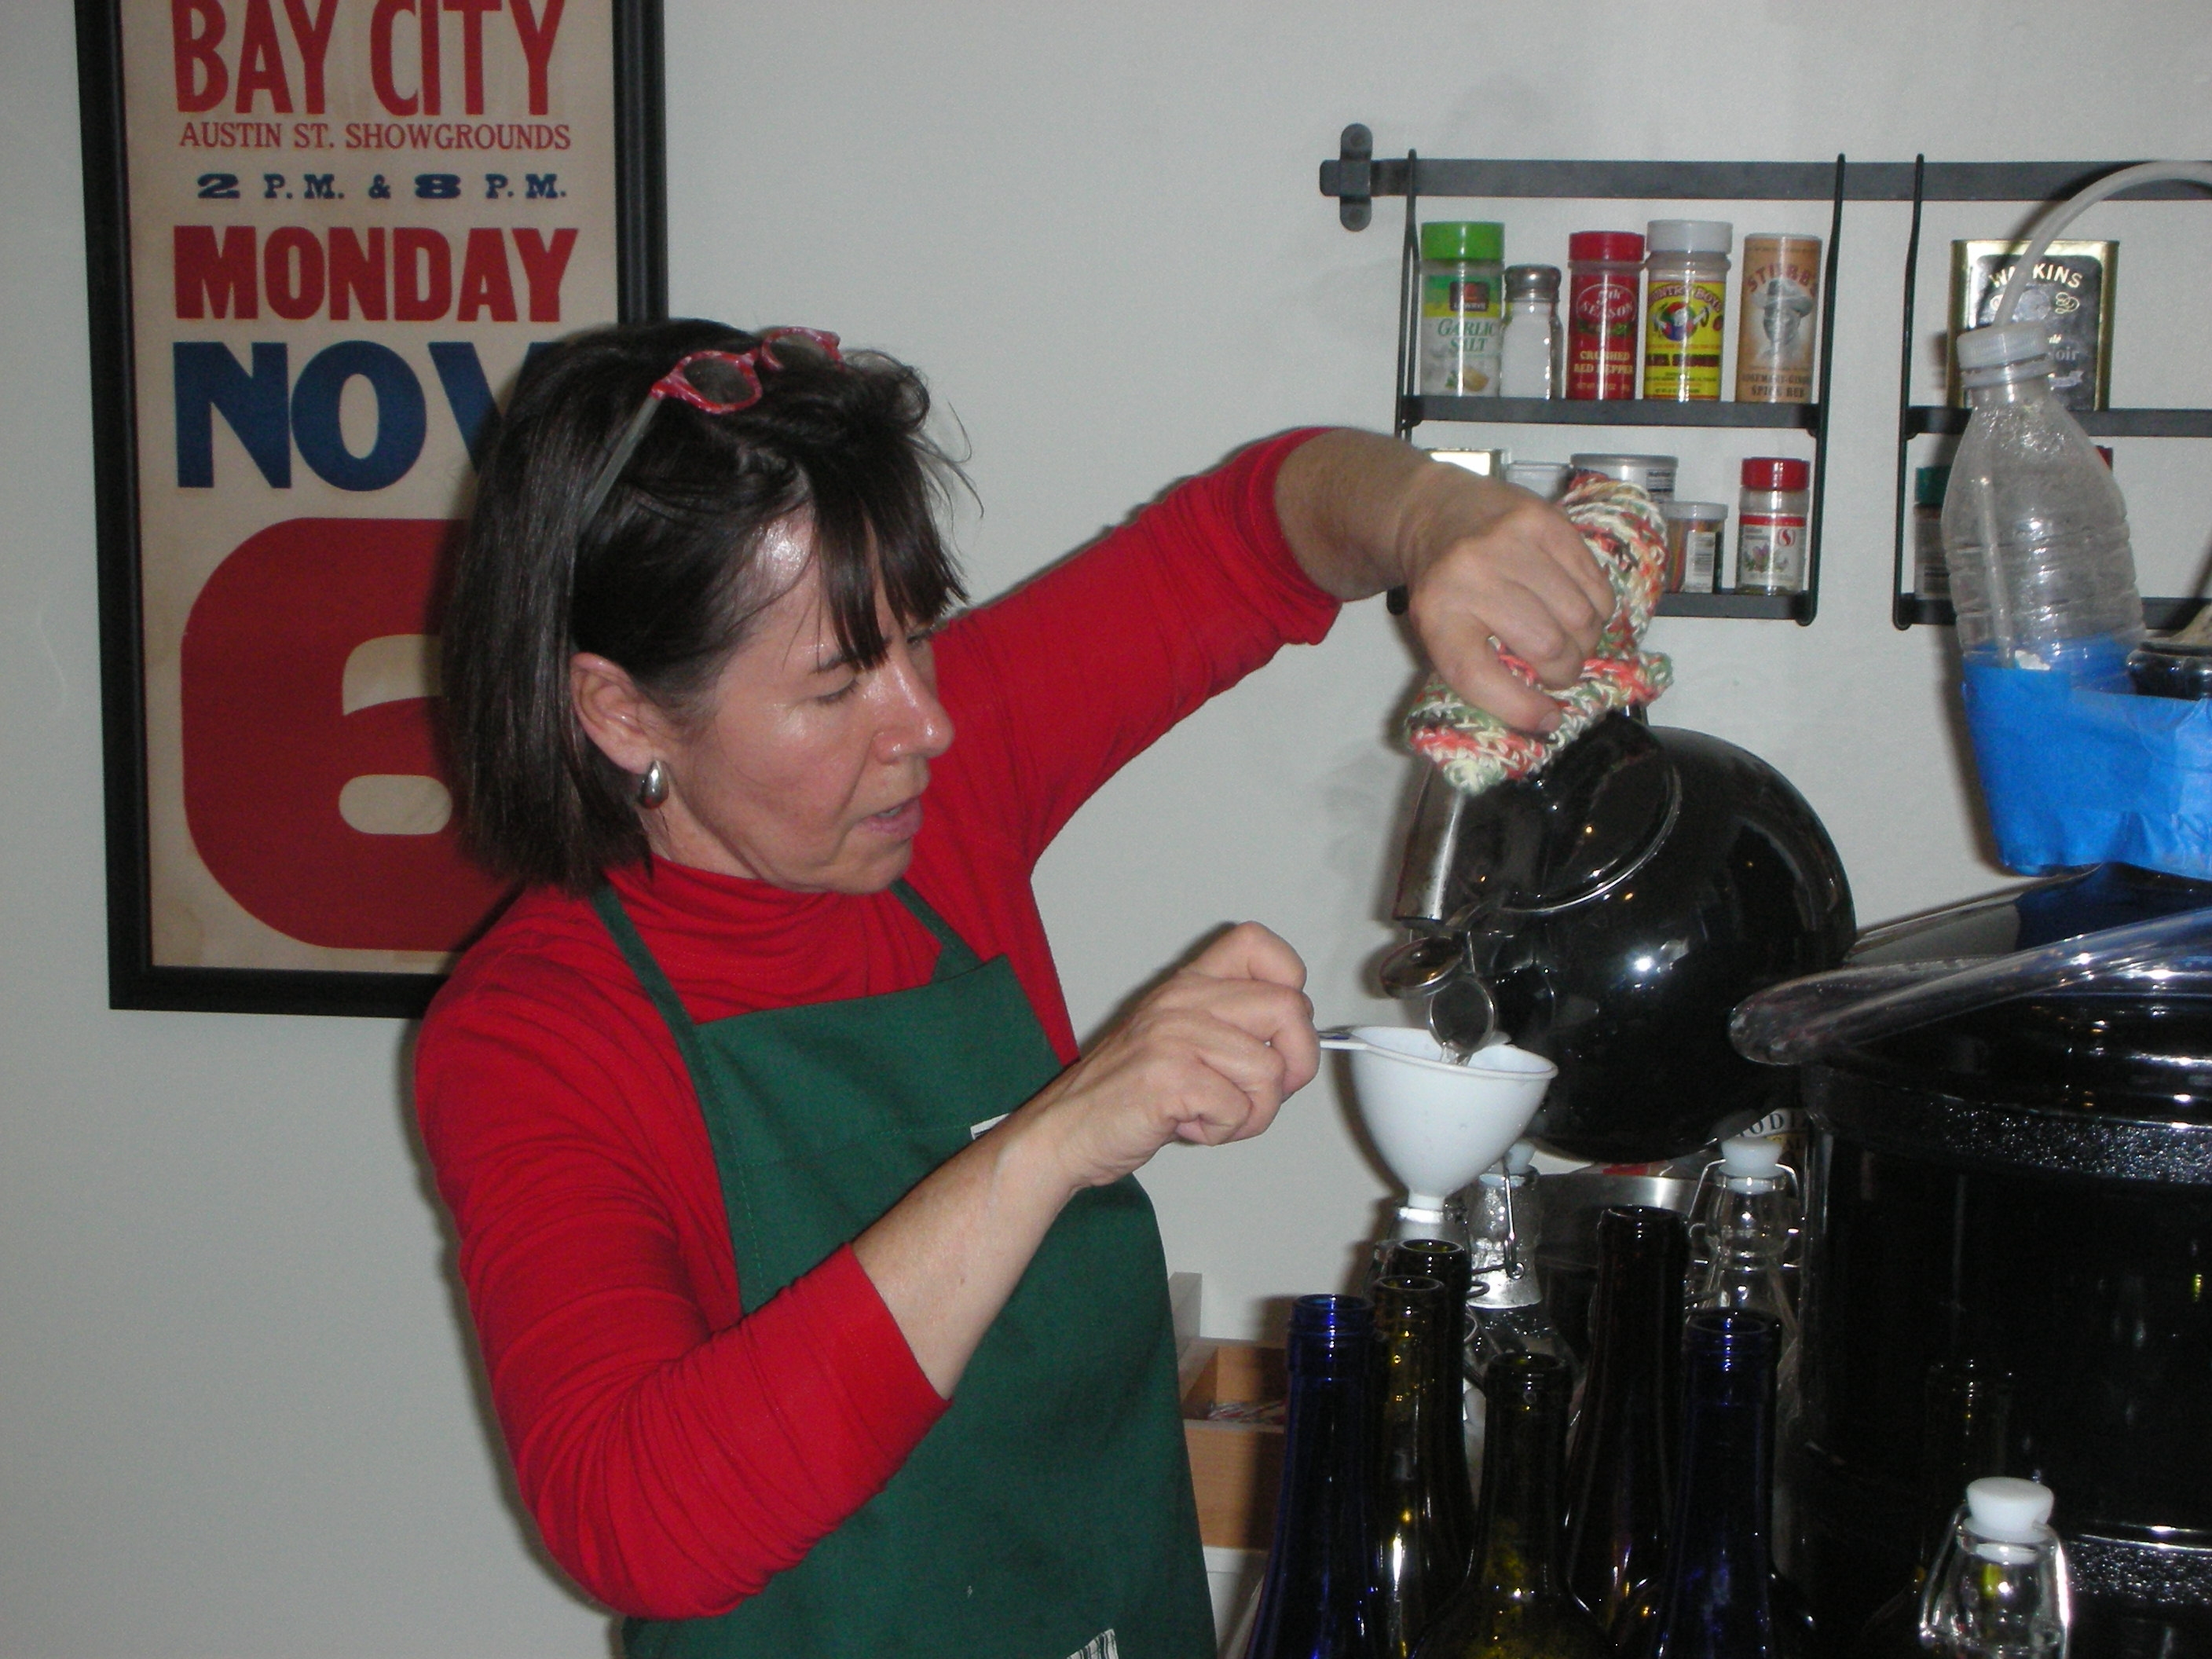
Christmas Eve night, with all of our family around to help, we brought in the wine. Now bottling homemade wine sounds kind of romantic, but let me tell you, it is a lot of work! First, you have to sterilize your bottles and corks. My lovely wife did most of this job. She would bring water to rapid boil on the stove and then use a funnel to fill the bottles. Five gallons of wine will fill twenty five 750 ml bottles. We used nine 1000 ml bottles and thirteen 750 ml bottles.
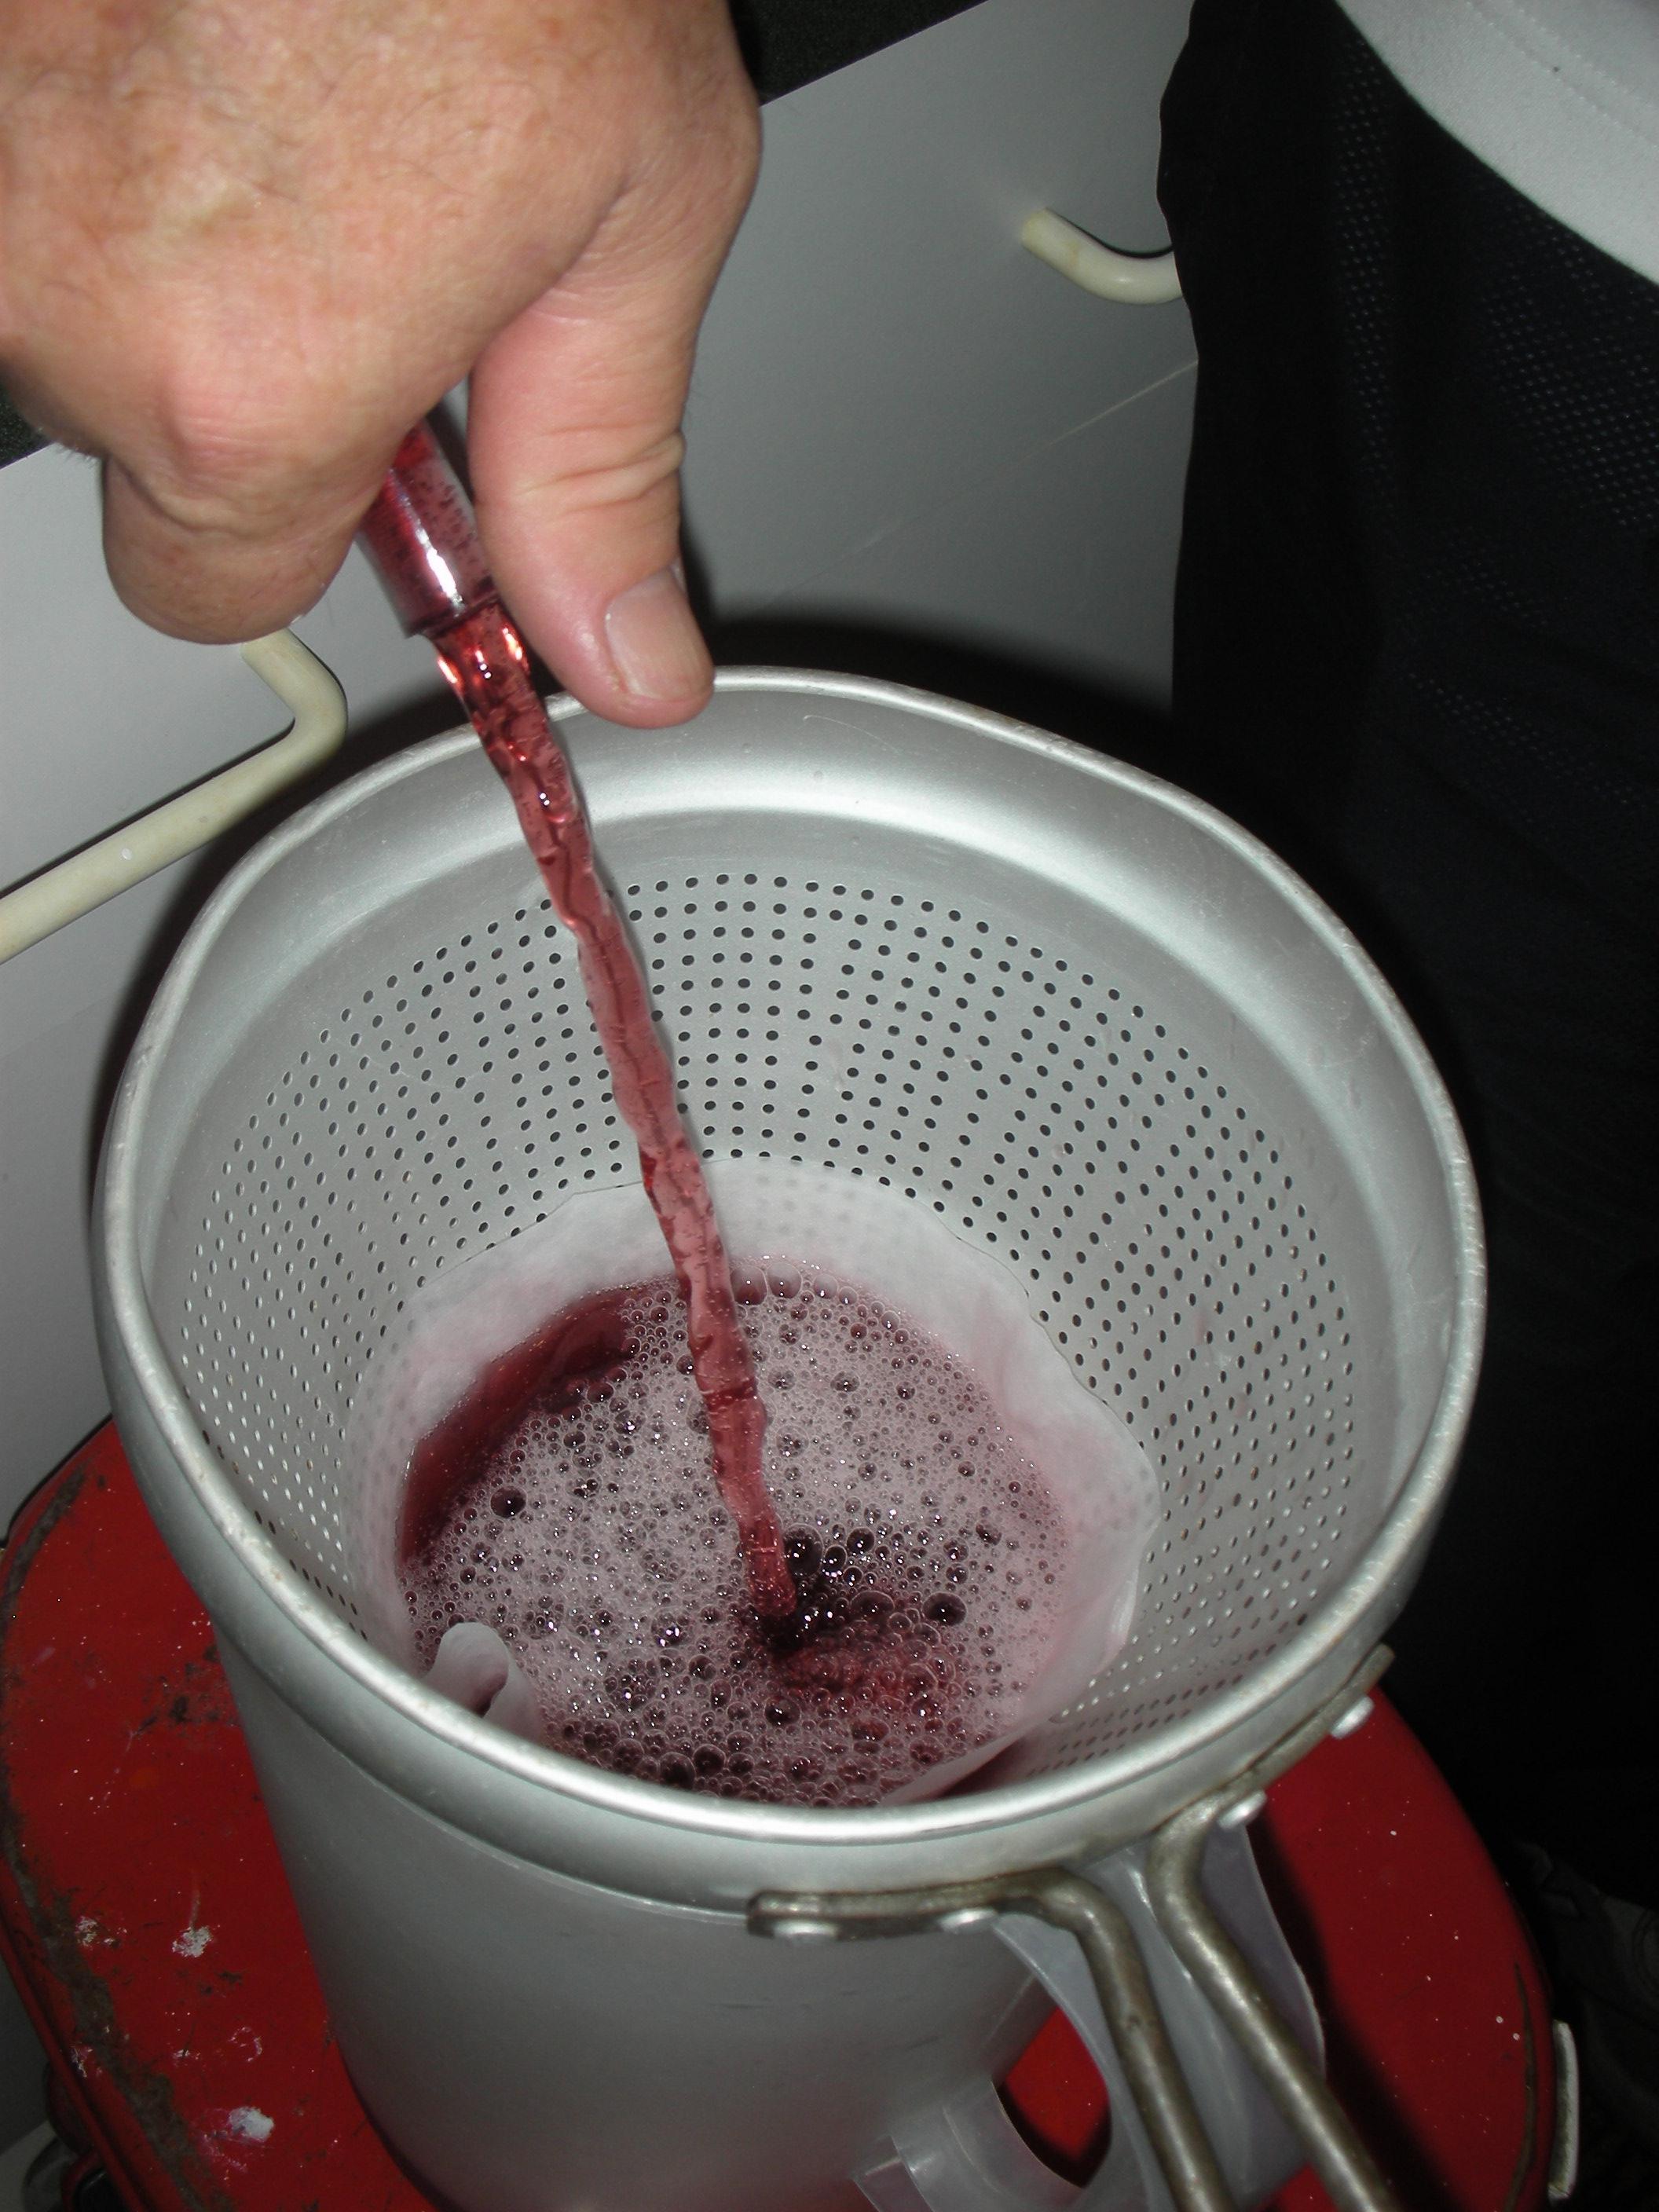
After everything was sterile, we started to bottle. Bottling basically involves siphoning out the wine, filtering it, and then putting it in the bottles. This was a slow process as we filtered it first into a tea pitcher and then we filtered it again as we filled the bottles. All in all it took us a couple of hours just to fill the bottles.
Once the bottles were full, we corked them. Our 1000 ml bottles had an attached hinged cork like a Grolsch beer bottle. For the wine bottles, we reused old corks. We boiled them to clean and soften them. Then, we just pushed them in as far as they would go. Once they were corked, they went on a shelf in an upright position to dry and seal for about a week. Once the corks were dry, we laid them on their side in a cool dark cabinet. This is the proper way store your wine. The wine needs to be in contact with the cork. This will keep the cork moist which helps in the seal.
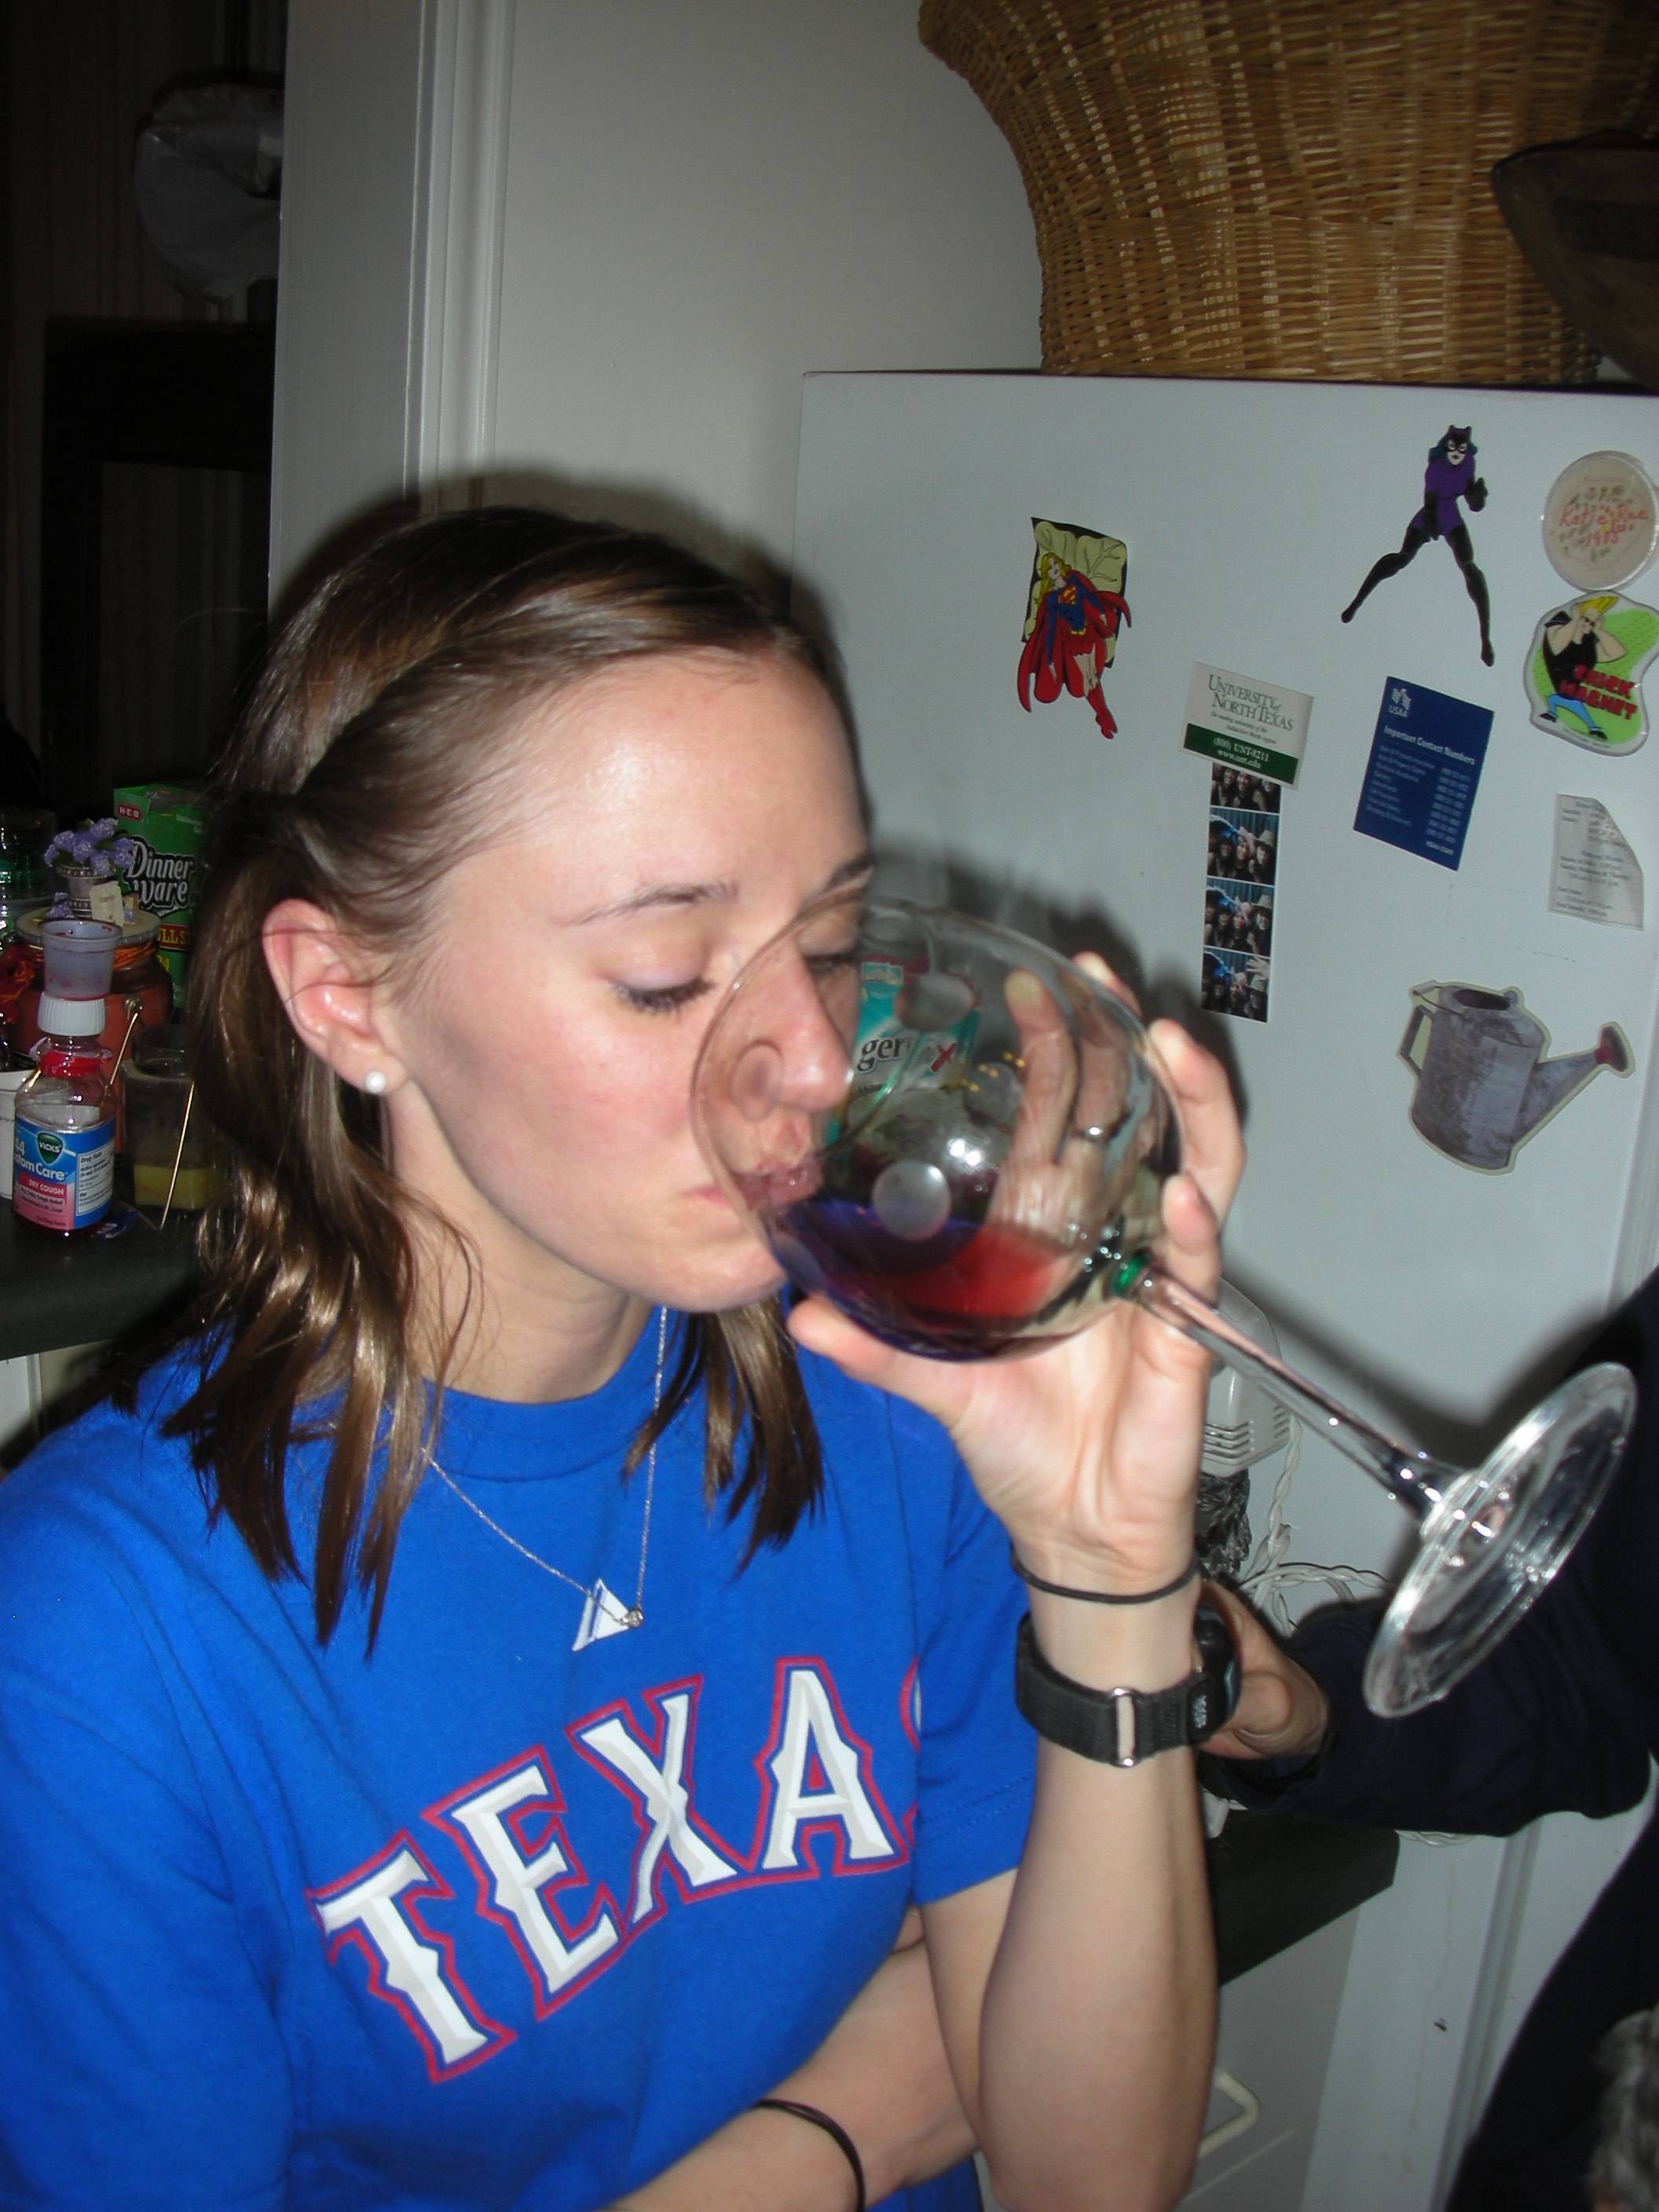
Our wine turned out great! While it will not get any awards, it is a very sweet and very drinkable table wine. We gave away most of our first batch and everyone that received it has asked for more. The process was really pretty simple and my wife and I enjoyed it immensely. In fact, we liked it so much we are going to try and make other varieties (like watermelon, black berry or strawberry) in addition to the grape next year. If you are lucky enough to live in area where you can get access to wild grapes, I highly recommend you try this at home.


