Have you ever stopped to buy plants on the way to a funeral? Well, I can now say that I have. A couple of days ago we were in Waco for a funeral. On the way to the burial we passed Brazos Feed and I could see that they had a new shipment of transplants out front. Now I am not sure of the protocol for such an opportunity so I asked my wife if it would be disrespectful to swing in and pick up a few things that my Brenham sources did not yet have. She told me stopping would not be disrespectful but being late would. So, with her blessing (and a strict admonishment to make it quick) I pulled in and grabbed 18 broccoli plants, 6 cabbage, 6 cauliflower and a bunch of Yellow Granex (Vidalia) onion sets.
If you can find brassica transplants there is still time to plant them and get a crop done in time to replant the row in beans or Southern peas.
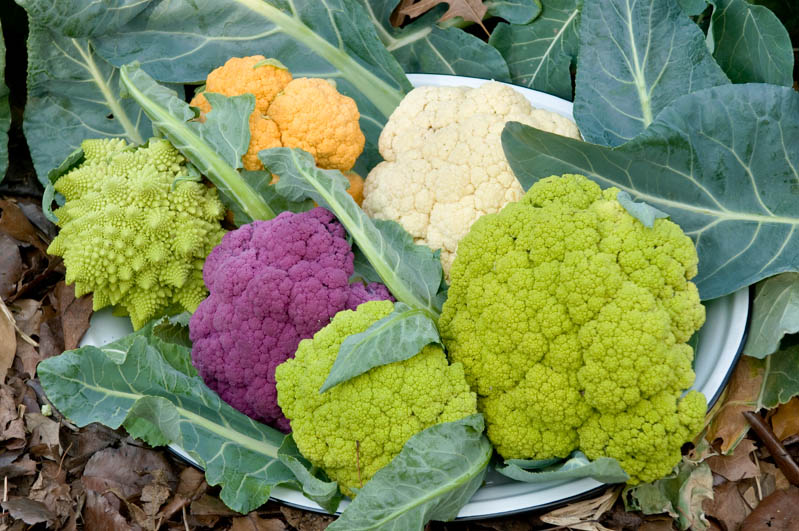
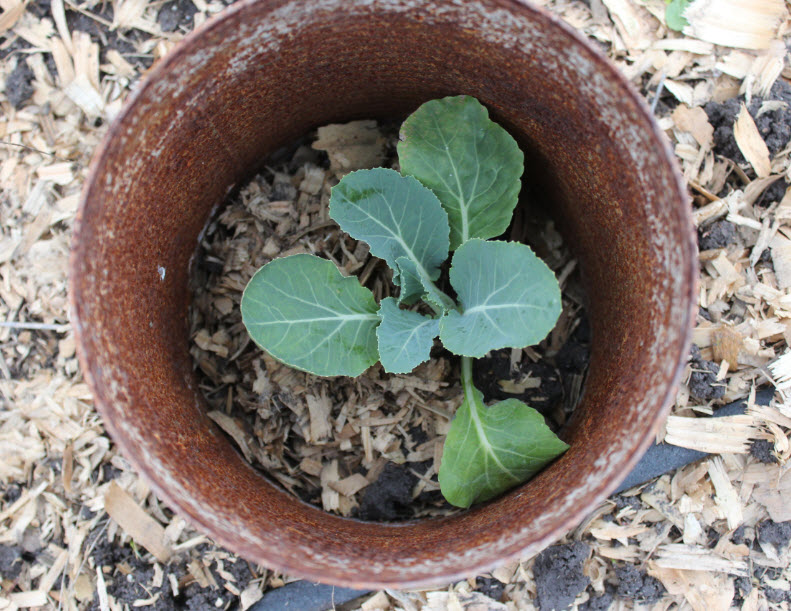
January is a busy time for those of us in Zones 7 through 9. Right now is the perfect time to replant all of the brassicas you love (Brussels sprouts, cabbage, cauliflower, broccoli, collard greens and mustards). If you put out your brassica transplants now they will be ready for harvest just in time for you to plant your beans and Southern Peas in late March or early April. Plant your transplants about a foot a part and make sure they receive nice, even moisture. Dry soil will stunt their development. Since brassicas are almost all “greens” they love nitrogen. Feed monthly with the highest nitrogen organic you can find. I like Sweet Green (11% N) but have been unable to find it. I am using MicroLife Ultimate (8-4-6). Not as high in nitrogen as I like but it is a very good balanced product.
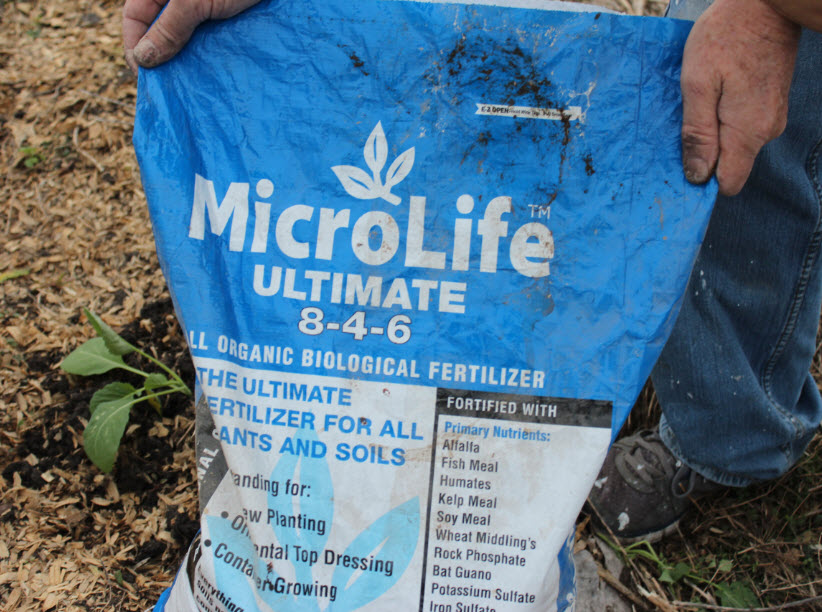
MicroLife Ultimate is a very nice pelleted organic fertilizer that is high in nitrogen (8-4-6)
January is also about as late as I like to wait before planting my onion sets. I usually plant my onions in November or December but I forgot to order them from Dixondale this year. Because of this, I had to wait until now for the feed stores to get in their sets. It is not too late to grow big, sweet onions though. Just make sure to keep the rows weed free and side dress with an organic fertilizer once a month. Onions have a very small root mass so they need lots of fertilizer and regular water.
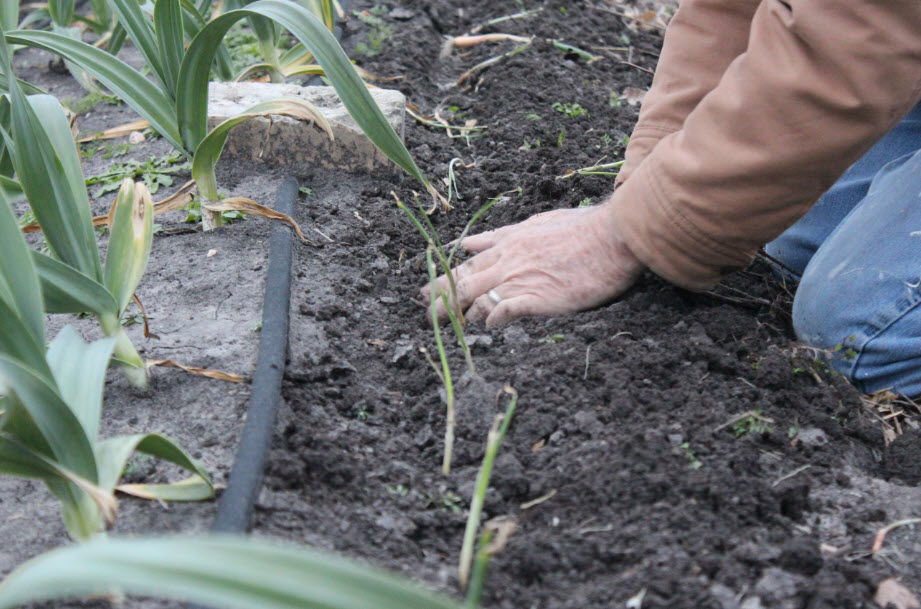
If you haven’t planted your onions do it now! The longer you wait to plant the smaller your harvested bulbs will be.
Asparagus is my favorite thing to eat from my garden. If you have never planted any now is the time (check out my article on planting here). If you already have an established asparagus bed side dress it now with a high nitrogen fertilizer to ensure lots of shoots in the spring. I love having fresh asparagus for Easter dinner and since Easter is late this year we should have plenty.
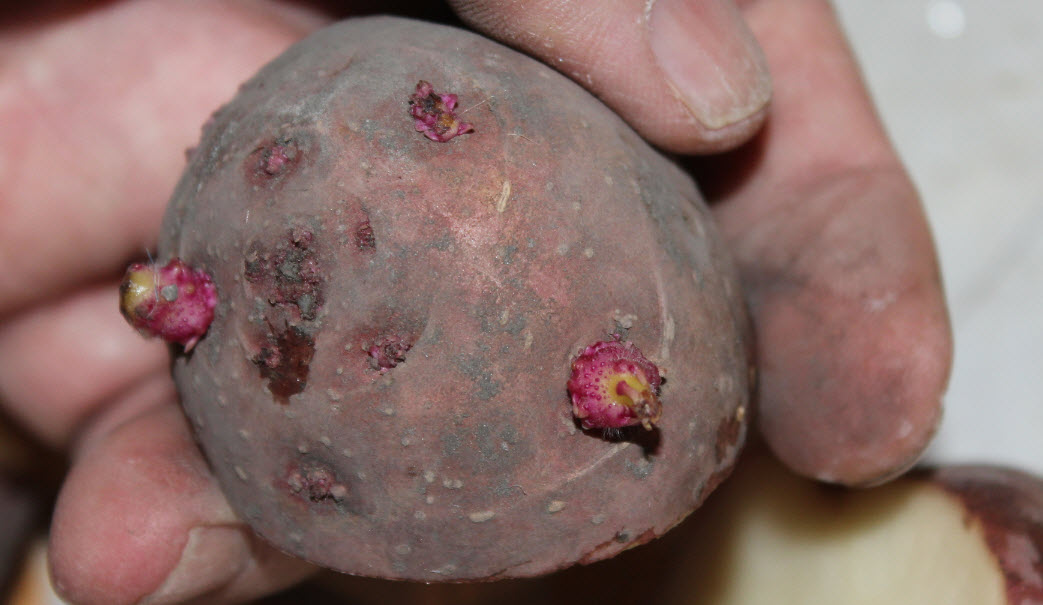
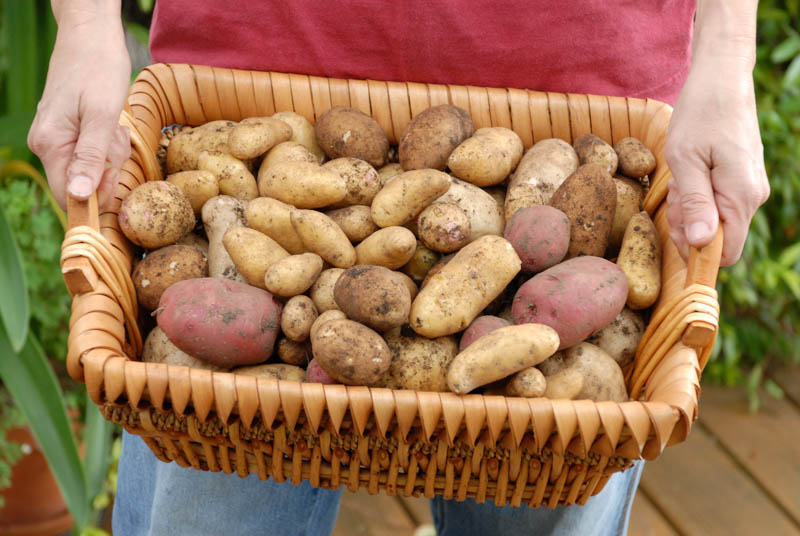
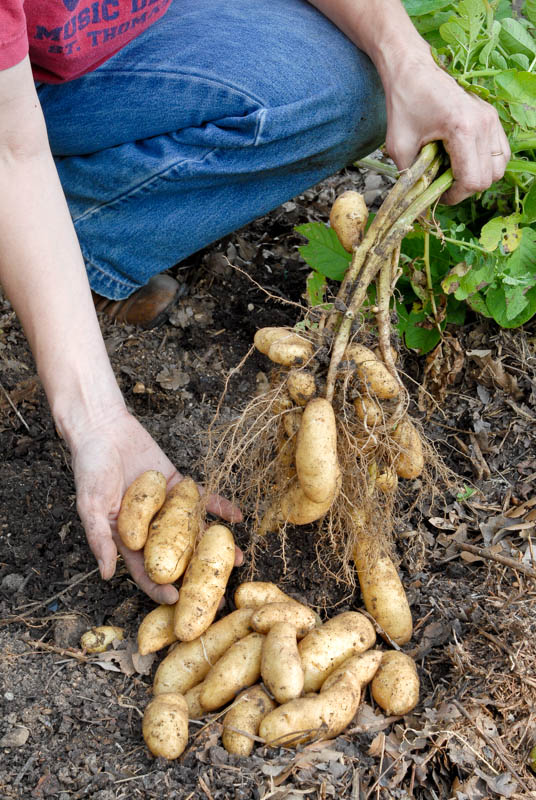
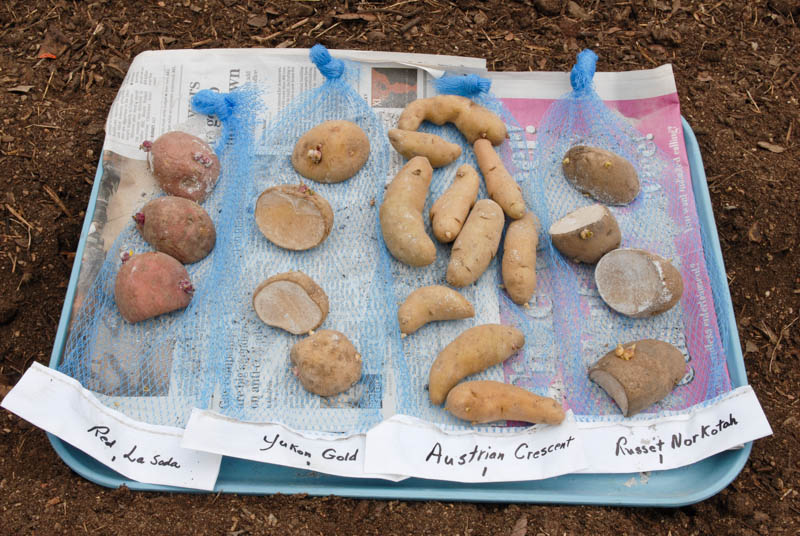
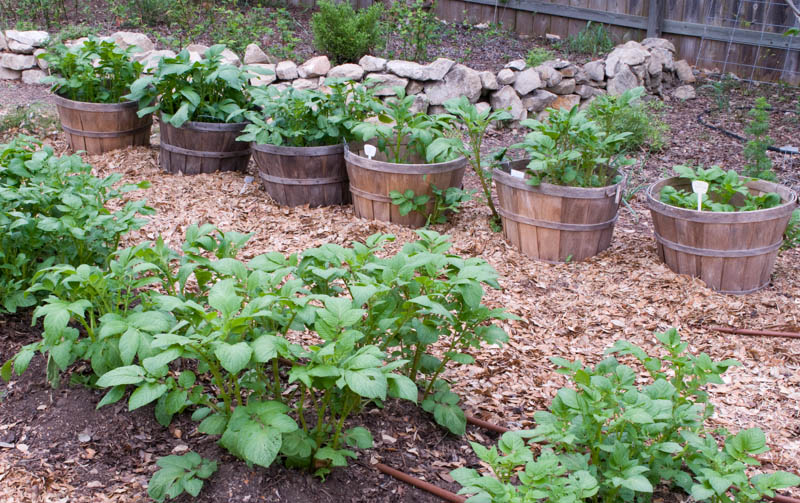
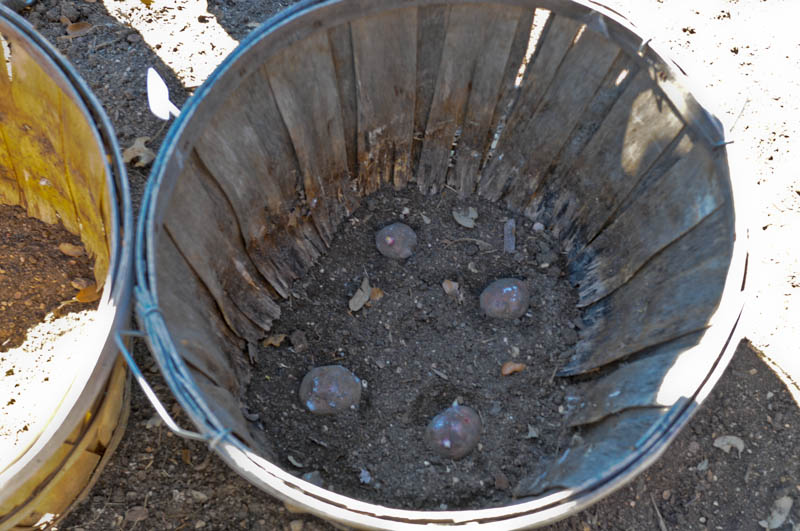
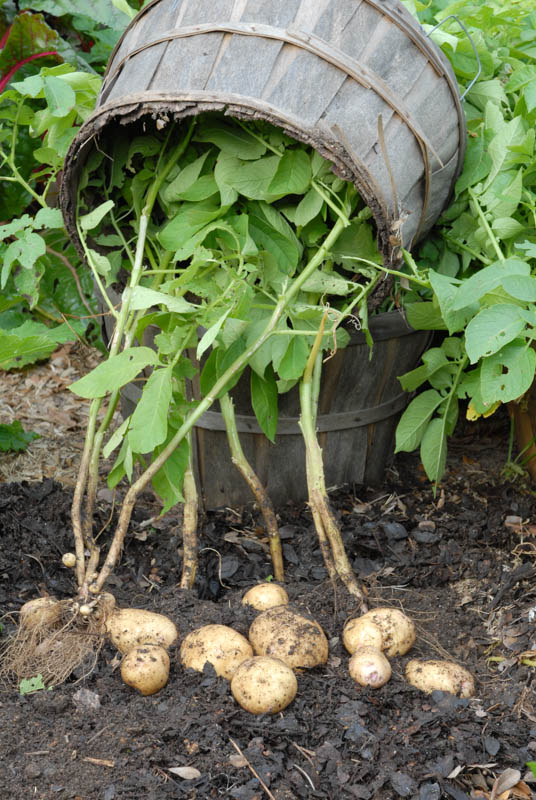
Now is also a great time to plant potatoes. My favorites are Red LaSoda and Kennebec. However, there are over 800 varieties of potatoes so they are great plants to experiment with.
And don’t forget the potatoes! January is a great time to plant them in our part of Texas. Right now I have my red LaSodas and my Kennebecs cut up and curing on the dining room table. Some people like to dust their cut seed potatoes with sulfur to prevent rot. I don’t do this and I have not had a problem. However, it is a good idea if your soil does not drain well. Potatoes are the only thing that don’t need a lot of nitrogen right now. High nitrogen encourage the potatoes to grow stems and leaves. Dig a deep furrow (a foot or so) place your potato pieces in the bottom of the row and then back fill with compost. If you plant deep enough you will not need to “hill” the plants as they grow and the compost will provide enough nutrients to ensure a great harvest.
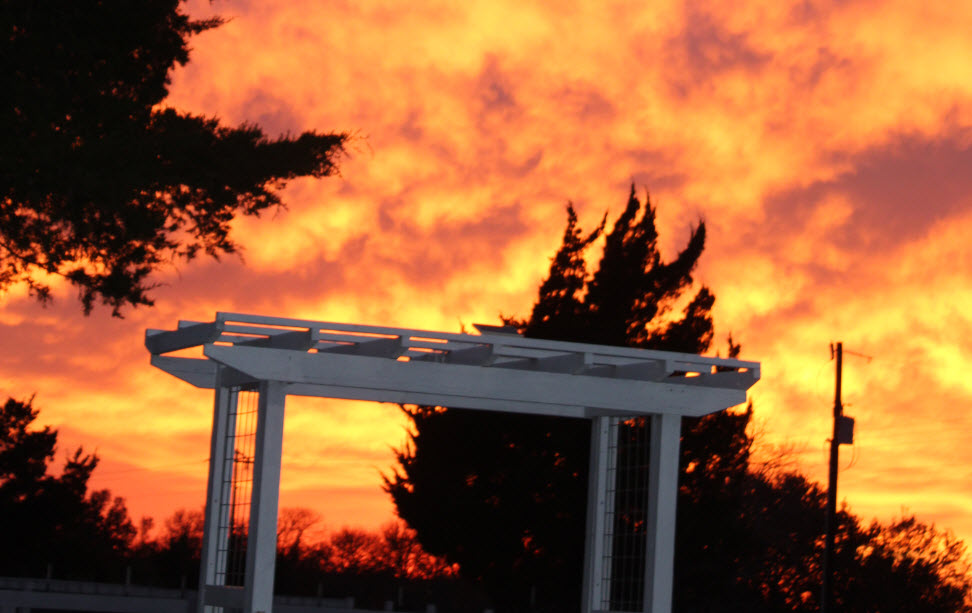
We are getting some spectacular sunsets right now. My wife Sally captured this one the other evening.
I share my posts on The Simple Homestead Blog Hop. Be sure to stop by and check out all the amazing things these gardeners and homesteaders are doing!