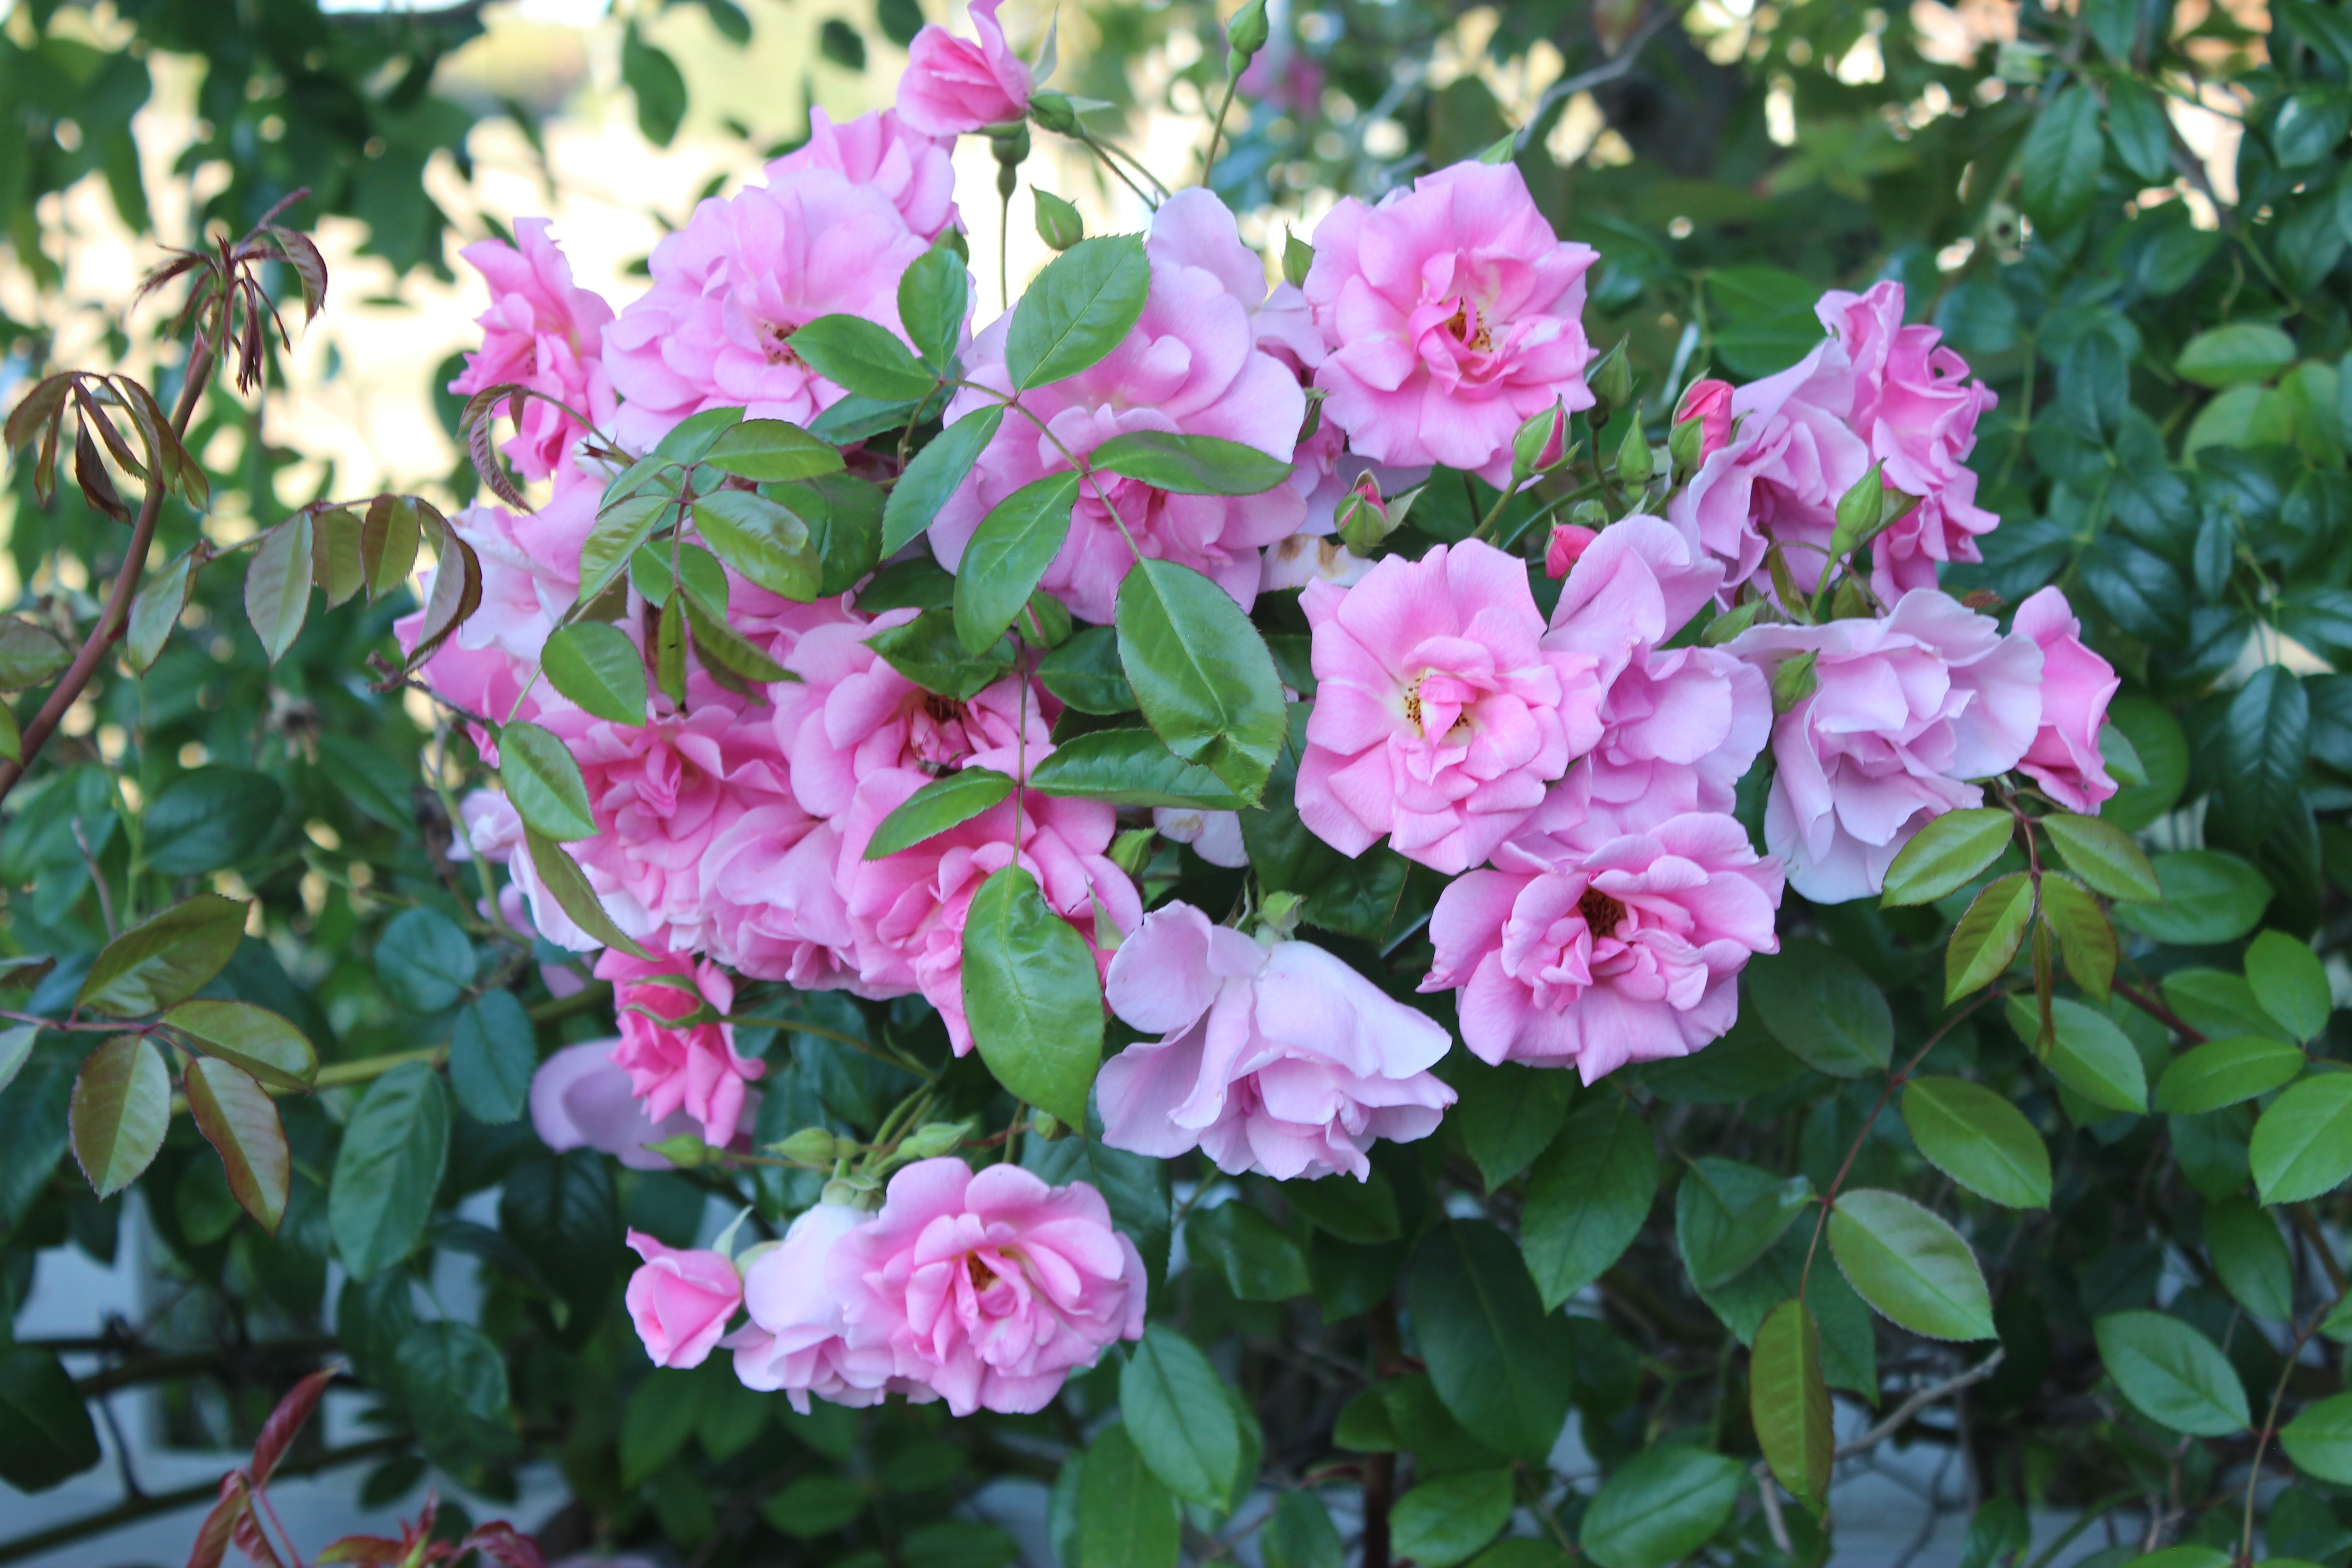
Mdme. Cecile Brunner is one of my favorite roses, it is also fairly easy to propagate from cuttings.
In my opinion, fall is the best time of the year to propagate roses. Each fall, after my fall blooming roses start to fade, I take cuttings and try to turn them into new plants. Rose propagation is a pretty straight forward process. Wait until a rose loses its petals, cut the stem that it is on, dip it in rooting hormone, stick it media, keep it some sort of container that will trap moisture and then wait. While the basics are pretty straight forward, there are some things you can do to improve your chances of turning your cuttings into rose bushes.
Many articles that I have read make it sound like roses are easy to root. I don’t think they are super hard to root, but they are definitely not a sure thing. When I started propagating roses I seldom got more than 25% of my cuttings to root. Now, after years of trial and error, I can regularly get 50% or more of my cuttings to root by using the tips outlined below.
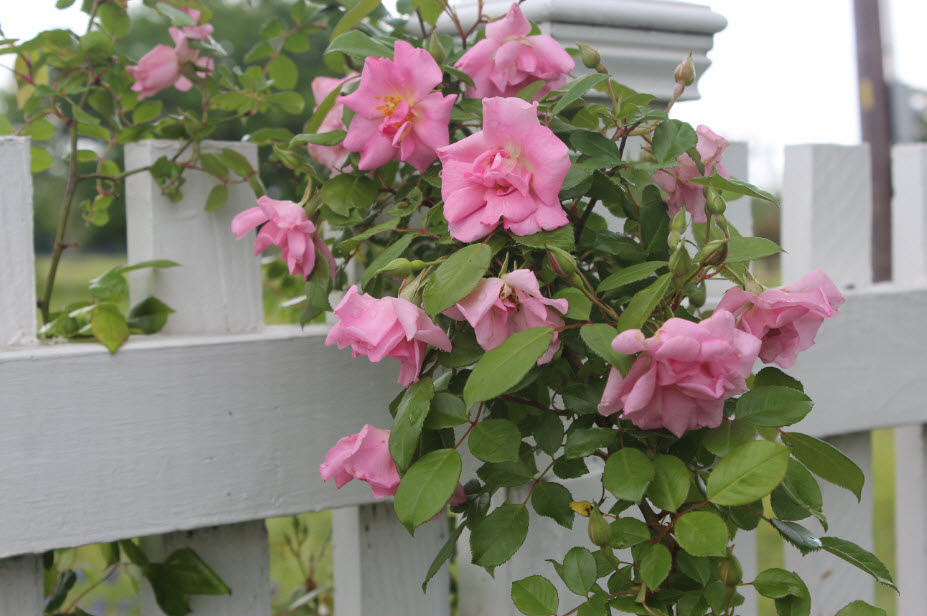
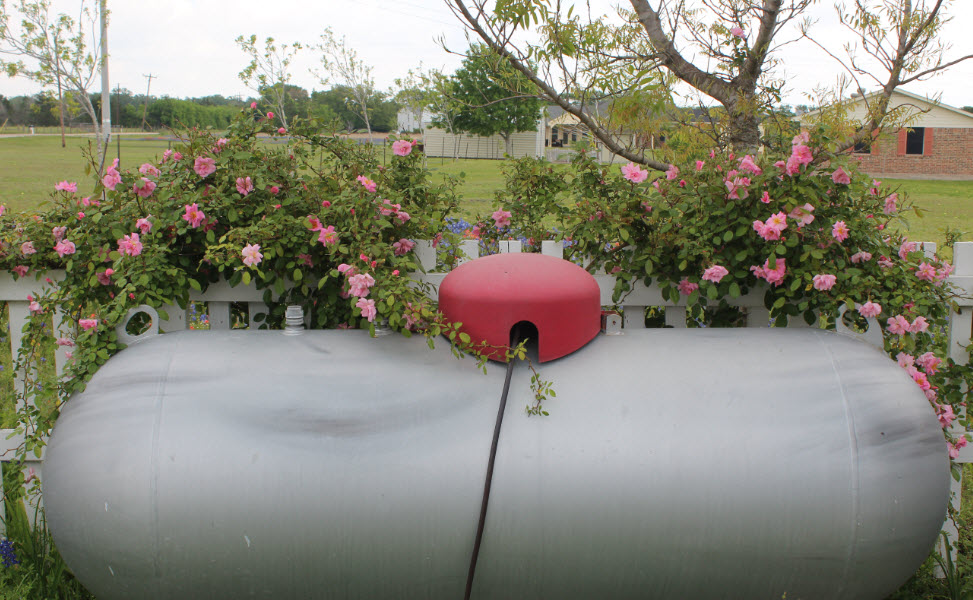
Climbing Pinkie is my favorite pink climber. Since I am building a new garden I have stuck 12 cuttings of this rose that will soon cover the fences that surround the new space
When to Cut
Some of the same hormones that help in blooming also help with rooting. For best success, take cuttings of stems that have just finished blooming. While I prefer to do my propagation in the fall, some roses only bloom in the spring. If you have spring only blooming roses all of these tips apply. However, you will just have to take extra care to ensure those spring cuttings remain moist during the rooting period.
What to Cut
Roses produce several types of stems for cuttings. New tender growth (often red or purple in color) is good for cuttings if you have the ability to keep them constantly moist. Green wood is slightly older wood that is beginning to harden. Green wood is what I have had the most luck with. It is firm, easy to handle and it does not dry out as quickly as new wood once it has been stuck. Finally, roses produce hard wood. While it is possible to make a new rose bush from a hard wood cutting, your chances are much lower.
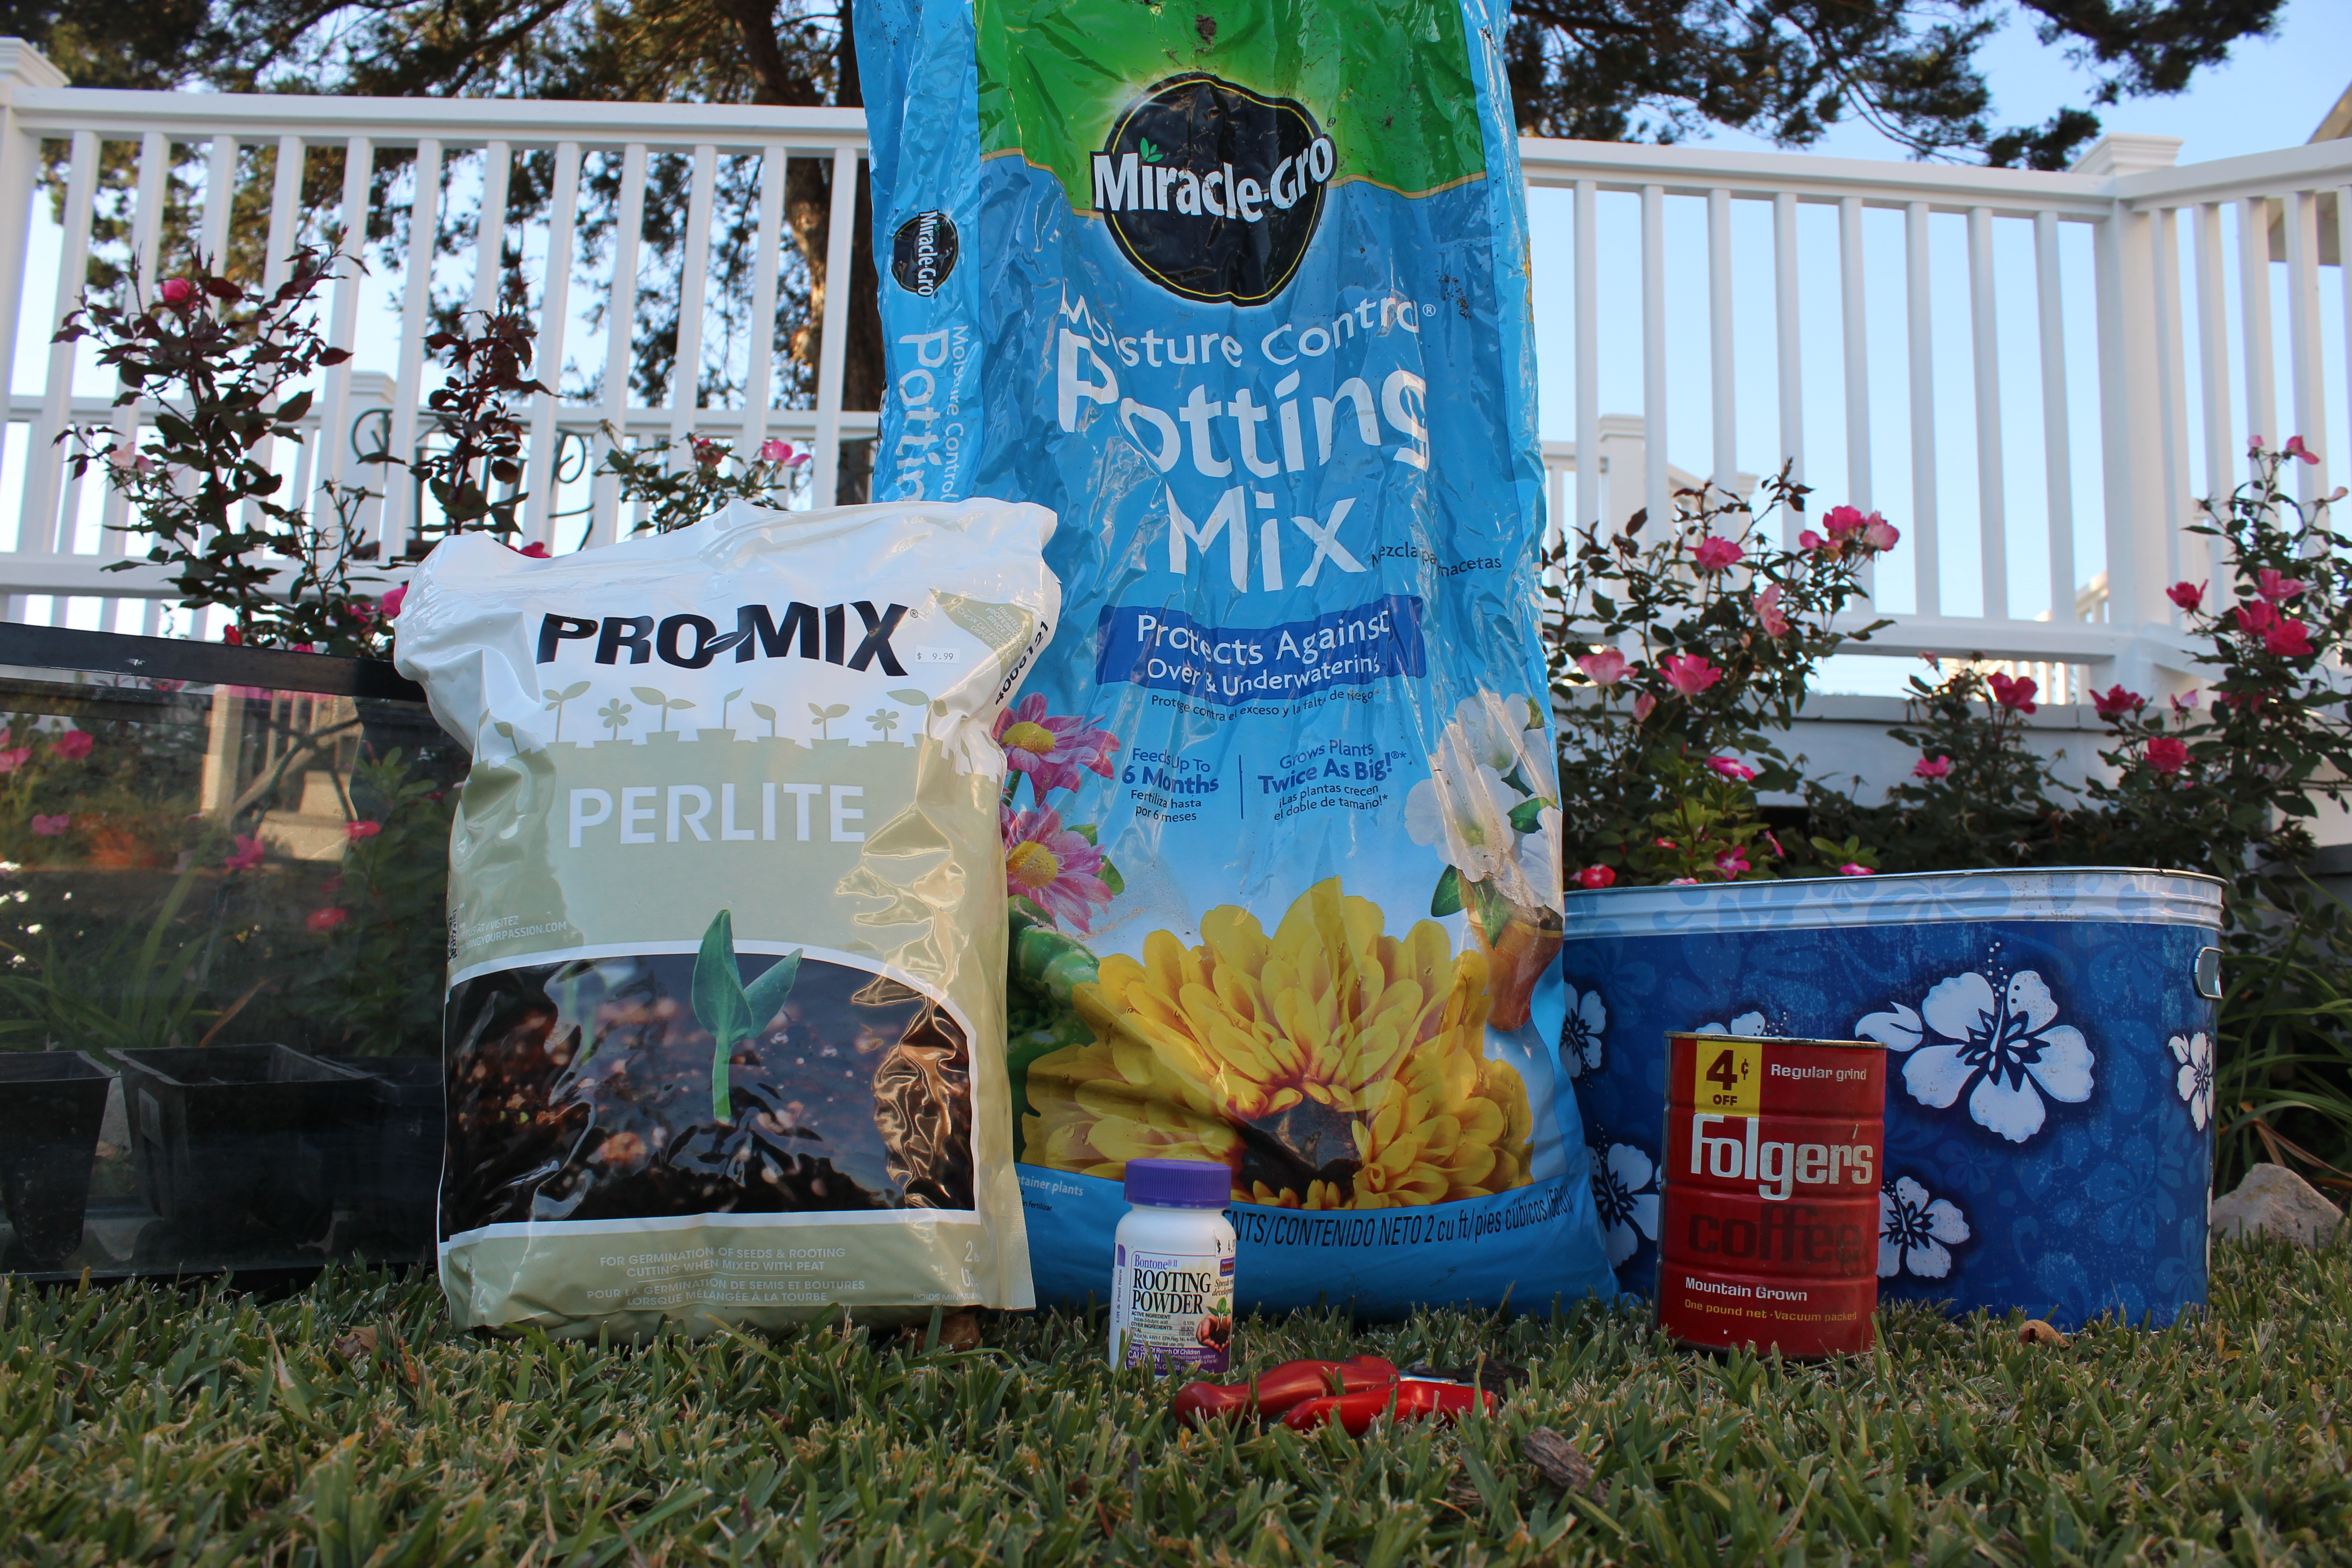
Before I take my cuttings I gather up my supplies
How to Cut
While it is possible to get just about any type of cutting to root, I have the most success with “four node” cuttings. I have seen some tips that say take a six inch cutting or an eight inch cutting. To me, length is not important. Since rose cuttings need their leaves to root, it is important that your cutting have three or four sets of leaves on them when they are stuck.
A node is simply a place where a leaf grows from a stem. The space between nodes is called an inner node. All roses produce different inner node lengths. This is why length does not matter to me. Some of my cutting are 8” long and other are 4”. It all depends on the inner nodes.
Cut on a 45
There is a reason to make a 45 degree angle on your cuttings – and it is called surface area. When you wound any plant, it sends hormones called auxins to the wound site to start the healing process. The good thing is, auxins also stimulate root growth. So, by cutting on a 45 you are increasing the size of the wound which stimulates the plants into sending additional auxins to the wound site.
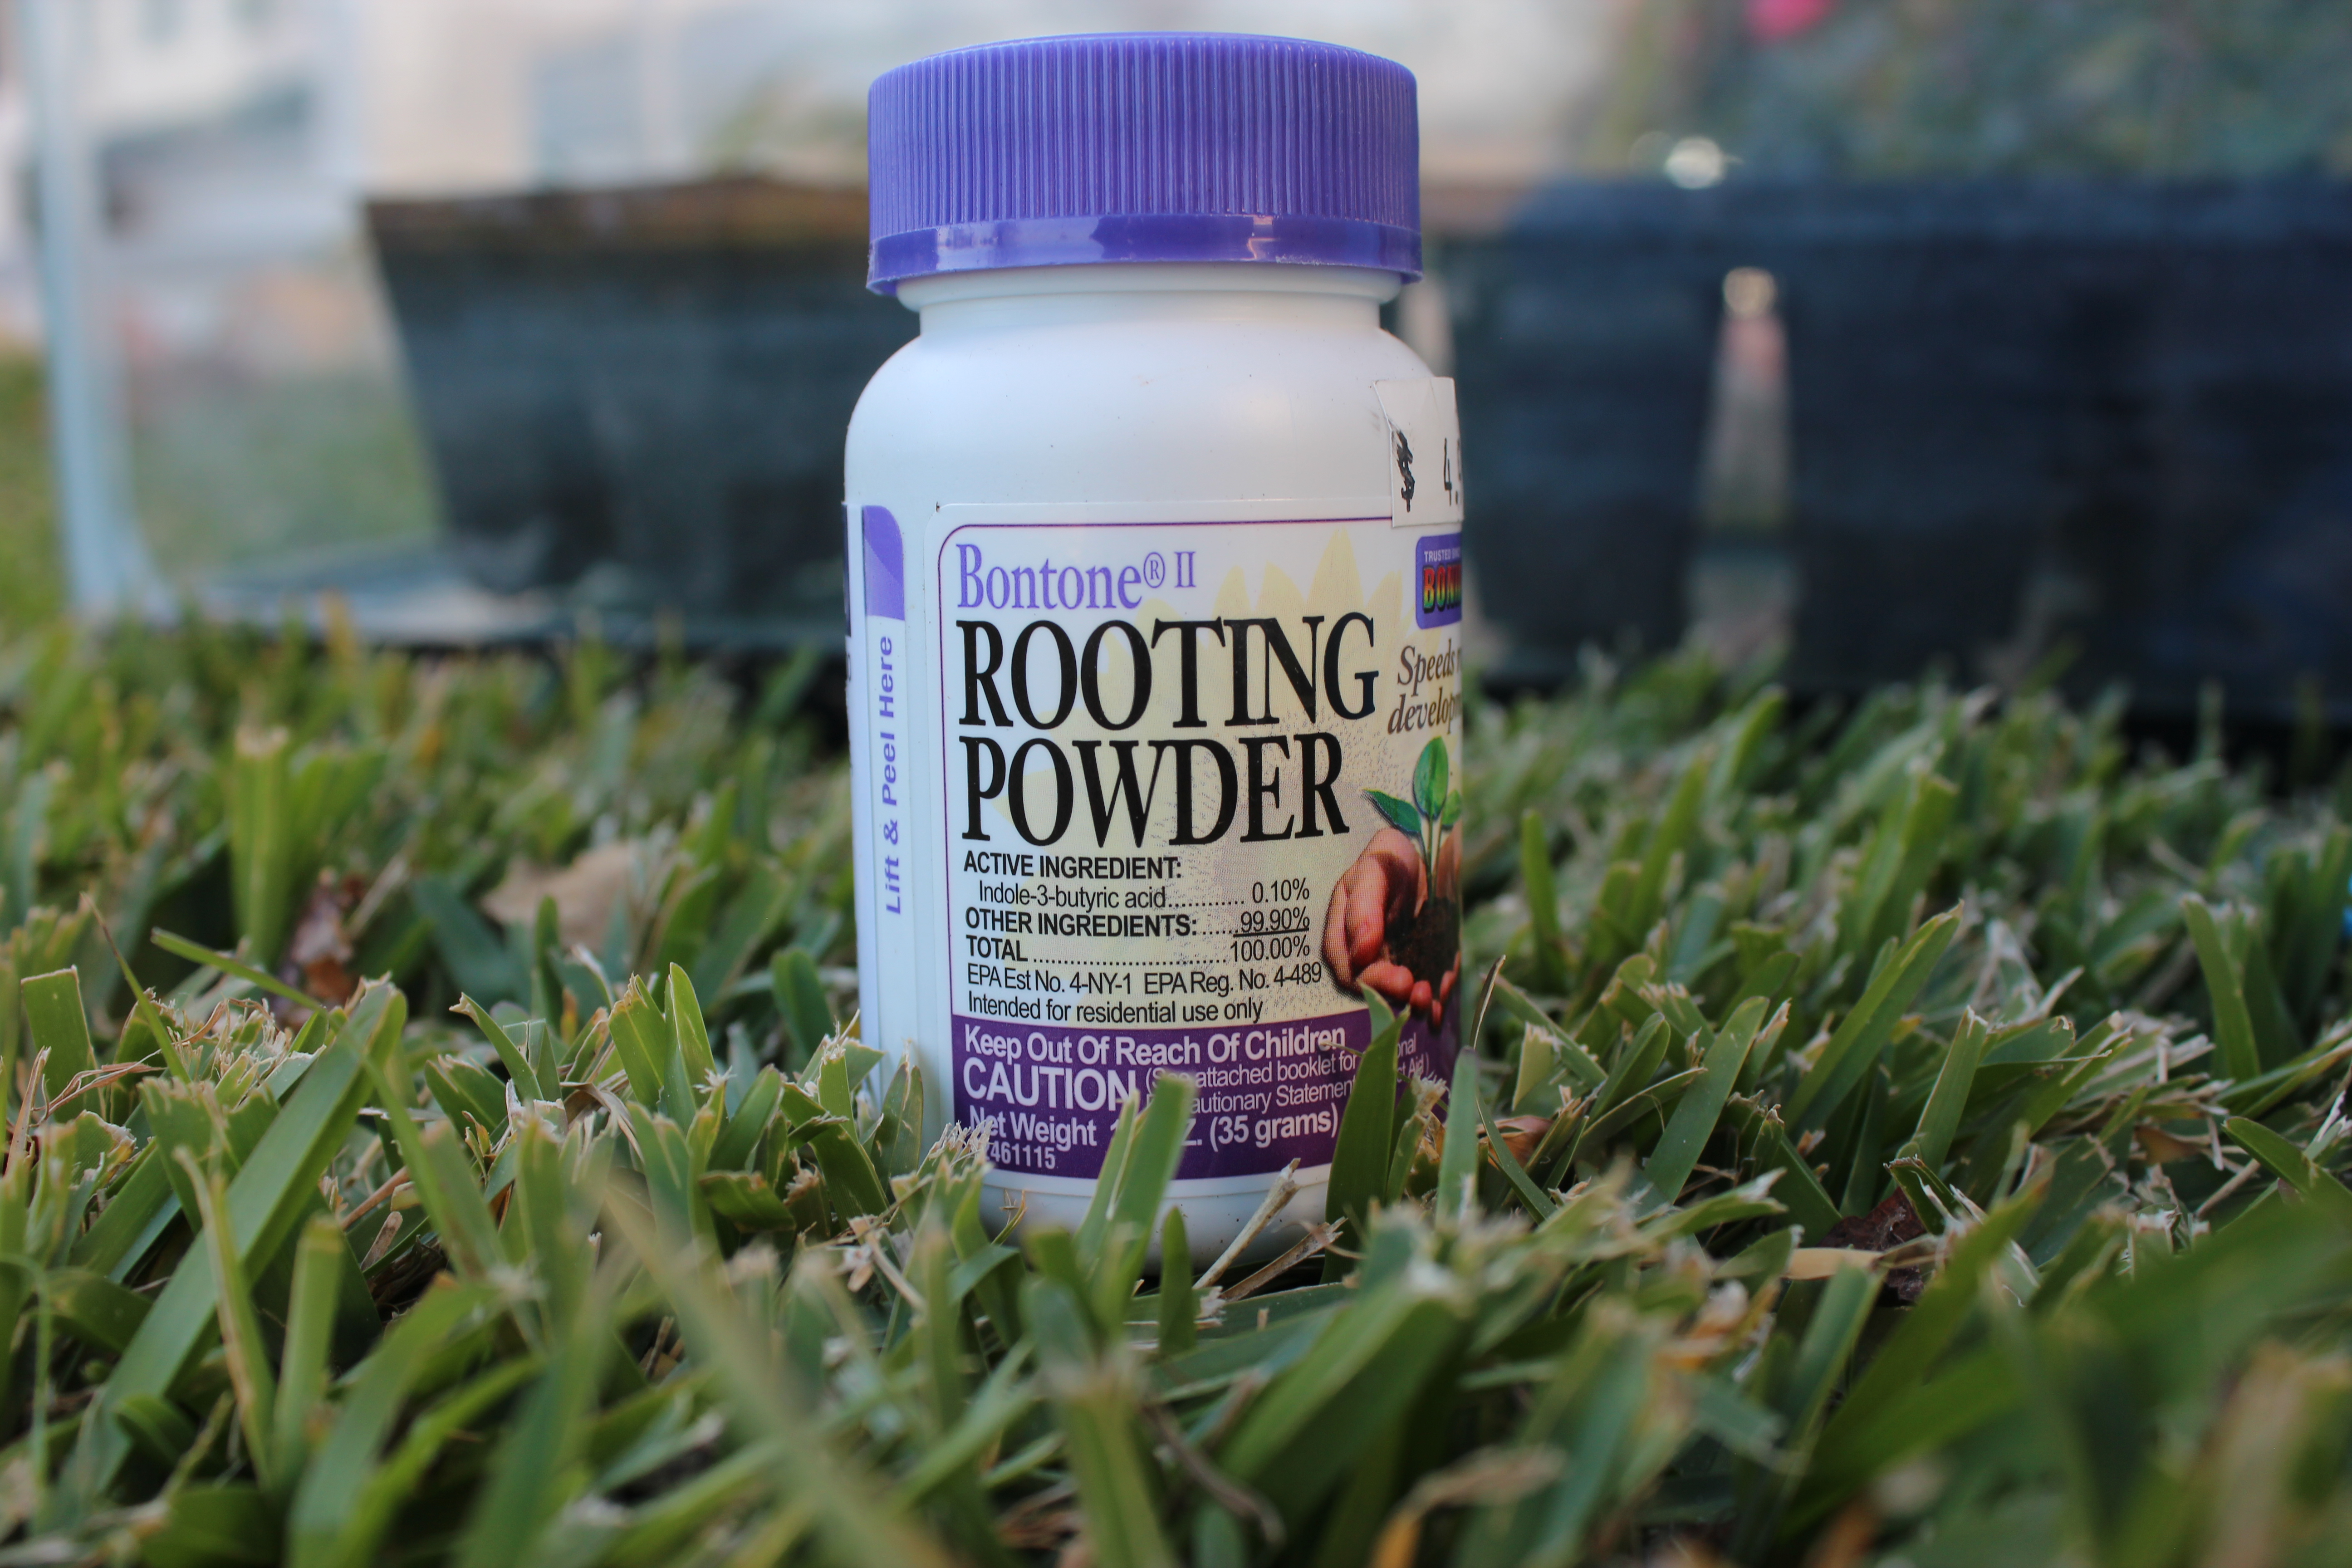
When it comes to rooting roses from cuttings, the $5 bottle of rooting hormone is the best money you can spend
Rooting Hormones
While many people I have talked to swear you don’t need them, my success rates are always better when I use them. The powdered hormone I use costs just $5. I can stick a lot of cuttings with the hormones in that little bottle. Since most rose bushes cost $20 to $30, getting just one or two more cuttings to root because of the rooting hormone makes that $5 a very good investment.
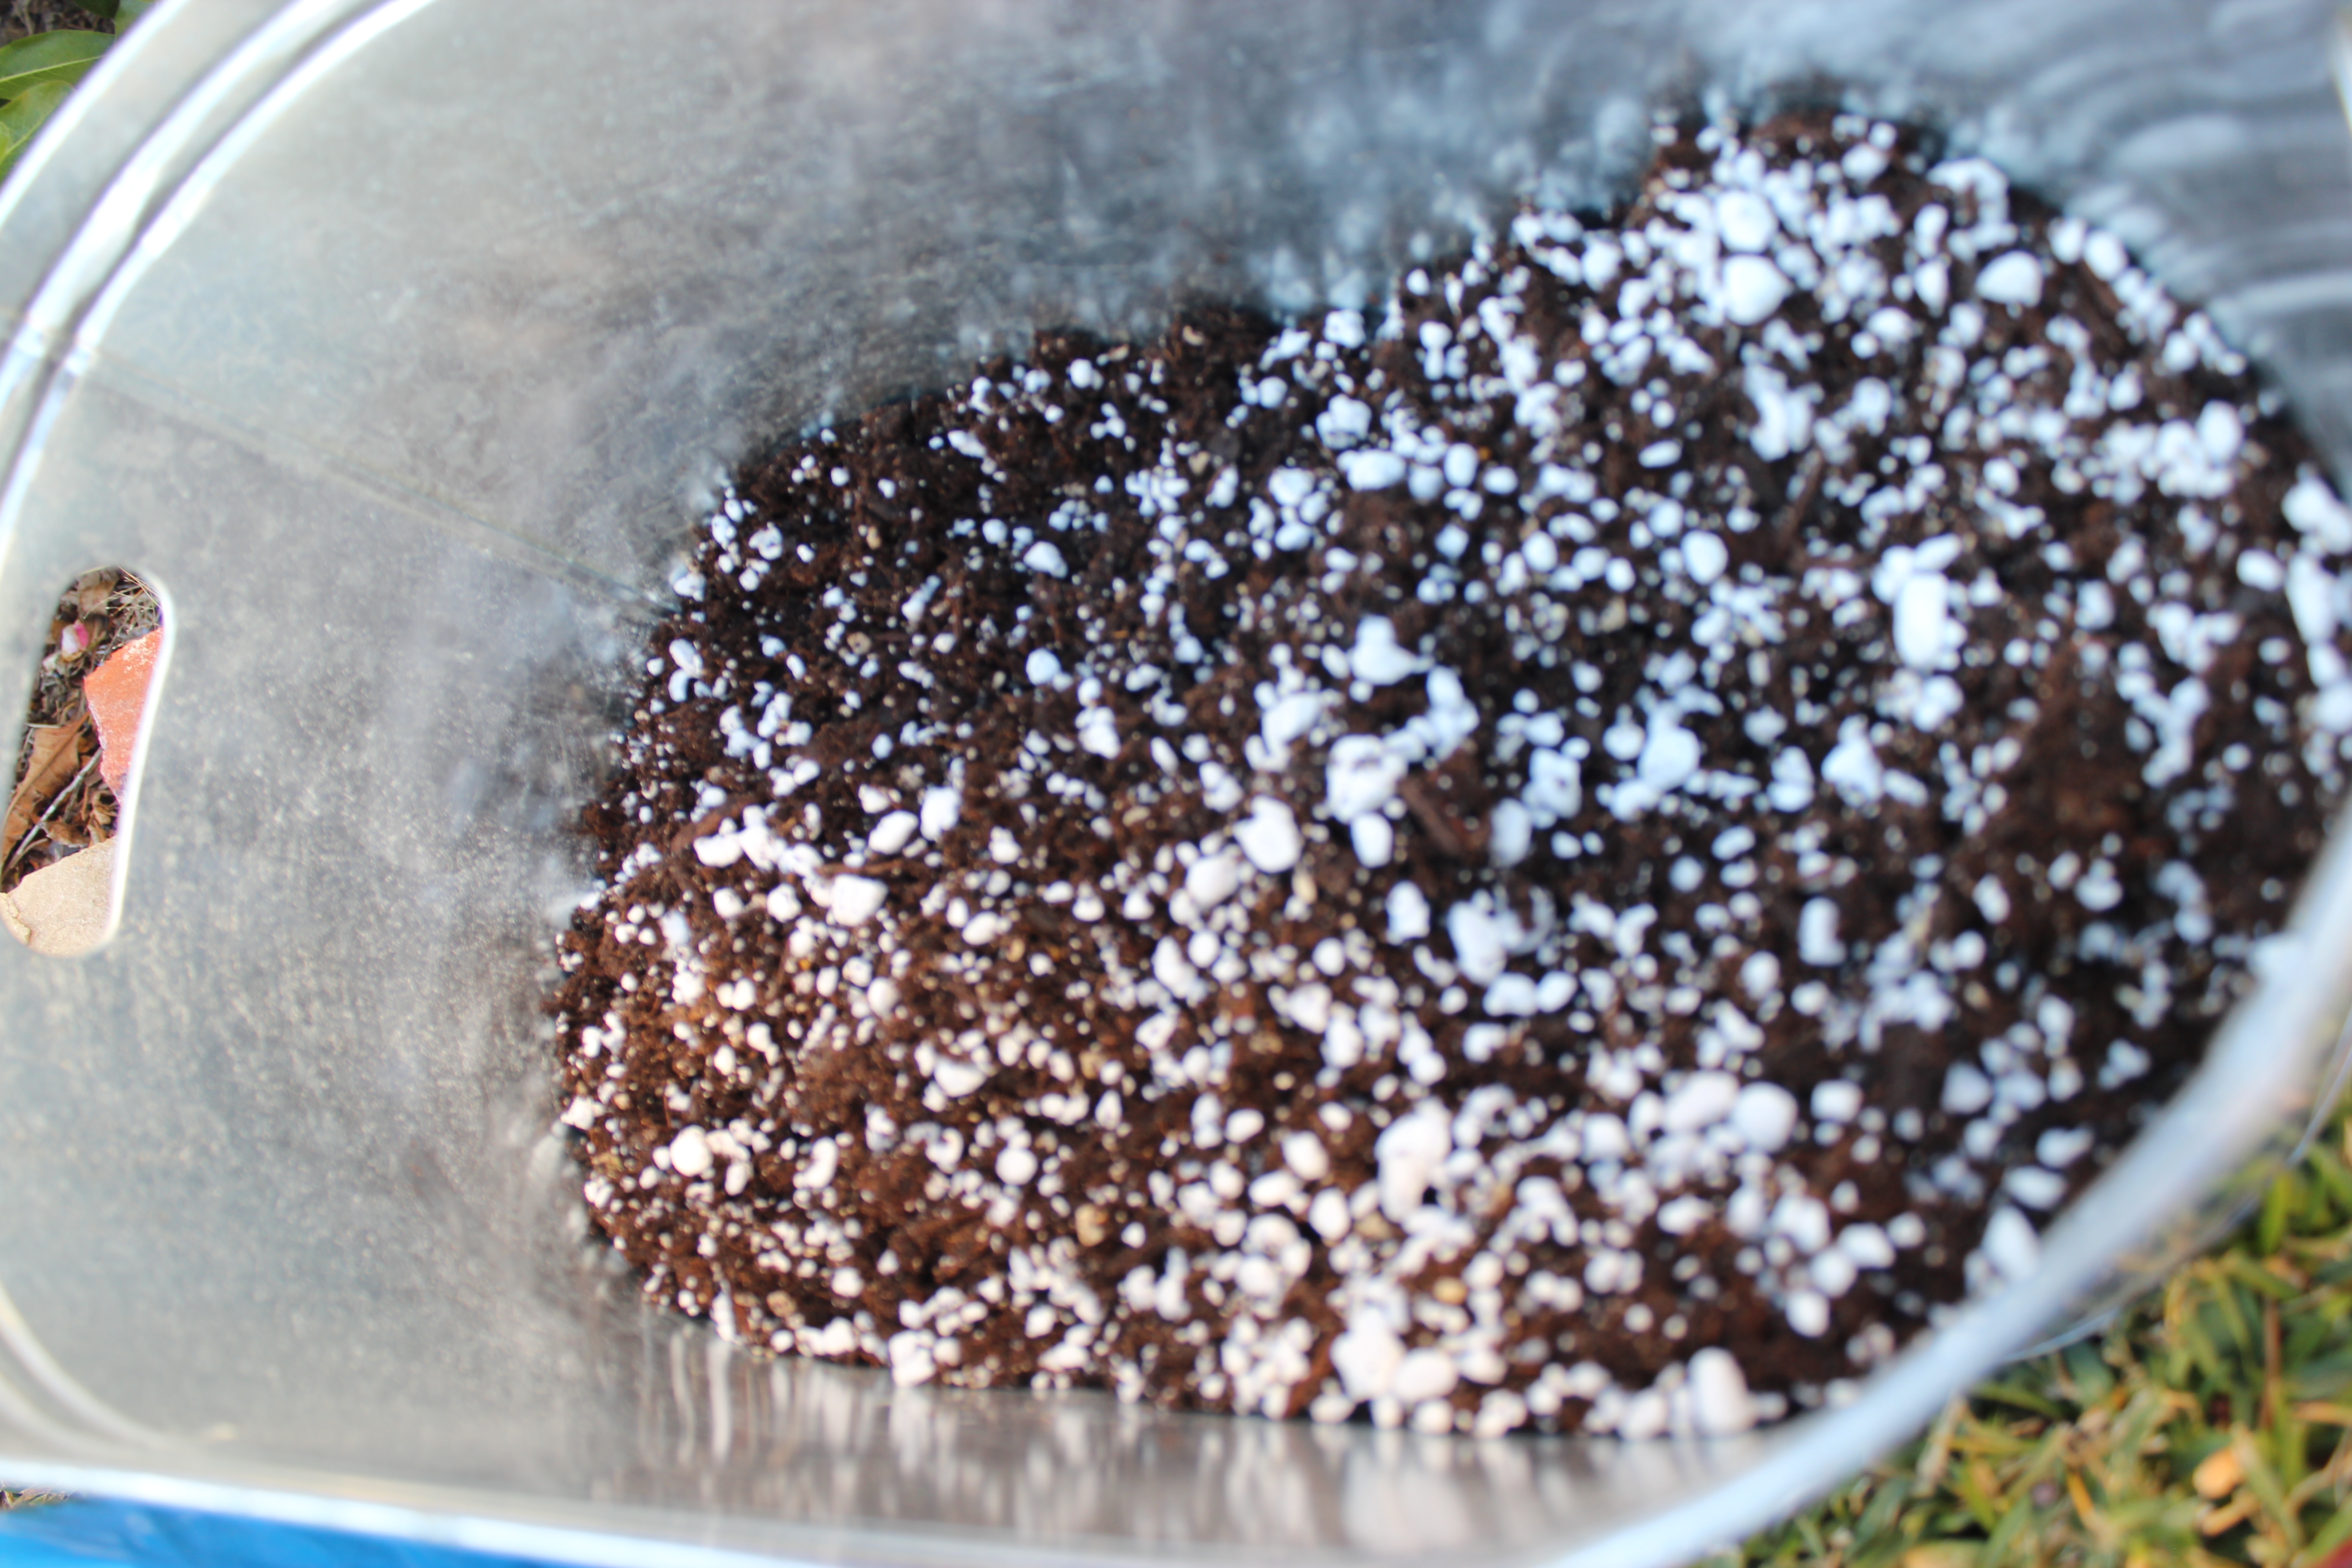
I create my own rooting media by adding 1 part Perlite to three parts Miracle Grow Potting Mix
Media
Horticulturists don’t use soil for propagation, they use media. Cuttings need air and moisture to create roots. Because of this, your rooting media needs to hold moisture and allow oxygen to pass freely to the root zone. There are a million recipes out there and most of them will work. For my media, I use 3 parts Miracle Grow Potting mix to one part Perlite. The Miracle grow has compost, vermiculite and perlite in it. However, by adding additional Perlite I create a mix that holds enough water, does not compact and readily allows oxygen in to the rooting area.
Moisture
Dehydration is the biggest reason cuttings fail to root. Commercial horticulturists can get almost 100% of their cutting to root because they grow them under a misting system. Since most home gardeners do not have misting systems, we must figure out a way to keep humidity high around the plants while they are rooting. While I have had success placing my potted cuttings in grocery store bags, this method is cumbersome to me. Because of that I now put all of my rooted cutting inside an old 10 gallon aquarium that I cover with a board. My aquarium set up does a great job keeping the humidity high for my cuttings.
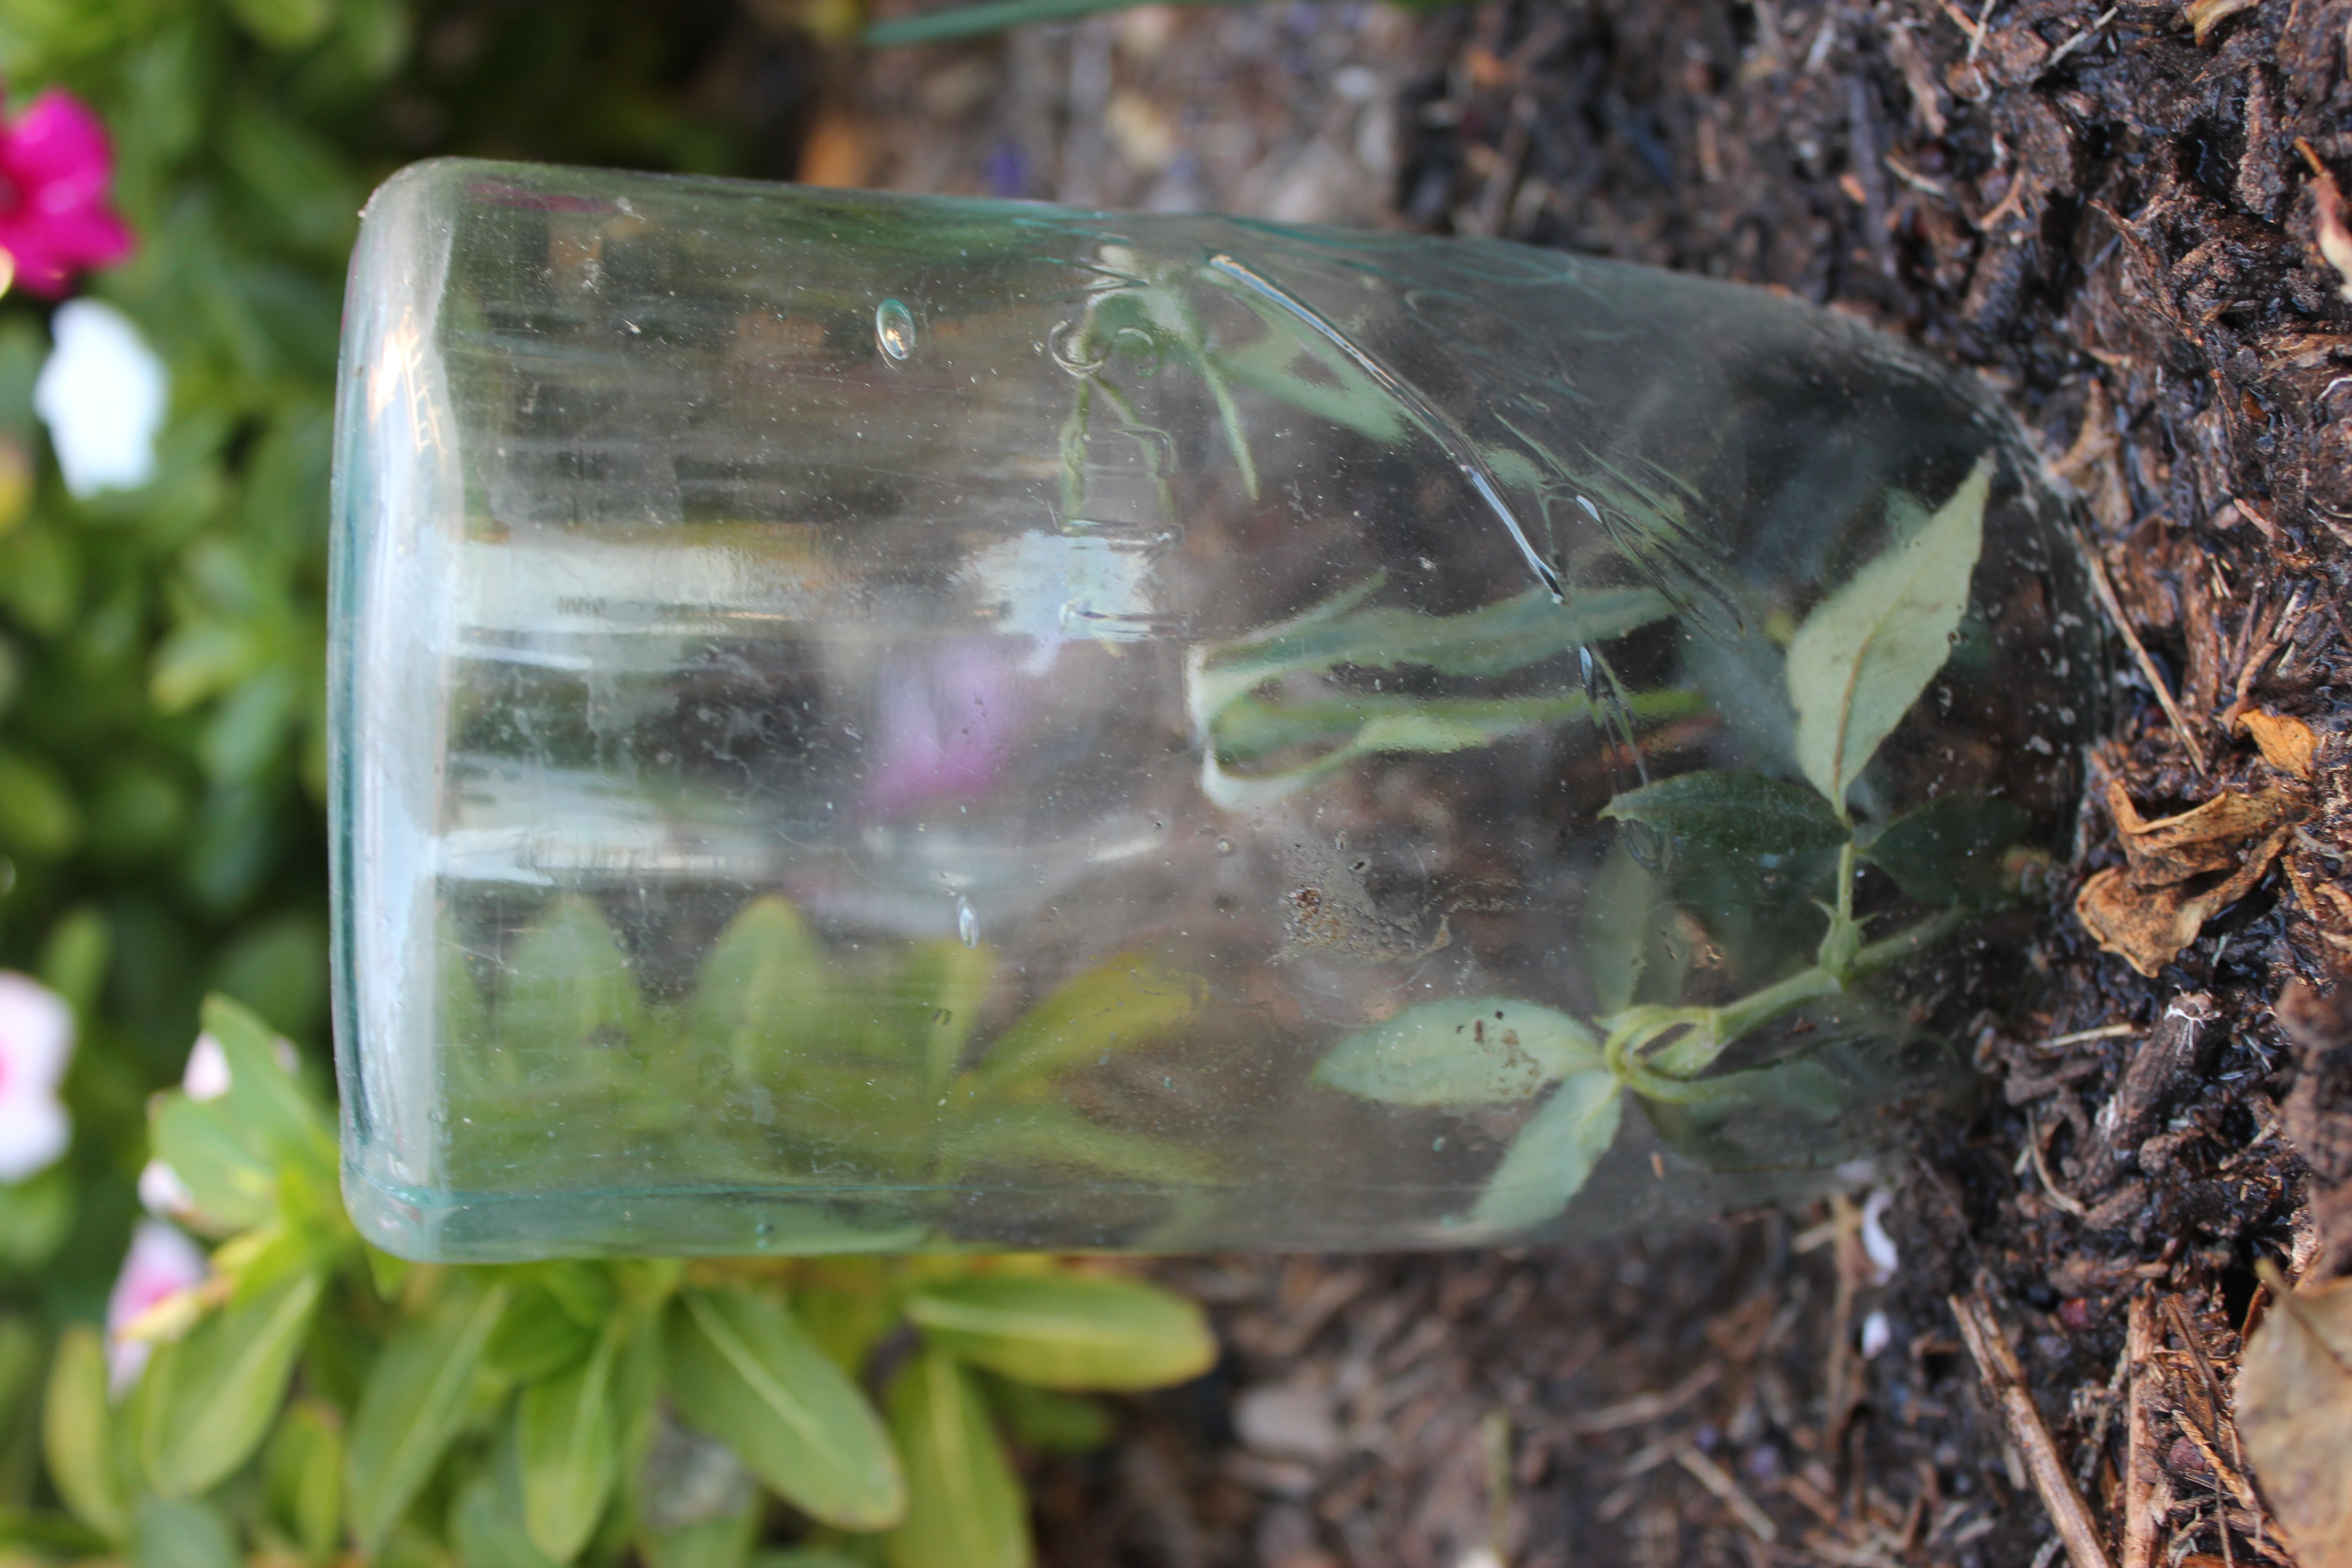
While I now use an old aquarium with a top to keep my rose cuttings moist, your grandmother used a mason jar
Natural Light
While I keep my cuttings indoors under grow lights most of the winter, I believe natural light is better. Right now my cuttings are outside in a bed that gets lots of light but is shaded in the afternoon. I bring my cuttings inside if the temps are going to drop into the 40s. However, I put them back outside every time it warms back up.
Propagation is my absolute favorite gardening task. I have been doing it for years and each year I get a little better at it. If you are new to propagation I hope these tips will encourage you to give it and, if you have been propagating for a while, I hope these tips will increase your success.

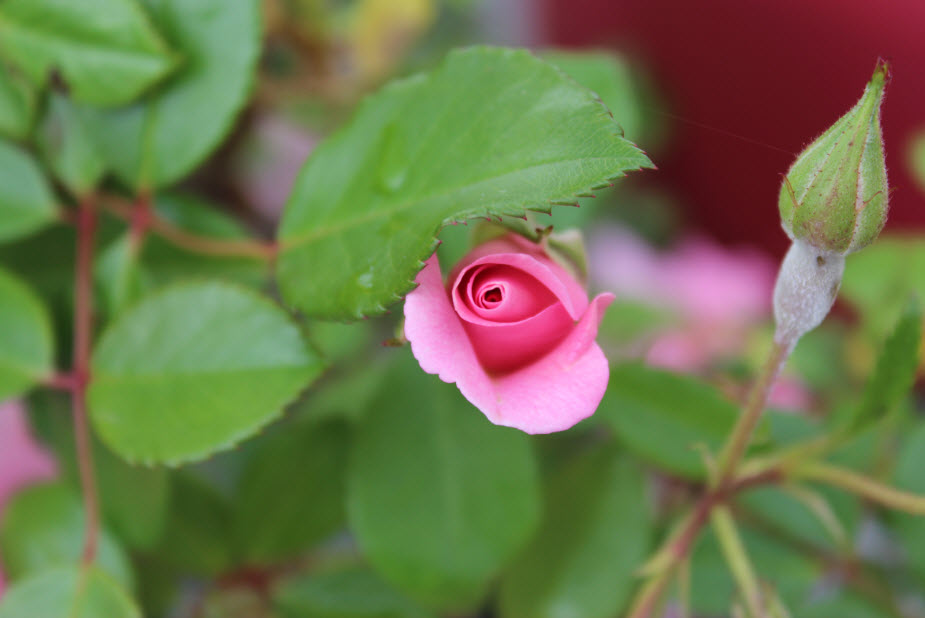
I do not know the name of this rose that blooms pink and then turns red as it matures. However, since it is so lovely I have started a dozen cuttings from it.
I share my posts on The Simple Homestead Blog Hop. Be sure to stop by and check out all the amazing things these gardeners and homesteaders are doing!