 This week has been declared “American Flowers Week”. The week is designed to promote and celebrate American flower growers, marketers and florists. Did you know that 80 to 90% of the cut flowers sold in the US come from overseas? Many find this fact shocking when I share it with them. If you would prefer to buy flowers that are fresher, grown in a more ecologically responsible manner and produced right here in the USA then be sure to check out the Slow Flowers website. Slow Flowers is a cooperative effort between American growers and florists that allow you to find local growers and the florists that use their flowers to fill your flower buying needs.
In honor of “American Flowers Week” this week’s tips focus on growing, harvesting and arranging your own beautiful “local” flowers.
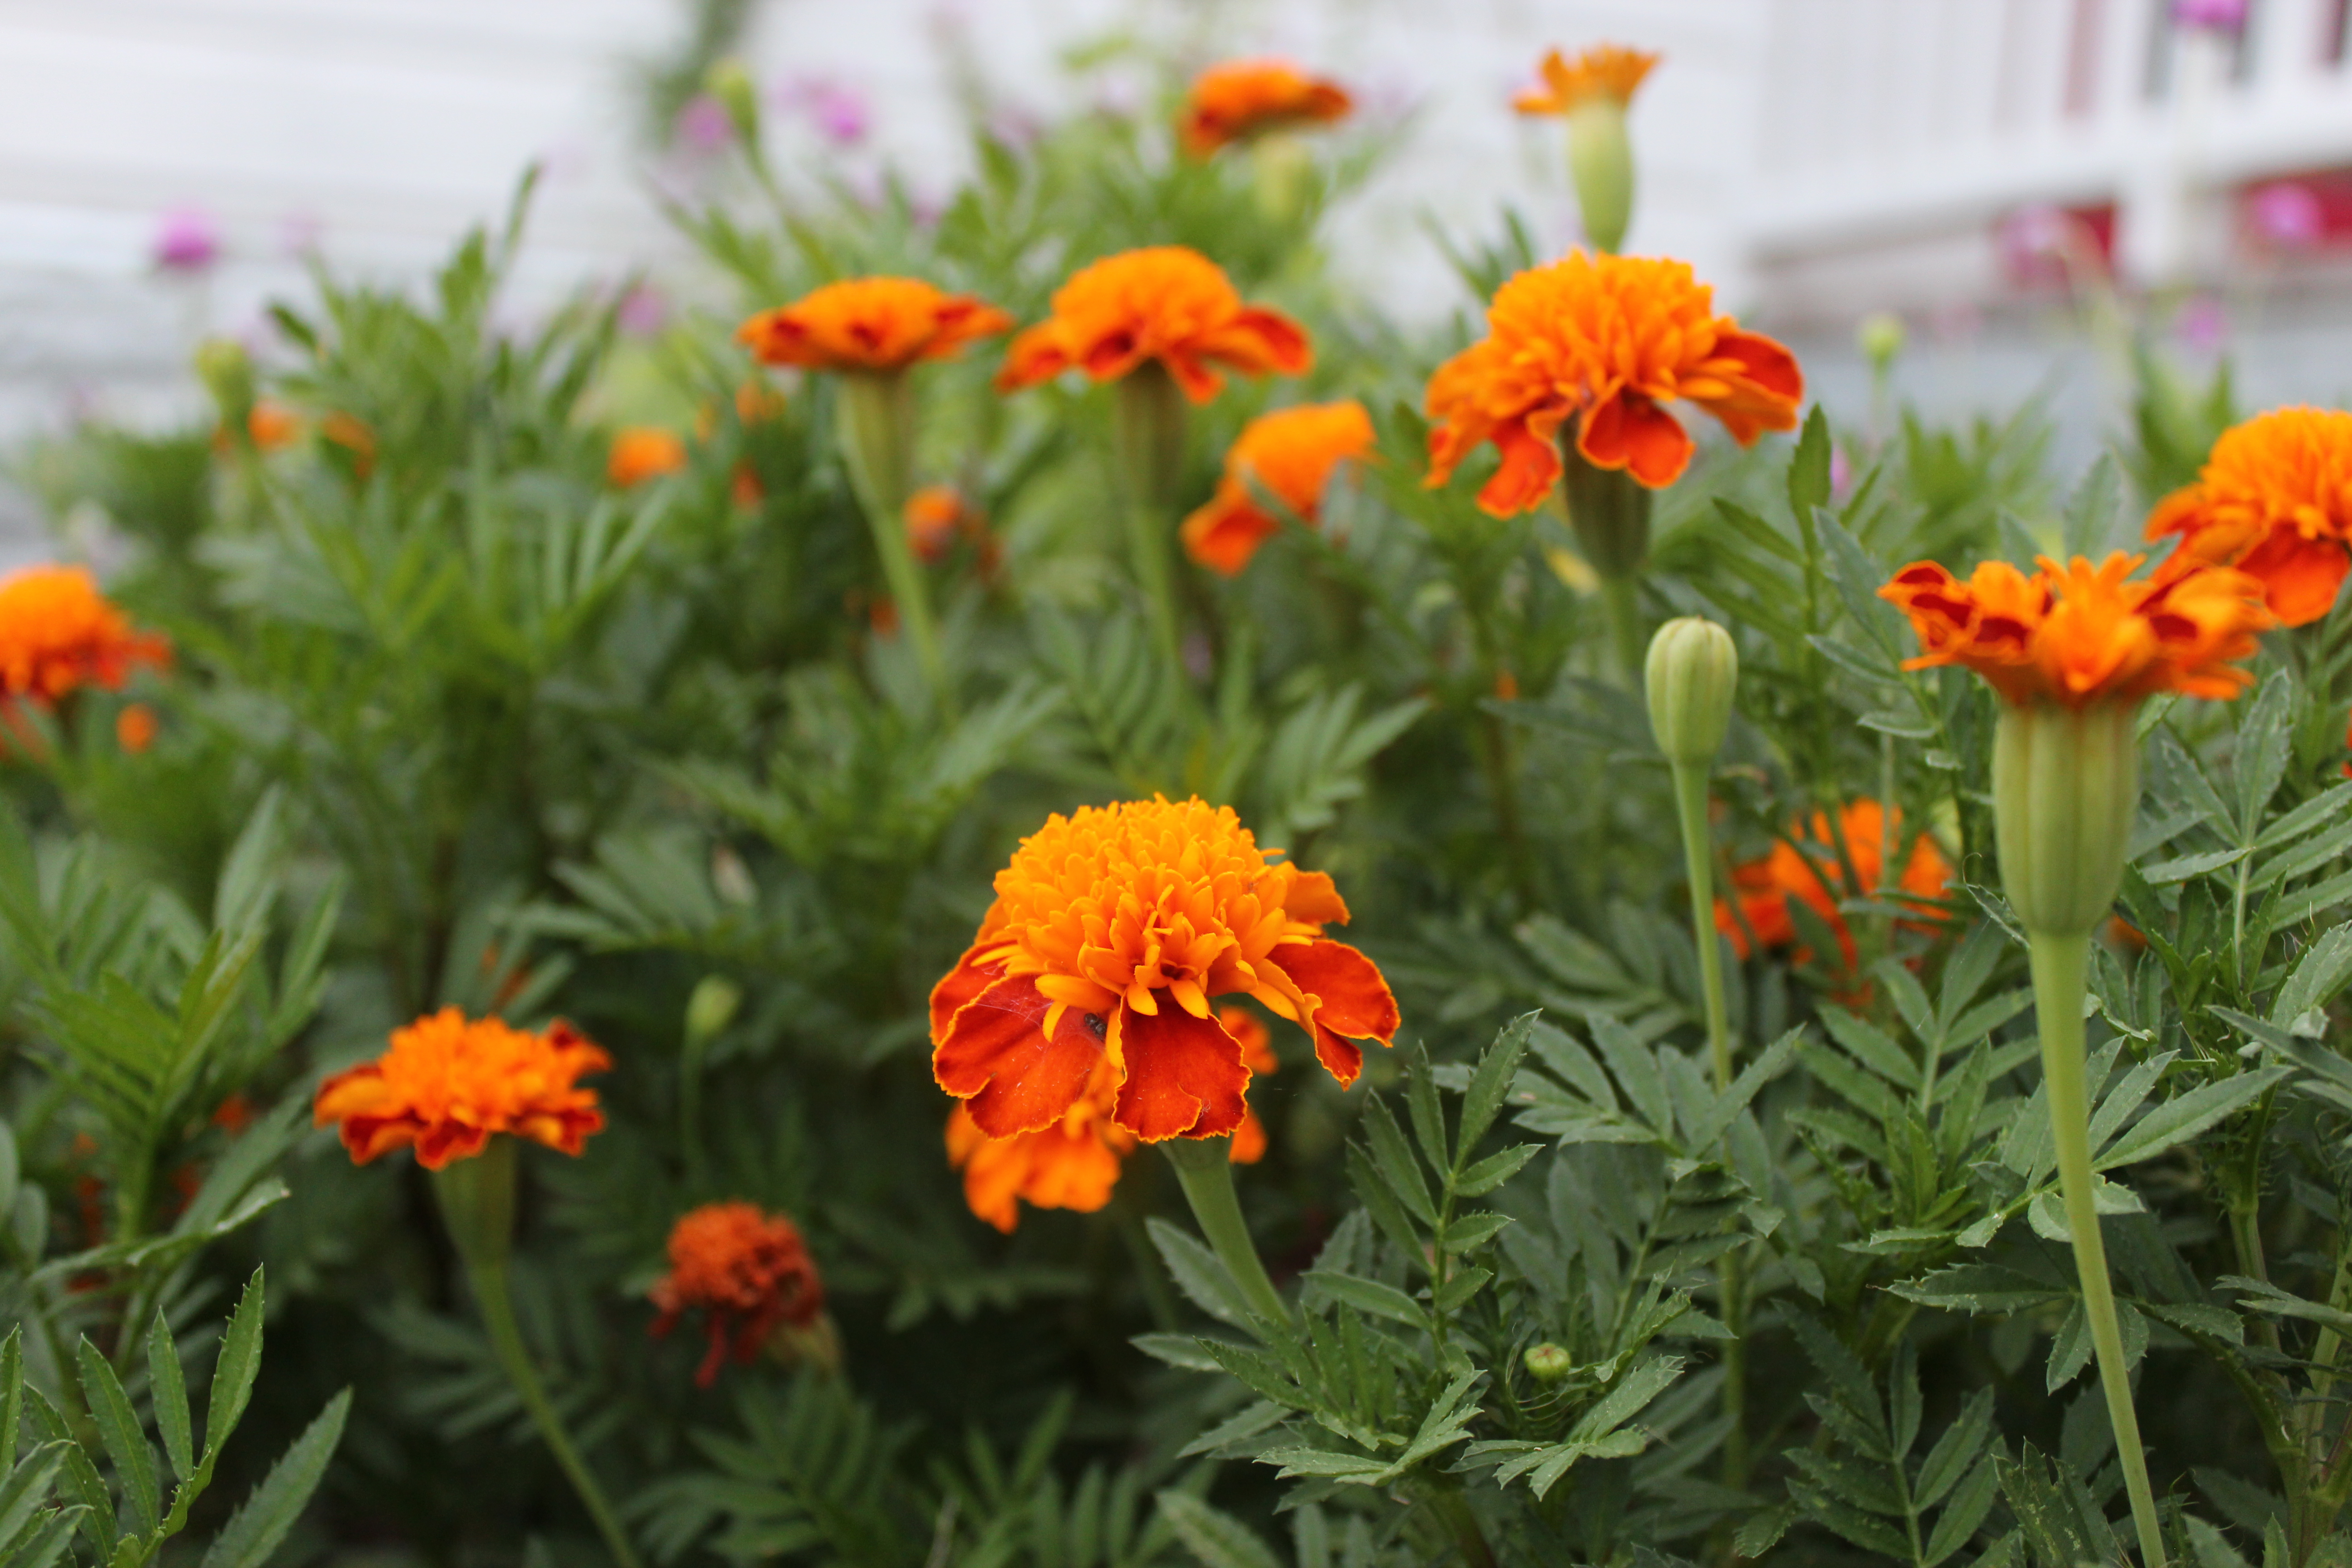
Flowers grown at the proper spacing are healthier and produce more blooms that plants that are grown too close together.
Growing Tips
- Plant at the recommended spacing on the package– Over planting is the biggest mistake most home gardeners make. Plants that are grown too close together do not get as large or produce as many flowers and they are much more susceptible to pests.
- Weed and feed regularly – Most flowers are annuals. Because of this they need to get as much nutrition as possible during their one growing season. Feed monthly and weed regularly. The weeds will rob your soil of the moisture and nutrients that your flowers need.
- Control most pests with a strong blast of water to the underside of their leaves – Most flowers are plagued by a variety of pests. Most are tiny little rascals (like mites and aphids) that hide under the leaves of plants. Because of this they are very difficult to control with your typical spray applications of pesticides. I use a tool called the Mitey Fine Mister. This wand attaches to my water hose and is designed to spray water with enough pressure to kill the pests without harming the plant.

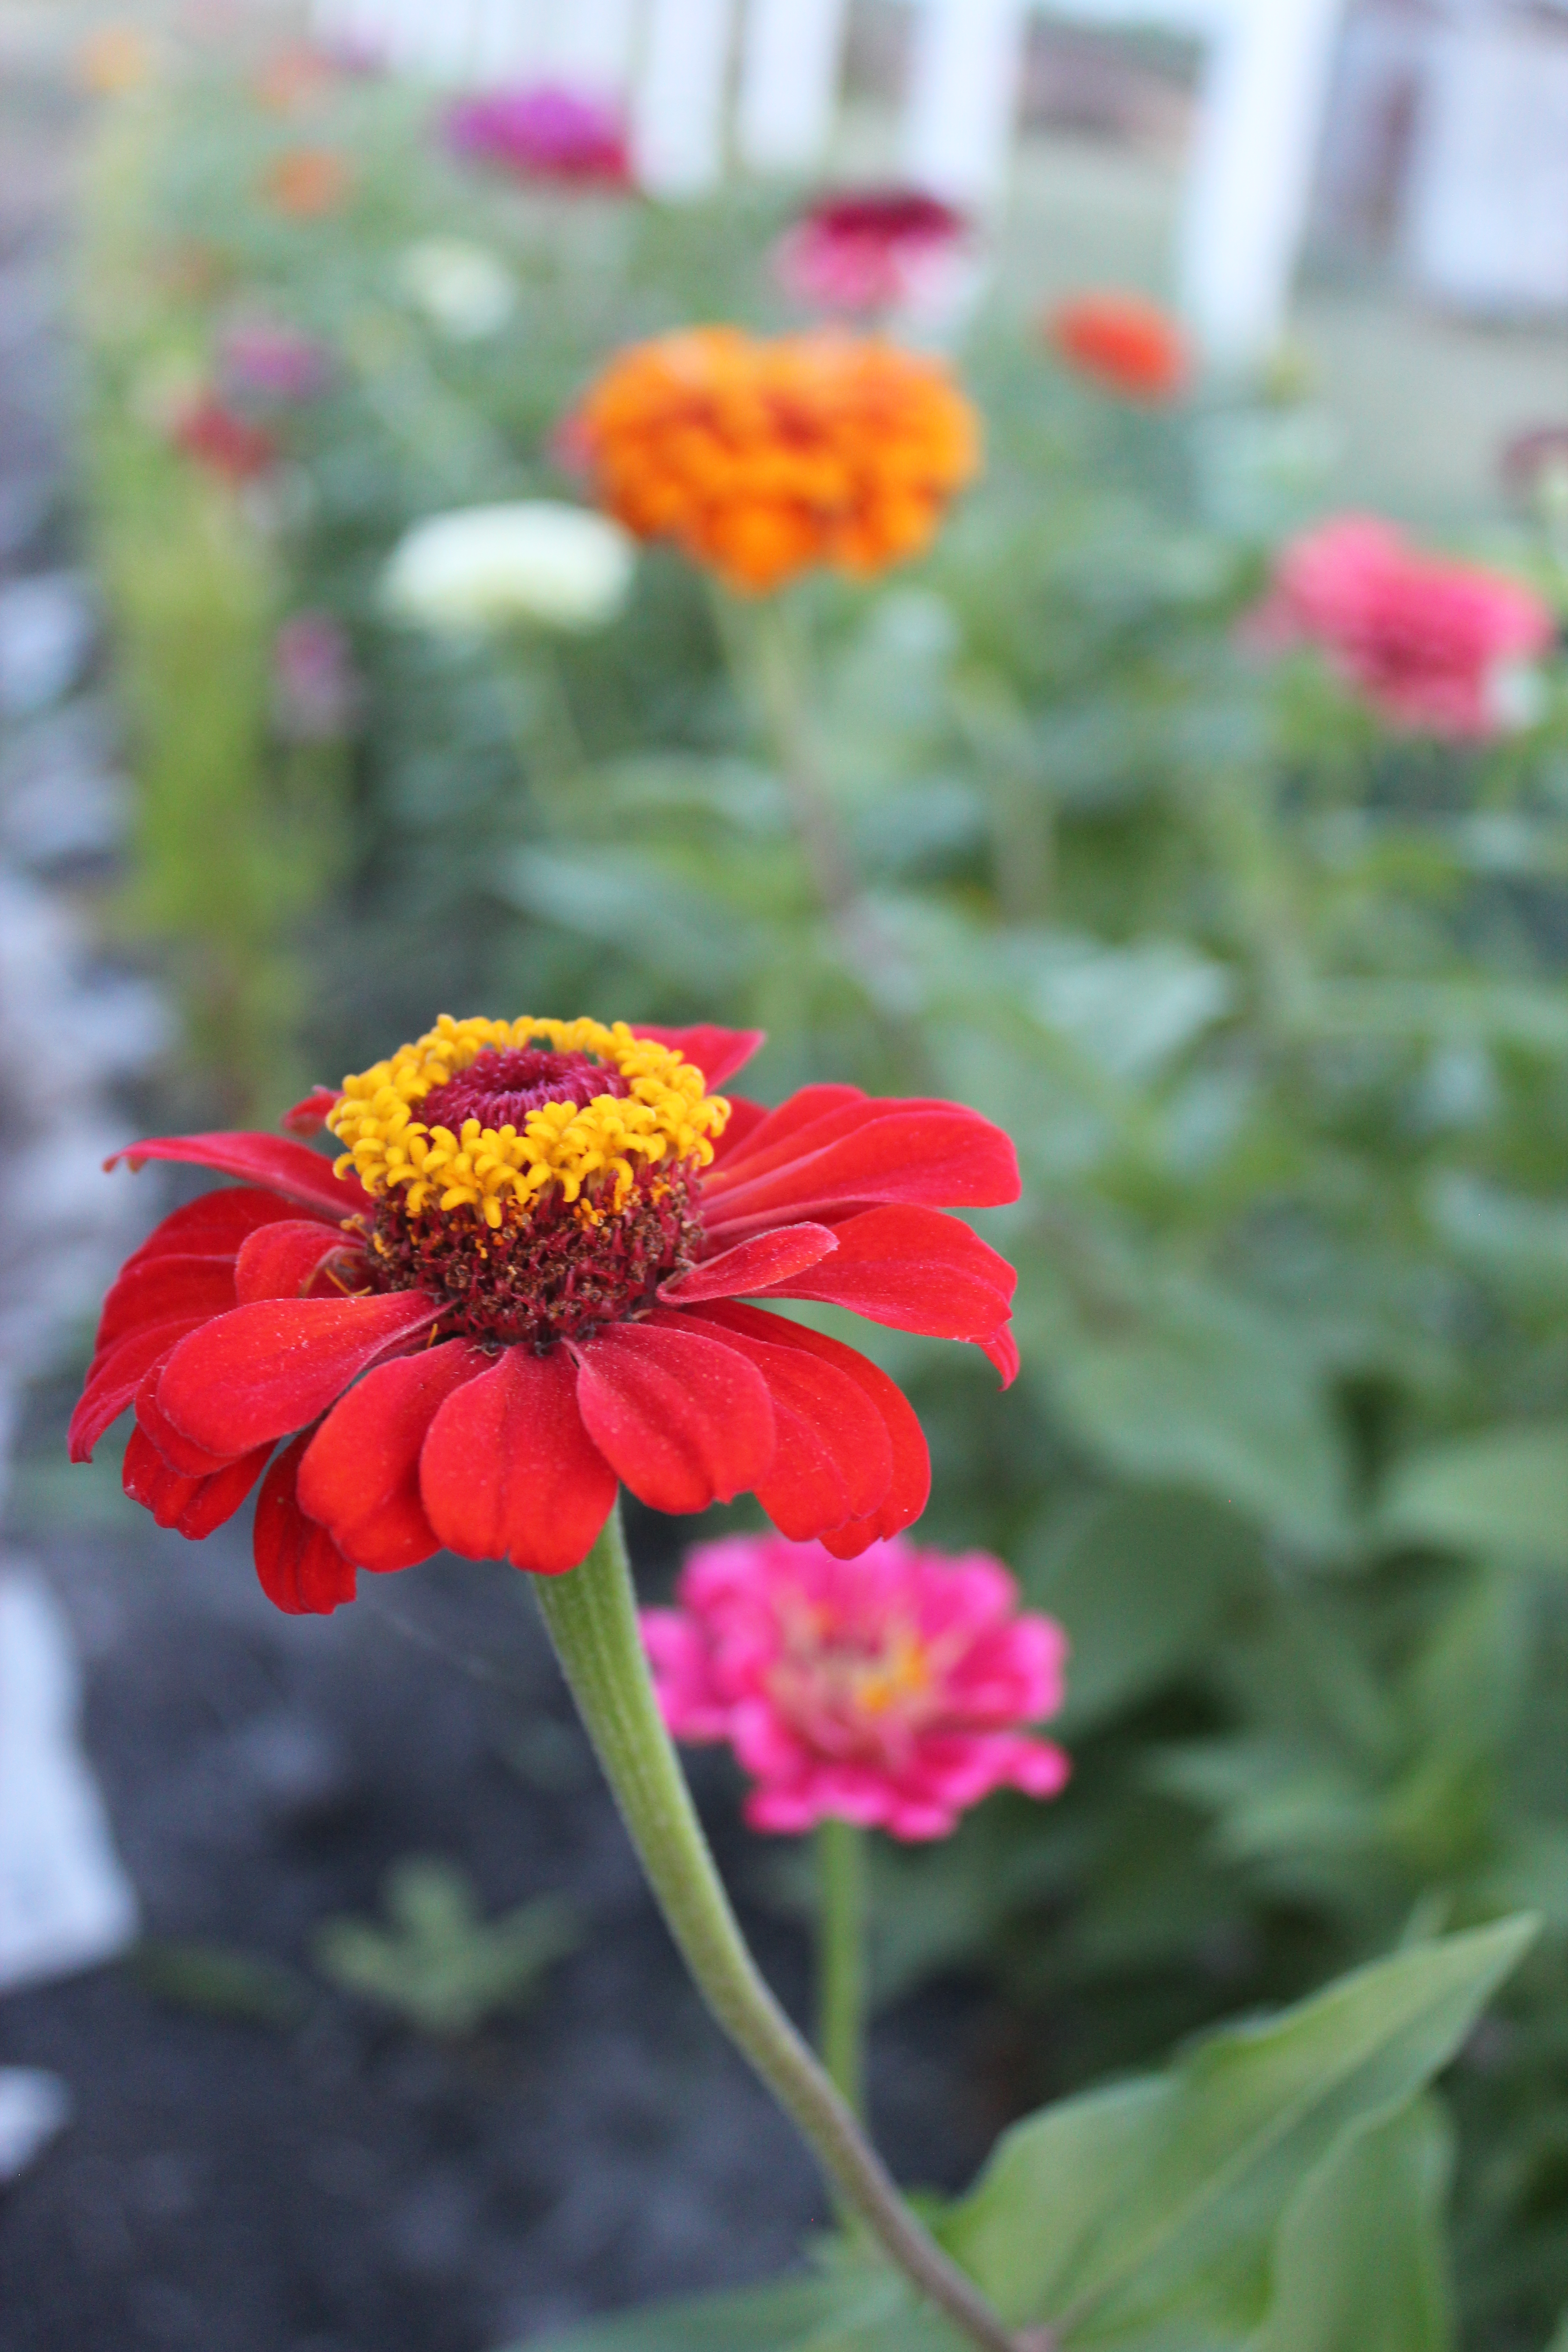
Cut flowers early in the morning and keep them cool to extend their vase life
Harvest Tips
- Cut flowers when buds are just beginning to open – If you cut most flowers when their buds are just beginning to open they will open in the vase. This will allow you to enjoy them much longer
- Cut flowers in the morning- Flowers cut in the morning have the highest moisture content (this is called turgidity in the horticultural world) and look their best.
- Strip leaves and immediately drop blooms into a plastic container that is full of clean, cool water
- Get flowers inside as soon as possible-Your flowers begin to die as soon as they are cut. Heat speeds up their ultimate demise. Get them inside and into the air conditioning as soon as possible
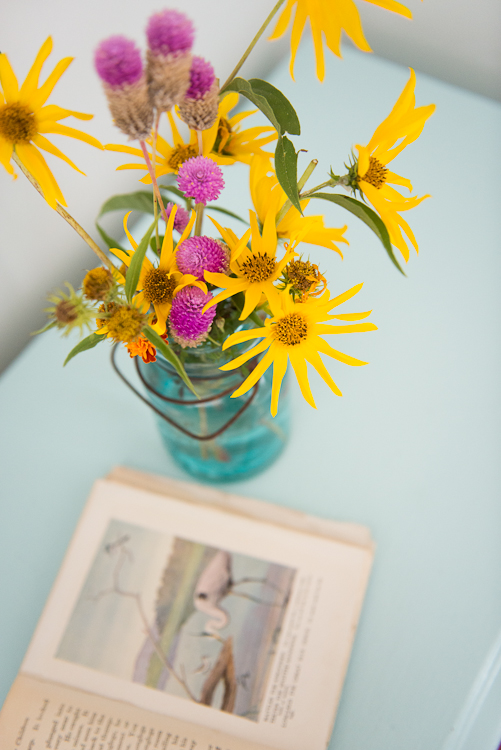
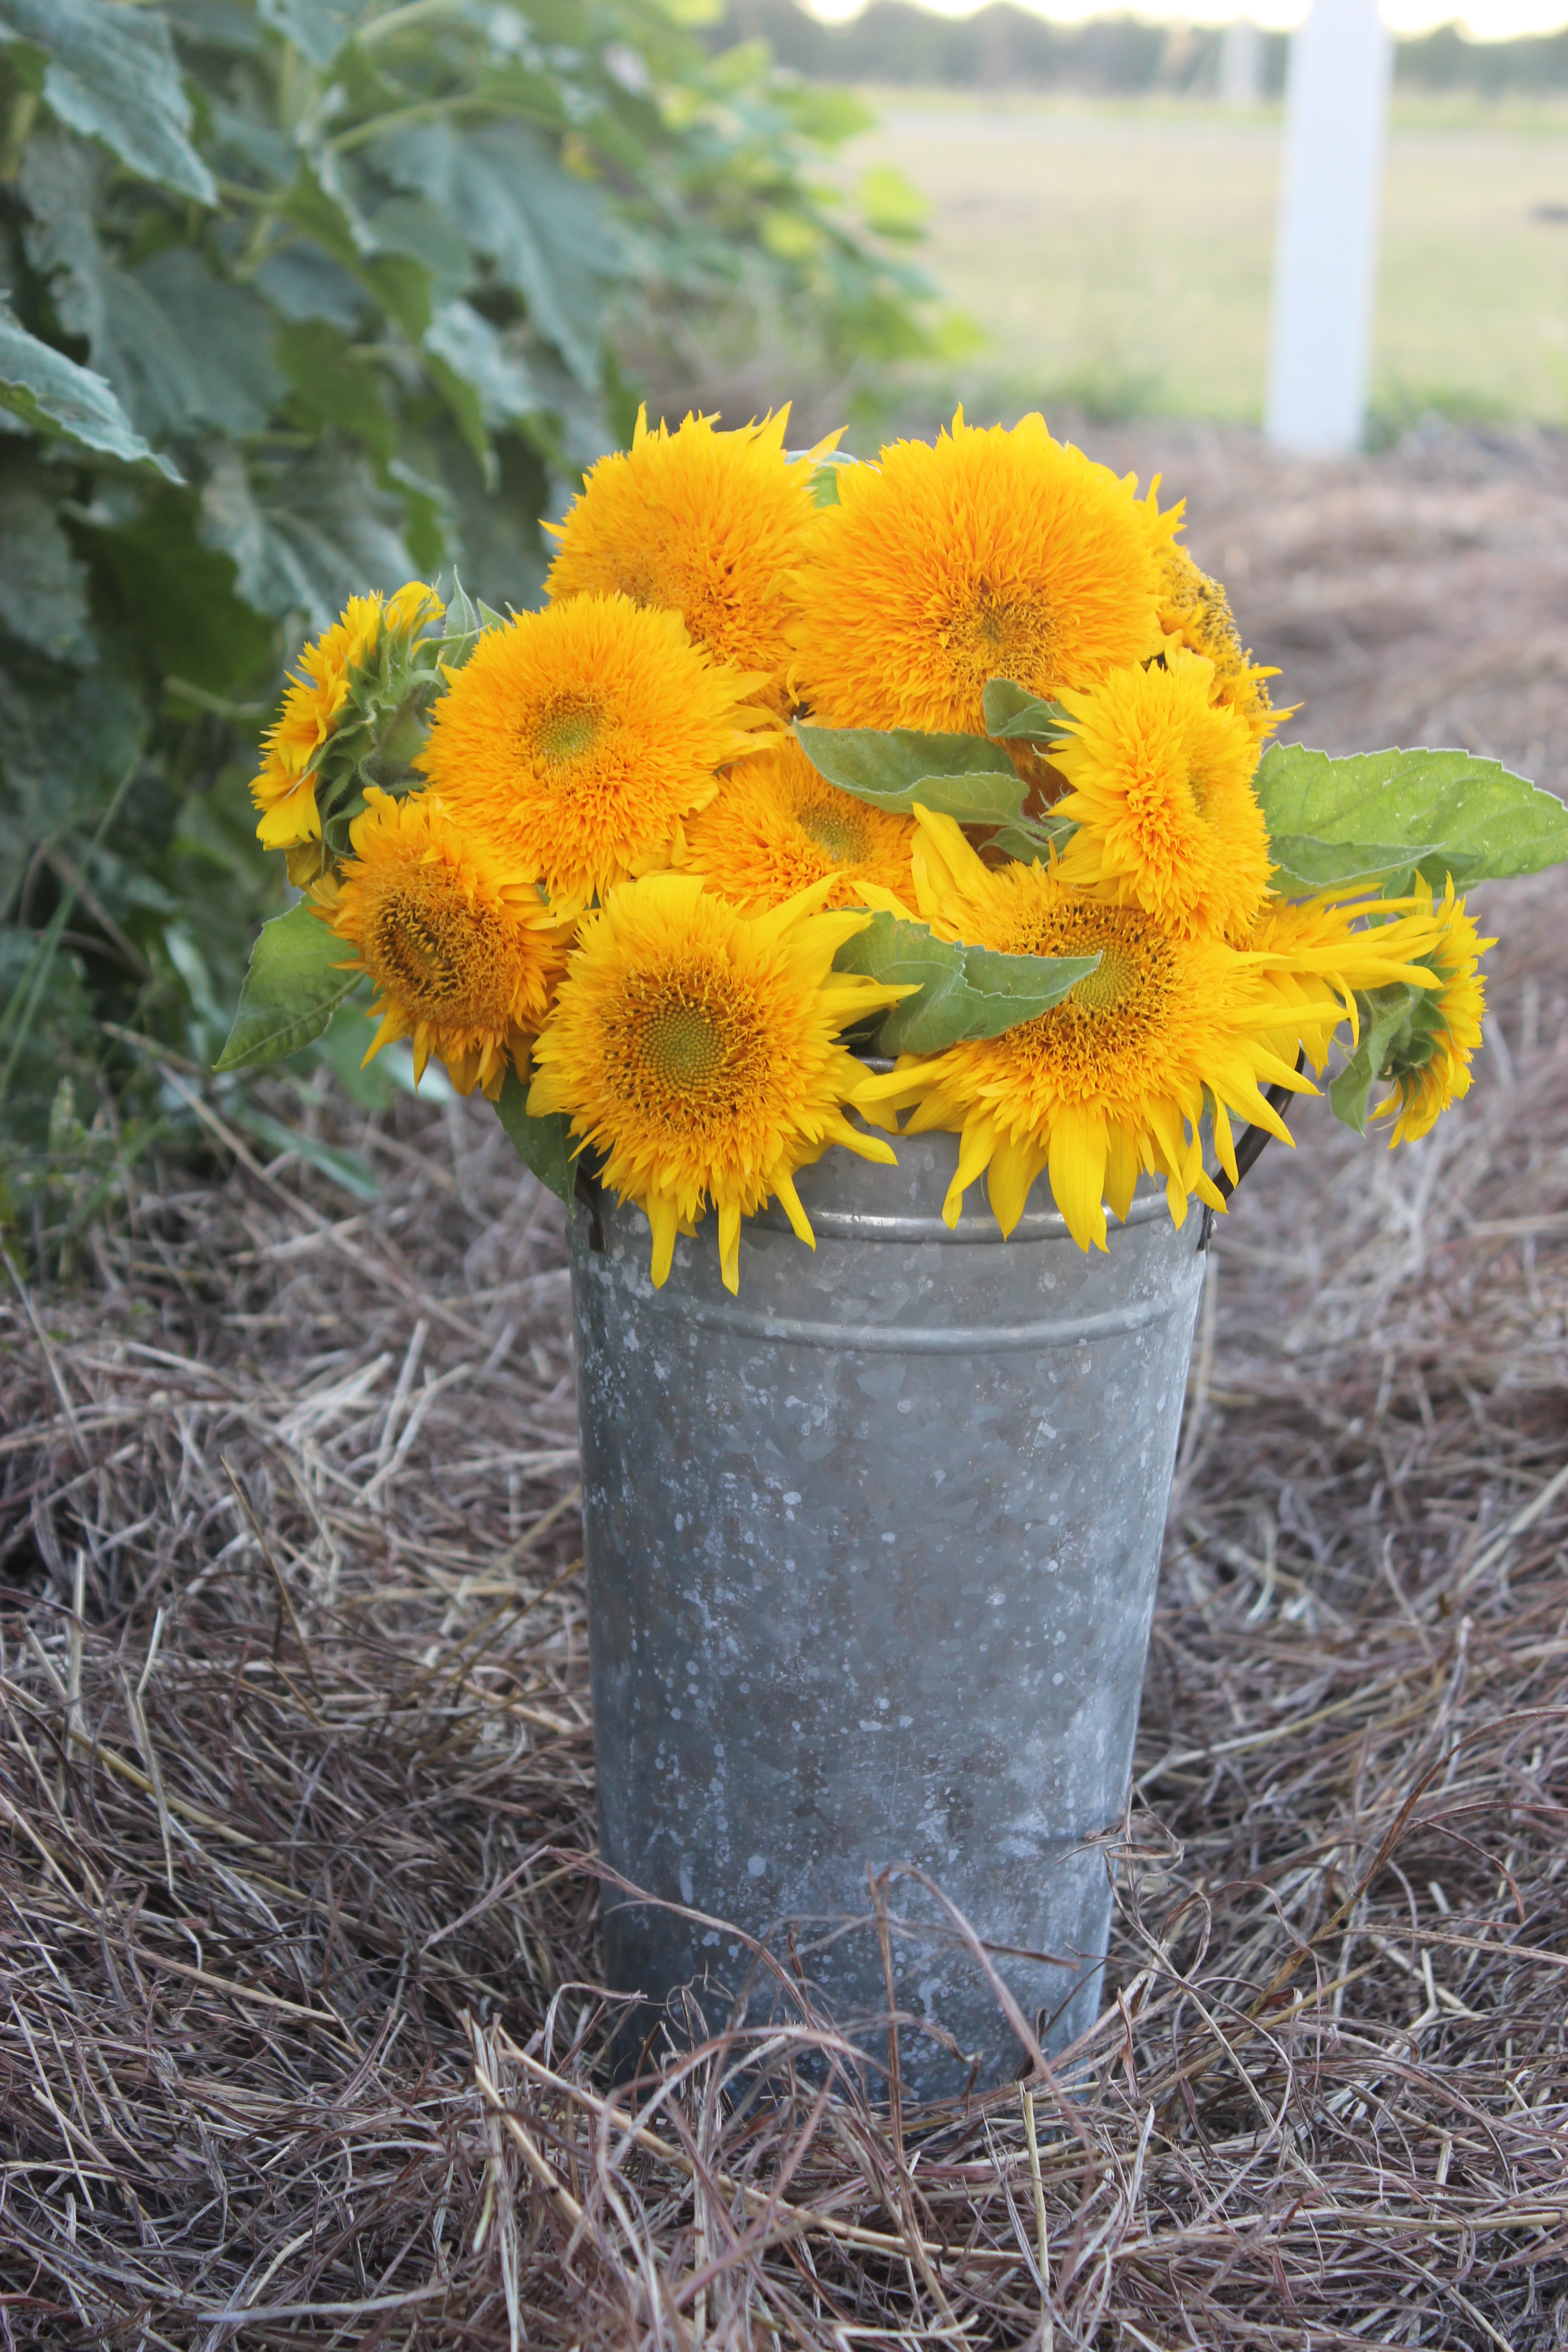
Nothing says summer in the country like sunflowers in a homemade arrangement!
Arrangement Tips
- Use more flowers! – My youngest daughter is an incredibly talented floral designer. I asked her why my arrangements do not look half as good as hers. She said it is because I do not use enough flowers. According to Whitney, when making floral arrangements, more is almost always better
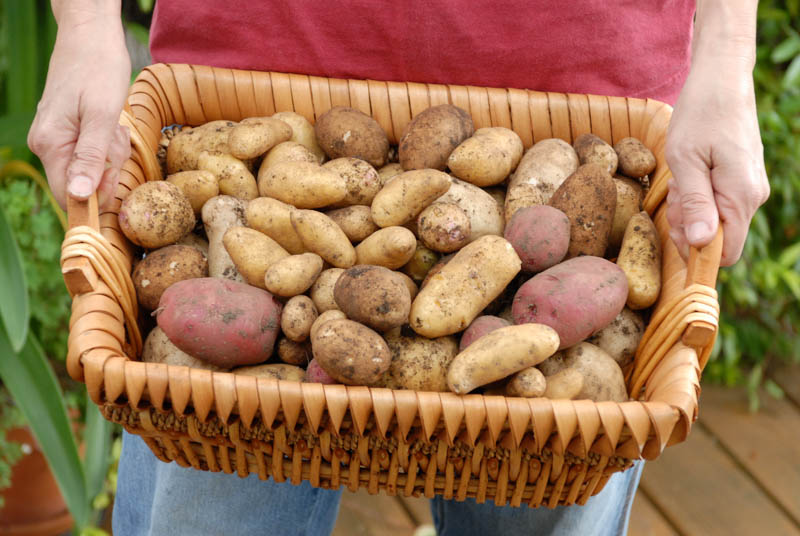
- Use more than flowers in your floral arrangements – While it is pretty easy to make a very pretty and presentable arrangement by grouping together lots of beautiful flowers, the really outstanding arrangements use other things to add interest. Lovely branches with interesting leaves are great fillers as are twisting garlic scapes, iris leaves, lemon grass and onion flowers. Fresh vegetables, wasp nests, bird nests, dried sunflower heads and dried poppy heads all add a bit of whimsy and surprise to your arrangements
- Throw away the floral foam – As useful as it is, floral foam is not biodegradable. There are tons of “green” alternatives that you can choose to support your flowers. Sally and I have a small collection of antique floral frogs. You can also make a wire ball out of chicken wire that fits in the top of your vase. My daughter loves to use fresh fruit. She cuts a hole into a melon or squash and then wires wooden stakes to her stems. She then inserts the stakes and stems into the firm flesh and rinds of the fruit.
.
I share these posts on Our SimpleHomestead Blog Hop. Be sure to stop by. The “hop” has tons of great information from gardeners and homesteaders all over the world!