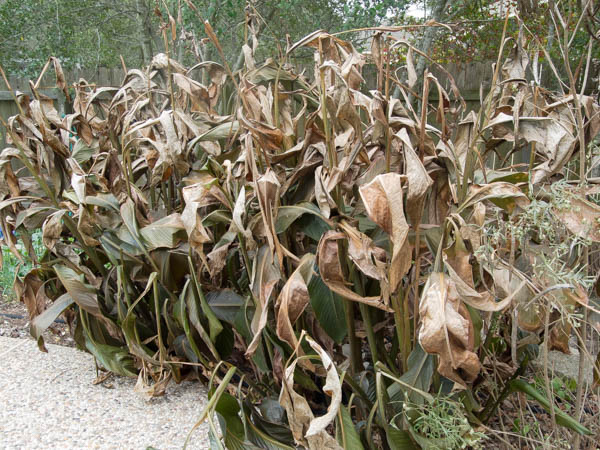
Well, turns out all of our recent rains did not ruin my tomatoes! Last night I brought in 6 pounds of Celebrity, Stupice and Black From Tula. Some of them were a little cracked but they were in mostly great condition. Unfortunately, the cucumbers did not fare as well. Ever since the big rains of a couple of weeks ago they have shut down and the vines have begun to wither. I think the combination of high moisture and unseasonably warm temperatures turned on the nematodes. I will find out tomorrow when I pull them up.
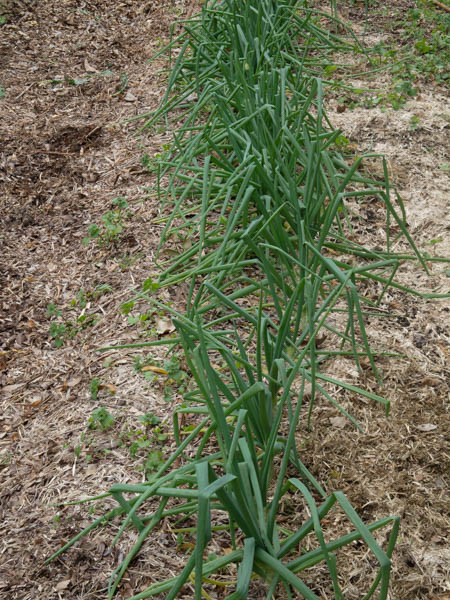
Most of those crops that we planted back in August are ready for harvest. I am going to focus this week’s tips on the harvest and preservation of the some of the crops that are now in the vegetable garden. On another note, don’t forget that right now is a great time to plant trees and shrubs. It is also a great time to over seed your lawn with rye grass.
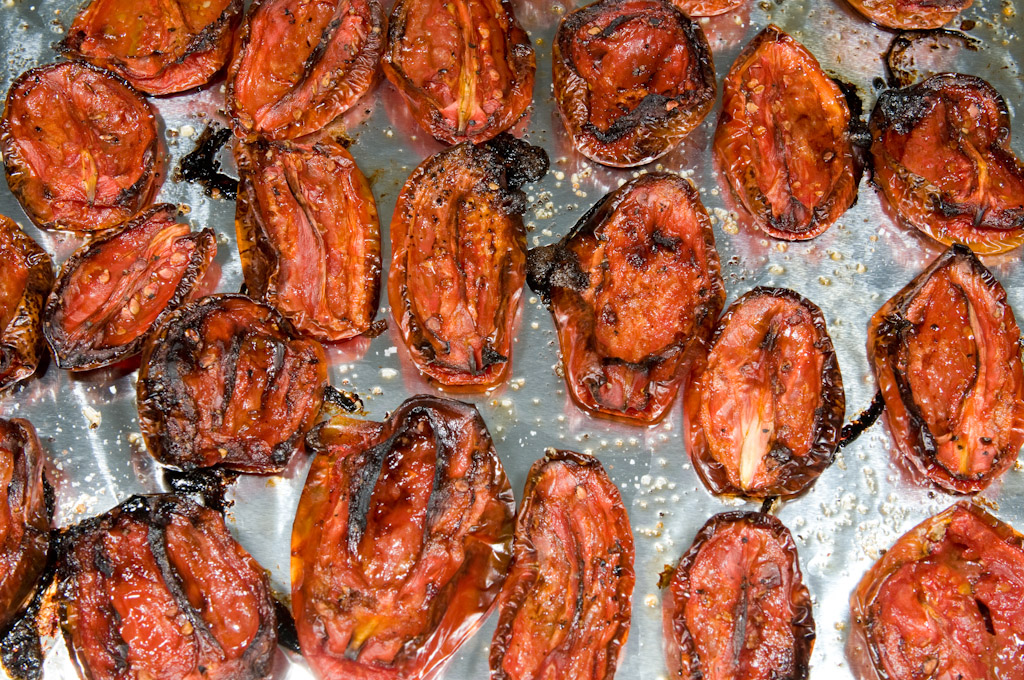
Dried tomatoes are packed with flavor. Slowly dry tomates in a 200 degree oven, spinkle with sea salt and drizzle with olive oil. Anzing flavor and they will keep in the refrigerator for up to a month.
- Harvest fall tomatoes – It is supposed to drop into the 40 next Monday. Since tomatoes do not like temperatures below 50 pull any that are beginning to show color. I would not pull the green tomatoes yet. I leave my green tomatoes on the vine until the night before the first freeze. By doing this I have had years where I was still harvesting vine ripened tomatoes up to the week before Christmas.
- Harvest squash- I think we are still a couple of weeks away from the first freeze. Be aware that all squash, both summer and winter types, are extremely cold sensitive. Do not let these crops stay on the vine when a freeze is expected. I use my fall “summer squash” squash to make what we call “Chow Chow”. I’ve heard it called other things but it is basically squash relish. When it gets a little cooler, nothing is better than Chow Chow with those black eyed peas that you still have in the freezer. Here is a simple and tasty Chow Chow recipe if you want to give it a try: http://www.tasteofhome.com/recipes/yellow-summer-squash-relish.

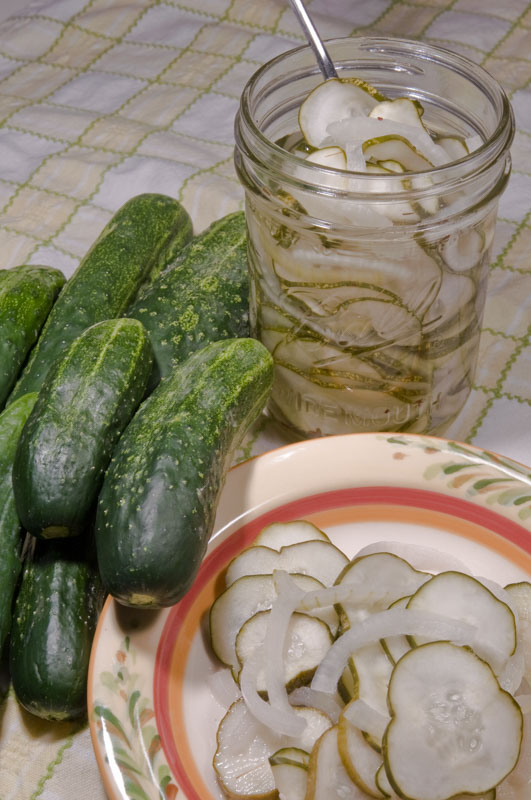
I love making (and eating) homemade pickles. There are tons of great recipes out there on the internet.
- Harvest cucmbers – Before my vines shut down we harvested enough cucumbers to make 10 pints of pickles. Pickles take a little work and a few supplies to make but they are easy to make and taste so much better than store bought. To me, potato salad, tuna salad and chicken salad aren’t worth eating if they are not made with home made pickles. Here is the recipe my wife follows (kind of) to make our pickles: http://www.food.com/recipe/claussen-kosher-pickle-copycat-249520
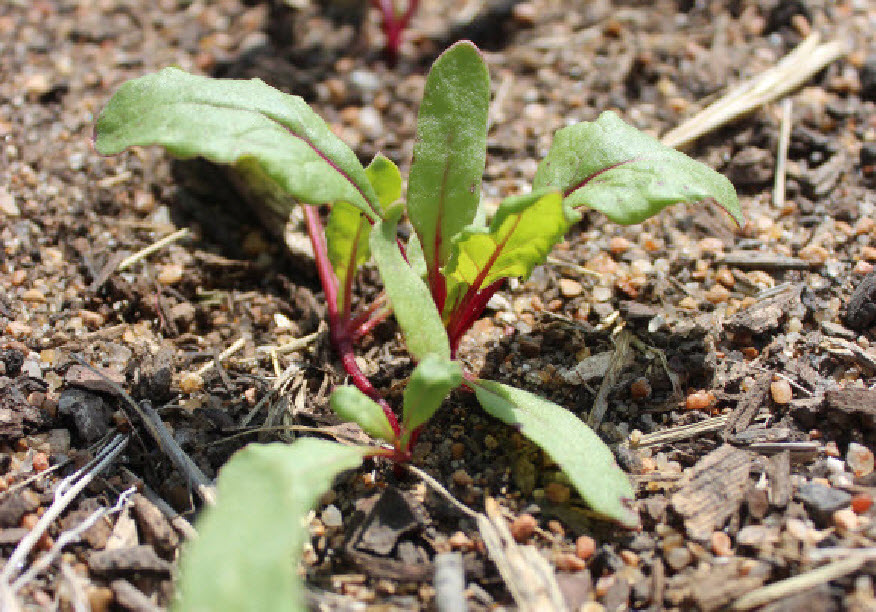
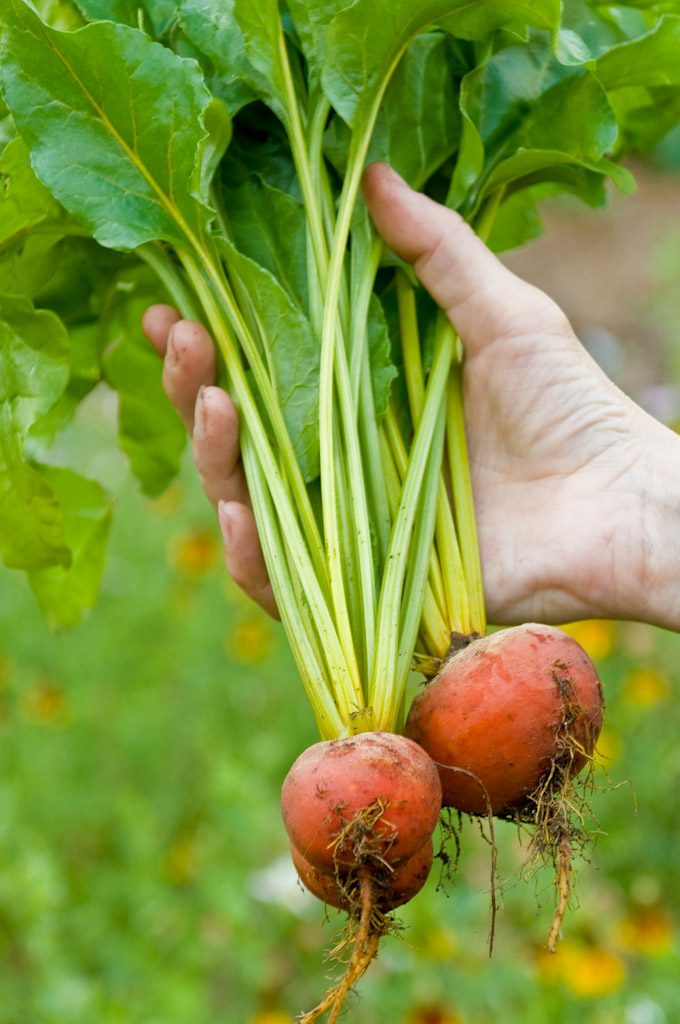
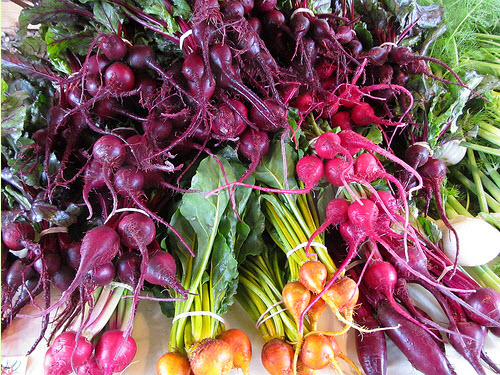
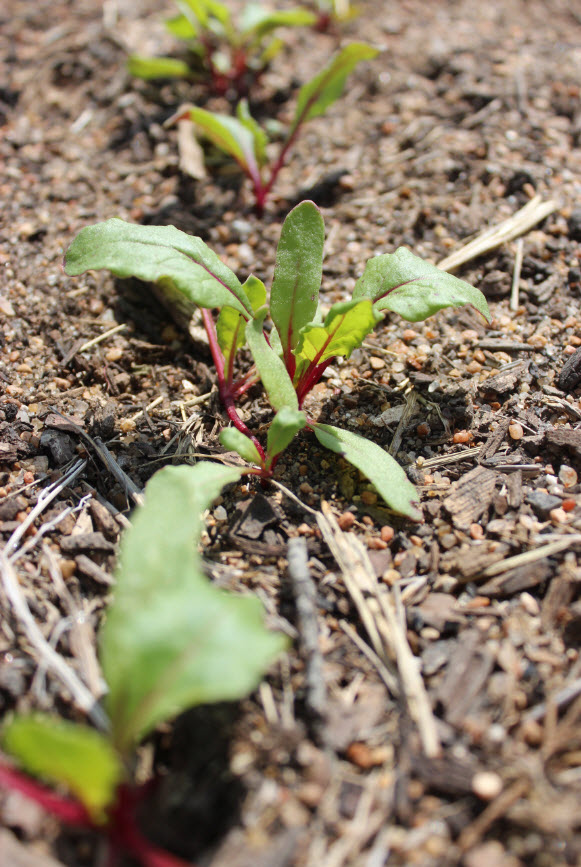
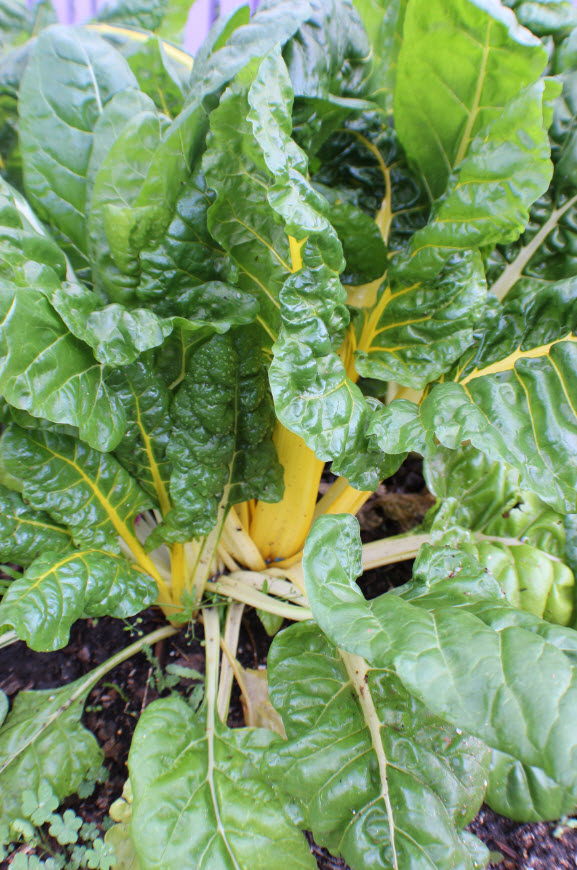
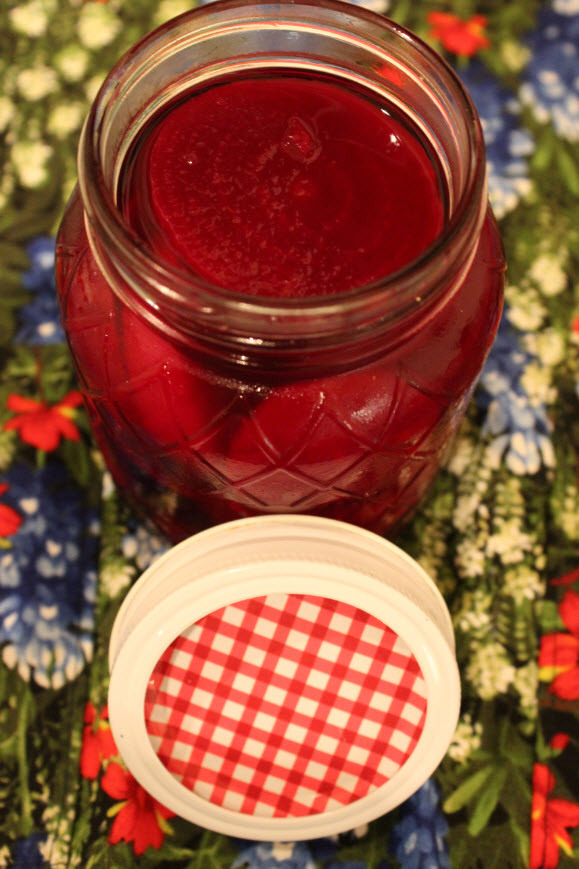
- Harvest beets – When I tell people that I love beets they usually look at me funny. Because of this I am getting much enjoyment seeing TV chef use the humble beet in many of their very fancy dishes. While I have not tried them roasted yet I do love them pickled. Harvest beets when they are about the size of a ping pong ball for best for best flavor and texture. You can harvest them even smaller than that if you are going to roast them. Check out my post, Growing Beets, to learn a simple way to turn you beets into so amazing refrigerator pickles!

Read my article on growing beets and see how my family has made pickled beets for the past 97 years!
I share these posts on Our SimpleHomestead Blog Hop. Be sure to stop by. The “hop” has tons of great information from gardeners and homesteaders all over the world!