Crimson Glory Antique Rose

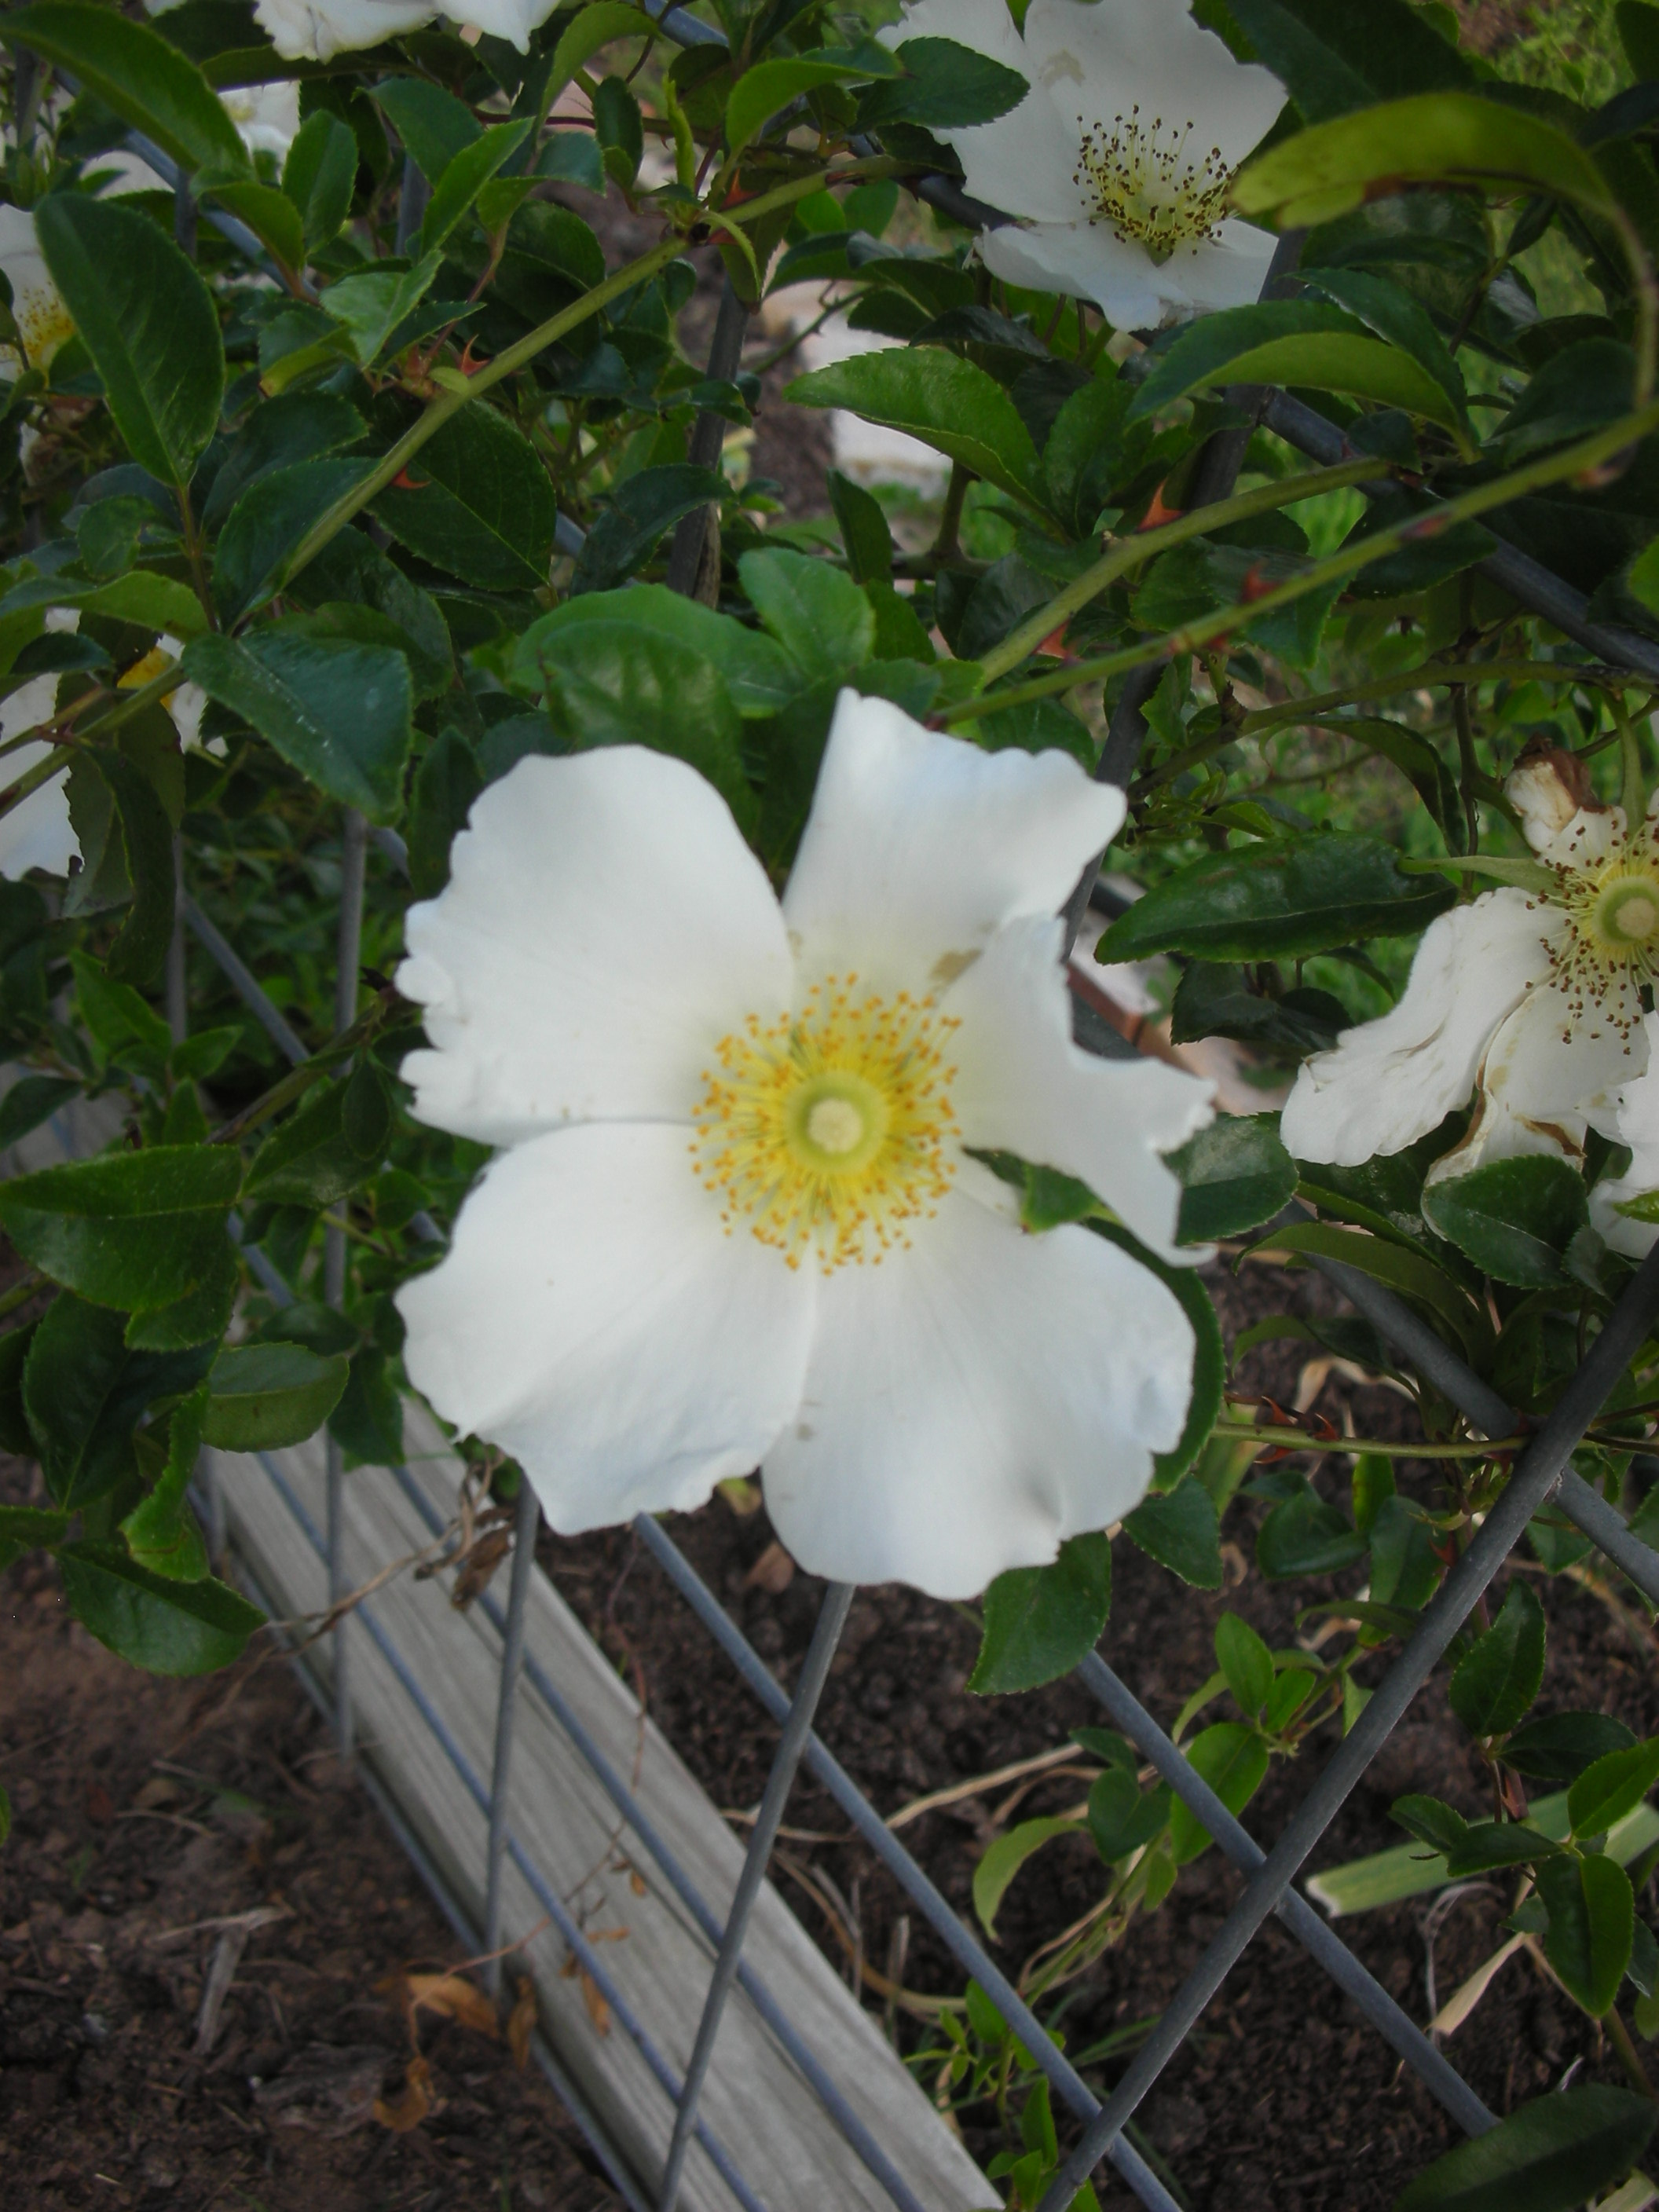
A cloeup of the antique rose "Crimson Glory" in my front bed

When we bought our house it was almost devoid of ornamental plantings.  The previous owner must not have been much of a gardener.  However, he did leave behind a truly remarkable and beautiful rose called Climbing Crimson Glory.

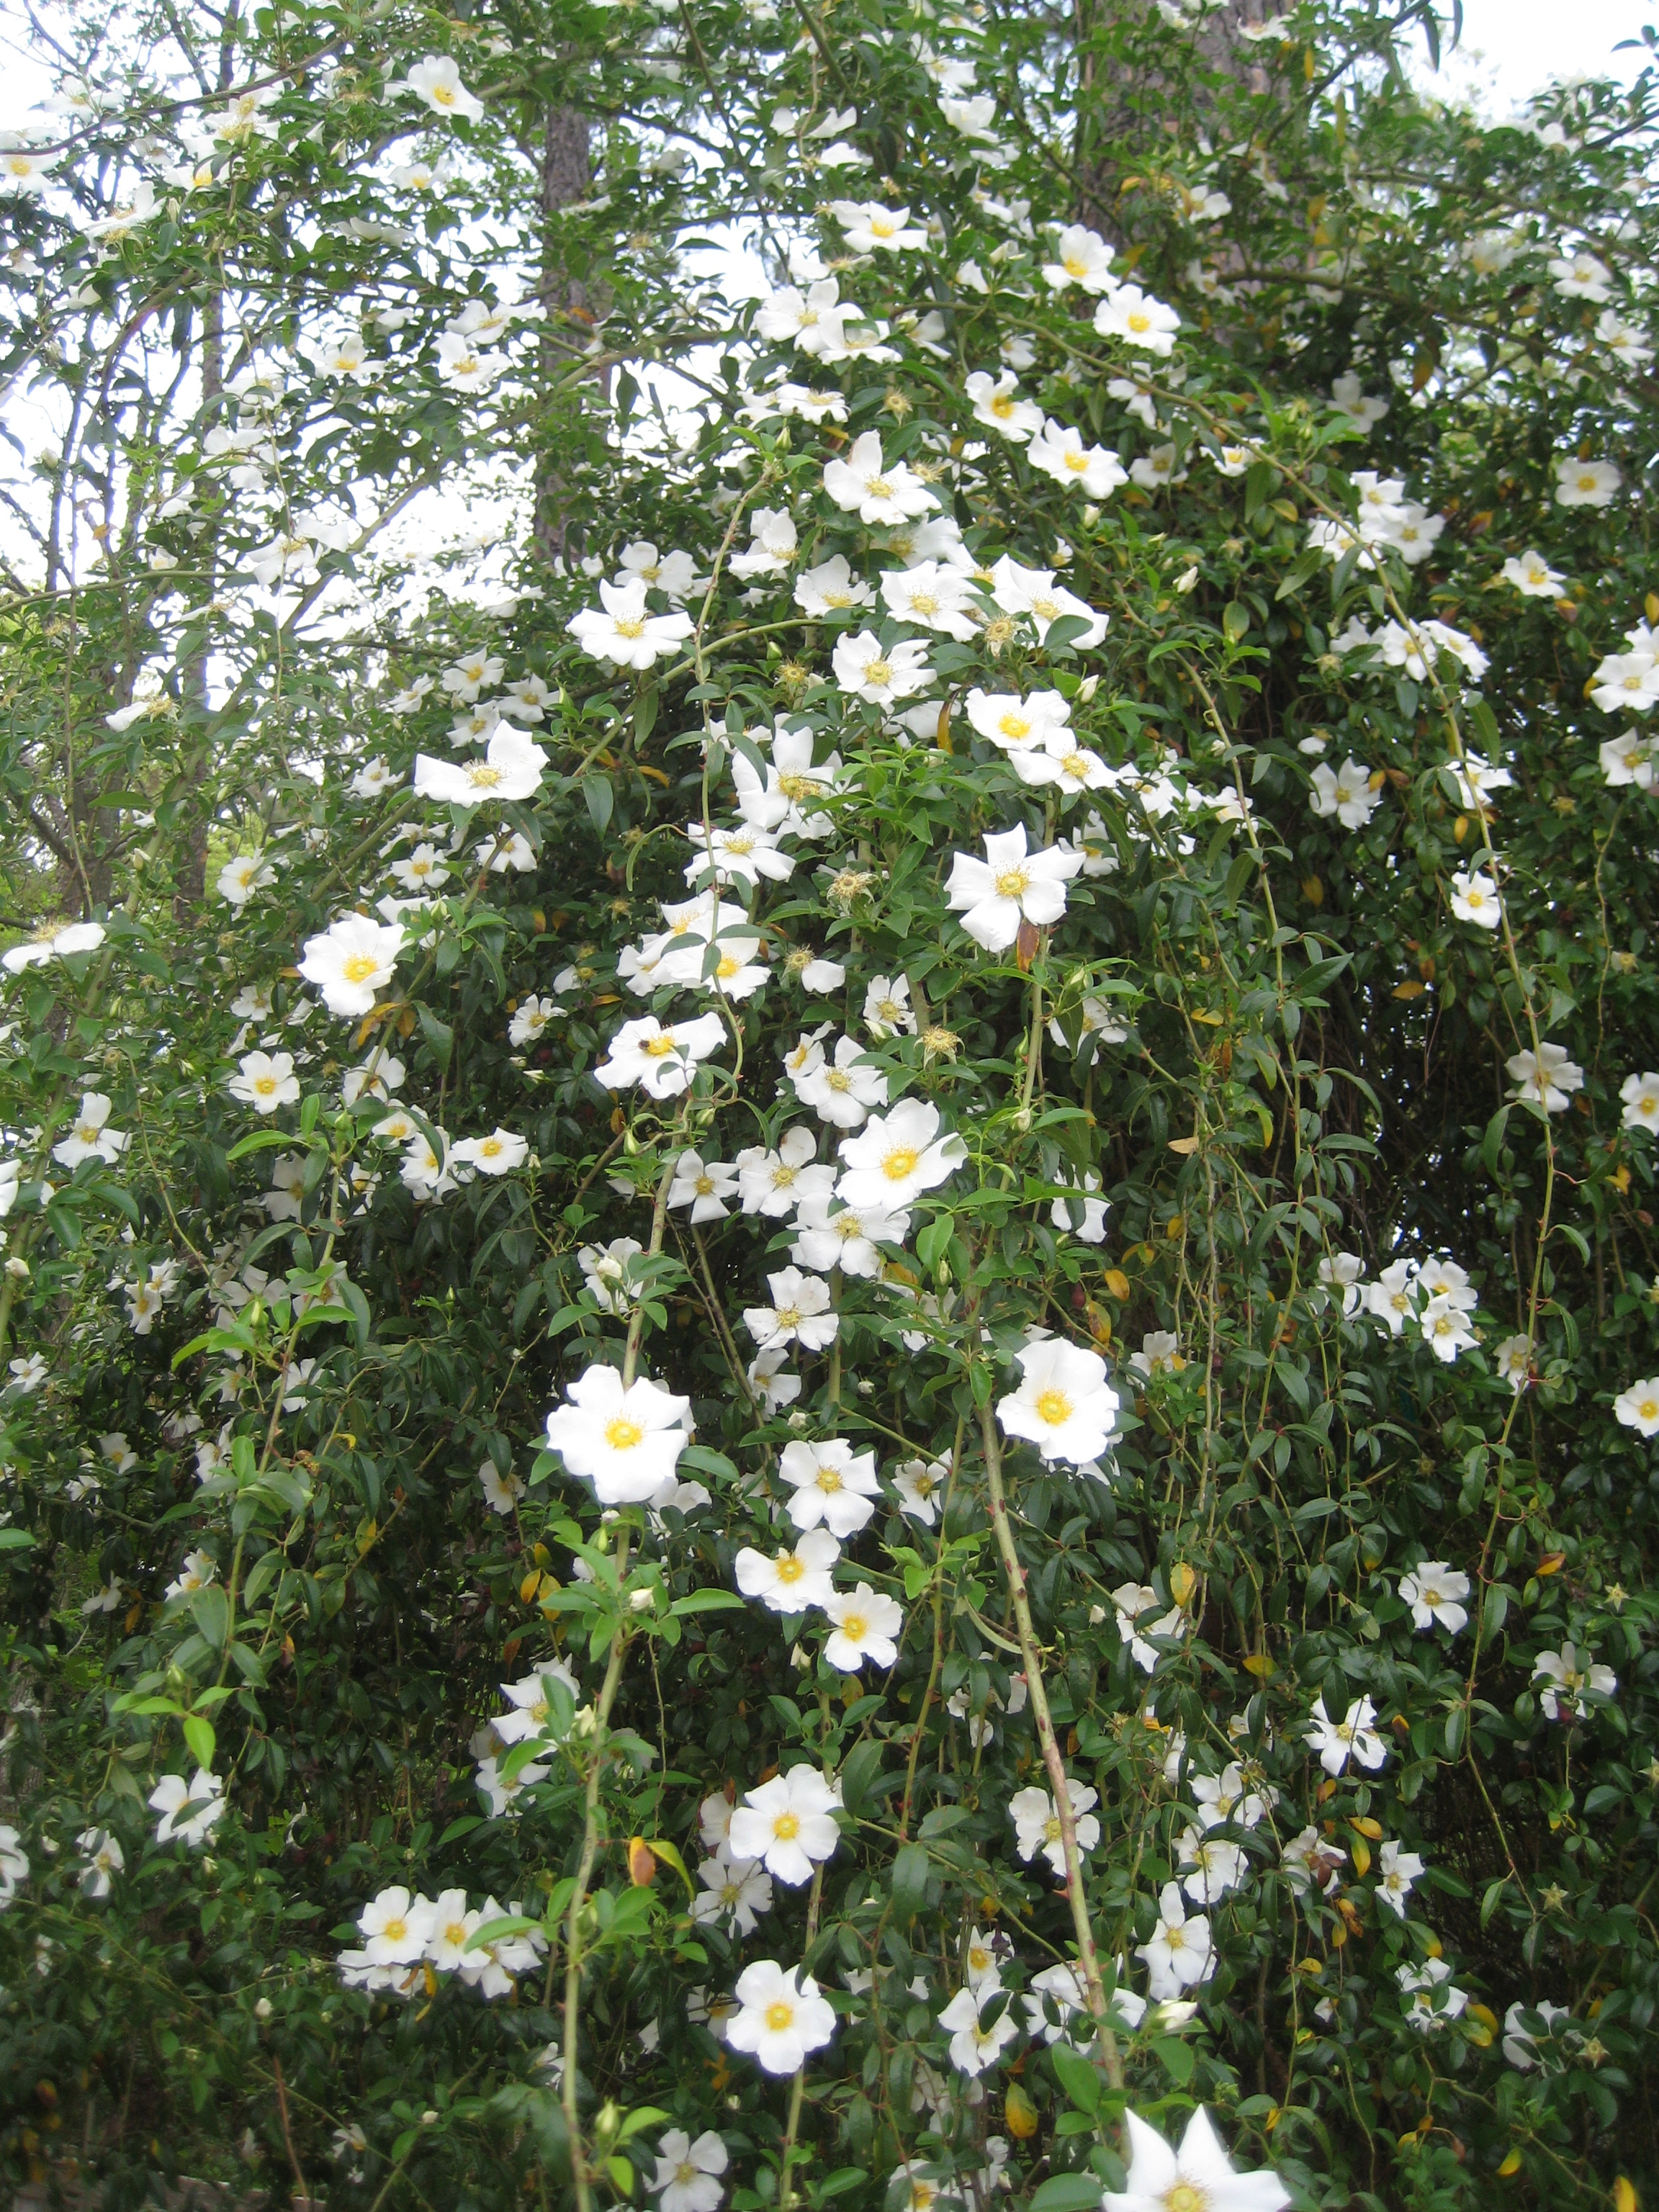
A couple of months ago I did an article for Texas Gardener about how drought resistant antique roses have proven to be.  As you will see in the attached pictures, Crimson Glory is a testament to their durability.  Not only did this rose survive last year’s drought, it has produced more flowers this year than ever before.  AND … it did all of this in spite of the fact that I had just dug it up and moved it in March of last year.  Now that is durable!

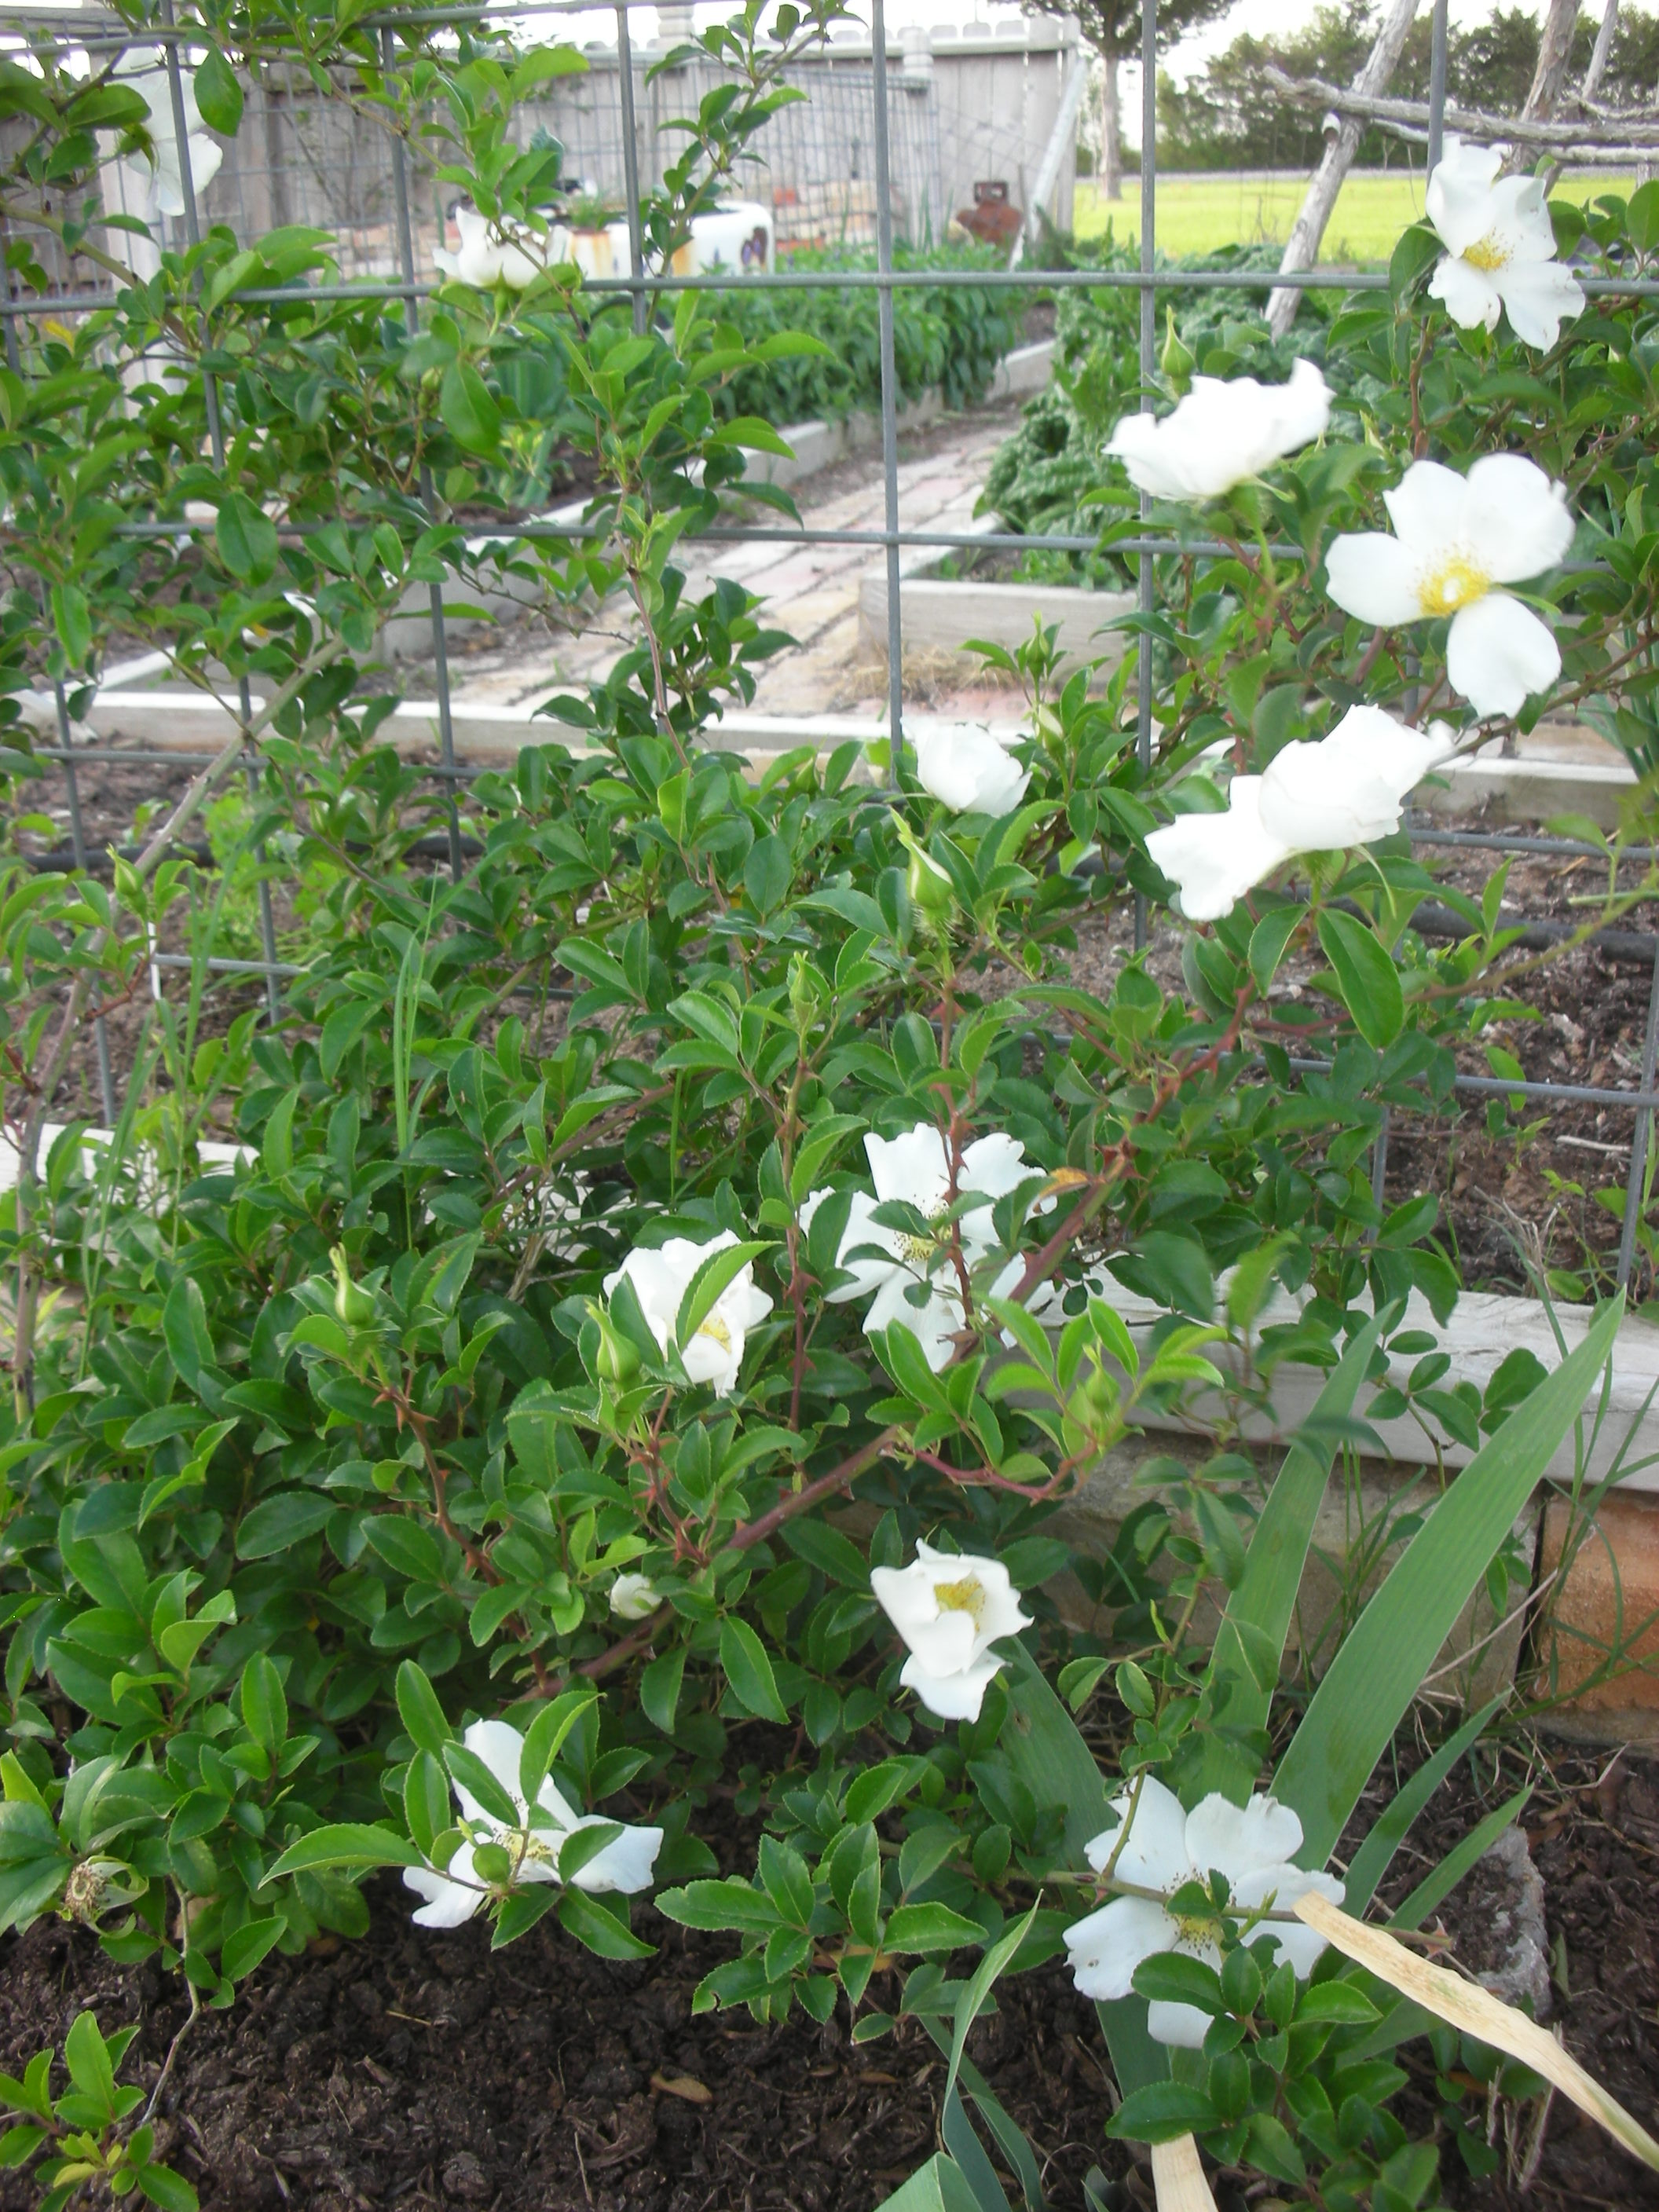
Crimson Glory is not a true climber.  It is what some call a “mannerly climber”.  It has fairly thick canes that can be 12’ to 15’ long.  Instead of wrapping around an arbor, this rose is best tied along the top of a fence.  And that is exactly why I moved it.  It had been in front of our porch for about ten years.  However, last spring, I built a picket fence.  I knew this rose would be the perfect choice to put in front of the new white fence.  As you can see, it loves its new location and does not seem to mind that I ripped it out a place that it was pretty happy in.

The deep red color and lemon-y scent makes Crimson Glory my favorite rose in my garden

According to Mike Shoup (owner of The Antique Rose Emporium), both Crimson Glory and Climbing Crimson Glory are a great choice for anyone that wants a rose that “looks and smells like a rose is supposed to”.  With its deep red, velvety petals and bright yellow stamens, Climbing Glory will be a stand out in any garden.  Plus it’s beautiful, lemony scent makes it the perfect addition to those romantic, hand cut bouquets that can only come from a home garden.

Don't the deep red flowers look levely against the white picket fence?

If you have avoided roses in the past because they require so much pruning and spraying, give antique varieties a try.  These roses require less maintenance and trimming than modern hybrids.  They thrive in full sun and can with stand the worst drought in Texas history.  All they ask from you is about an inch of water per week and two good mulching a year with a high quality, finished compost.  Give them a try and I am certain you will be as impressed with their performance as this old gardener!

Propagating Antique Roses

A sprawling Cherokee Rose at Peckerwood Gardens. Photo by Dr. Bill Welch

Two years ago, I was training for the MS 150 outside of Cat Springs, Texas.  As I turned a corner and started down a long straight path, I saw something very unusual up ahead of me; a cedar tree covered in big white flowers.  Well, I knew that couldn’t be right so I pedal closer.  When I got close enough to be able to tell what I was seeing, I was shocked to discover that the white flowers on the cedar tree were coming from an incredibly large rose-bush.  I am not kidding, this rose-bush had sent out runners that were 30 to 40 feet long.  They were so long that they went all the way up the back of the tree and hung over the front almost down to the ground.  I was excited. 

I wasn’t sure but I thought this lovely, five petaled white rose with the bright yellow stamens was an antique rose called “Cherokee”.  The Cherokee Rose is truly an antique rose.  It has been here so long that some think it originated here.  In fact, the people of Georgia were so certain it was native that they made it their state flower.  I quickly pulled out my pocket knife and took a dozen cuttings.  This is why I love “antique roses”.  You can be on a bike ride in the country, find one, take cuttings with a pocket knife, stick them in your back pack, leave them there for over two hours and still be pretty certain that they are going to root. 

Propagating antique roses from cuttings is a fairly easy process. 

  1.  As a general rule, you should cut new wood that has just finished blooming.  This is usually in the spring but can be in the fall.  The rose is not particular as to where you cut it.  I use sharp shears to make 45 degree cuts to create stems that are about 6″ to 8’’ long.  Leave a few leaves on the stem.
  2. Next, I fill four-inch pots with a good quality garden mix and wet it.  Some people root in pure perlite, but you will need to add a little fertilizer if you go this route.   Most cuttings need two things to be successful: moisture and root aeration.  The perlite provides excellent aeration to the roots.
  3. Stick the cutting in the pot.  Many people like to dip the cuttings in a rooting hormone.  This is your choice.  It can increase your chances of getting the cuttings to take.  However, I am not certain they are necessary.  Roses naturally produce auxins at the cut.  Auxins are hormones that stimulate root production.  I have used both methods and have had success both ways.  Also, some people like to “wound” the cutting at the base.  This involves making little cuts at the base of the stem.  Roots will grow from the wound sites.
  4. Place the well watered pot in a produce bag and seal with a tie wrap.  This will keep the humidity high as the plant roots.  Open the bag every few days and make sure the soil stays moist (not wet). 
  5. Roses love the sun so find a place that is sunny but gives some shade during the hottest part of the day.  Since they are in the bag, it is very easy for them to get over heated.

Propagating plants is undoubtedly my favorite task in the garden.  Roses (especially old varieties) are very tough and very easy to grow from cuttings.  Don’t get too bogged down in the details.  Just go for it!  Remember, many of these antique roses came here in a box of dirt on the back of a covered wagon with mason jars stuck over them.  If they survived that, surely they can survive anything we do to them!