I love growing onions. They are so reliable and easy to grow. Because of this they make a great crop for beginning gardeners. If you are a new gardener and you have decent soil, just stick some quality sets in it at the right time of year and water them regularly. That is basically all it takes to get a pretty decent onion harvest. However, onions are not just for beginners. For those of us that have more gardening experience, we can use all of our knowledge and skill to grow the biggest and sweetest onions possible.
 A couple of weeks ago I got an e-mail from my friend Christi at “The Brown Shed”. She bought several more onion sets than her garden could accommodate so she offered me her extras. Since it is onion planting time in Washington County I gladly accepted her generous offer. Christ gave me six different varieties; Yellow Granex (Vidalia), 1015Y (Y is for yellow), 1015W (Texas Super Sweet), Texas Early White, Texas Legend and Belle Red.
While you can grow your onions from seeds, this article applies to those of us that grow them from sets. Sets are simply immature onion plants. These immature little onions are very tough. The average onion set can live for three weeks without water. Because of this, if your local nursery or feed store does not have the varieties you want, you can order directly from a number of reputable sources. My favorite is Dixondale Farms. Dixondale is a family owned business that has been growing and selling onion sets in the Rio Grande Valley for the past 100 years. (http://www.dixondalefarms.com/category/onion_plants). In fact, if you live in Texas and you buy your sets from a local nursery or feed store, there is a very good chance that they got their sets from Dixondale’s (all of the onions Christi gave me came from Dixondale).

A young “Belle Red” set .
Onions come in three types (short day, intermediate and long day) based on the amount of daylight needed to initiate bulbing. Because of our latitude, most Texans grow what are called short day onions. Short day onions will begin the bulbing process when day lengths reach 10 to 12 hours. Short day onions can be planted anytime between approximately November 15 (in the southern parts of the state) and the middle of February. The earlier you plant them the bigger the bulbs will get.
Don’t worry about planting in November or December. Onions are very cold hearty plants so they can easily survive temperatures into the twenties. However, temperatures below twenty may kill them. If it doesn’t kill them, it will force them bolt and set seeds. So, if it is going to get really cold you should cover them with a tarp or blanket.
Yellow Granex are the Dixondale hybrid that ulitimately becameVidalia onions. However, they can’t legally be called Vidalia unless they are grown in Vidalia County, Georgia. I wonder how many of those folks in Georgia realize their most famous export came from Texas?
In addition to a long growing season, bigger, better and sweeter onions require full sun and well-draining, nutrient rich soil. Onions are heavy feeders and they have a relatively small root structure so it is imperative that your soil has enough nutrition to support the growth of these big bulbs. Most onions prefer a soil pH that is slightly acidic (6.2-6.8). If your soil is too acidic you can till in ground limestone. If it is too alkaline add peat moss to raise the pH.
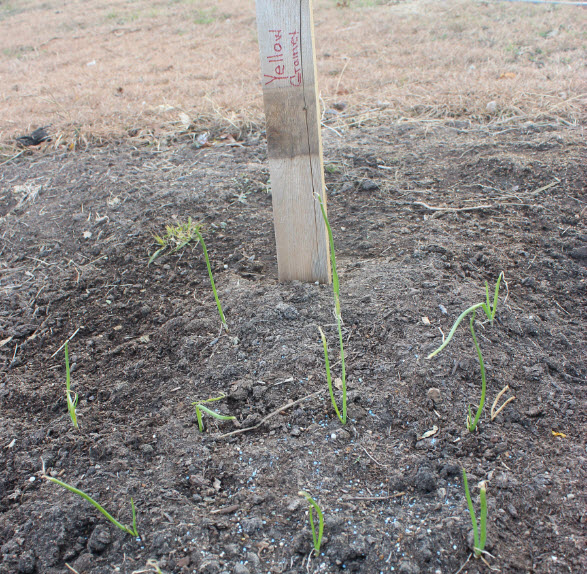
Once your bed is prepared, use your finger or dibble to make 1” deep holes that are 2” to 4” apart. Do not plant onion sets more than an inch deep as this can interfere with bulbing. Drop your onion set into the hole and pull the soil snuggly up around the plant. Most short day onions need at least 4” between plants to develop a large bulb. If you plant them 2” apart, you need to thin them during the growing season. Many people over plant in this manner so they can use their “thins” as green onions. If you don’t intend on making “green onions”, four to six inch spacing will provide plenty of room for your onions to grow into big, healthy bulbs.
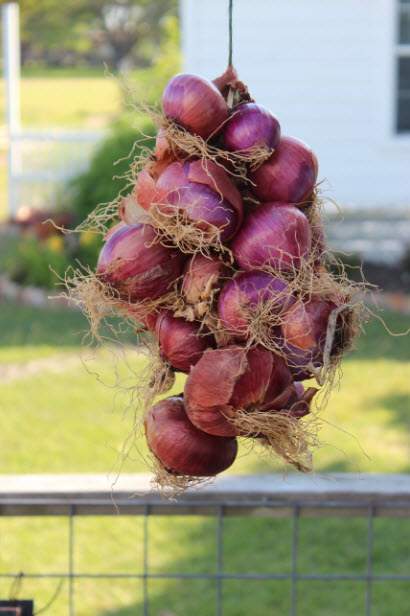
Red short day onions like “Belle Red” and hotter and keep better than the sweeter yellow and white short day varieties
If you are growing your onions organically, top dress your rows with a high quality, high nitrogen compost (like manures) every month. If you are fertilizing your onions top dress the soil with ½ cup of fertilizer (ammonium sulfate (21-0-0) for alkaline soils and calcium nitrate (15.5-0-0) for acidic soils ) for every ten feet of row. Apply every month until you see the soil beginning to be pushed back by the bulb.
Always water your plants thoroughly after applying fertilizer. Onions need at least an inch of water per week. However, since they have such a shallow root system you need to ensure that the ground never completely dries out. As temperatures rise, monitor your beds closely and adjust the amount of water you put out. Be careful not to over water. If you see your onion tops developing a yellow tinge, back off of the water. Once the onion matures and the tops fall over, stop watering completely.
Because of their weak root structure, onions do not compete well with weeds. Keep your beds as weed free as possible. I generally mulch mine with straw. However, if you use straw you need to pull it back once the plants start to bulb. This will allow the onions to dry out naturally and will help you preserve them when they are mature. If you are not a “mulcher” you can also control weeds organically by putting out corn gluten meal every six weeks. For non-organic growers, Treflan does a great job controlling weeds and has no adverse effect on the onions.
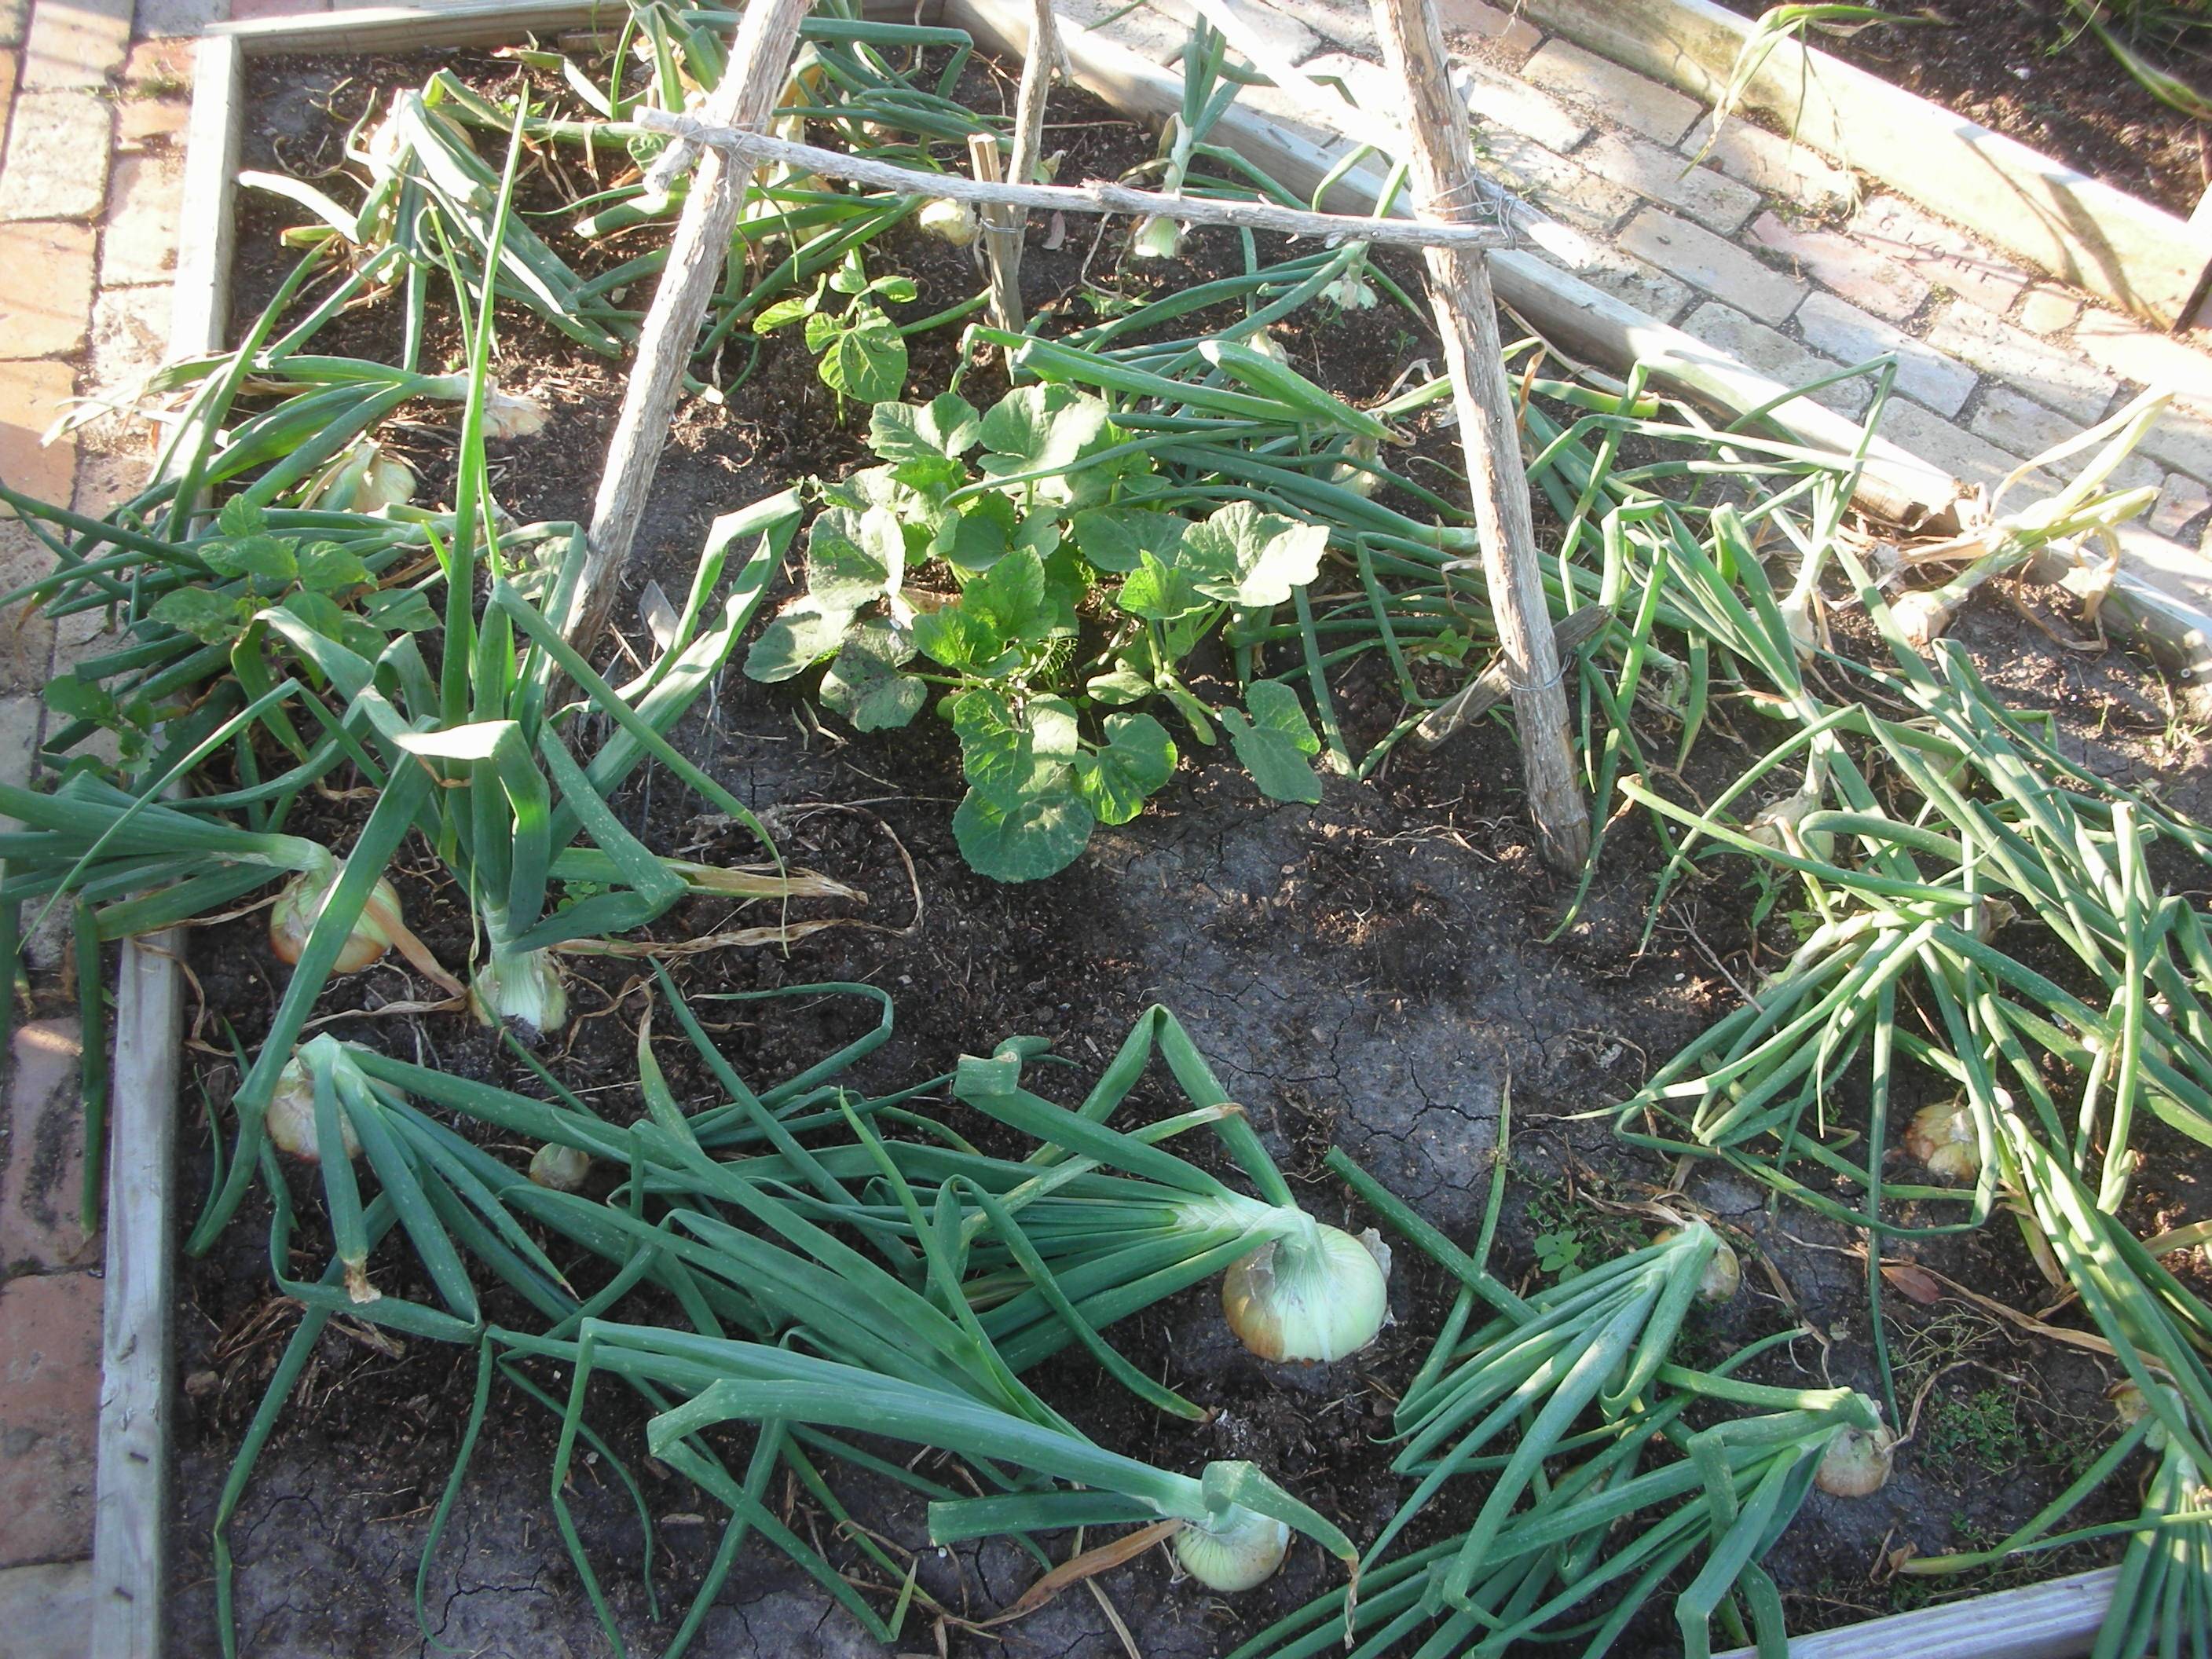
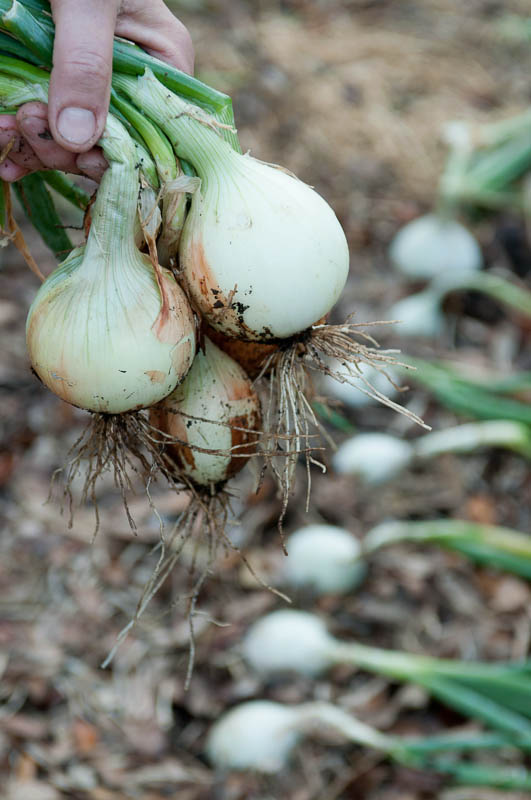
Onions are ready to harvest when their tops fall over. Stop watering at this point.
Onions are the second most grown vegetable in the home garden. When you consider that the average American consumes 20 pounds of these spicy bulbs each year, it is not hard to imagine why so many people love to grow them. With a little care and finesse, you can make your twenty pounds of onions the biggest and sweetest you have ever tasted. Julia Child once said “It is hard to imagine civilization without onions”. I have to agree.
BTW, your onion crop is ready to harvest when the tops fall over. When that happens, be sure to come back and read “How to Harvest and Cure Onions” and “Harvesting and Curing Onions Part 2” by Patty Leander.
This post has been shared on the Homestead Barn Hop and the HomeAcre Hop. These hops are a great way to connect with, and learn from, some of the best bloggers on the web. Be sure to check it out!