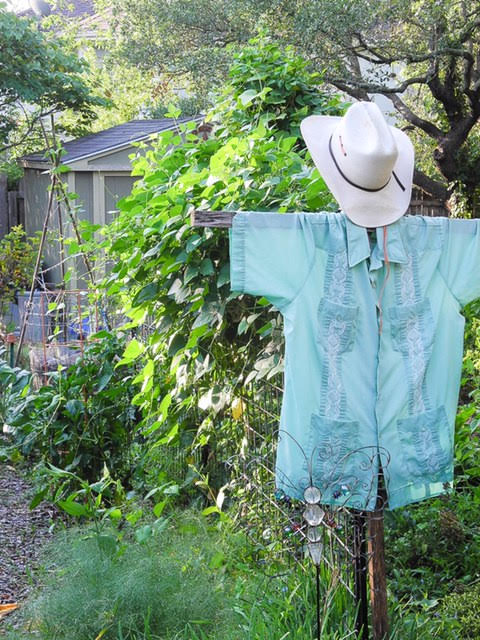
All of this heat reminds me of a line from an old country song – “It’s too hot to fish and too hot for golf”. Unfortunately for those of us that garden in Texas in the fall and winter, it is not too hot garden. I spent about eight very hot and sweaty hours in the garden this past weekend getting my garden ready for the fall and winter. If you have not already started your garden you are a little behind schedule. My friend Kieth Hansen recently retired from his role as Horticultural Extension Agent in the Tyler area. While doing some reading last week I came upon an article he wrote a while back that does as good a job as anything I have ever seen at helping you prepare now for your fall and winter harvests. I was so impressed with the article that I asked if I could rerun it here. Kieth is an outstanding horticulturist and an outstanding writer. Once you read this I am sure you will want to jump over to his website, East Texas Gardening blog, and check it out.
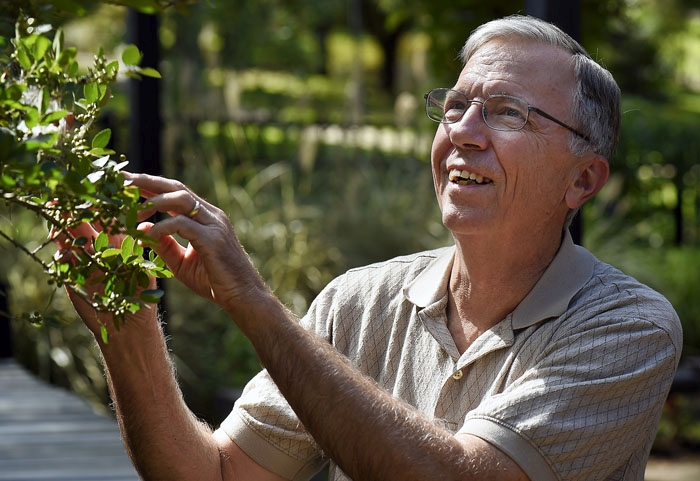
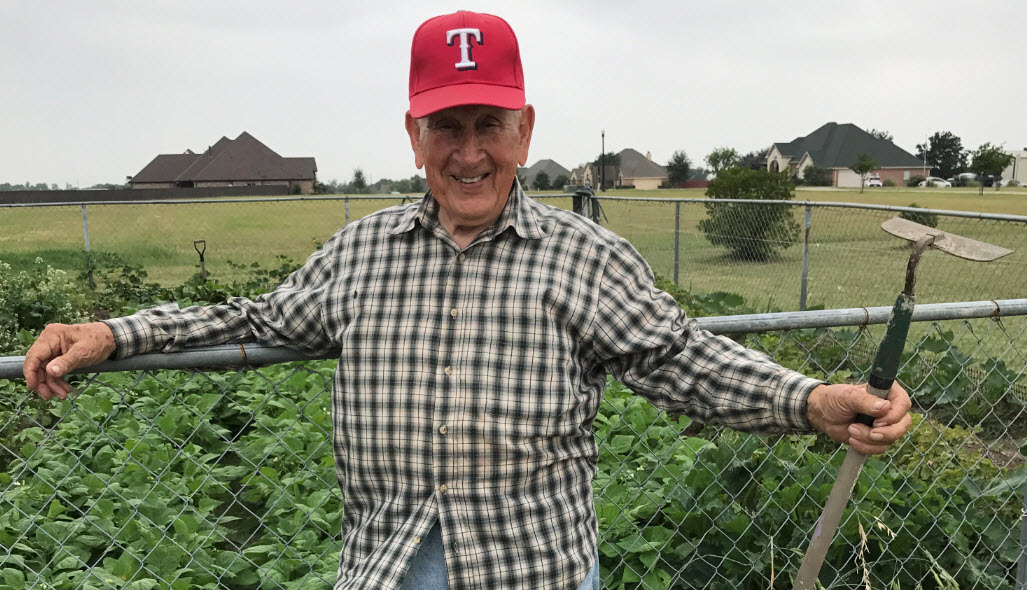
Keith Hansen, retired AgriLife Extension horticulturist for Smith County, examines one of the tree in the IDEA Garden at the Rose Complex on Monday in Tyler.
Prepare Now For Fall/Winter Vegetable Harvest by Keith C. Hansen
Mid-July means two things: the dog days of summer and fall vegetable gardens. Everyone can relate to dog days – it’s hot and humid, good only for dogs to find a cool spot to dig a hole.
But fall gardens? In July? That’s right! Mid-Summer is the time to begin preparing and planting the garden for a fall harvest.
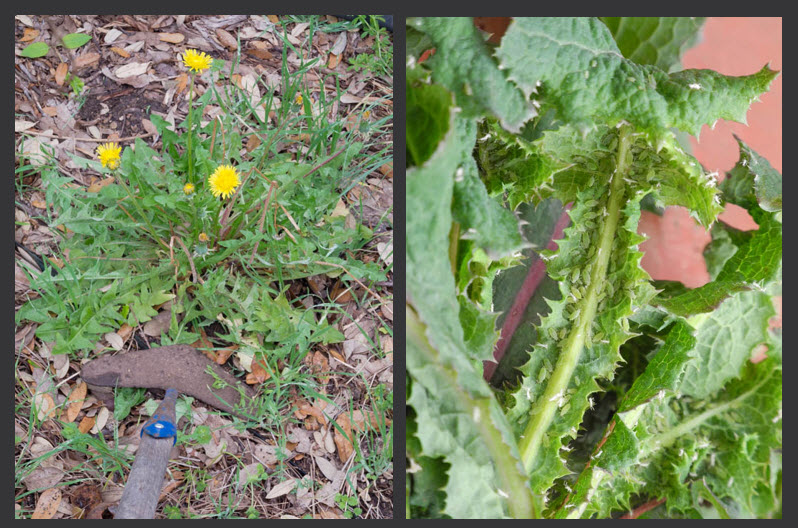
The first key for a successful fall garden is to get the weeds out. And if Bermuda or bahia grass are among those weeds, you can’t just rototill everything under because once you start watering and fertilizing again, you’ll have the greenest lawn in town.
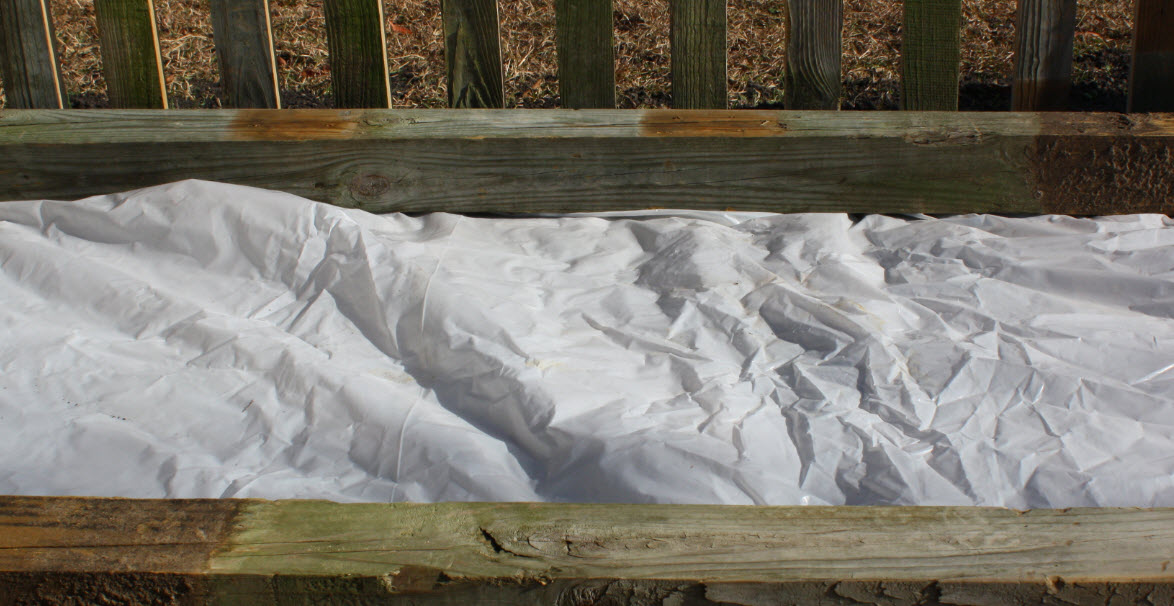
Solarization is one method to reduce weeds, and other pests, by using the sun’s energy to pasteurize the upper layer of soil. However, this takes time. Prepare the soil, removing garden debris and weeds, form your beds, and then thoroughly water the soil. Cover the prepared area with clear polyethylene, sealing the edges with soil, to trap the sun’s heat. This doesn’t sterilize the soil, but reduces populations of harmful nematodes, weeds and other pests. It’s critical that his is done during July and August, the hottest time of the year. Treat for at least 6 to 8 weeks. You won’t get to plant tomatoes or peppers, but the garden site will be ready in time to plant cool-season vegetables.
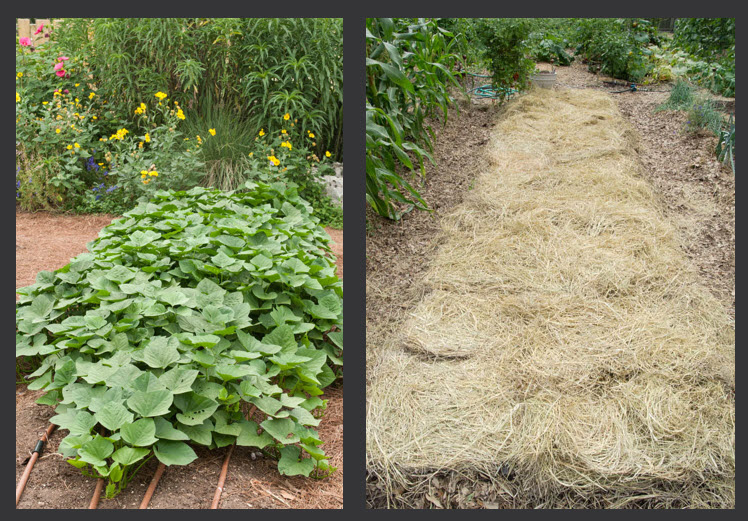
Another non-chemical method of killing weeds is to smother them under 6 to 8 layers of wet newspaper, and then cover this layer with pine needles, old hay or grass clippings. Whenever weeds like Bermuda grass shows up through the edges, place another layer of paper over it. By continually denying them light, they’ll eventually weaken and die. Transplant through the papers, or just use them in the pathways. The paper will be mostly decomposed by next spring.
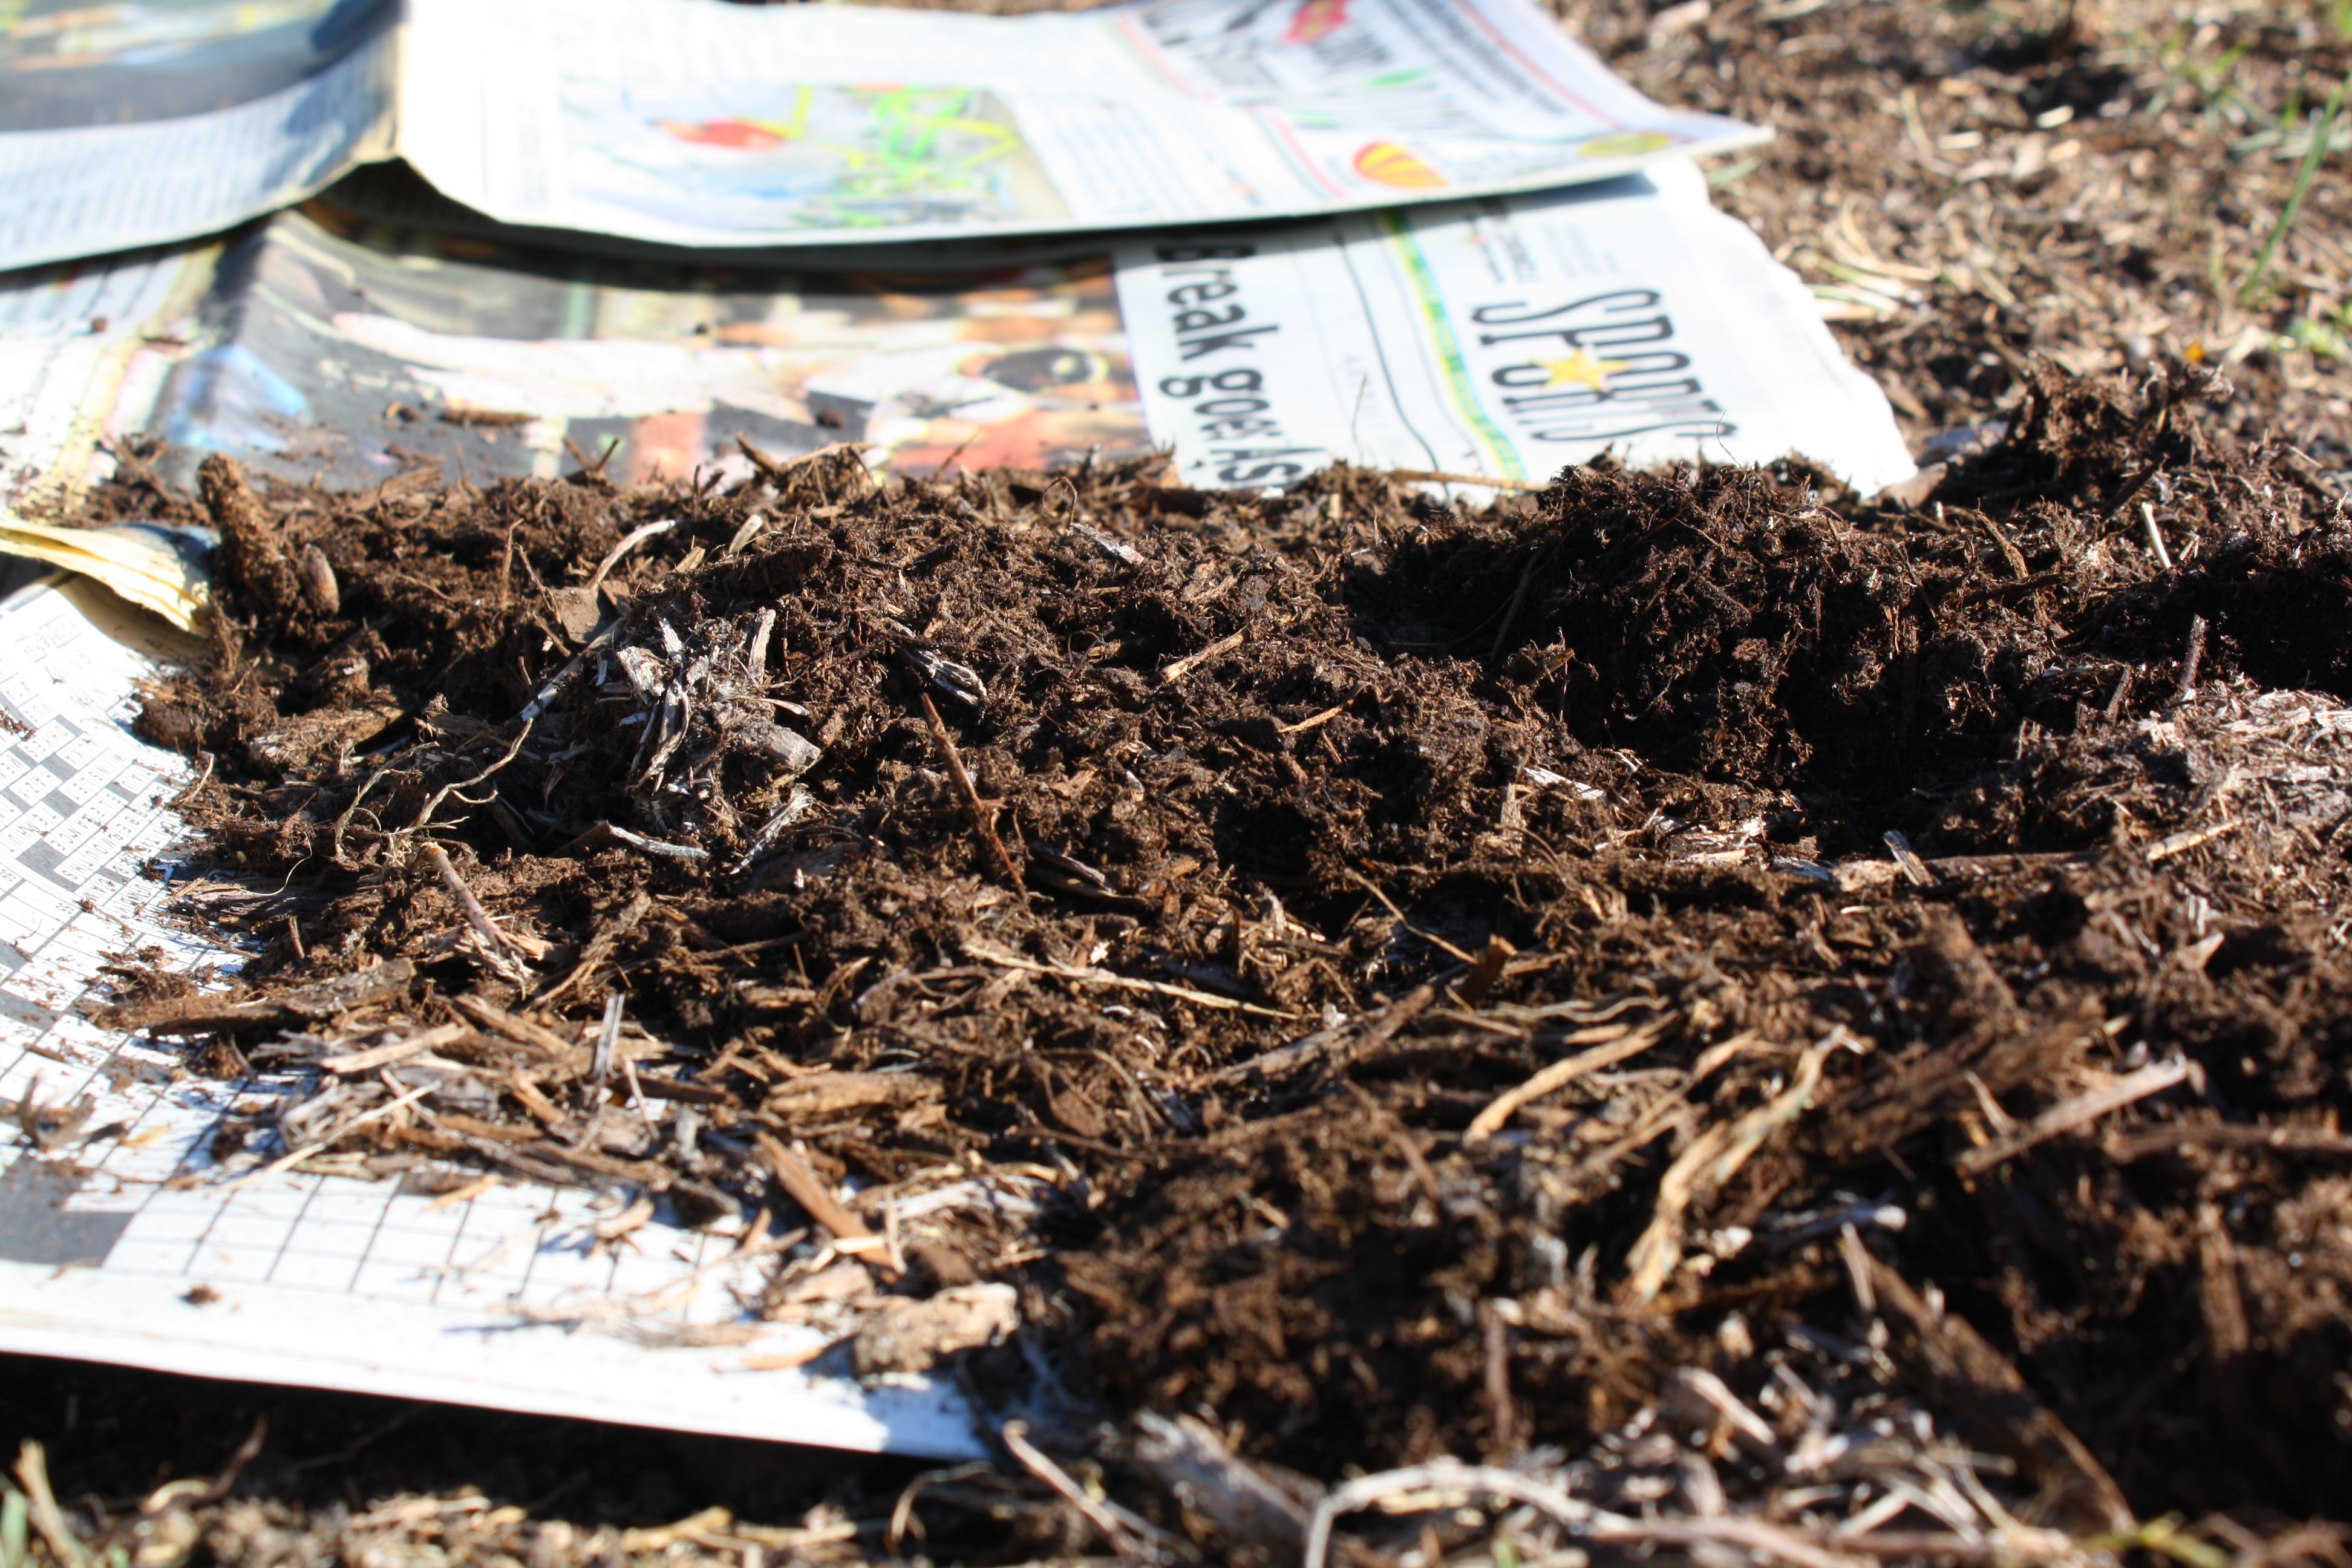
using newspaper and mulch is a great way to smother weeds in your garden
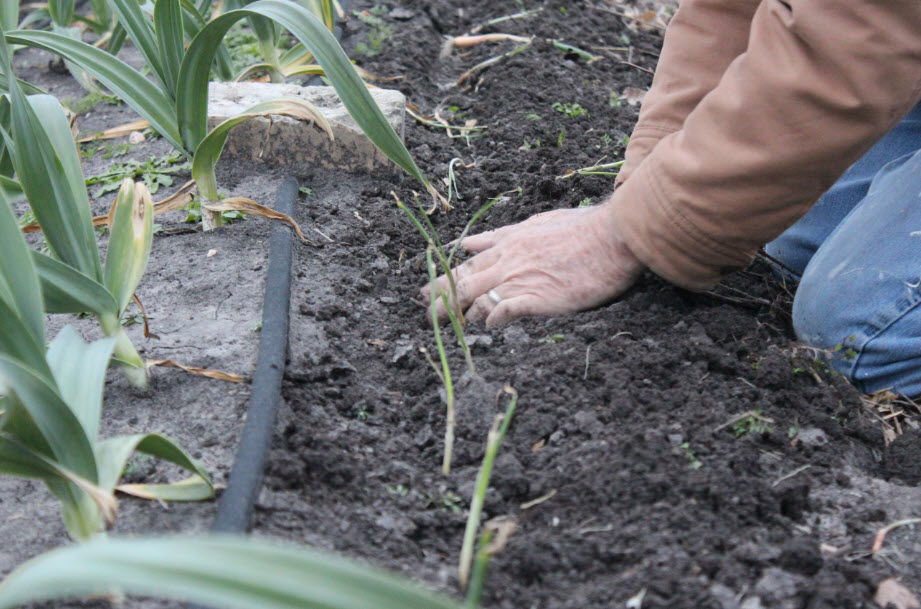
Hand digging is another option for real small plots, but take care not to get heat stroke; work early in the morning before it gets too hot.
If the garden spot has perennial weeds, like Bermuda, you can spray the weeds in an empty garden site with a weed killer that contains glyphosate. Some brand names for glyphosate include: Roundup, Kleenup, and Weed Away. Check the ingredients on the label for the term glyphosate” and follow label instructions for application rate. Glyphosate will not stay in the soil; it is strictly a foliar weed killer, but it kills roots and all. It takes about 2 weeks to completely kill Bermuda, maybe slightly longer if the weeds are under drought stress. It works best if weeds are healthy, actively growing and not suffering from lack of water. Remember, the garden spot must be empty to use glyphosate! Read the label completely before using.
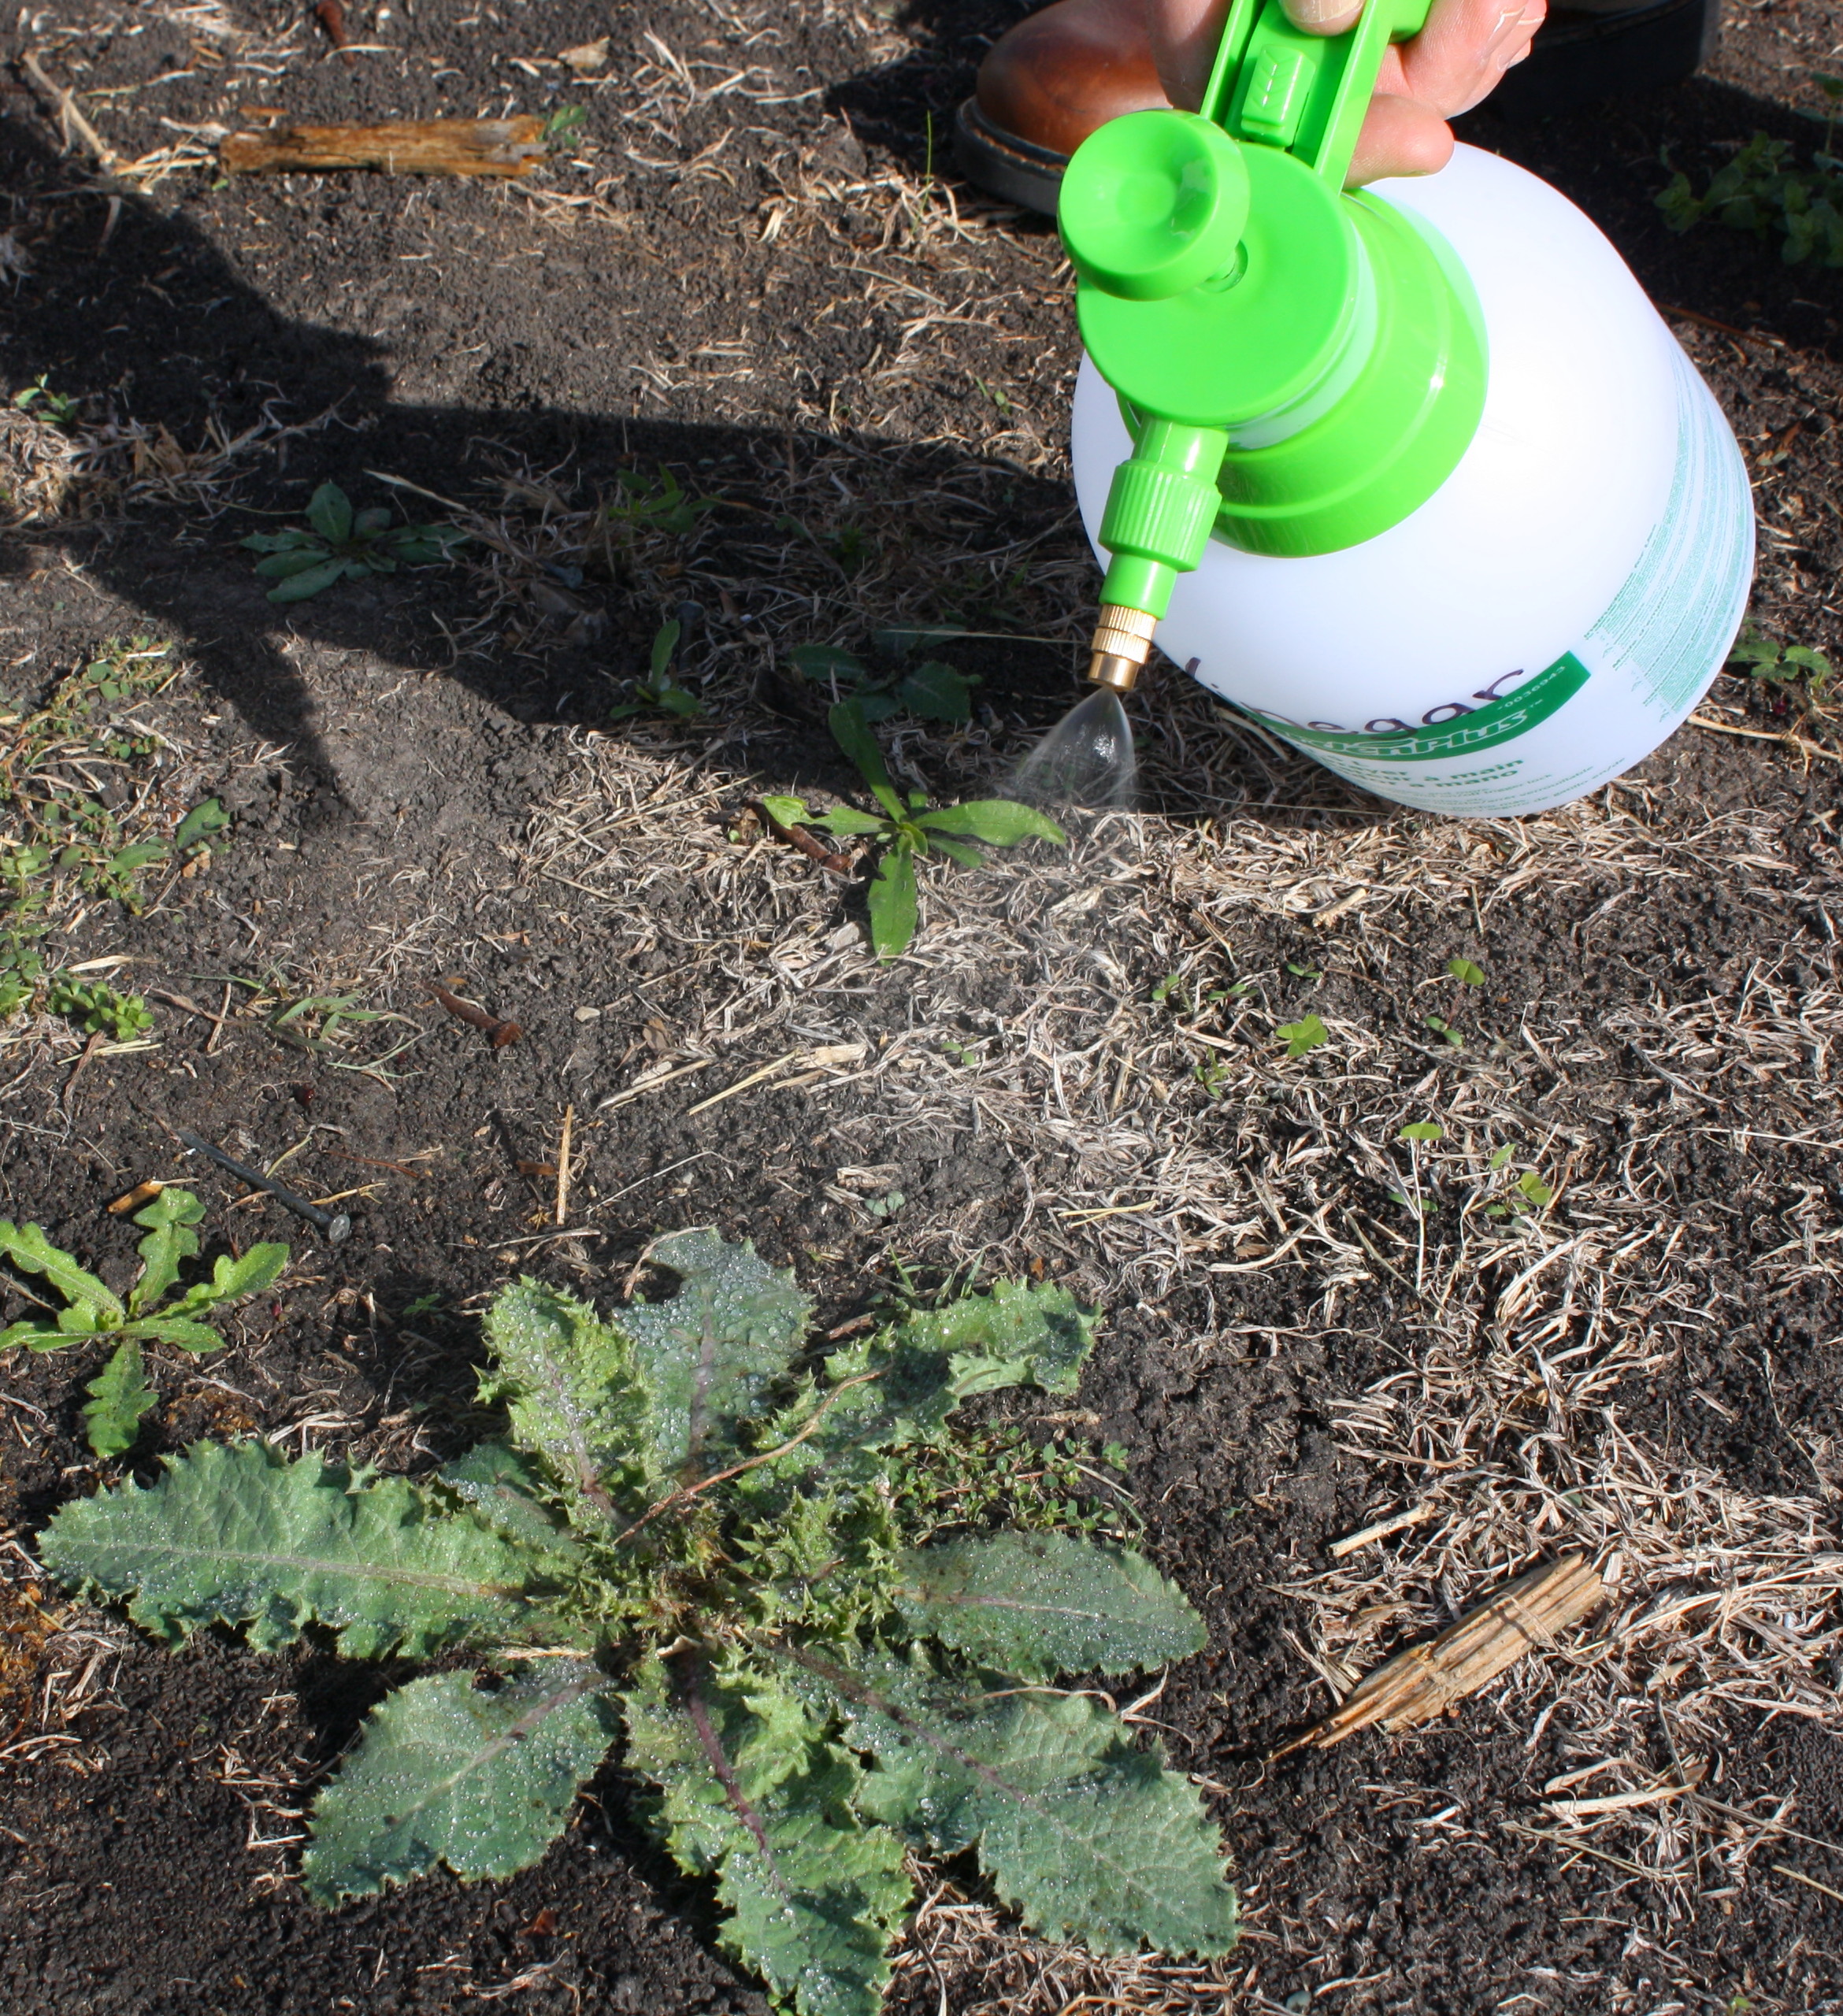
While not as effective as Round Up, concentrated acetic acid is a good, organic weed killer that will work on both grassy and broad leafed weeds
There are also organic herbicides formulated with oils and soaps that will kill many tender annual weeds, but will not eliminate Bermuda and other perennial weeds with one application.
For future weed control, once you have your garden prepared, always maintain some sort of mulch covering the surface of the soil to prevent weeds from taking over again.
Every time you prepare the soil to plant a new crop, always mix in as much compost as you can get your hands on. Add well-decomposed animal manure, fertilizer and lime if soil tests indicate a low fertility or pH, and work all ingredients into the soil.
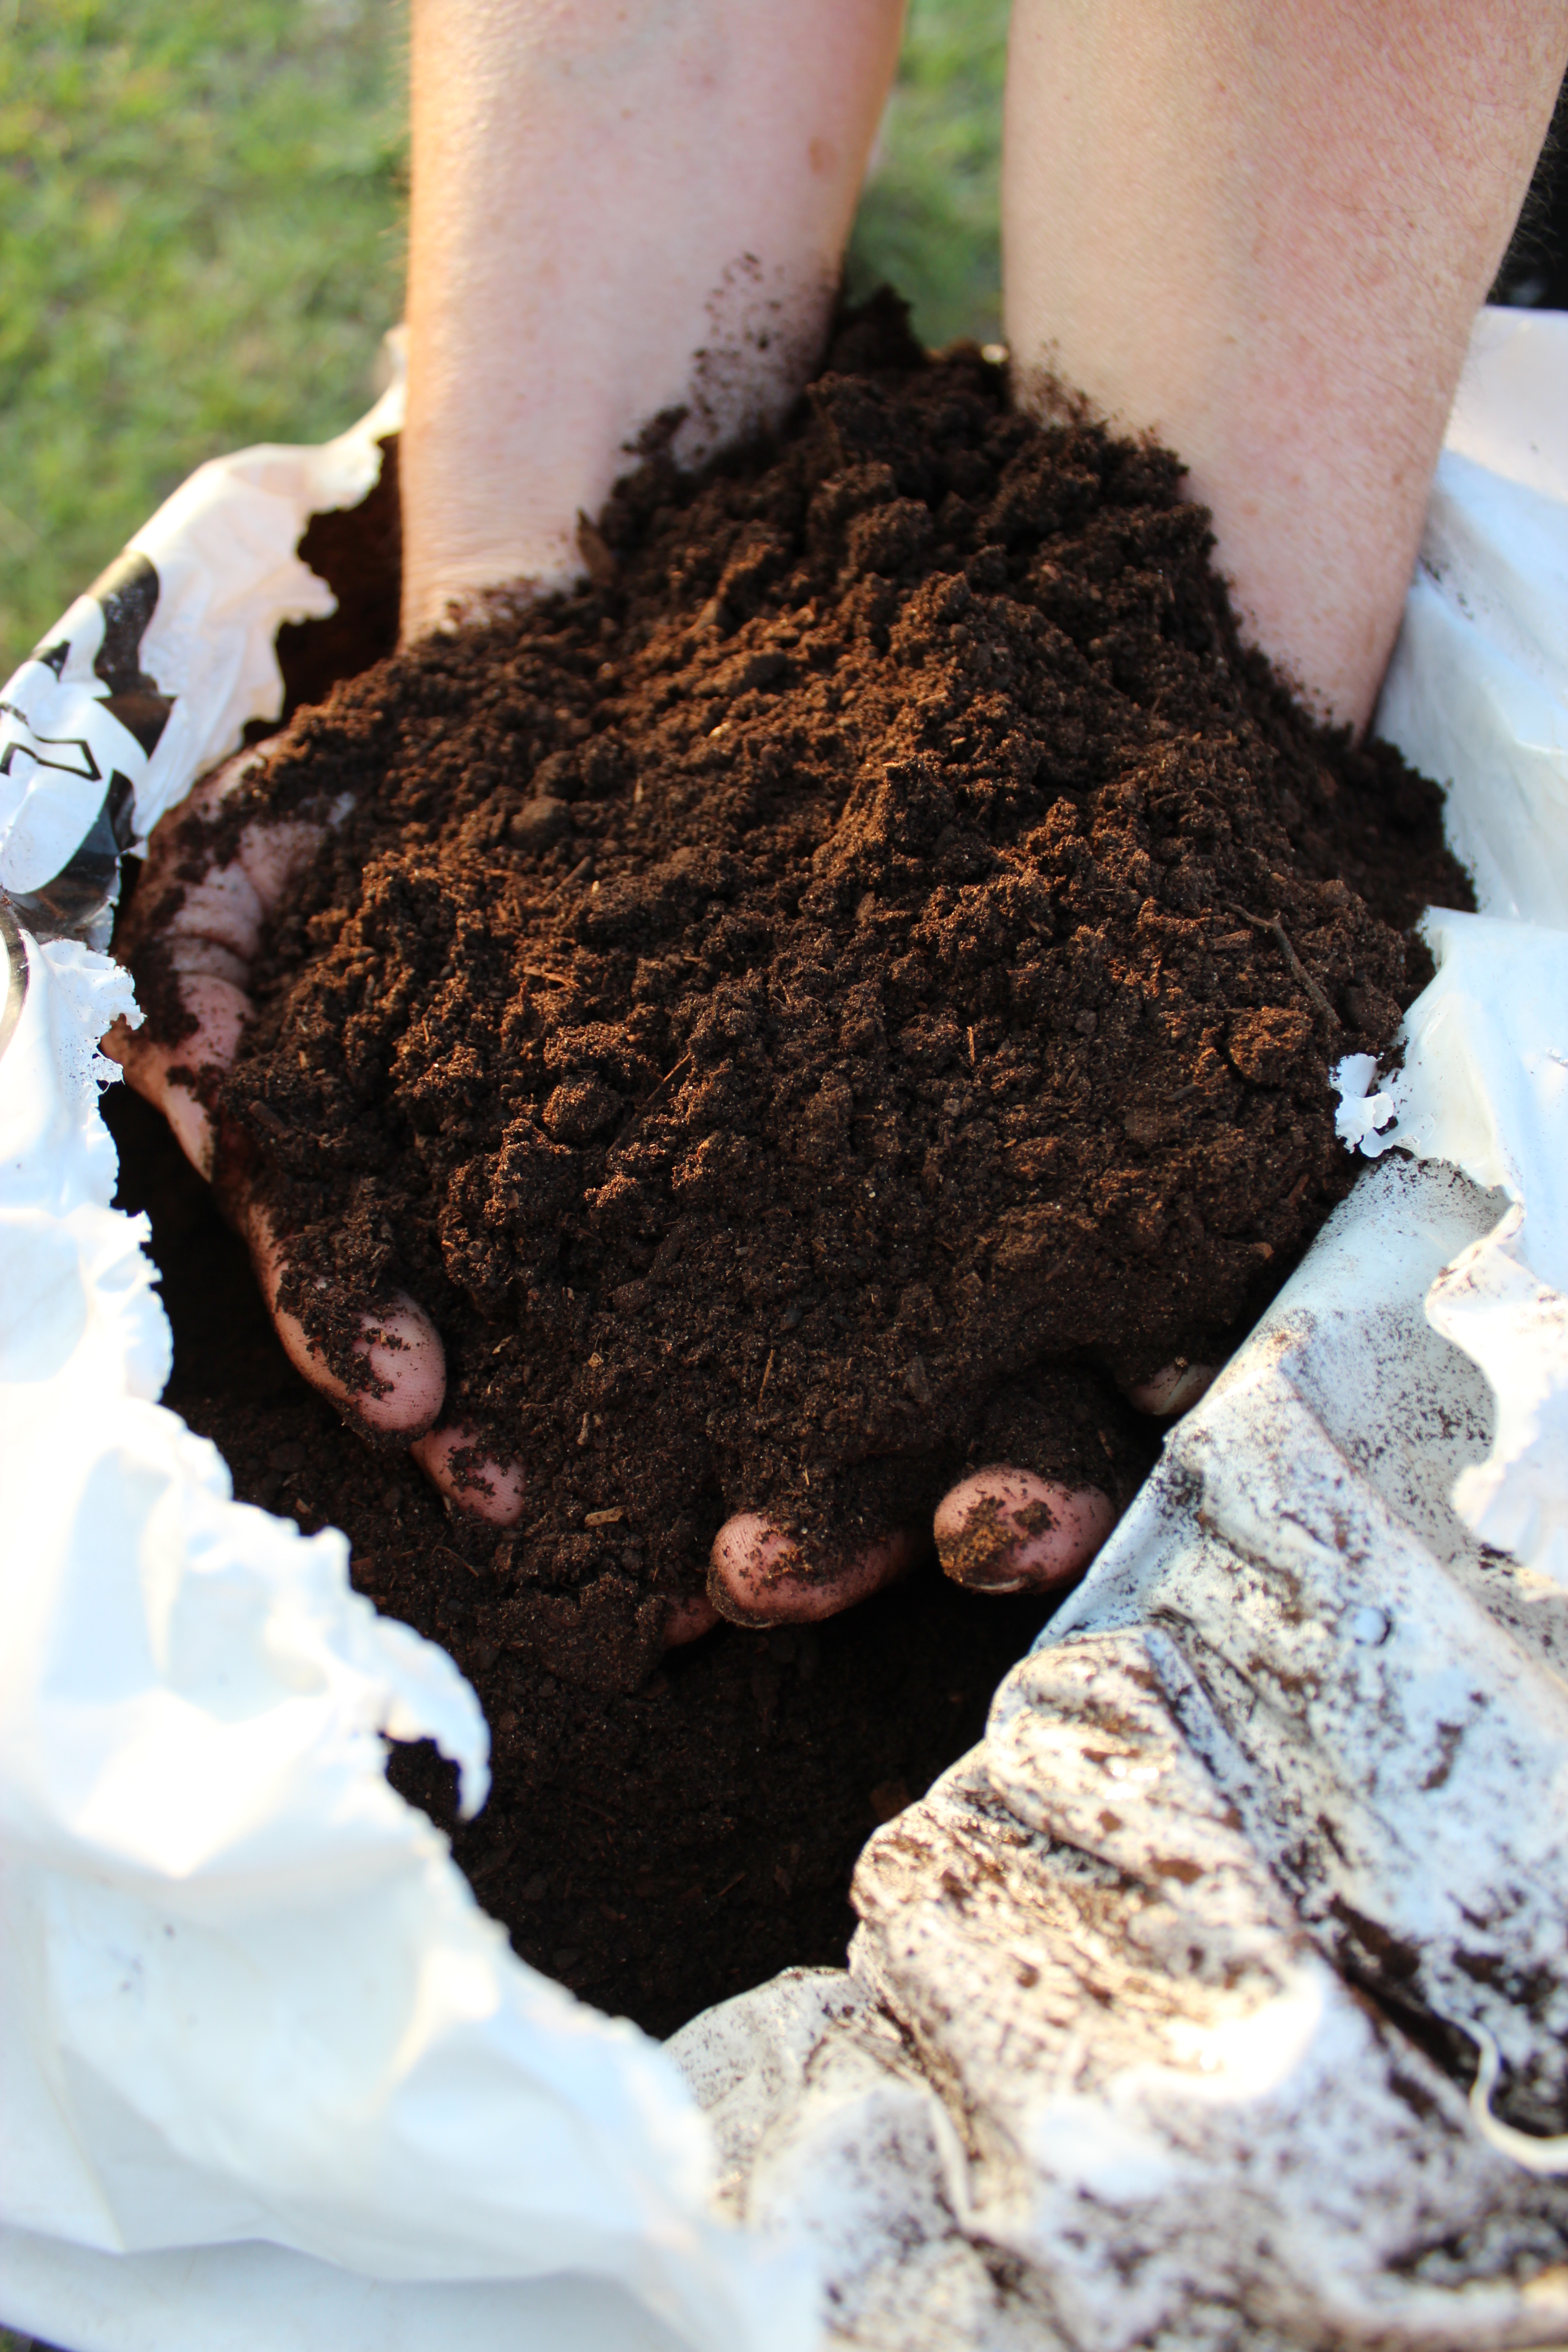
Compost helps sandy soils retain moisture and clay soils drain. It also supplies plant ready nutrients slowly and consistently.
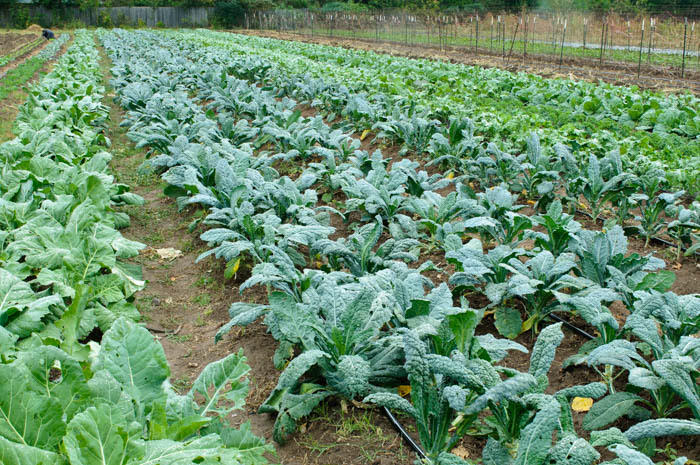
Southern peas such as blackeye, purplehull, cream and crowders make a great, edible summer cover crop for building the soil and providing food. The pea vines can be mowed and rototilled under while still green for extra soil building benefits or allowed to produce peas and then tilled under.
Tomatoes and peppers need to be planted soon – by the first of August – if they are going to make a good crop before first frost. What if your garden spot is not yet ready? Buy your transplants now and grow them in a larger container to plant in the garden later.
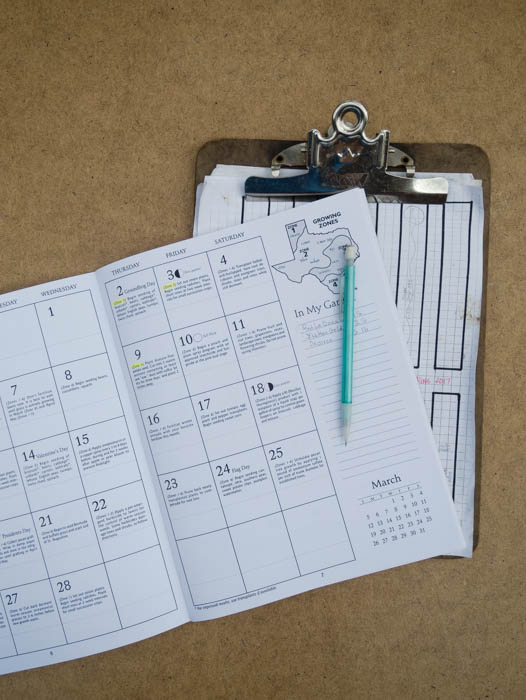
*****Check out our planting guidelines in the sidebar to see when you need to put out your favorite vegetble seeds and transplants.
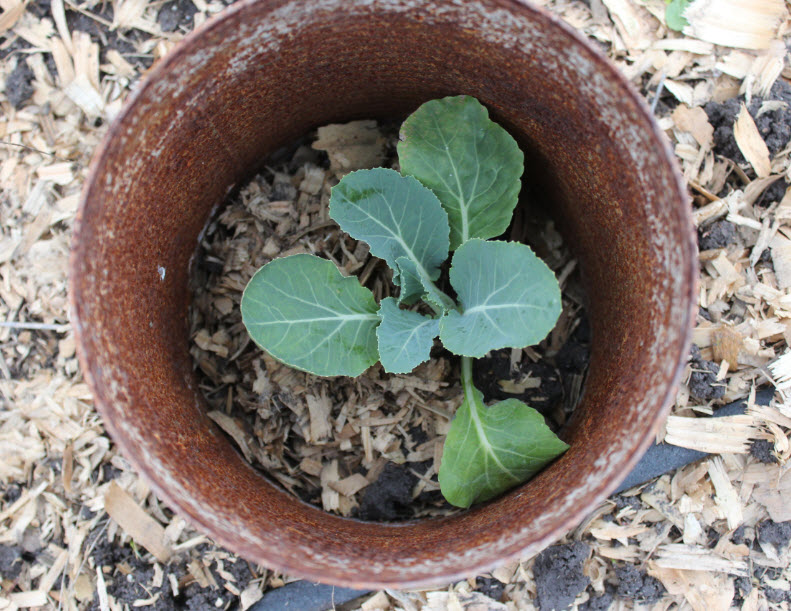
Get either 6-pack transplants or 4-inch transplants. Put them in a 1- or 3-gallon nursery container filled with potting soil. Do not use soil from your garden. Add slow release fertilizer (like Osmocote or other slow release formulation) to the soil mix. Set the pots in a sunny spot in the yard, not in the shade!

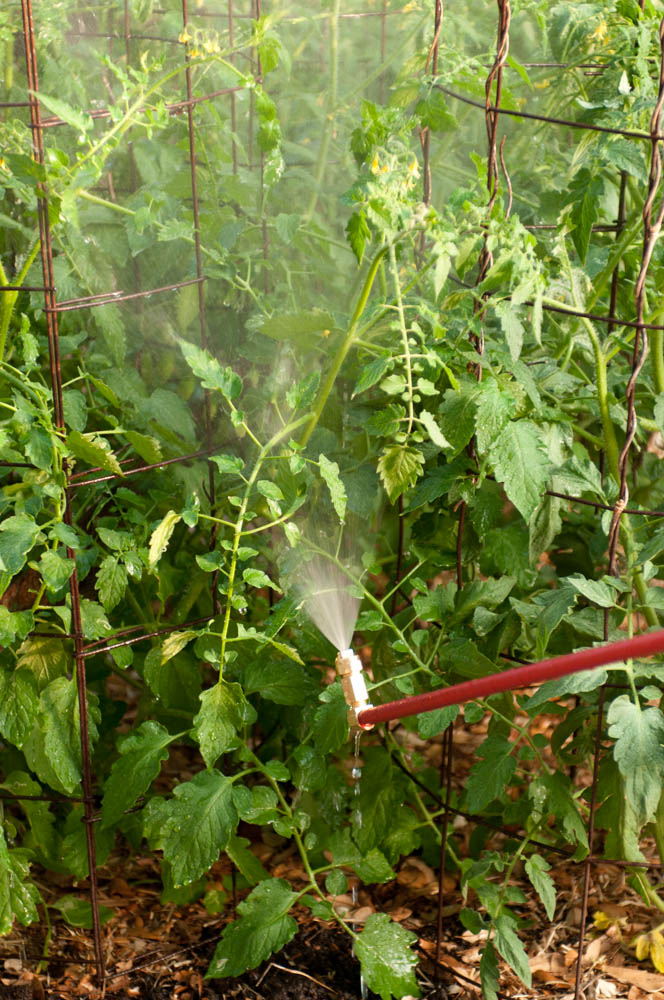
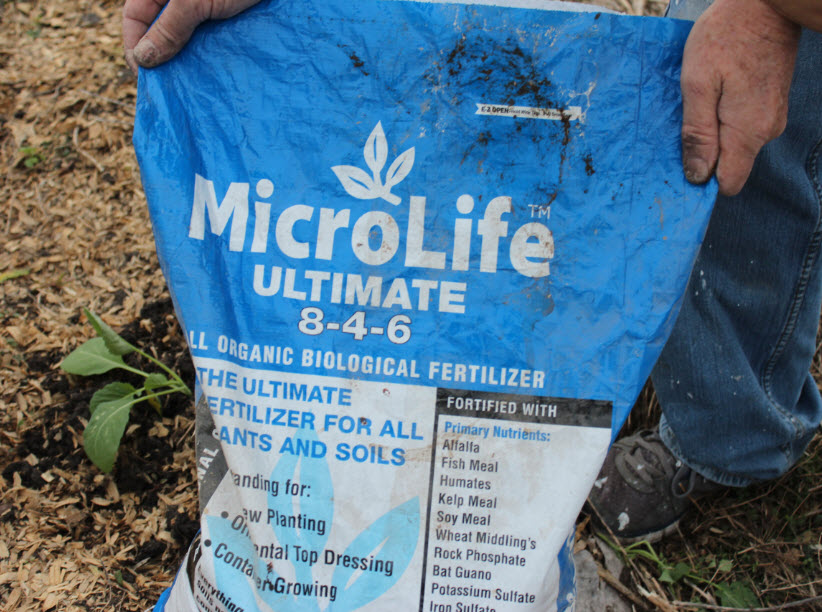
When watering seedlings uses a water soluble fertilizer or compost tea
Every time you water, use a water-soluble fertilizer solution instead of just plain water. Your transplants will continue to grow and be healthy, just as if you have transplanted them directly into the ground. Once your garden site is ready, you will have large, healthy tomato and pepper plants to set out. They will be easier to take care of and you will be assured of a bountiful harvest before the first freeze of winter.
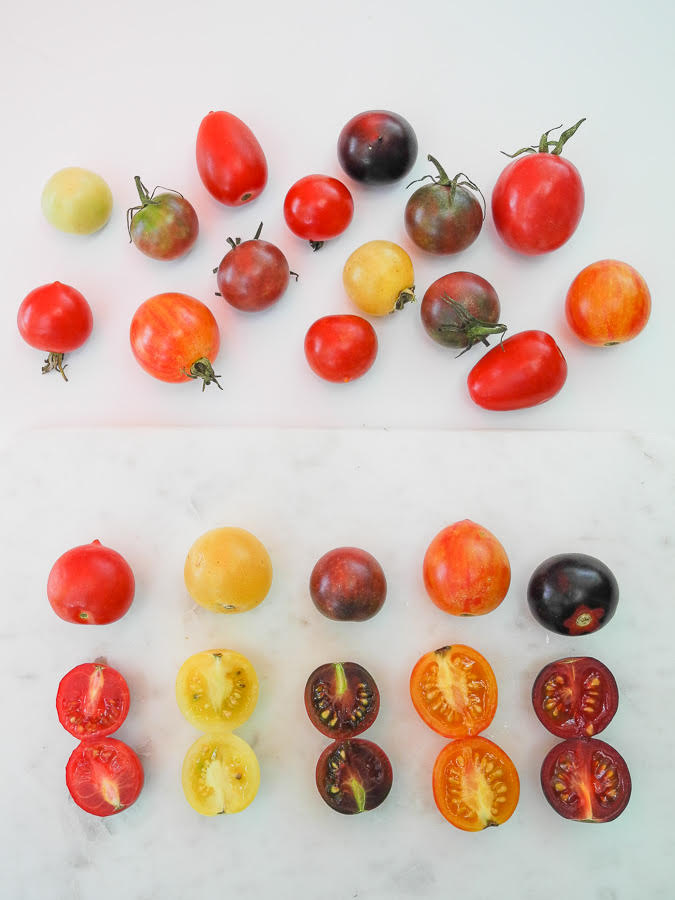
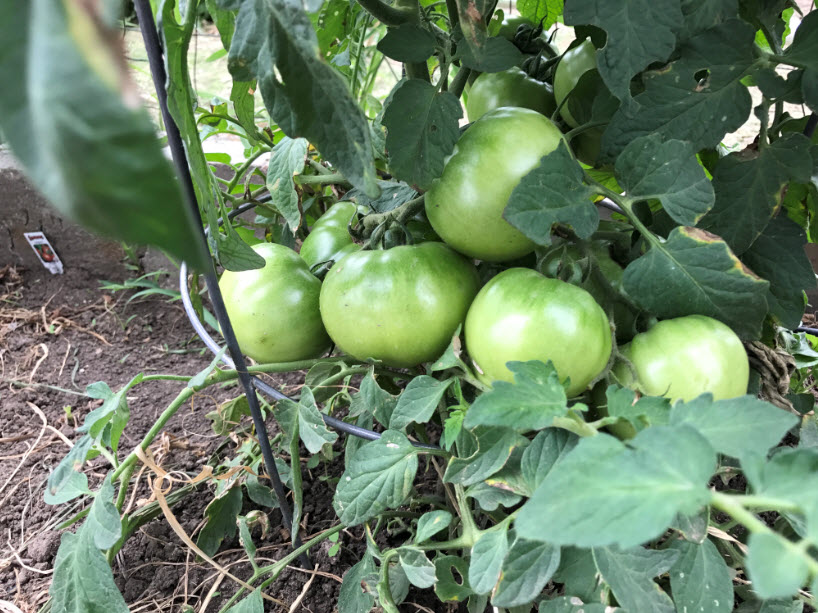
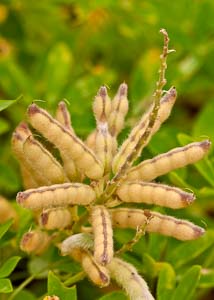
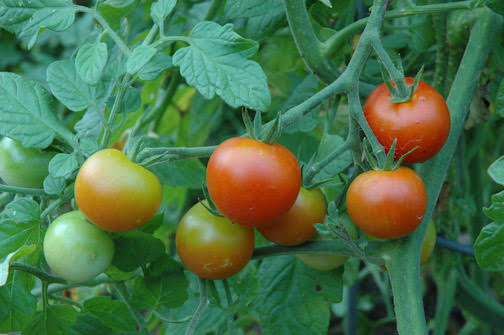
Grow fast maturing tomato varieties for the fall harvest. Look for varieties with less than 75 days to maturity, such as ‘Merced’, ‘Bingo’, ‘Celebrity’, ‘Whirlaway’, and ‘Carnival’. ‘Surefire’ is a smaller, processing tomato variety (with thicker skin) which sets and matures all of its tomatoes very quickly, giving you a “surefire” harvest that beats the first freeze. Most cherry tomatoes will bear within 65 days of transplanting.
Timing is very important for a successful fall garden. Heat tolerant/cold sensitive crops need to be planted in time to mature before cold weather slows and stops growth, while cool season/heat sensitive crops are planted late enough to avoid the heat, but early enough to take the first frosts of winter.
Seeded vegetables can be tricky to get up in the heat of summer. Soil often forms a crust on the surface after tillage and watering. This “crust” can hinder tender seedlings from breaking through. Here are a couple of tips to help get seedlings up in the summer.
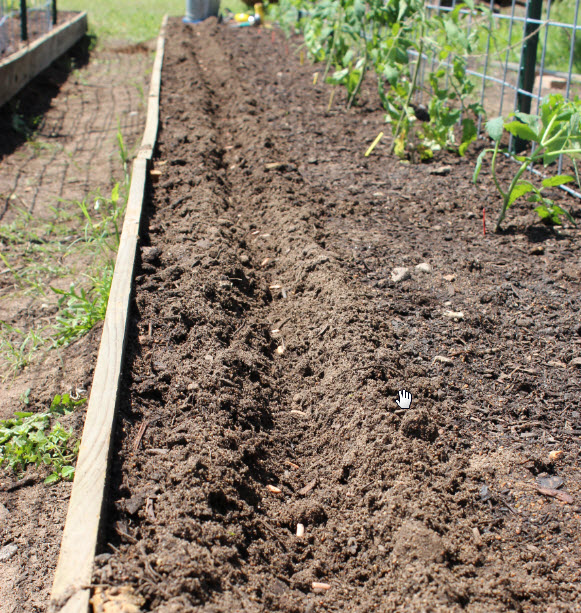
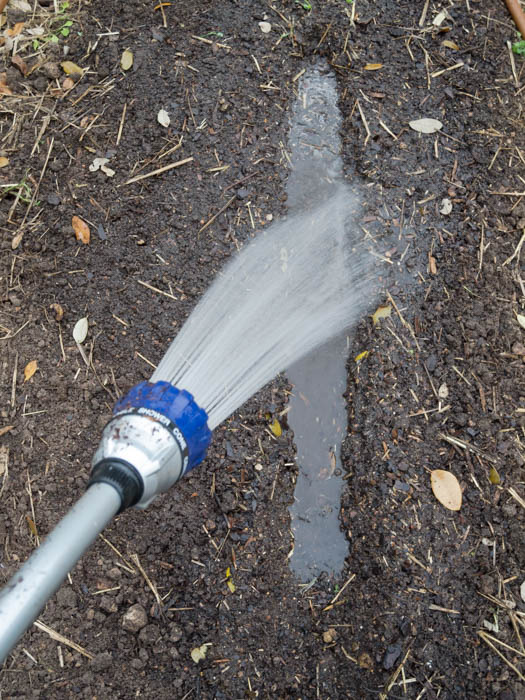
Open a furrow down the row as you normally would to sow the seeds. Before sowing, take your garden hose and thoroughly soak the bottom of the seed furrow with water. Next sow the seed. Finally, cover the seed to the proper depth with dry soil and firm. The seed should stay moist enough until germination, and if you avoid overhead watering, the soil will not form a crust to hinder seedling emergence.
Other folks will place a board or wet burlap over the seed row to provide constant dampness to encourage germination and emergence. You need to check every day for signs of emergence, and remove the covering when you see the first seedlings breaking through.
I share my posts on The Simple Homestead Blog Hop. Be sure to stop by and check out all the amazing things these gardeners and homesteaders are doing!